


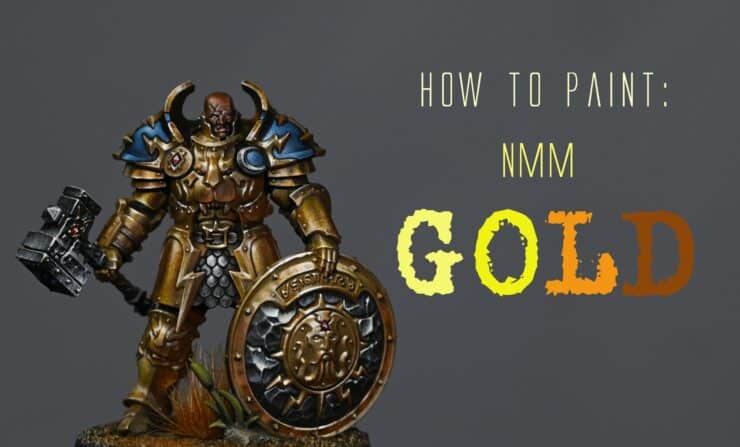
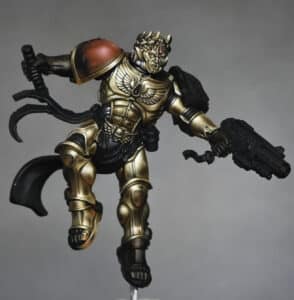
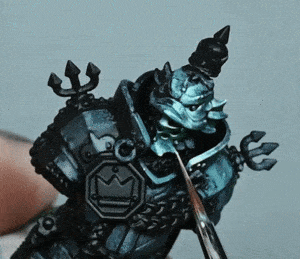
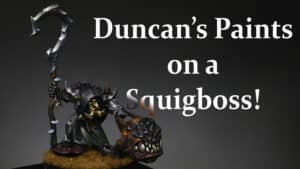
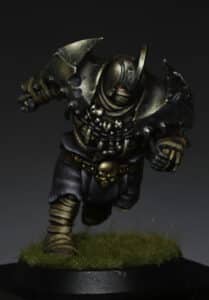
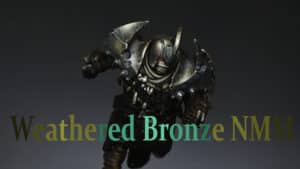
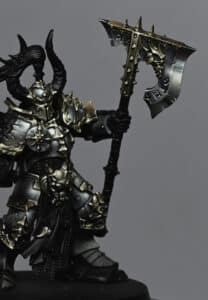
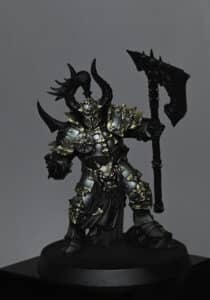
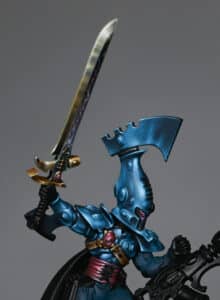
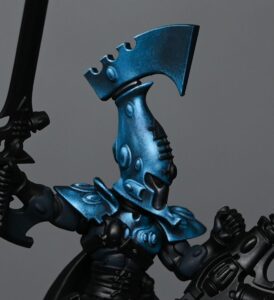
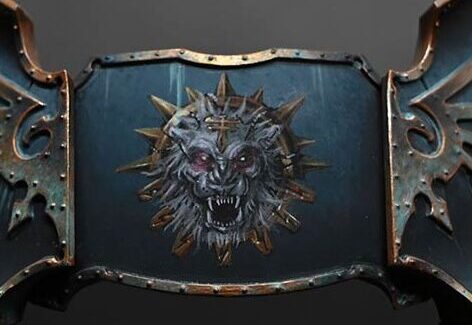
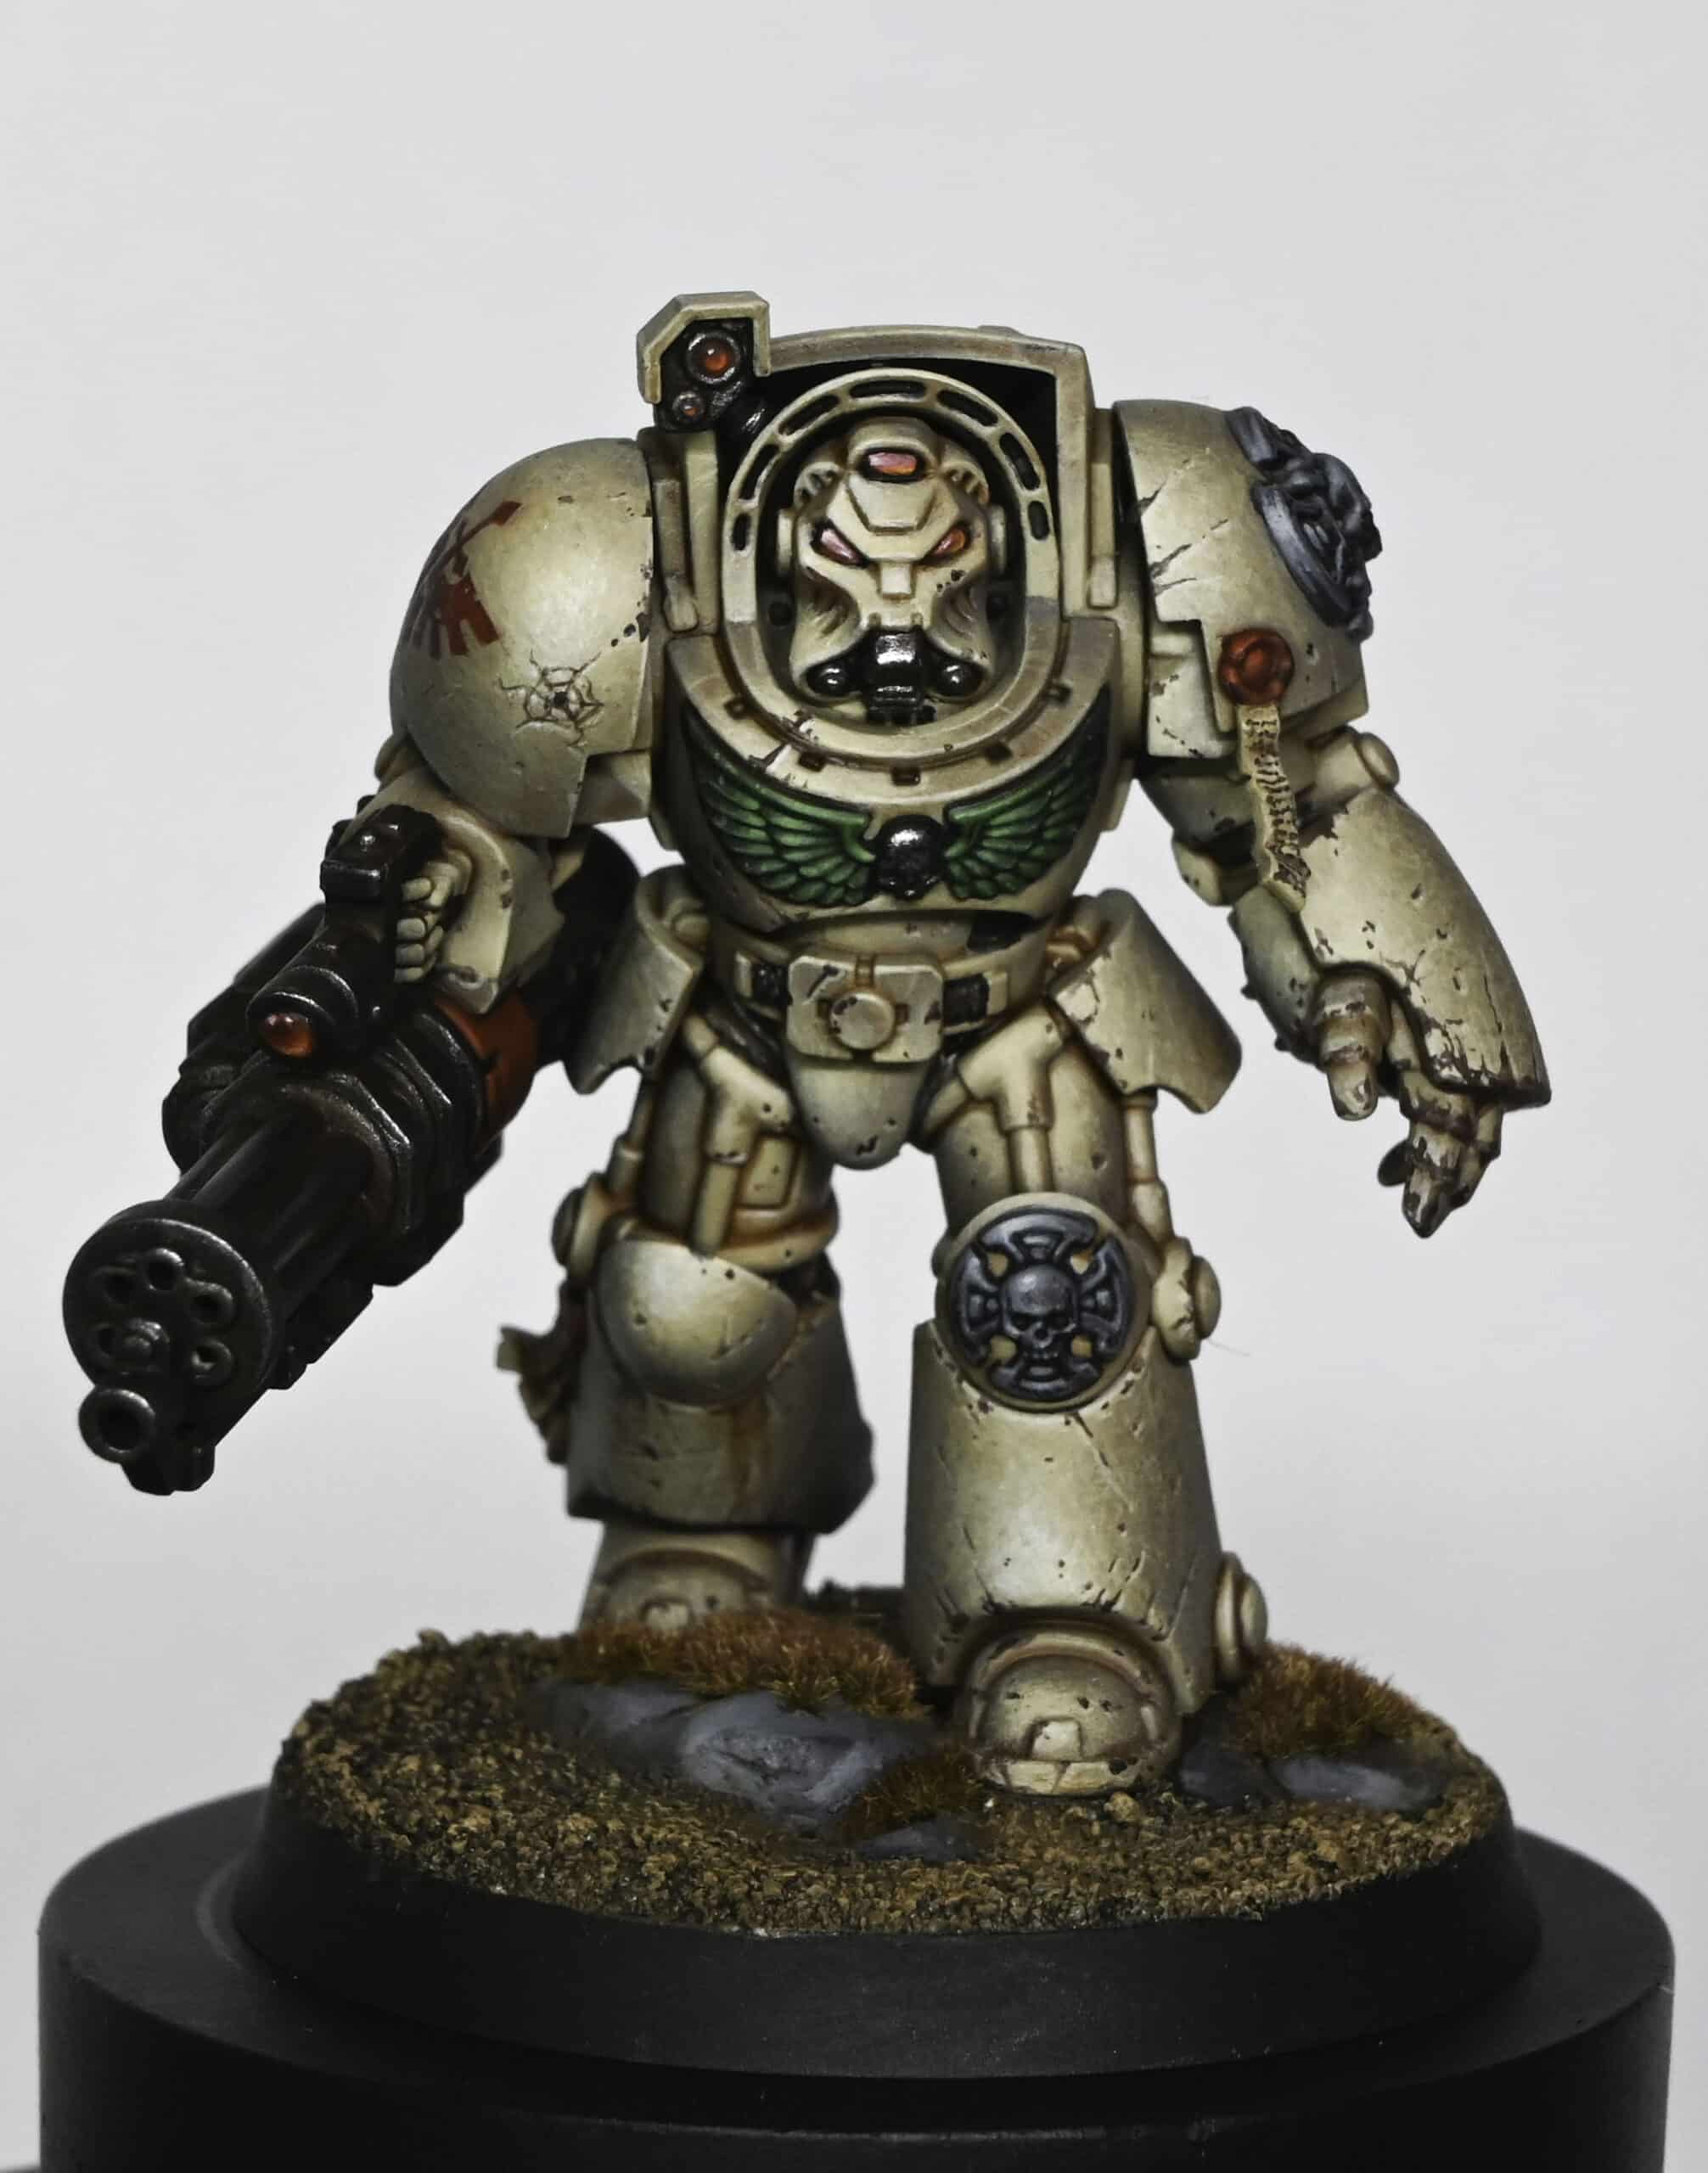
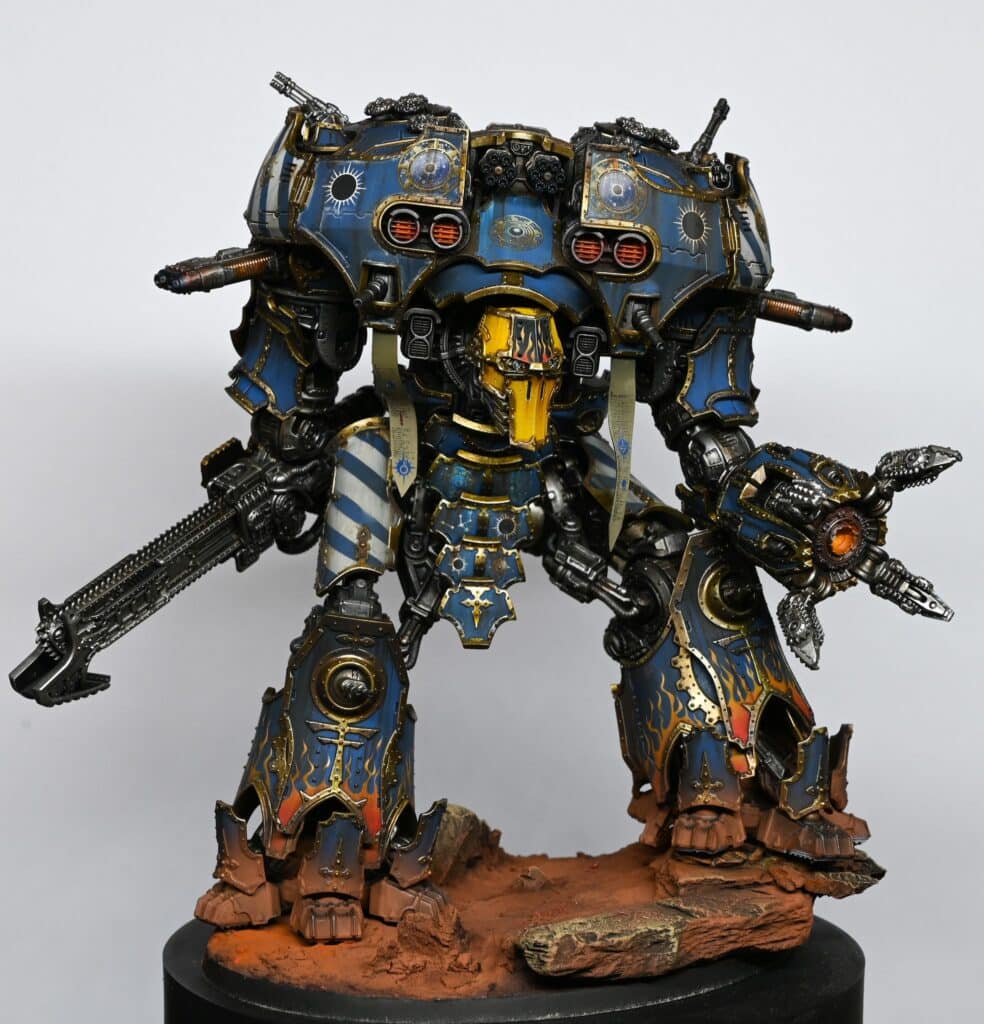
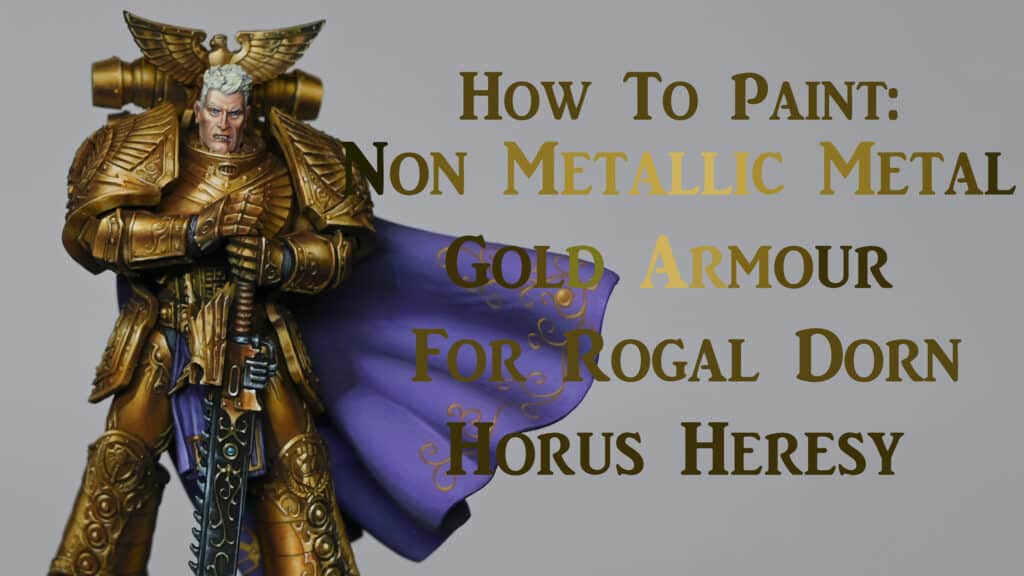
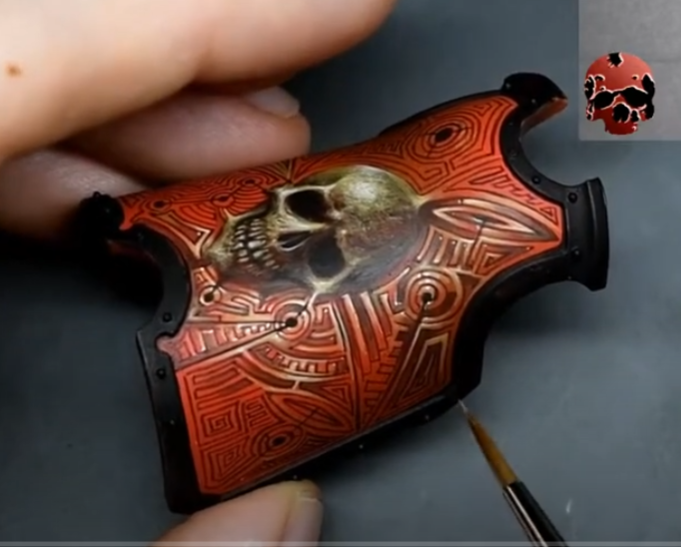
I have to teach you how to paint NMM gold, especially after Games Workshop kindly sent me a review copy of the Age of Sigmar Dominion box, which is full of these golden boys! The first model I decided to paint was this chonky Annihilator!
NMM means (Non Metallic Metal) – so it looks like gold paint, but is painted with “normal” paints. Read on and see!
How to Paint NMM Gold Video : Part One
How to Paint NMM Gold Video : Part Two
Paints and Tools
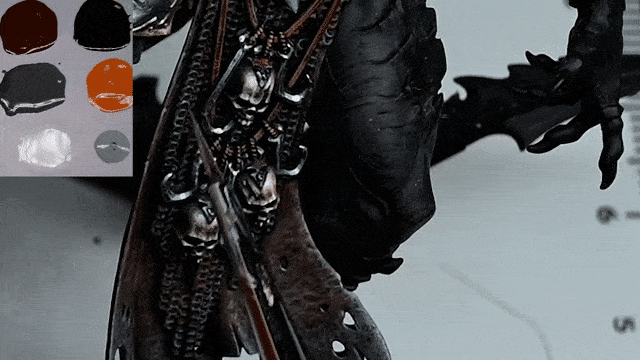
The following paints were used:
Games Workshop: Yriel Yellow, XV-88, Mournfang Brown, Zamesi Desert, Rhinox Hide
Vallejo: Ice Yellow, Black
P3: Morrow White (Any brand of white is fine)
Step By Step Guide: How to Paint NMM Gold
Step 1: Base Layer – Zamesi Desert:
Start by applying the base layer using Zamesi Desert. Be careful with the application, as it can build up like a dusty layer if you’re sloppy. Use thin layers and consider dry brushing or stippling for a textured effect.
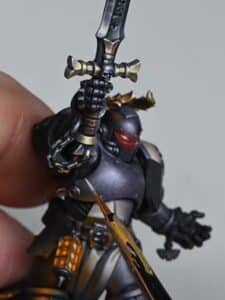
Step 2: Highlights with Scrappy Marks:
Apply the highlights by holding the model under a light source and quickly blocking in where the highlights hit. Use a chunky stippling style for blocking colours on the armour. Quick transitions work well for a better look. Don’t worry about brush marks; the focus is on selling the non-metallic effect.
Step 3: Light Volumes and Reflections:
Focus on getting the light volumes right for the non-metallic metal effect. Reflect other lights around you, similar to how a mirror reflects light. Be aware that some parts may not catch light as desired, but you can tweak it as you go along.
Step 4: Adding White Highlights:
Add white highlights using P3 Morrow White or any white paint of your preference. These highlights will enhance the non-metallic effect. Be mindful of the thickness of the paint, and if needed, glaze over for a refined and neater look.
Step 5: Balancing Highlights:
Maintain consistency in the highlights by holding the model under a light source and blocking in where the highlights hit. Balance is crucial for selling the non-metallic metal effect.
Step 6: Layering and Glazing:
Consider using glazing techniques with colours like Balor Brown or Japanese Uniform to add depth and colour variation. Thin your paints for later stages to achieve refined and smaller marks. Glazing helps neaten and soften the overall look.
Step 7: Additional Details and Contrast:
Add additional details using Rhinox Hide for larger areas to push contrast. Use watered-down Rhinox Hide for subtlety, and consider adding white highlights for reflections.
Step 8: Stippling and Scratching:
Stipple and scratch with a watered-down mix of Rhinox Hide and Mournfang Brown for larger areas. This technique adds texture and a brushed look to the non-metallic gold.
Step 9: Final Touches and Glazing:
Continue blending and refining the paint with scratchy marks. Towards the end, consider glazing to further enhance and refine the non-metallic gold effect. Adjust as needed for a balanced finish.
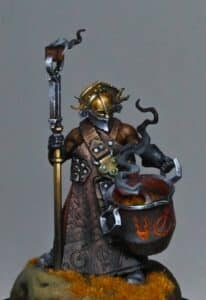
Learn NMM Like a Pro!
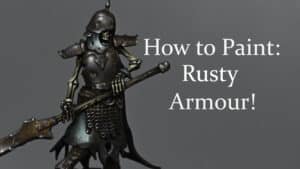
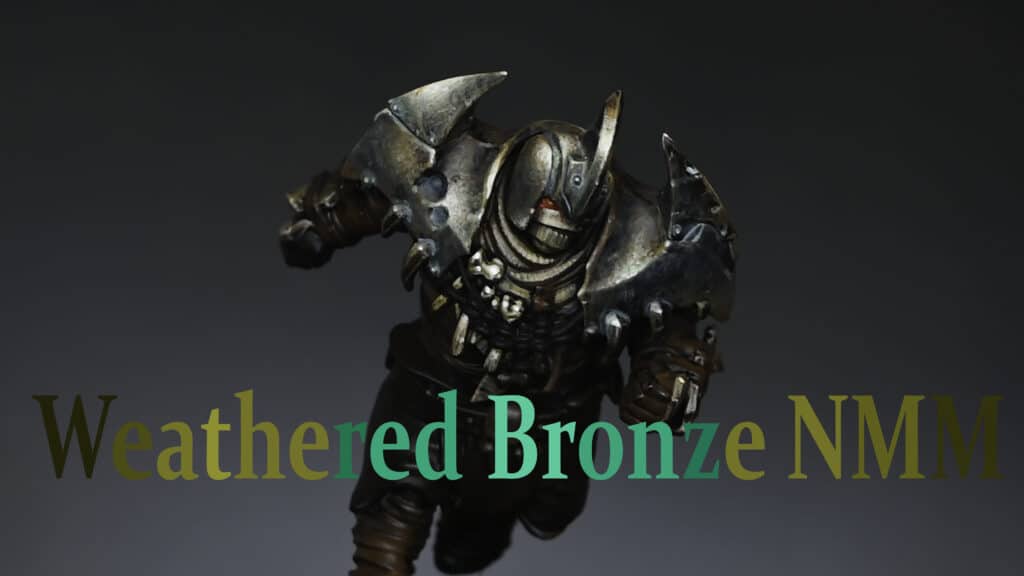
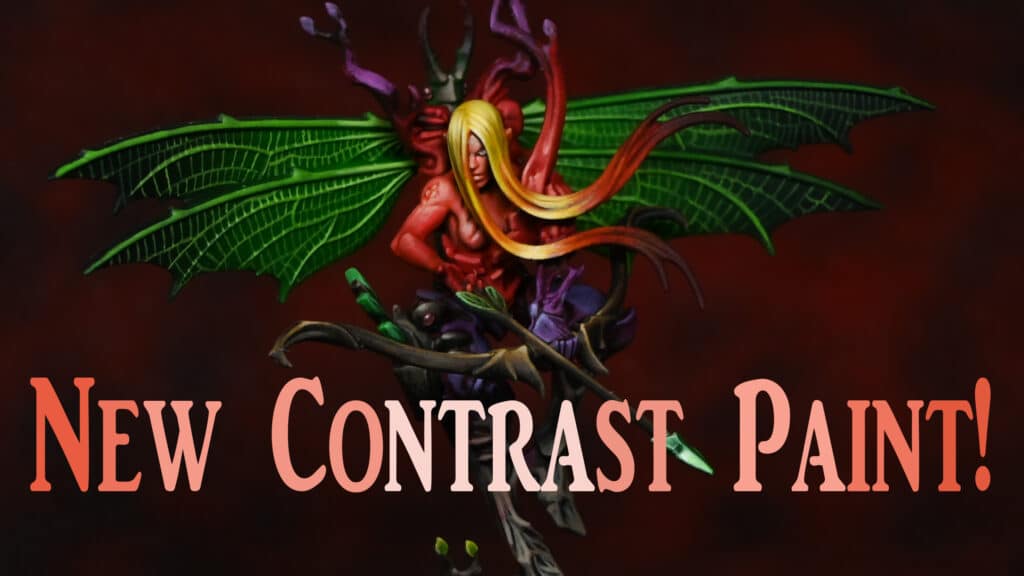
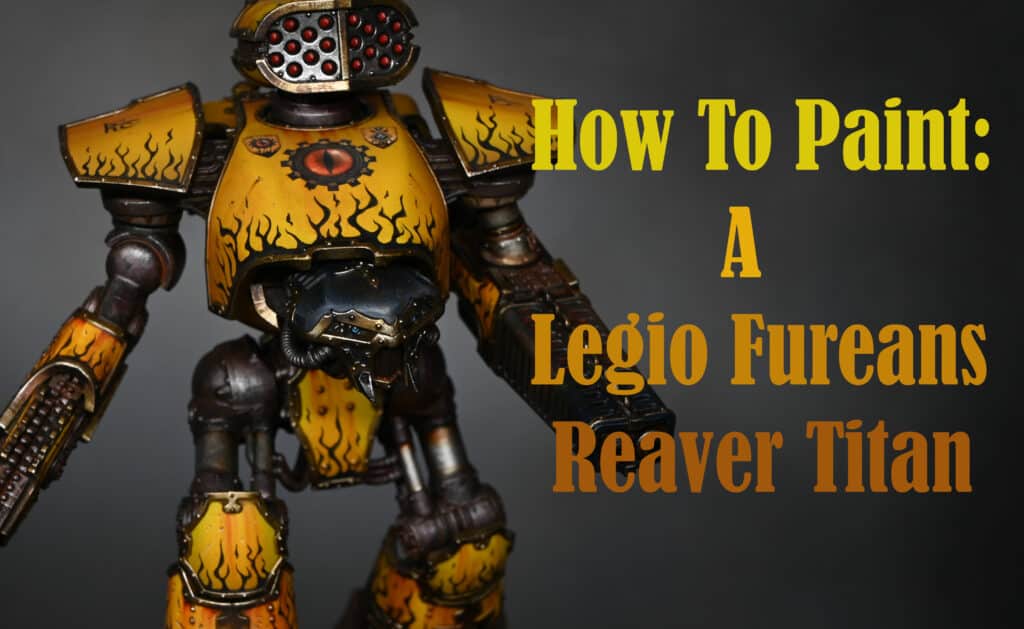
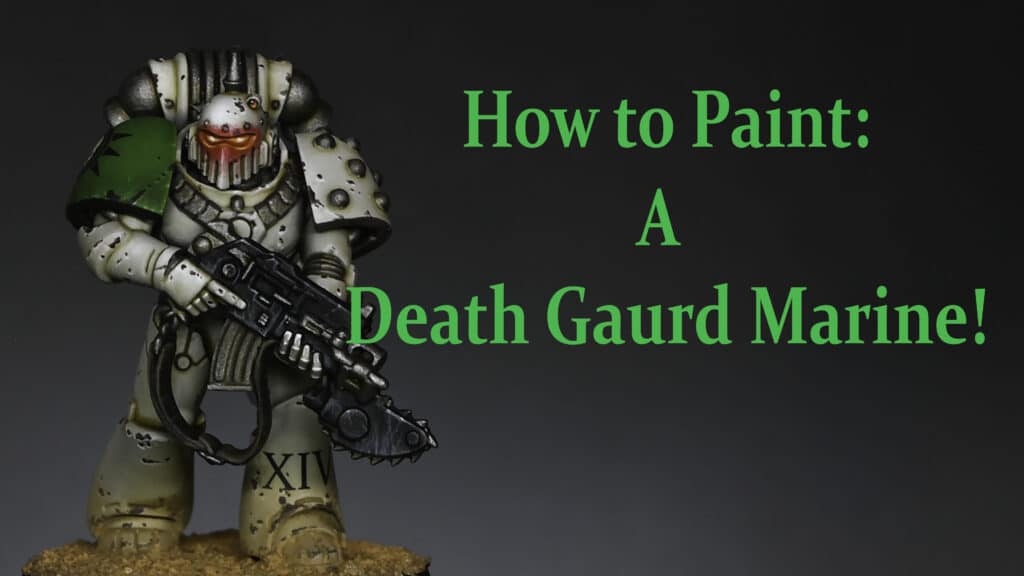
Liked this video? Check out all my latest subscriber videos with Non-Metallic Metal techniques by clicking the thumbnails below, or explore more freebies by clicking here.


Free Video Tutorials
Free videos (for logged in members – just sign up as a ‘friend’ to view and click any of the thumbs.
To explore all of these, visit this page!


If you don’t have an account, please sign up here! The website currently has over 350 video tutorials, plus step by step guides and PDFs. You can explore more free videos with a free “freebies” membership, or take the plunge and become a full subscriber for full access.


If you’d prefer to support me on Patreon, please visit: https://www.patreon.com/RichardGray