


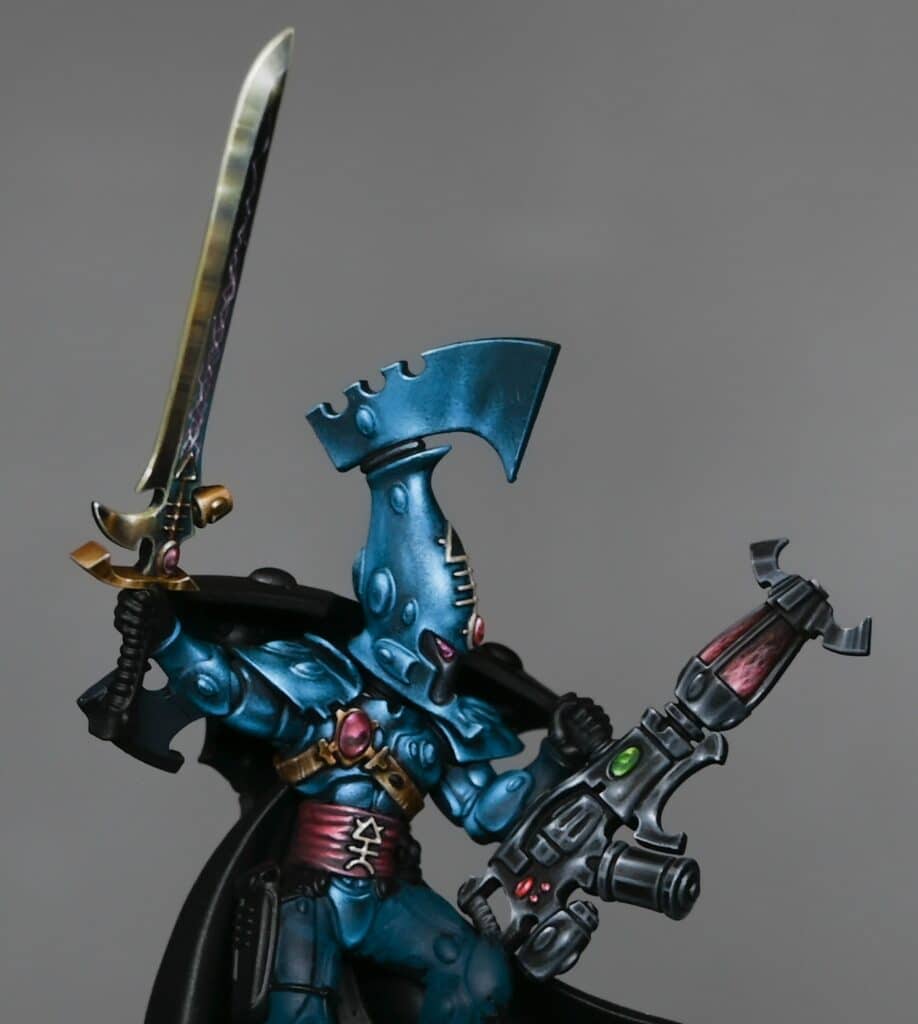
This video shows how to paint Aeldari Autarch Armour for the new Aeldari Autarch from Eldritch Omens to display standard.
Creating a striking, shiny armour effect on an Aeldari Autarch miniature requires patience, precision, and a blend of carefully chosen paints. This guide outlines the steps to achieve a high-quality finish using Vallejo and P3 paints, focusing primarily on achieving a glossy, turquoise armour reflective of the Aeldari’s elegant aesthetics. We’ll start with the helmet and touch on techniques applicable to other armour parts
Video – Aeldari Autarch Armour
Materials Needed
- Base Paints: Vallejo Turquoise (Sotek Green can be used as an alternative), Vallejo Black
- Highlight Paint: P3 Morrow White (or any high-quality white paint)
- Brushes: Fine detail brushes, including a customised, cut-down brush for stippling
- Palette: Preferably a wet palette for mixing and maintaining paint consistency
- Water: For thinning paints
Preparing the Model
- Assembly and Priming: Assemble your Autarch, ensuring clean joins and smooth surfaces. Prime the model in black to enhance the depth and contrast of the subsequent layers.
Base Coating
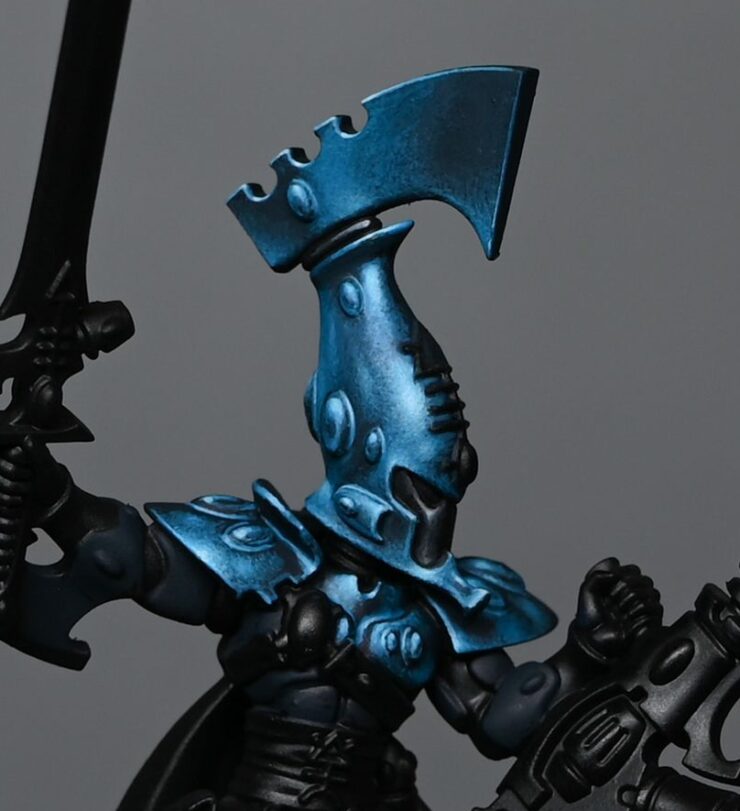
- Initial Base Coat: Mix Vallejo Turquoise with a small amount of black to create a dark base colour. Apply this mixture evenly across the armour, setting the stage for the lighter highlights to come. This base layer helps in mapping out the armour’s contours and provides a foundation for building contrast.
Highlighting
- Mixing Highlights: Create several shades of turquoise by mixing the base Vallejo Turquoise with varying amounts of black for darker shades and white for lighter shades. This range will allow you to build up the shiny armour effect through gradual layering.
- Applying Highlights: Start highlighting areas where light naturally hits the armour, such as the helmet’s curvature. Use a “scratchy” application method for this initial layer to block in the highlight areas without aiming for perfection.
Refining Highlights
- Stippling Technique: Shift to a stippling technique with a customised brush (cut down to keep the tip thin) to apply the finer, lighter highlights. This approach allows for more precise control over the intensity and spread of the highlights, contributing to the shiny armour effect.
- Enhancing the Shine: Focus on areas that would reflect light more intensely, such as the helmet’s forehead and other raised surfaces. Gradually lighten these highlights by adding more white to the turquoise, working towards pure white for the most intense reflections.
Adding Depth and Detail
- Creating Contrast: Apply darker shades into recesses and around the edges of the lighter highlights to enhance contrast and depth. This step is crucial for making the shiny effect believable and visually striking.
- Detailing with Black: Use Vallejo Black to paint areas such as the faceplate, ensuring to keep these areas distinct and not overly bright to avoid detracting from the focal points of the armour.
Finishing Touches
- Edge Highlighting: Use the lightest turquoise mix to carefully edge highlight the armour, defining its shapes and enhancing the overall shininess. Be precise and consistent with these highlights to maintain the model’s clean appearance.
- Final Adjustments: Review the model for any areas that need softening or additional contrast. Use glazes (thin, transparent layers of paint) to adjust the intensity of the highlights or shadows as necessary.
Painting the Aeldari Autarch’s shiny armour is a meticulous process that rewards patience and attention to detail. By gradually building up highlights and carefully controlling the contrast between light and dark areas, you can achieve a vibrant, reflective armour finish that stands out on the battlefield or in a display case. Remember, the key to a successful paint job is not just in following the steps but in adapting the techniques to suit the unique contours and details of your miniature.
Watch all the tutorials for my Aeldari Autarch
Aeldari Autarch (Eldritch Omens)
A series of videos on how I painted my Aeldari Autarch (Eldritch Omens). This includes the pearlescent NMM armour, the soulstones, sword and Death Spinner(s).
If you don’t have an account, please sign up here! The website currently has over 350 video tutorials with steps and tips, plus a selection of PDFs. If you are not sure about joining, you can explore my free videos with a free membership, or take the plunge and become a full subscriber for full access.


If you’d prefer to support me on Patreon, please visit: https://www.patreon.com/RichardGray