


I’ve created a series of free video tutorials including free Warhammer painting videos and reviews on Youtube (in addition to my videos exclusively for paid site members). You can watch these on Youtube or below, however there are more free videos here on the website, which I rotate and refresh regularly!
I really appreciate your interest in my work, I love that I have been able to turn my hobby into a “real” job, so would like to give something back for free to everyone who might be interested in learning some of my techniques.
Scroll down for my free videos and free Warhammer painting videos, with step by step text guides and lists of paints and materials used.
Latest Free Warhammer Painting Videos
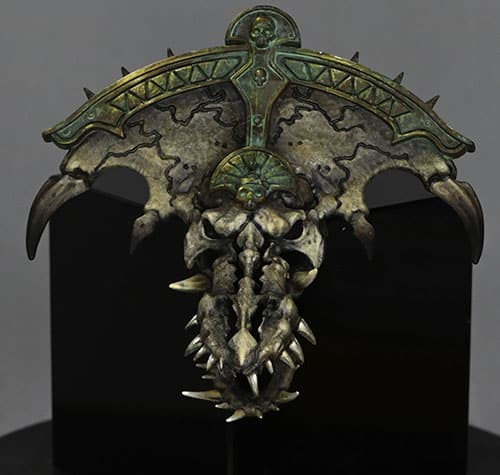
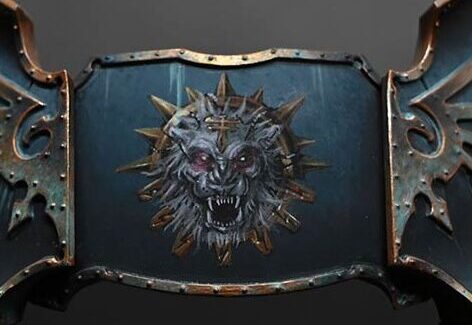
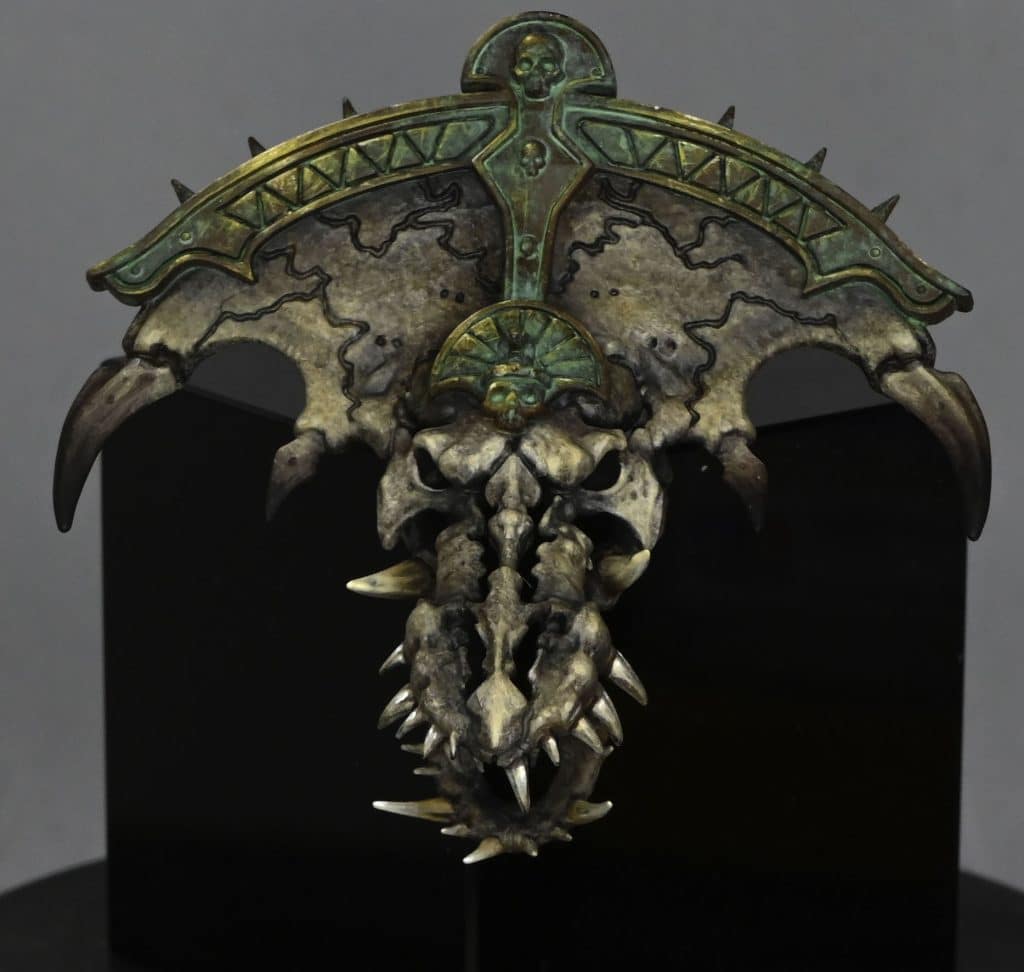
How to Paint the Tomb Kings Bone Dragon Head
This video looks at how to paint the head of the Tomb Kings Bone Dragon. The video looks at the textured bone, how to add colour and interest and then how to add verdigris and NMM to the bronze trim.
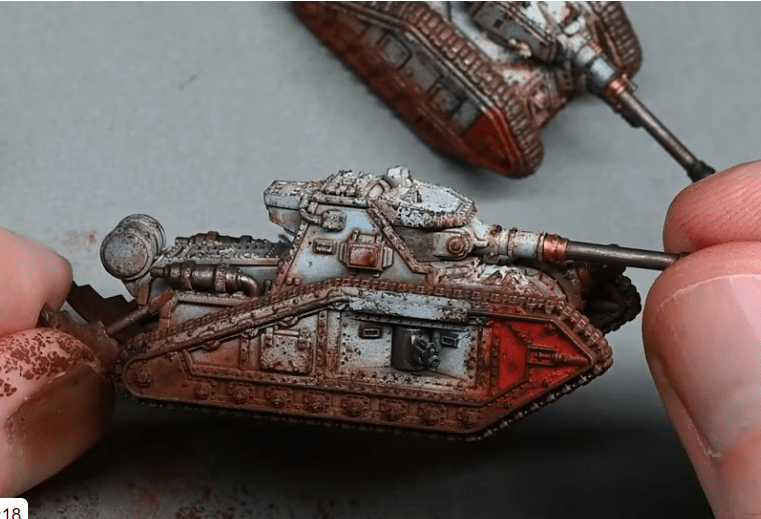
Free Video Tutorial: Legions Imperialis – Leman Russ Vanquishers
This video and step by step guide shows how to paint some tanks for the Solar Auxilia faction of Legions Imperialis.
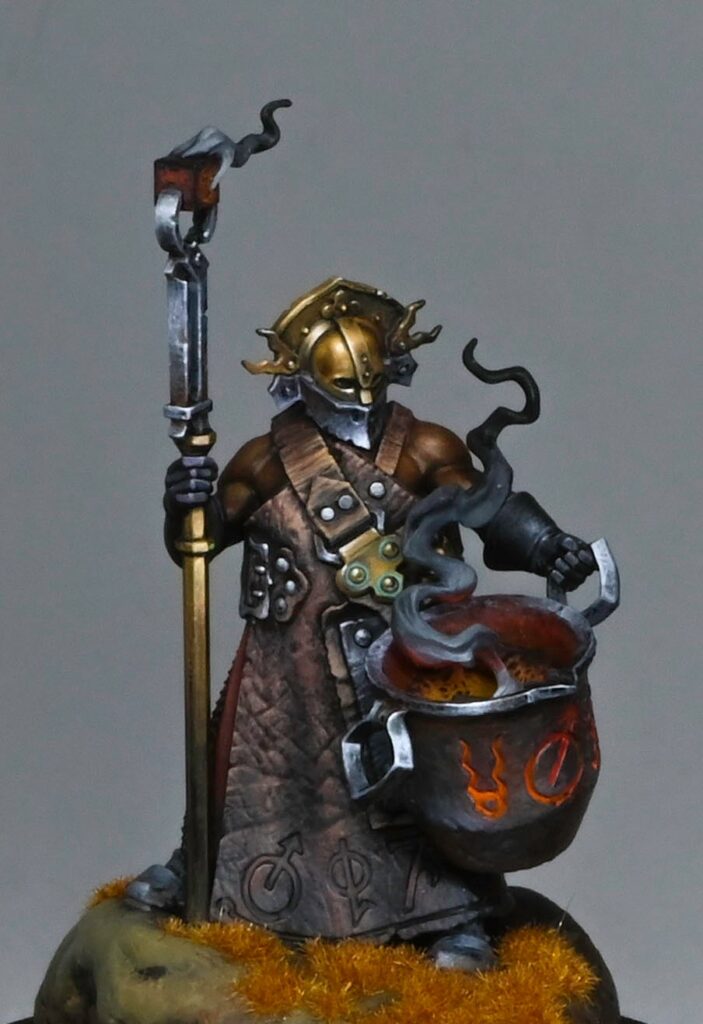
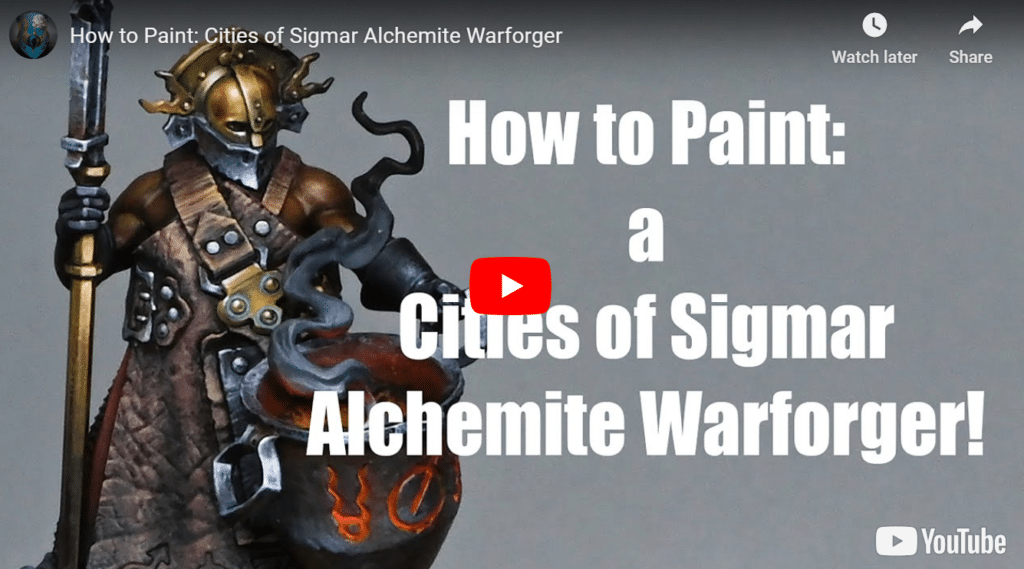
Free Video Tutorial: Alchemite Warforger (Short version)
Here is the shorter version of my Alchemite Warforger video, which is available to watch on here or Youtube for free. For more detail, check out the longer version!
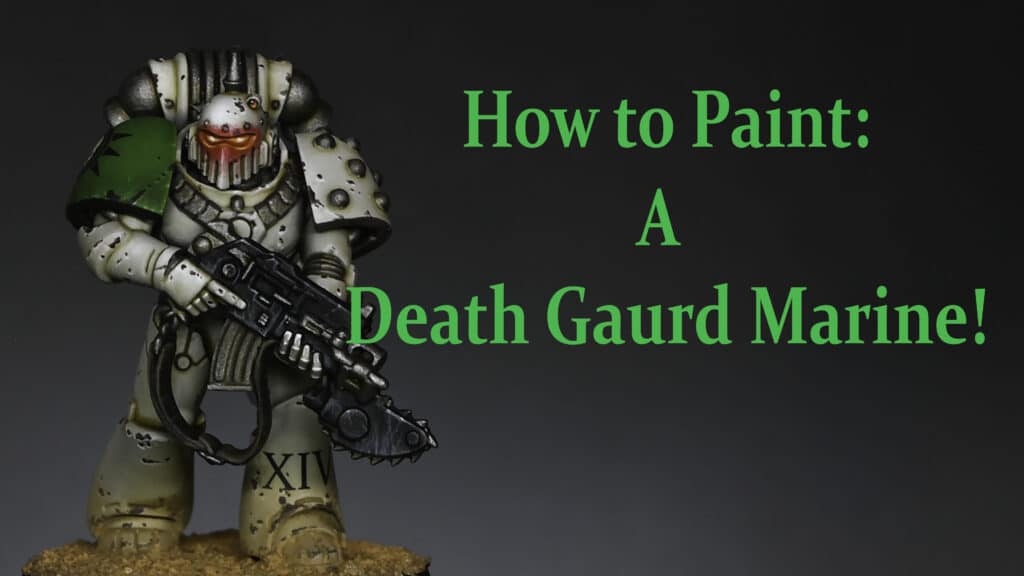
Free Video Tutorial: Death Guard for the Horus Heresy
This video shows you how to paint a Death Guard marine for the Horus Heresy. This guide incorporates a mix of airbrushing and traditional painting techniques, ideal for achieving a weathered, battle-hardened look.
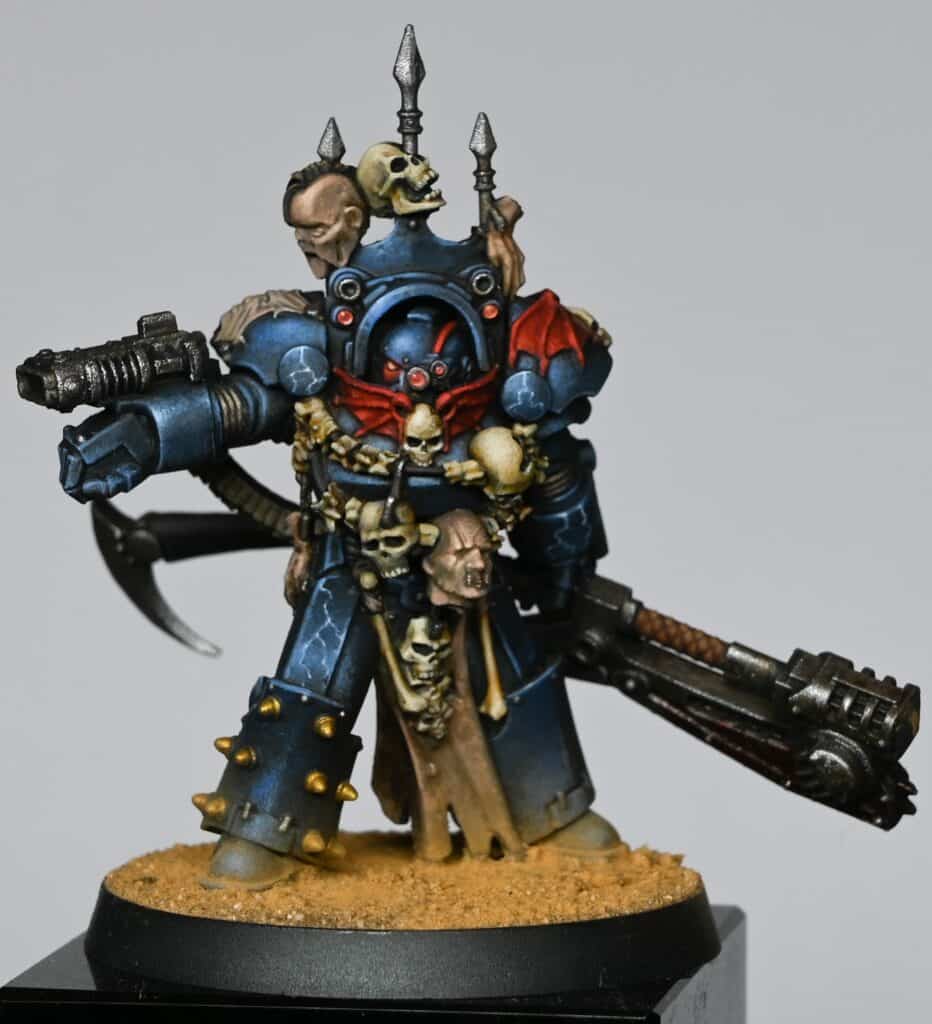
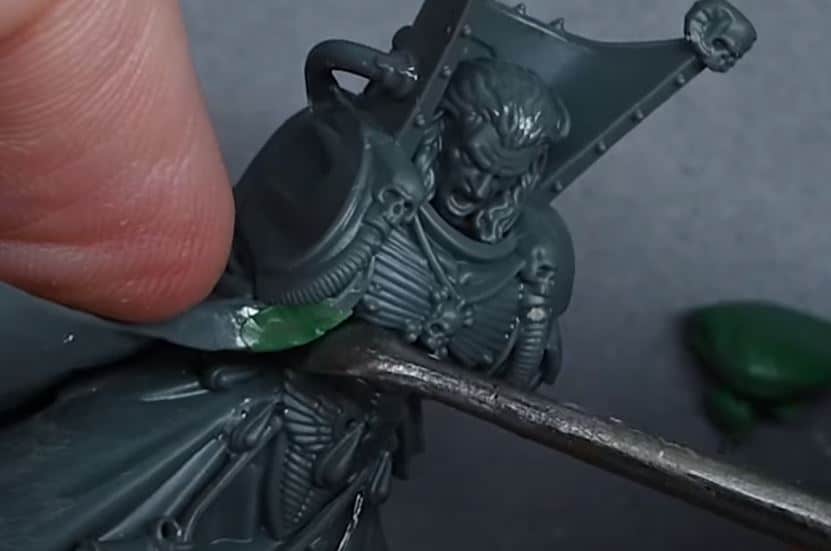
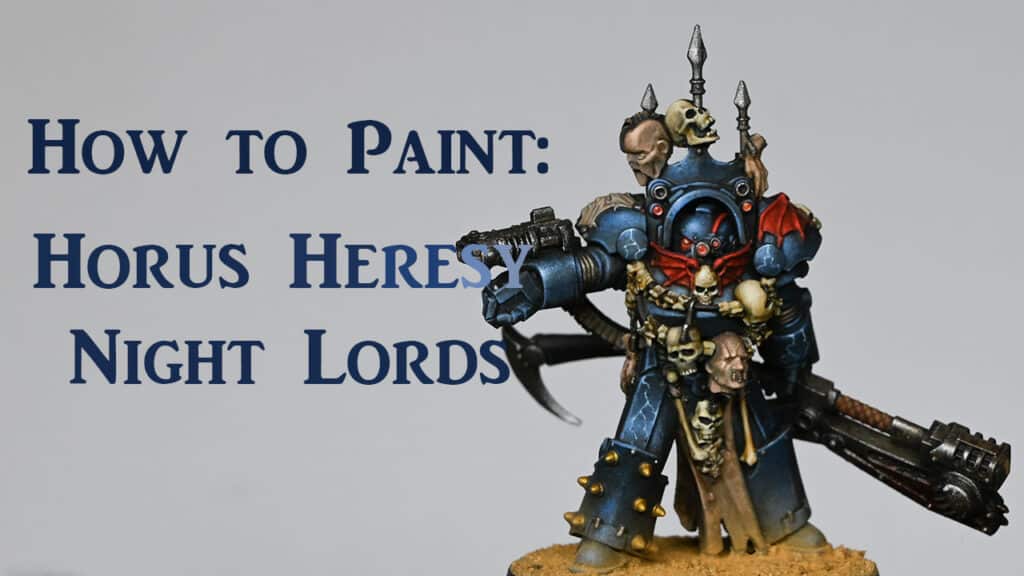
Night Lord Praetor for Horus Heresy
In this free video you will be shown how to paint a Night Lords Praetor in terminator armour, from the Horus Heresy (make sure you are logged in to view!)

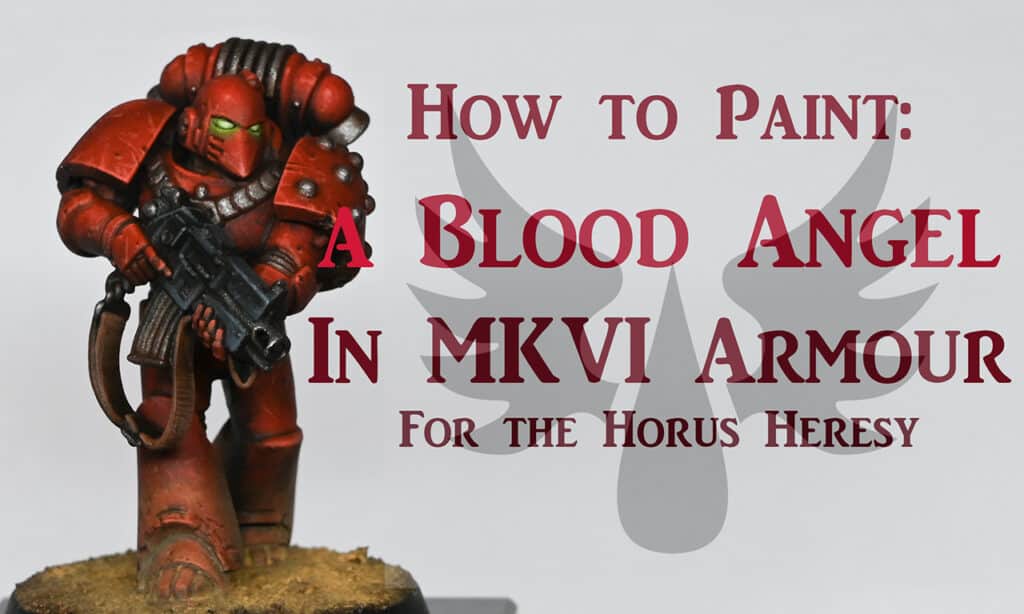
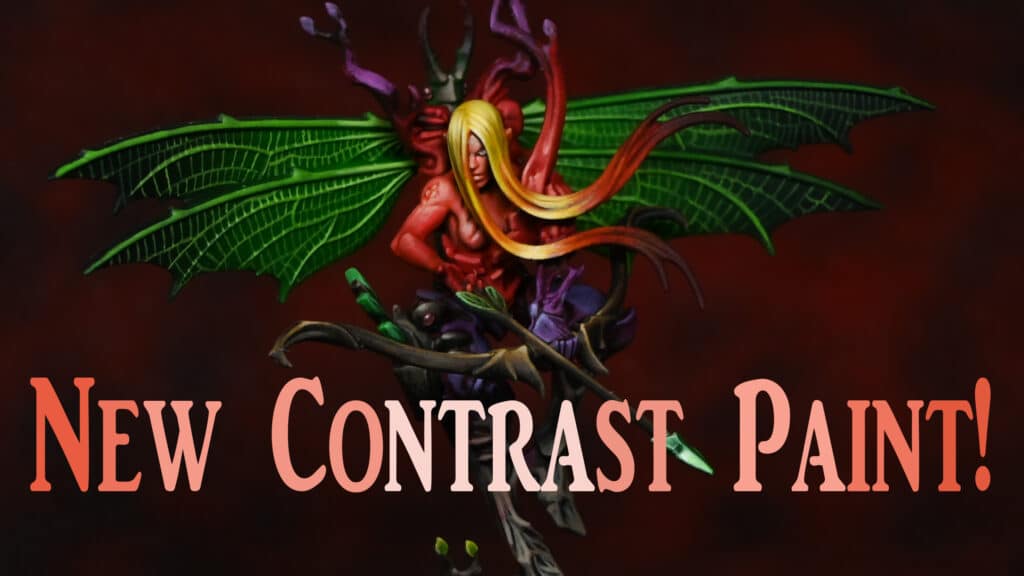
How to Paint an Iron Warrior in True Metallic Metals and Contrast Paint
I don’t usually paint true metals as I find them irritating and the metallic particles get everywhere like a glitter bomb. I get a lot of requests for how to paint them though, so…
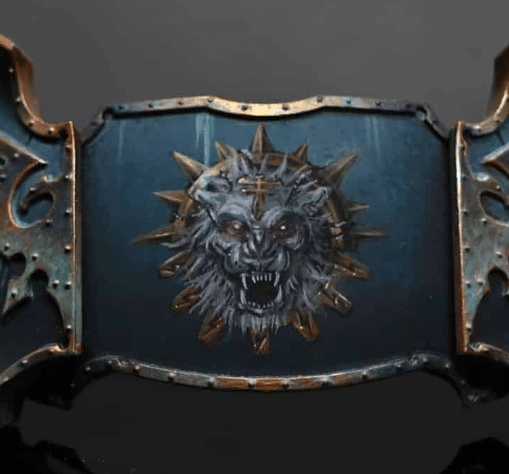
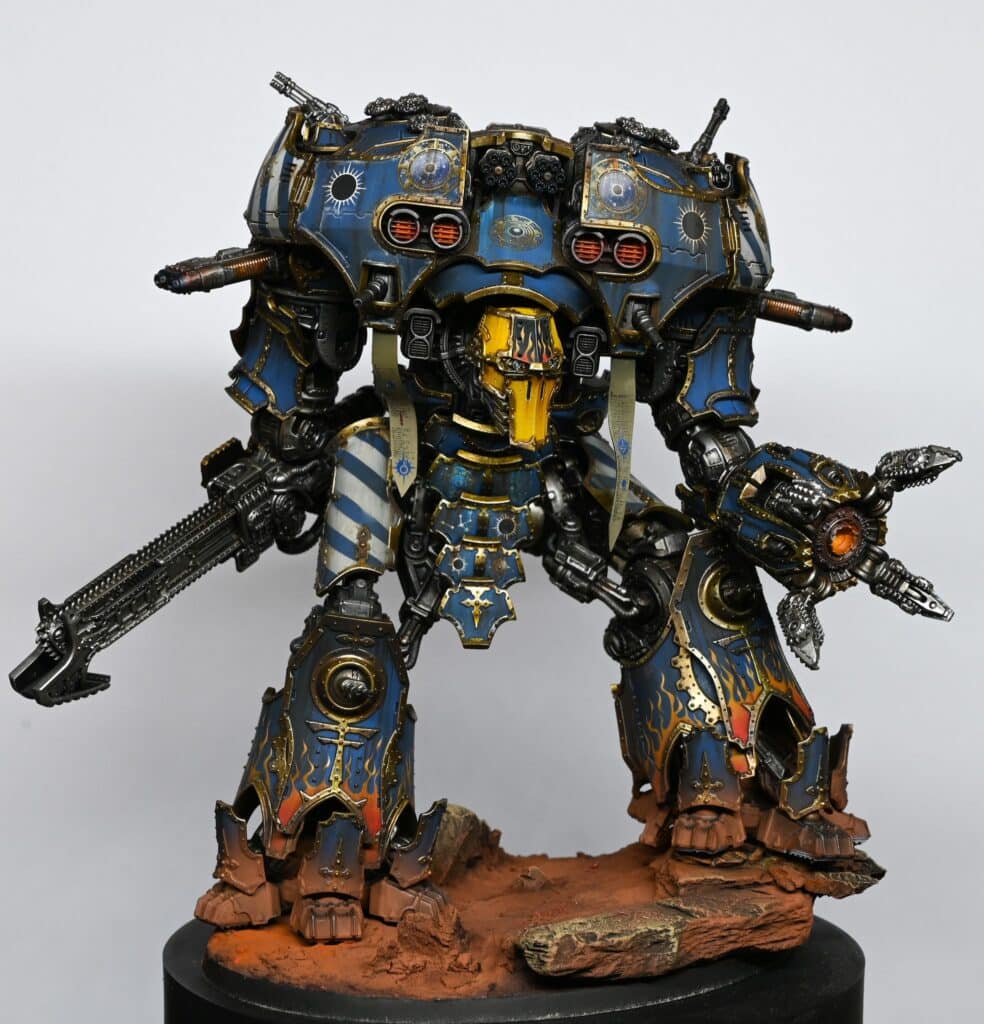
How to Paint a Legio Sinister Freehand on the Adeptus Titanicus Warlord Titan
A detailed video guide on how to paint the Legio Sinister freehand symbol for a Warlord Titan.
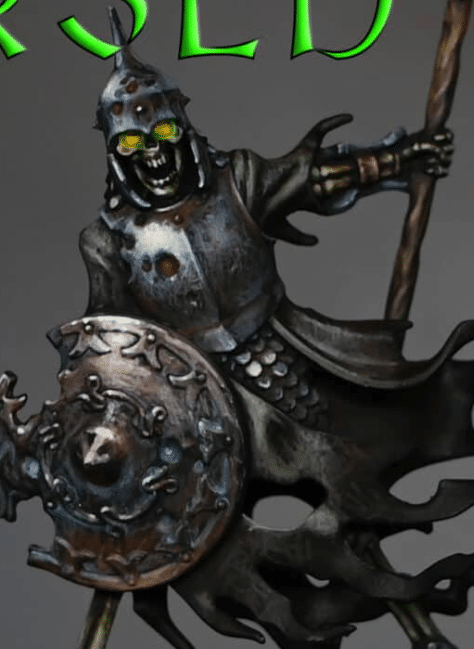
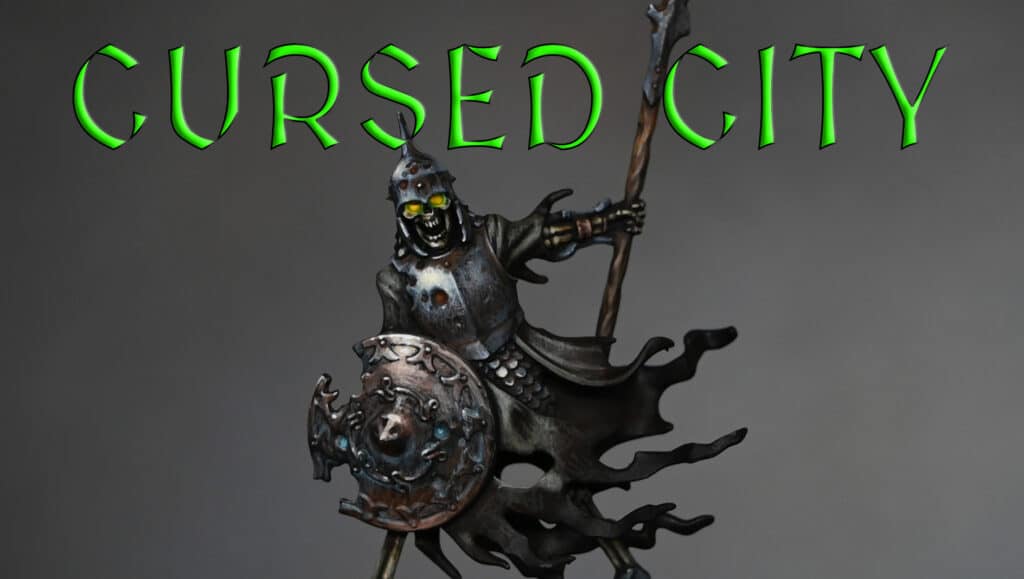
Free Video: Paint an Ulfenwatch Skeleton
The complete process of how to paint an Ulfenwatch Skeleton from the Cursed City boxed game by Games Workshop. The tutorial covers techniques for achieving a worn, non-metallic metal look and provides insights into brush handling, highlighting, and detailing.
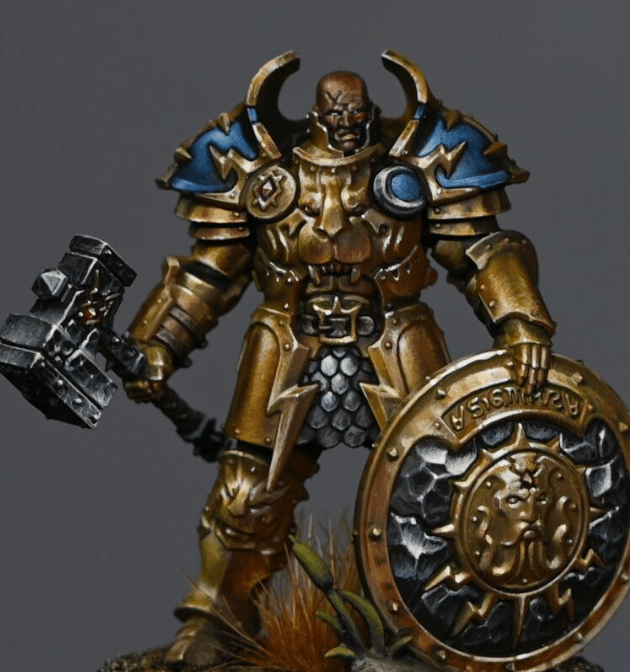
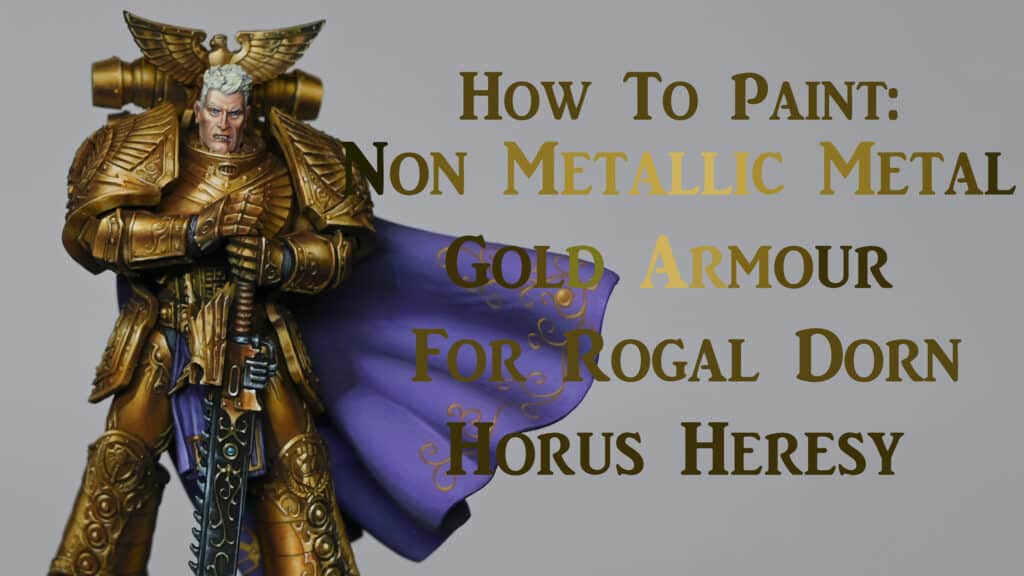
Free Video: How to Paint NMM Gold on a Stormcast Eternal Annihilator
I have to teach you how to paint NMM gold, especially after Games Workshop kindly sent me a review copy of the Age of Sigmar Dominion box, which is full of these golden boys! The first model I decided to paint was this chonky Annihilator!
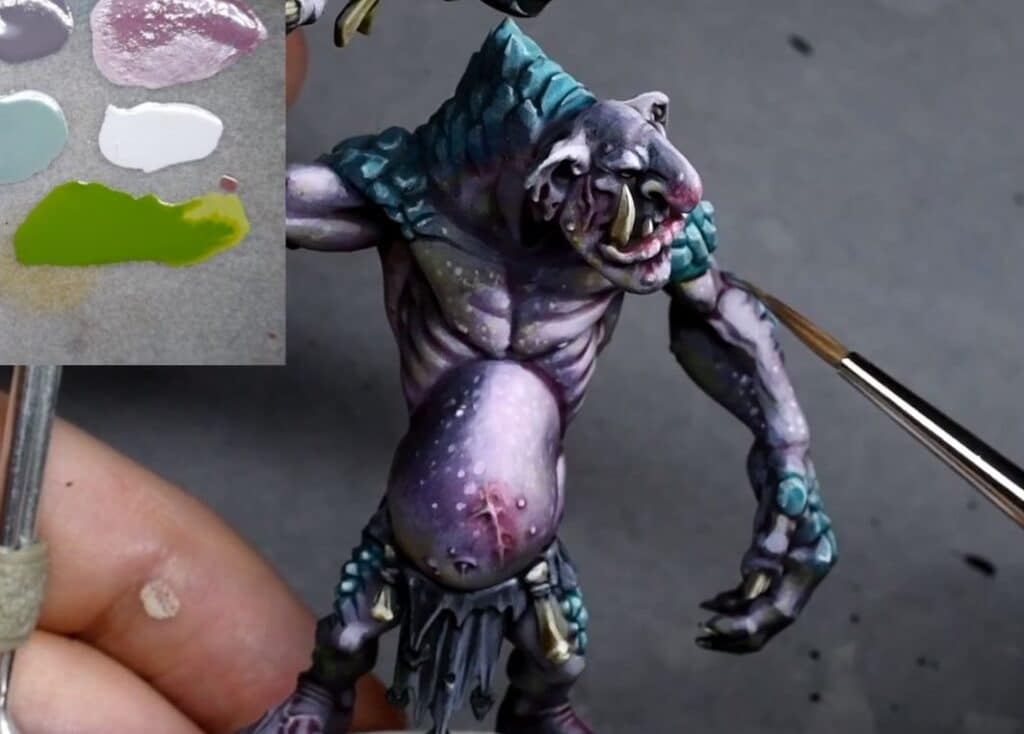
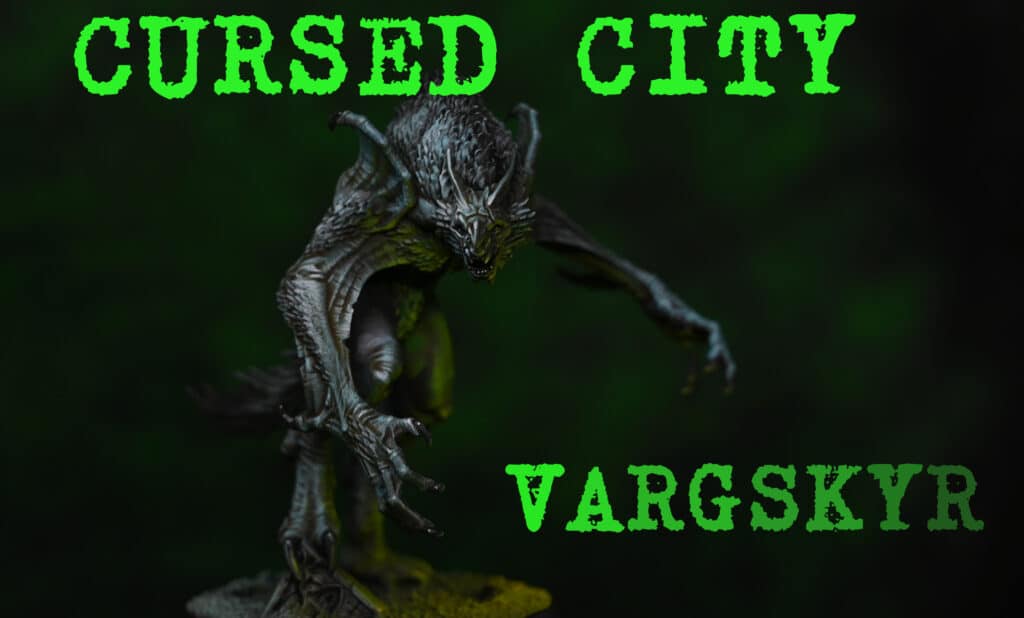
Free Video Tutorial: How to paint OSL on the Vargskyr from Cursed City
This free video shows how to paint OSL on the Vargskyr from the Cursed City boxed game by Games Workshop with some easy to follow tips.
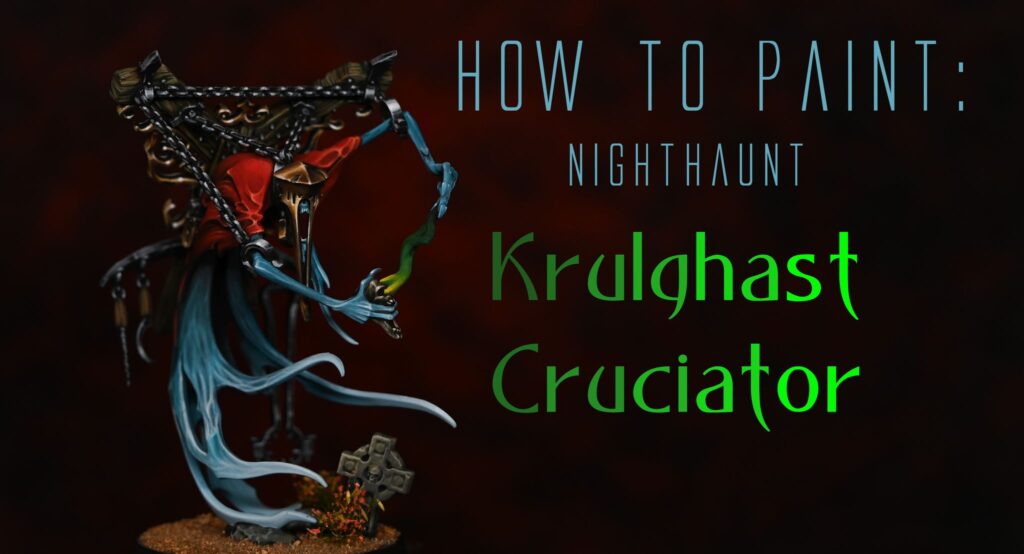
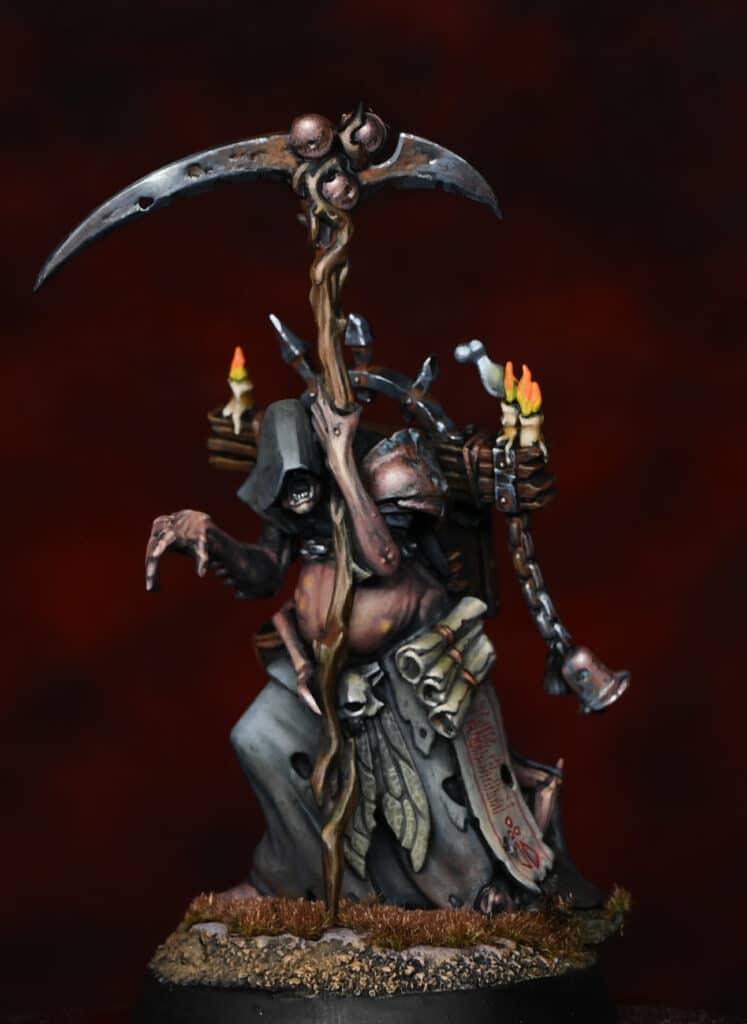
Free Video Tutorial: How to Paint a Nighthaunt Krulghast Cruciator
This video shows the complete process for How to Paint a Nighthaunt Krulghast Cruciator from Games Workshop including a step by step text guide and full list of colours needed.

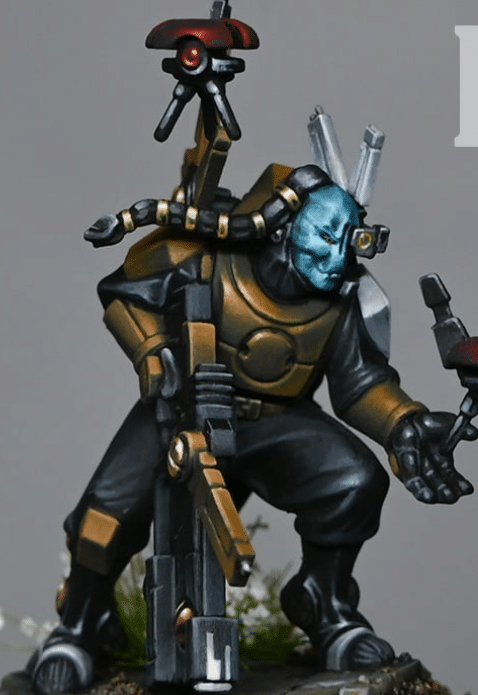
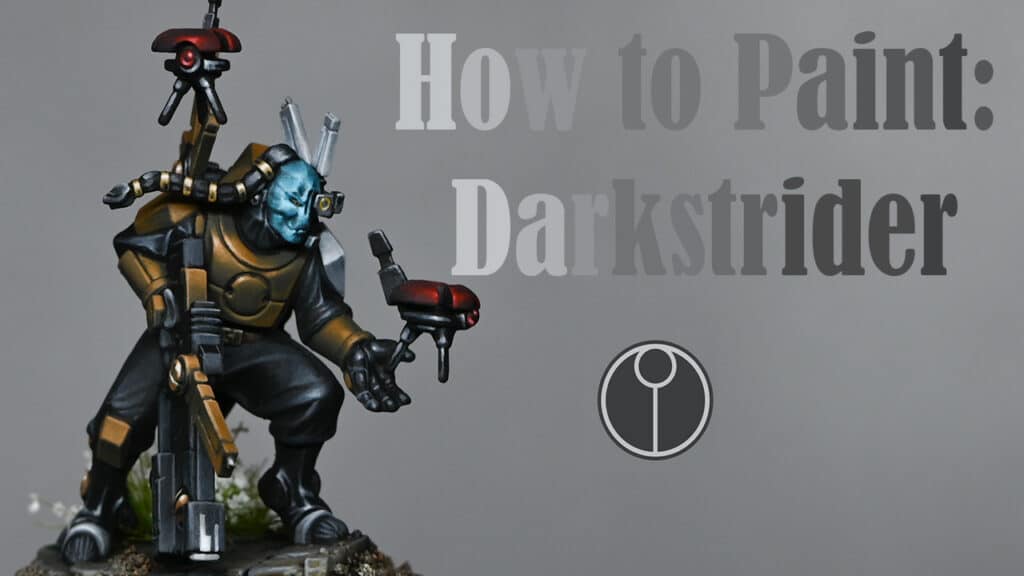
Free Video Tutorial: How to Paint Darkstrider (Tau) for Warhammer 40K
We’re aiming for a stealthy and moody look, differing from the standard bright and clear artwork in this tutorial.
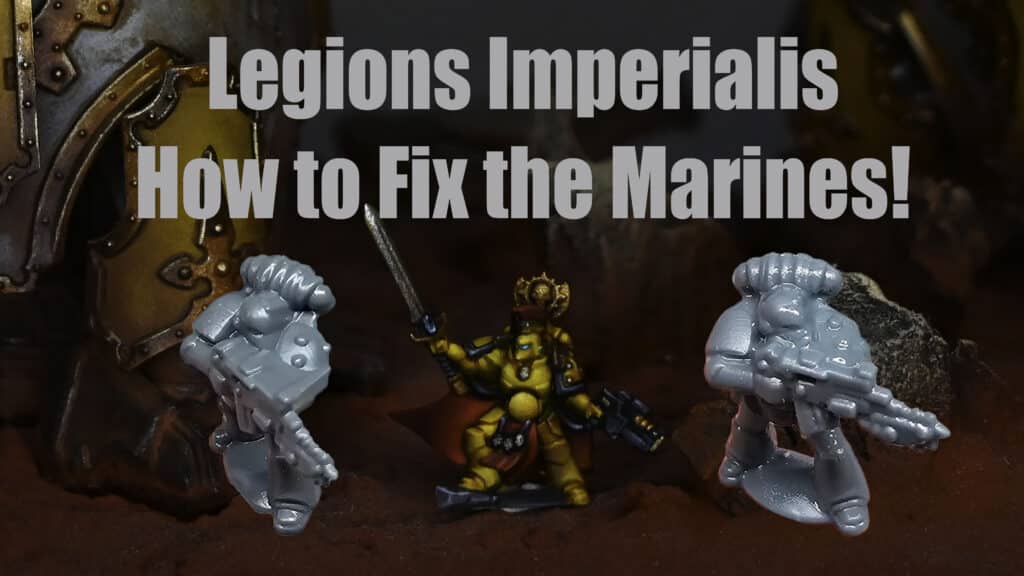
Video Tutorial: How to Fix the Legions Imperialis Marines
This video takes a look at the distortion on the marines and tries to fix the issue. Legions Imperialis was sent to me by Games Workshop as an early review copy.
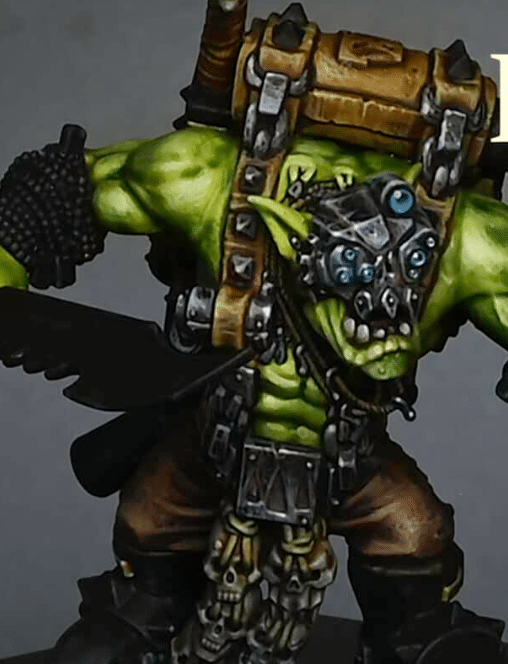
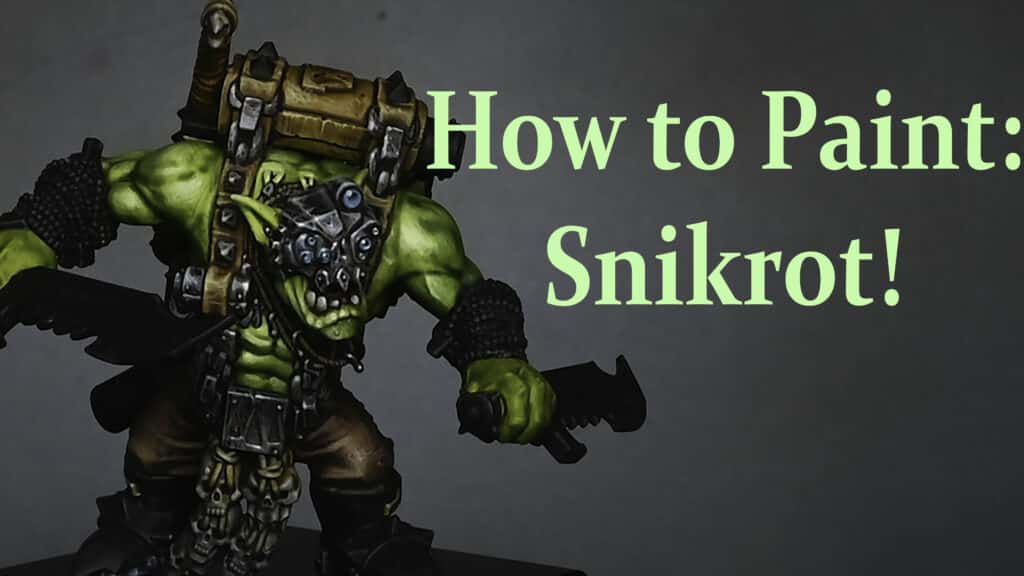
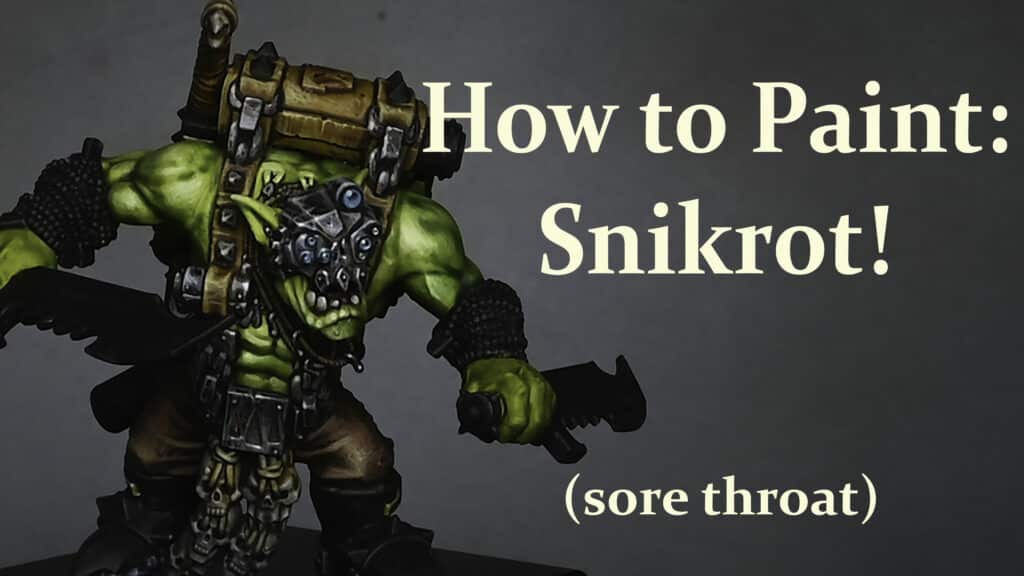
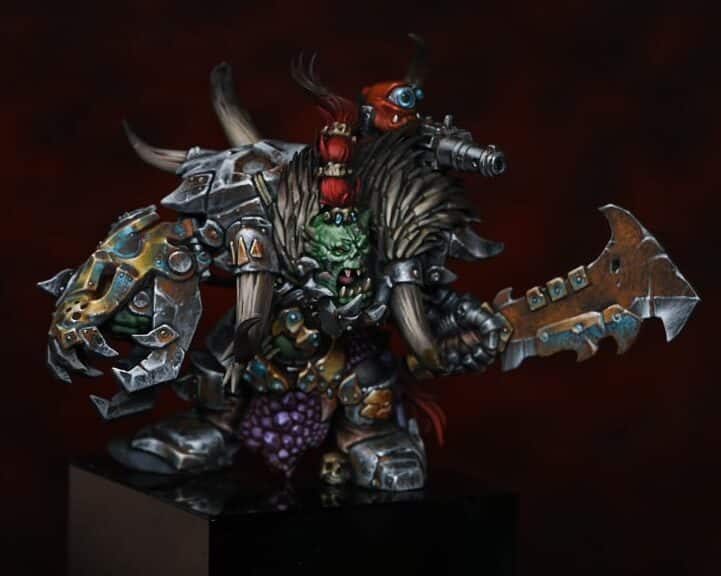
Free Video Tutorial: How to Paint Snikrot the Ork!
This video looks at how to paint the Ork special character, Snikrot, which Games Workshop sent to me as an early review copy. For the April Fools version voiced by Rebecca, click here.
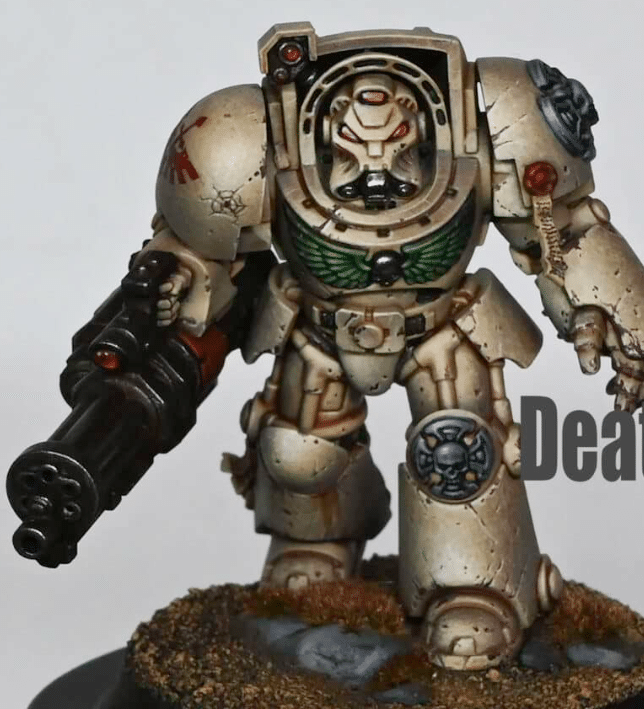
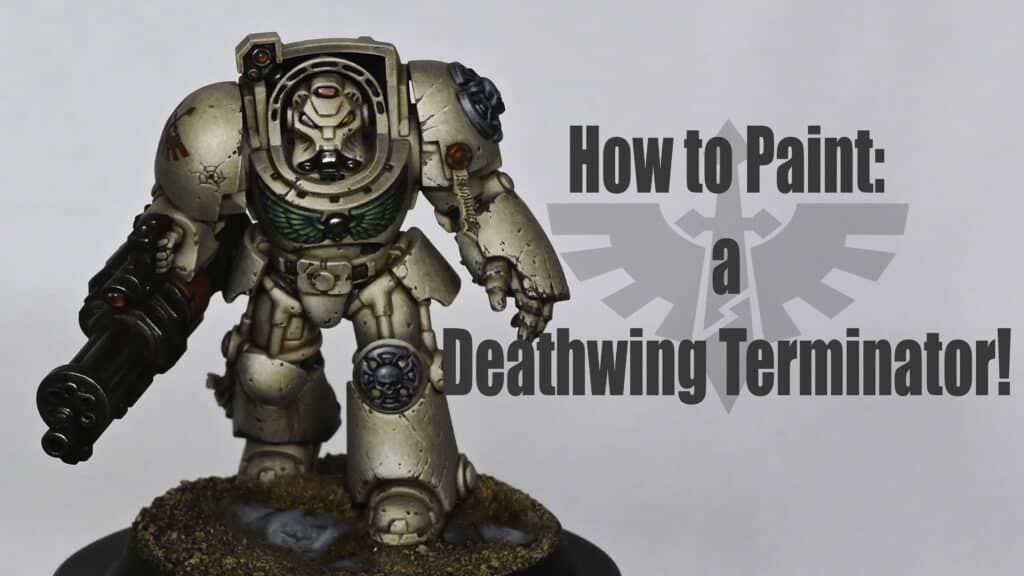
How to Paint a Deathwing Terminator from the New Leviathan Box!
This video looks at how to paint a Deathwing Terminator from the new Leviathan boxed set.
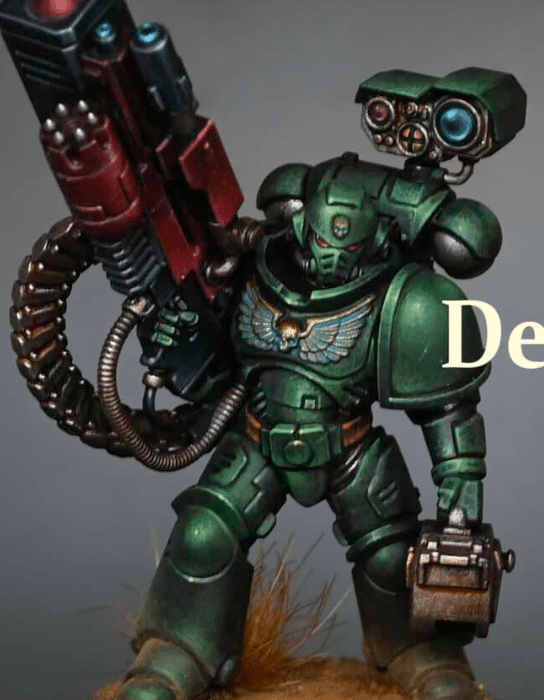
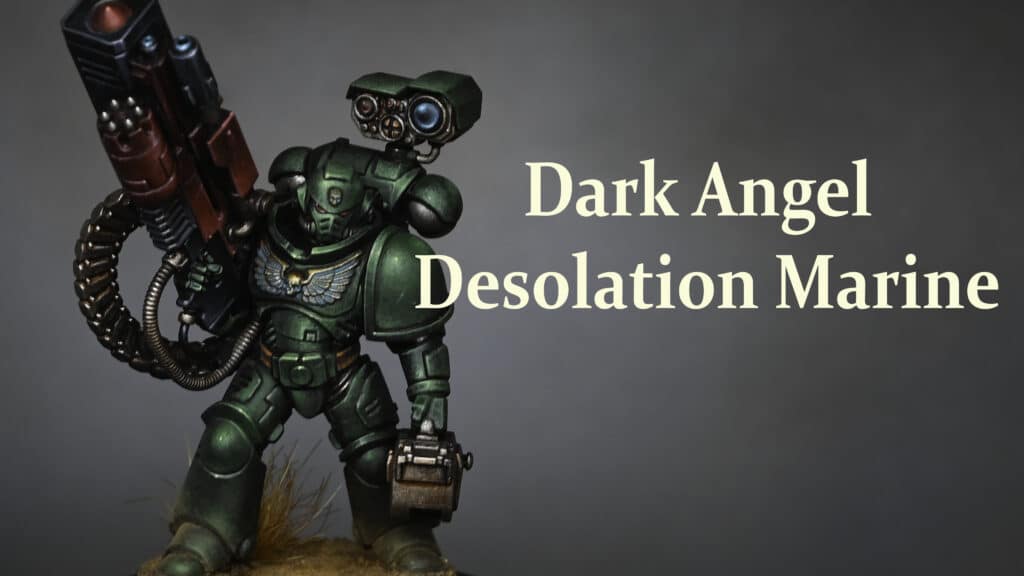
How to Paint a Desolation Dark Angel
This video tutorial and step-by-step guide shows how to paint a Desolation Dark Angel, one of the new Desolation Marines from the Strike Force Agastus.
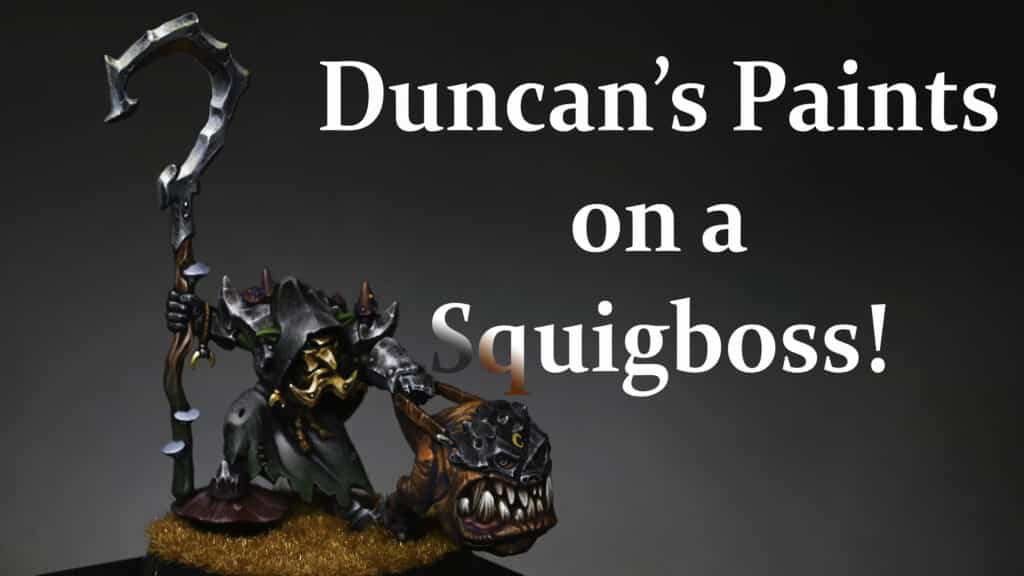
How to Paint a Squigboss from the Gloomspite Gitz with Two Thin Coats (Duncan Rhodes) Paints
This video shows you how to paint a Squigboss from the Gloomspite Gitz army for Age of Sigmar. The model was painted exclusively using Two Thin Coats paints.
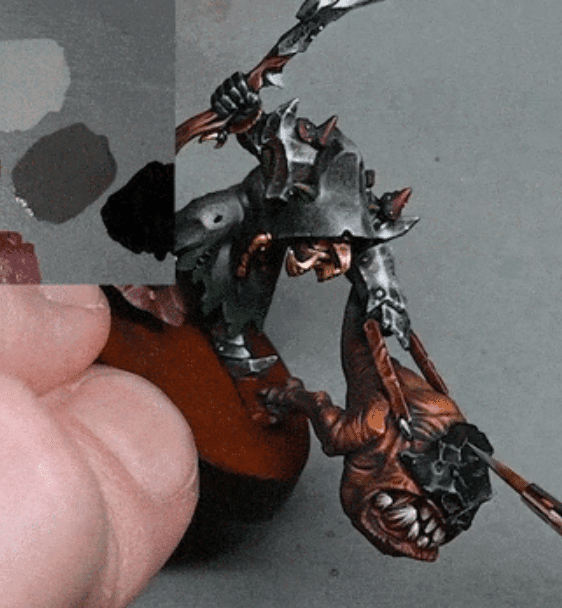

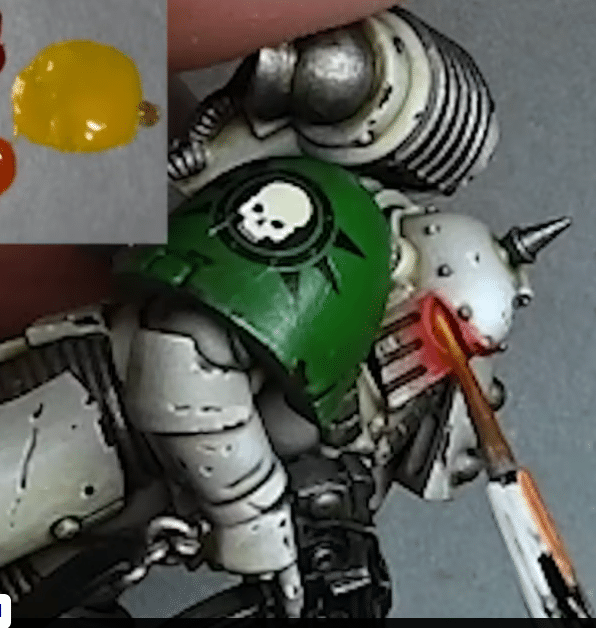
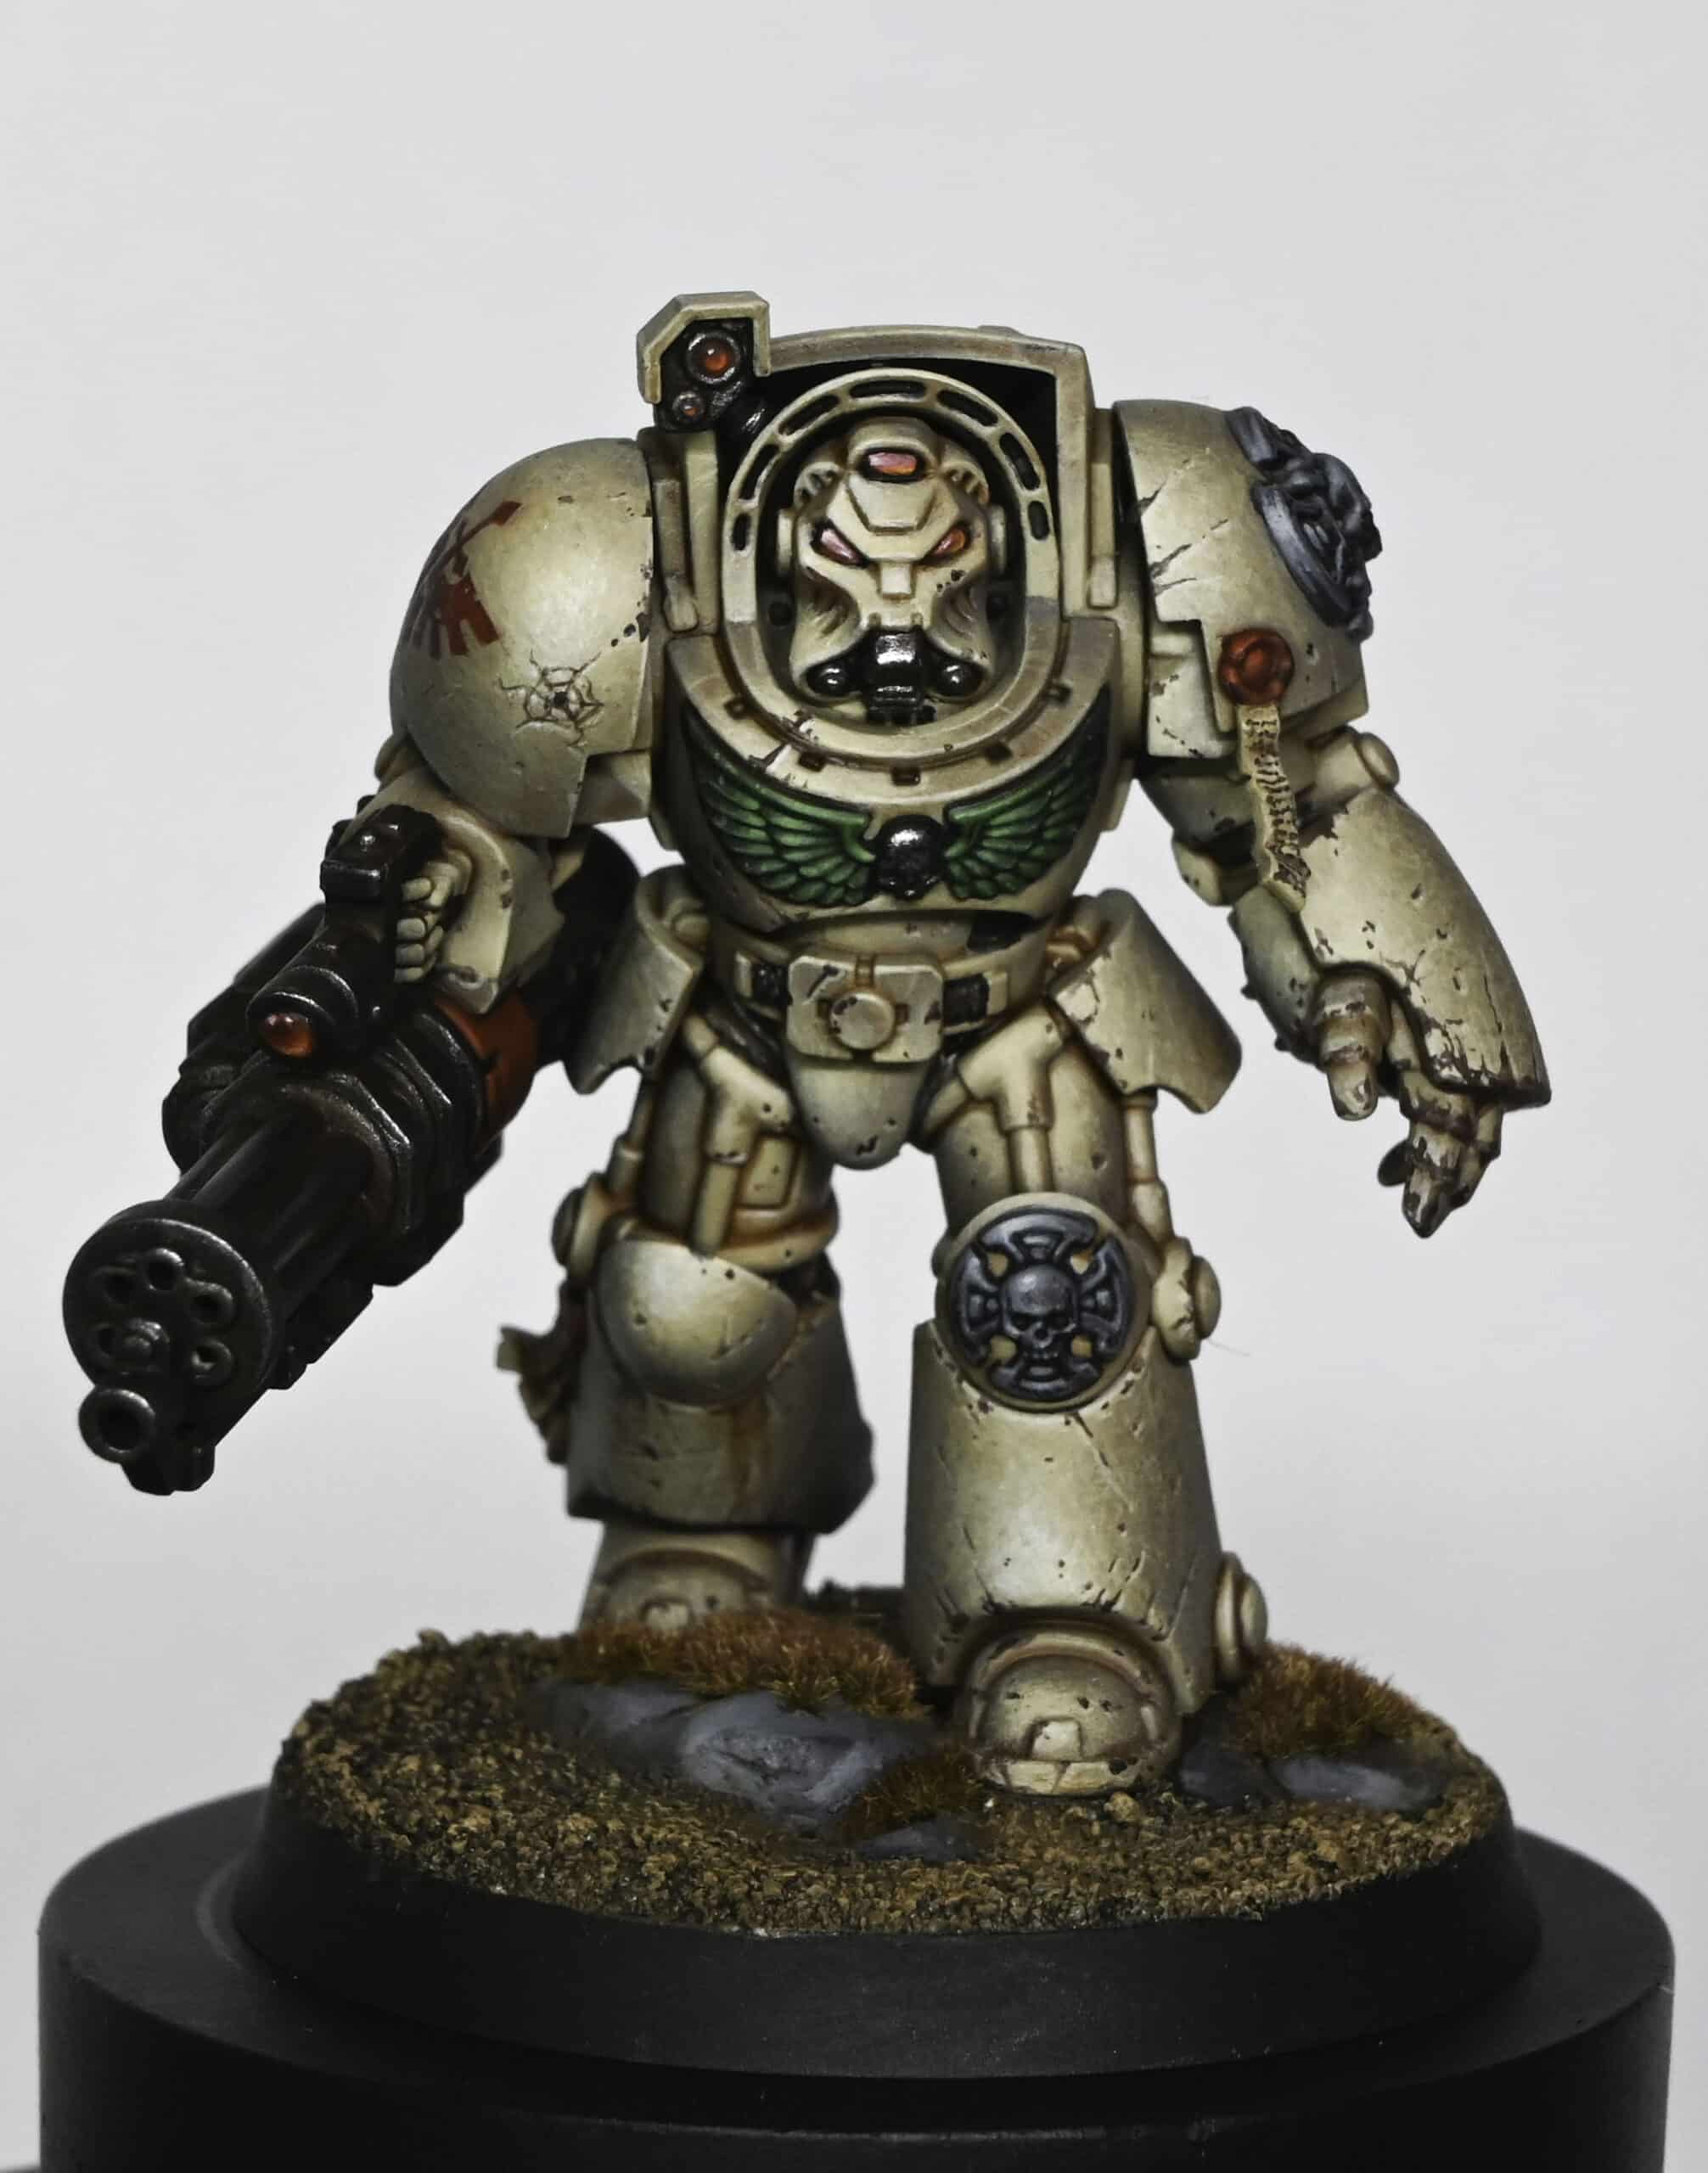
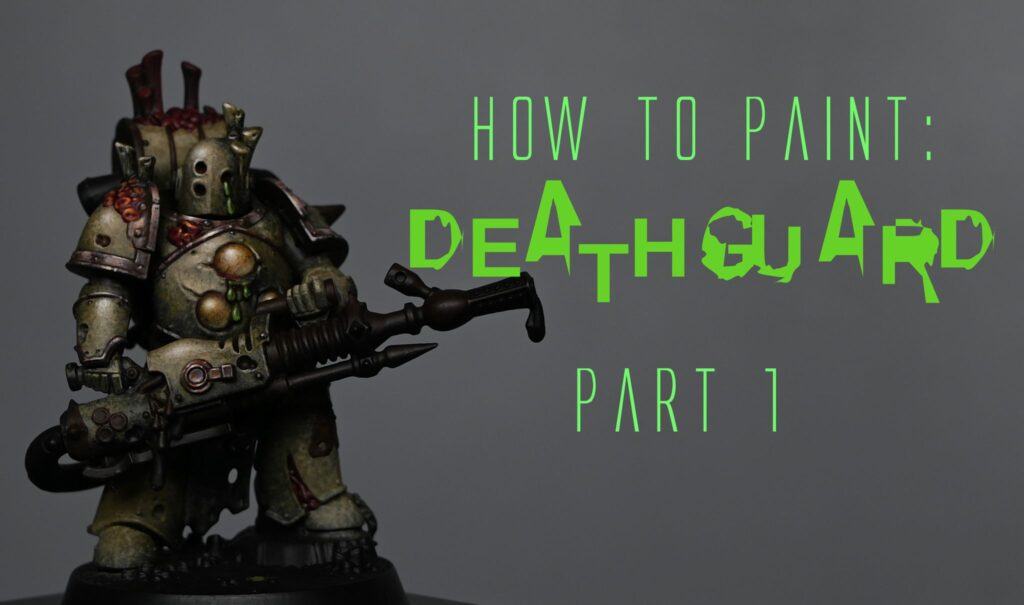
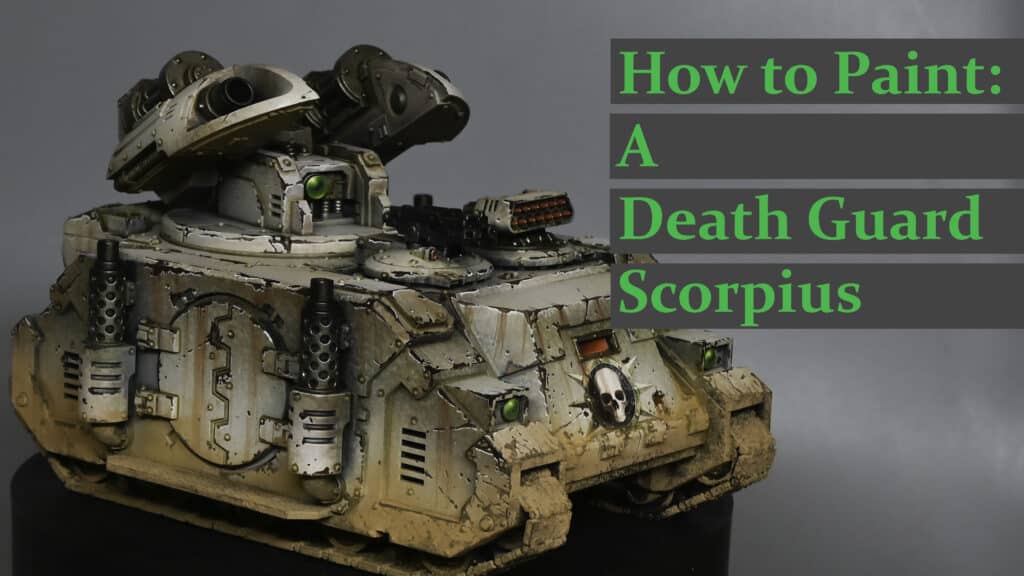
How to Paint a Grimdark Grimy Death Guard for the Horus Heresy
This video shows how to paint a Grimdark Grimy Death Guard for the Horus Heresy. The model is a new MKIII plastic marine and is painted in the Grimdark style to try and capture the weight and brutal nature of the armour.
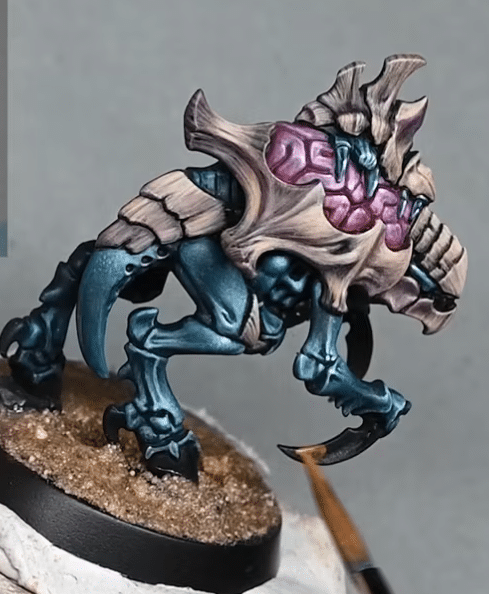
How to Paint a Tyranid Neurogaunt Nodebeast
This video shows how to paint a Tyranid Neurogaunt Nodebeast.
Most Popular Free Video Tutorials


If you don’t have an account, please sign up here! The website currently has over 350 video tutorials, plus step by step guides and PDFs. You can explore more free videos with a free “freebies” membership, or take the plunge and become a full subscriber for full access.


If you’d prefer to support me on Patreon, please visit: https://www.patreon.com/RichardGray