


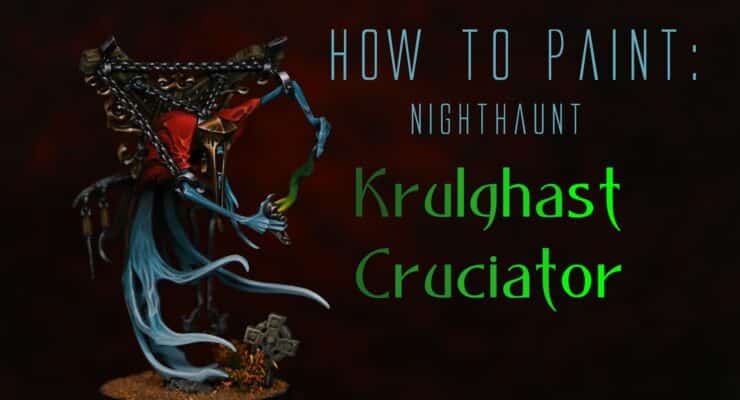
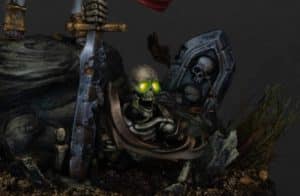
This video shows the complete process for How to Paint a Nighthaunt Krulghast Cruciator from Games Workshop including a step by step text guide and full list of colours needed.
Paints and Tools
The following paints were used:
Games Workshop: Warpstone Glow, Yriel Yellow, Sotek Green, Lothern Blue, Blue Horror, XV-88, Balor Brown, Rhinox Hide, Abaddon Black, Mournfang Brown, Mephiston Red, Evil Sunz Scarlet, Wild Rider Red, Fire Dragon Bright, Ushabti Bone
Vallejo: Neutral Grey, Black, Pale Grey Blue, White Grey, Ice Yellow
How to Paint a Nighthaunt Krulghast Cruciator
Step 1: Base Coating with Airbrush
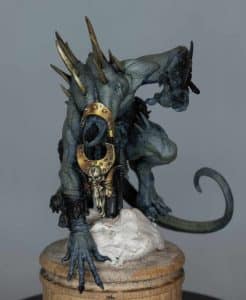
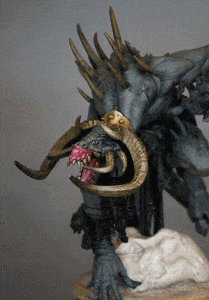
- Ensure the model is completely built and primed.
- Separate the model into two sections for easier painting.
- Use an airbrush with a 0.4 sized nozzle to apply a base coat of red at the top and blue at the bottom.
- Mask off areas to avoid overspray and focus on highlighting towards the head and shoulders.
Step 2: Adding Highlights with Airbrush
- Use Mephiston Red for the red sections and Fire Dragon Bright for the blue sections.
- Be cautious with lighter colours as they can be challenging to airbrush without speckles.
- Pay attention to angles to avoid overspraying onto other parts of the model.
- Gradually build up the highlights, especially on the tips of the tendrils.
Step 3: Transitioning Colours
- Use White or Fire Dragon Bright for highlights, but be mindful not to turn the red into pink.
- Consider the translucency of the paint and how it interacts with layers.
- Be strategic in highlighting to maintain the desired colour intensity.
Step 4: Detailing with Brushes
- Switch to a smaller brush for fine details and lines.
- Use Vallejo’s White Gray or a similar colour for opaque and solid highlights.
- Follow the sculpted details and angles on the model for a stylised effect.
Step 5: Creating Contrast and Highlights on the Helmet
- Apply XV88 and Balor Brown to create contrast and define shapes.
- Add edge highlights to enhance details and create shine spots.
- Use Vallejo’s White Gray for additional highlights.
Step 6: Adding Filigree Details
- Add filigree details to areas like the cross for a shiny effect
- Reinforce the glare by going over edges with a blob of paint.
- Ensure consistency and follow the sculpting direction for a polished look.
Step 7: Refining Highlights and Shadows
- Glaze over the model to blend highlights and shadows.
- Tidy up and pick out additional details using Blue Horror.
- Use Wild Rider Red for final touches on certain areas.
Step 8: Painting Wood Effect
- Cover everything with Rhinox Hide for the wood effect.
- Be rough and don’t worry about spikes; paint over them and pick them out in black later.
- Focus on pushing lightness towards the edges of each wood plank.
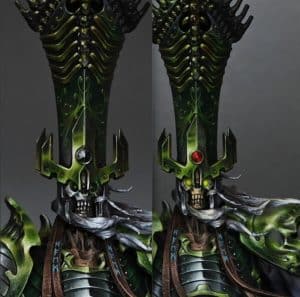
Step 9: Adding Green Flame
- Use Warpstone Glow for the green flame.
- Be aware of the paint’s bad coverage and apply multiple coats for saturation.
- Add a small bright yellow dot for high contrast.
Step 10: Applying Matte Varnish
Finish by applying a coat of ultra-matte varnish to even out the surface and remove shine.
Explore more tutorials
Liked this video? Check out all my latest subscriber videos by clicking the thumbnails below, or explore more freebies by clicking here
What size nozzle did you use for the airbrush?
Hi there – it was 0.4!