


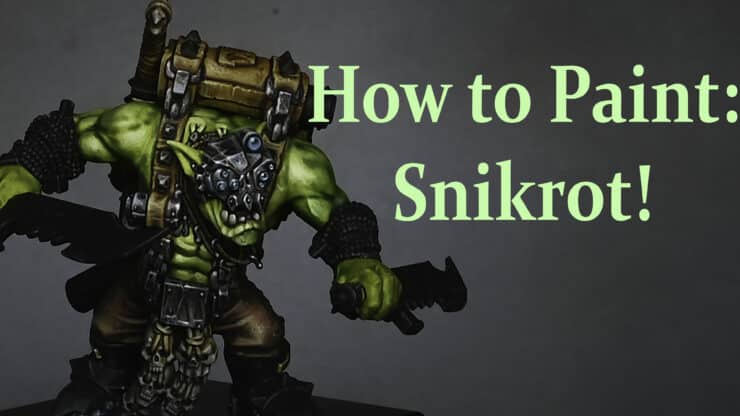
This video looks at How to Paint Snikrot the Ork! The model is painted to a high tabletop standard and Contrast paints are used heavily.
Tools and Paints:
Games Workshop Contrast: Black Legion, Mantis Warriors Green, Aggaros Dunes, Skeleton Horde, Garaghak’s Sewer
Vallejo Game Colour (New): White Ink, Mecha Matt Varnish, Neutral Grey, Black, Desert Yellow, Bile Green, Grunge Brown, Dead Flesh, Turquoise, Aquamarine, Dead White, Airbrush Thinner
Step By Step: How to Paint Snikrot the Ork
Priming and Highlighting
- Begin with a primed model and apply a highlight using an airbrush and white ink from Vallejo. Thin the white ink with airbrush thinner for a smooth finish.
- Ensure the focal points, such as the face and chest, receive extra brightness during airbrushing. The contrast paint naturally enhances shadows and highlights.
Applying Contrast Paints
- Use contrast paints for a high tabletop standard. Apply contrast paint to the model, focusing on loading up the brush with a generous amount to let it run into crevices and create shadow effects.
- Choose contrast colours based on personal preference, as they all work similarly. I’ve used contrast black (Templar Black) for metal areas.
Leather and Metal Details
- Paint leather areas with desert yellow, avoiding excessive thinning as it complements the contrast paints.
- For metal areas, use contrast black or any black color of choice. Leave teeth and tongue unpainted, applying a coat of skeleton horde or a chosen pink colour for the tongue.
Matte Varnish
- Apply matte varnish to reduce the shiny finish of contrast paints. Vallejo’s matte varnish is recommended for its balanced matte effect.
Use a Wet Palette to Organise Your Paints
- Arrange neutral gray, neutral gray mixed with white, black, and dead white for easy access during painting.
Detailing and Highlights
- Use grunge brown for detailing and add highlights with desert yellow. Experiment with different water-to-paint ratios for varied effects.
Metallic Effects
- Achieve a metallic effect by using opaque white sparingly. Focus on creating highlights on edges and surfaces, making the metal look scratched and darkened.
Creating Texture
- Experiment with brushes to create texture on the model. Stipple with an older, worn brush for a more textured effect on specific areas.
Lenses and Final Touches
- Paint lenses using turquoise as the base colour and add highlights with Aquamarine or a mix of turquoise and white. Follow a common technique for gem-like effects.
Looking for the Rebecca version?
My wife did an April Fools version of this video, with her voice-over. It can be found below!:
Explore more tutorials
Liked this video? Check out all my latest subscriber videos by clicking the thumbnails below, or explore more freebies by clicking here