


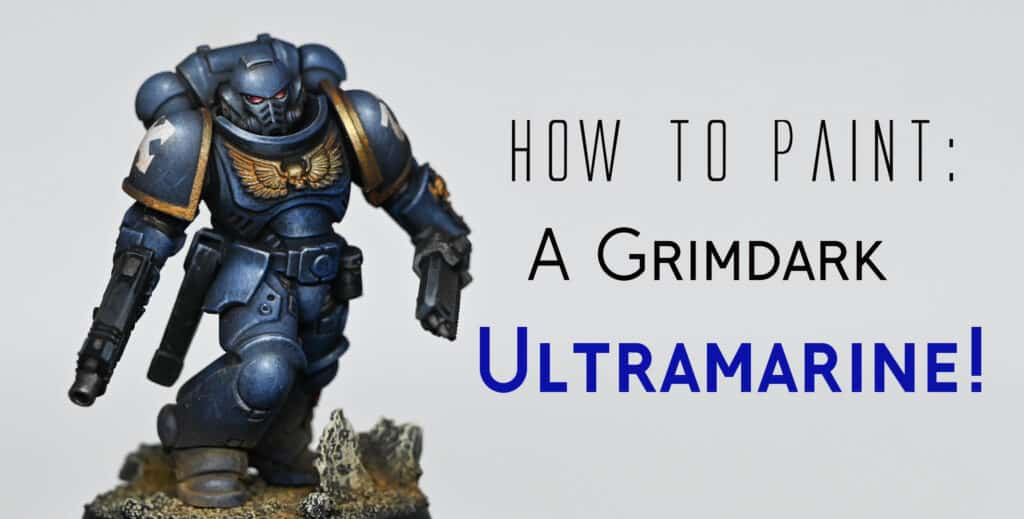
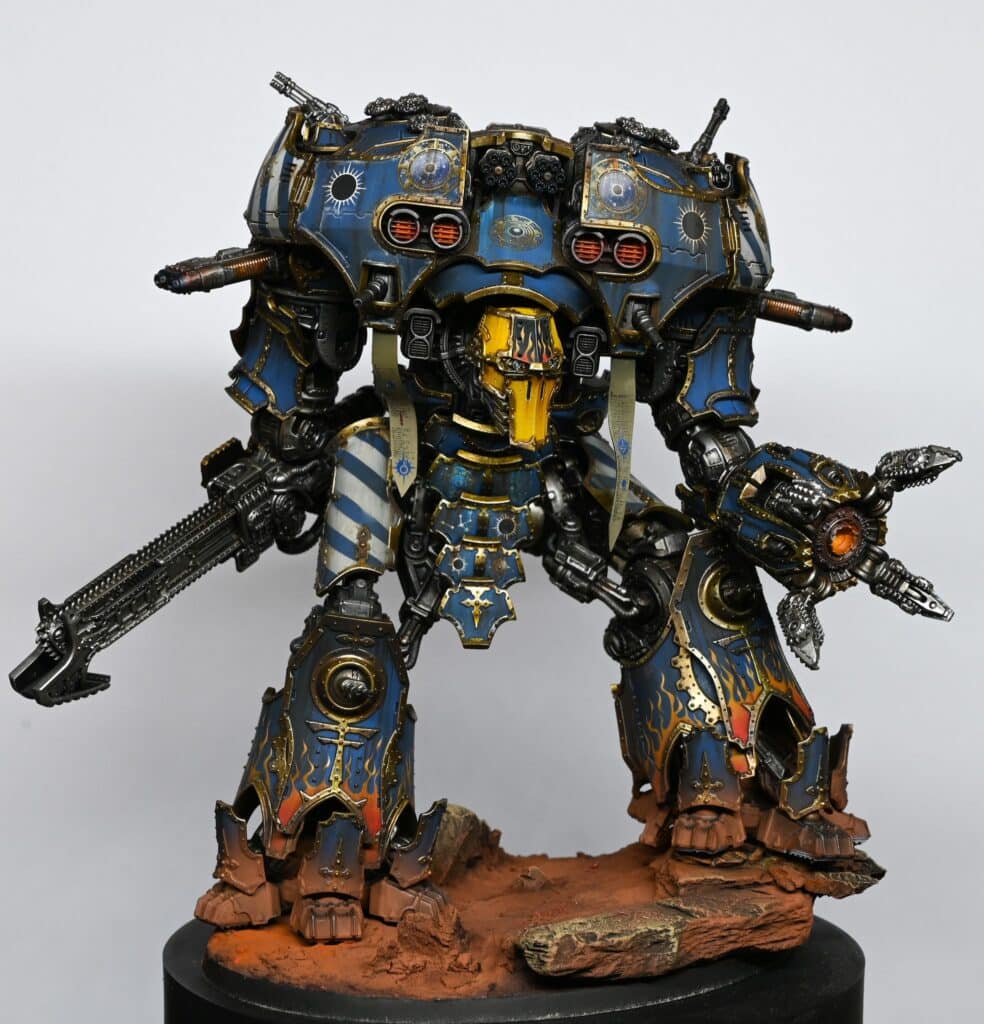
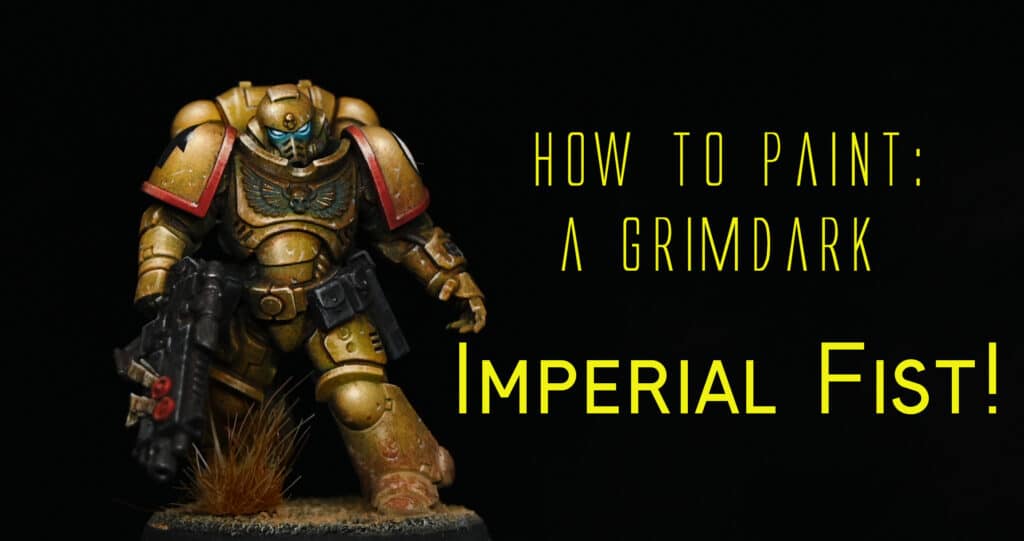
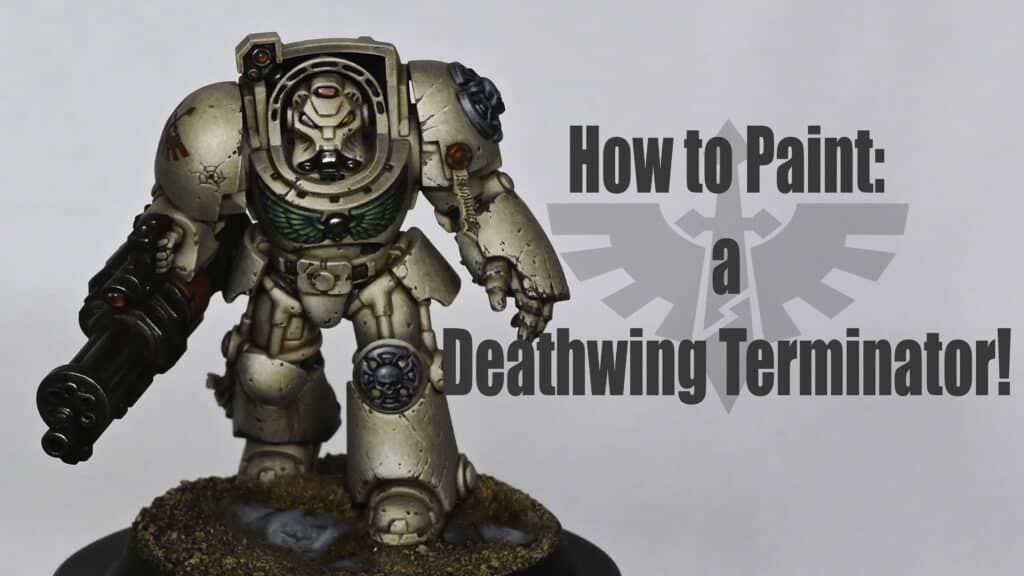
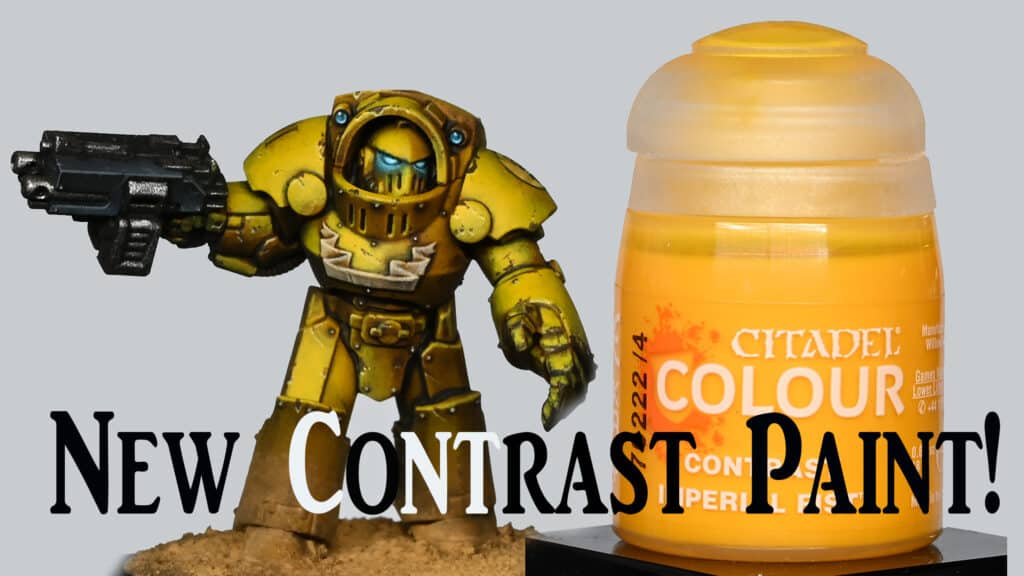
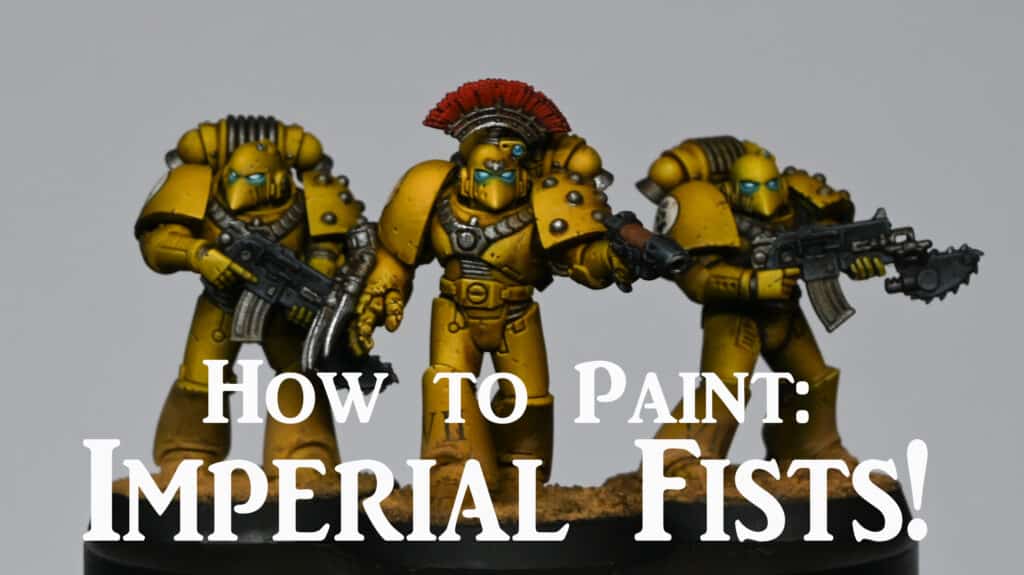
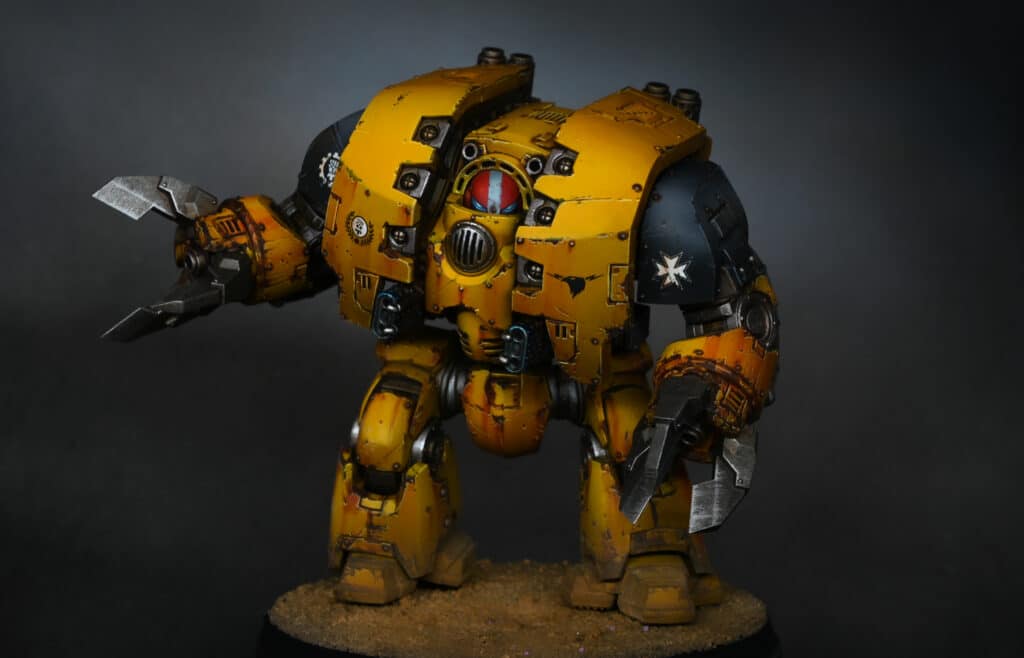
This video shows the whole process of how to paint a Grimdark Imperial Fist for Warhammer 40,000, plus a step by step text guide.
Tool and Paints
The following paints were used:
Games Workshop: Mephiston Red, Wild Rider Red, Cadian Fleshtone, Ushabti Bone, Yriel Yellow, Sotek Green, Balor Brown, XV-88
Vallejo: Neutral Grey, Ice Yellow, Black, (Metal Colour Magnesium)
P3: Morrow White (Any brand of white is fine)
Scale 75: Dwarven Gold, Neco Gold
Winsor & Newton: Oil Colour: Burnt Sienna, Black, Sansodoor solvent
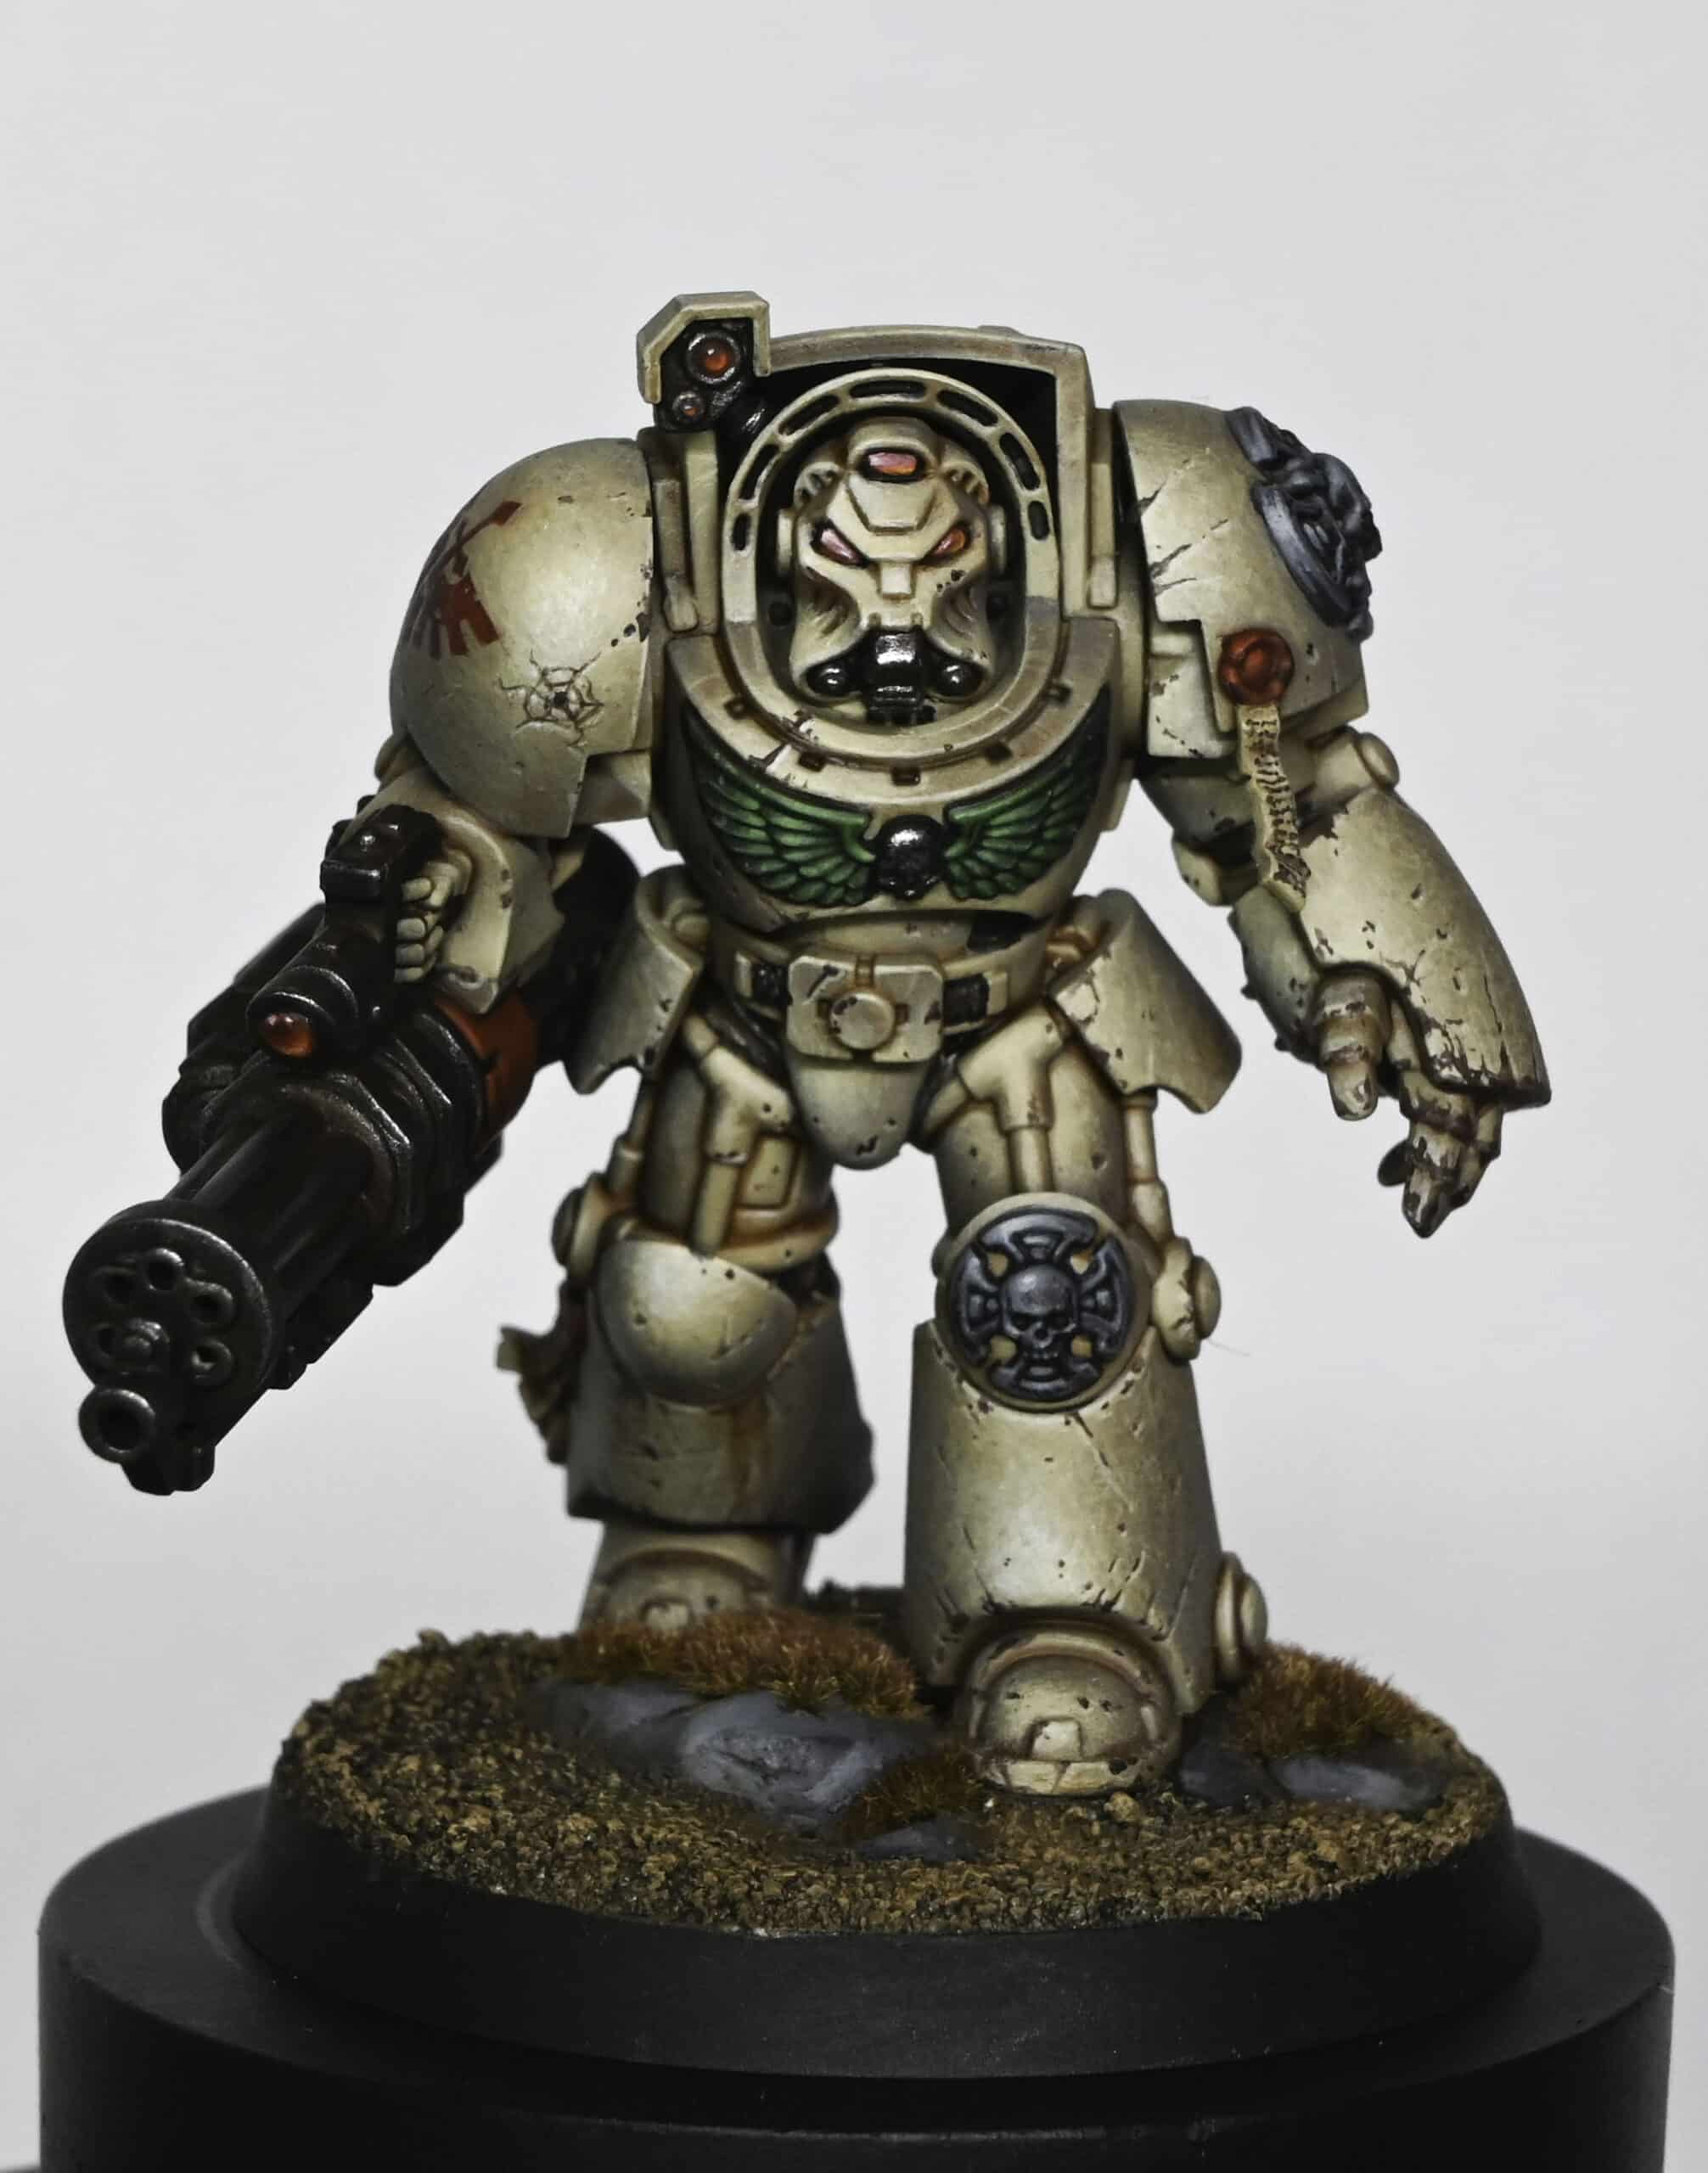
Step by Step Guide : How to Paint a Grimdark Imperial Fist
Step 1: Base Coating with XV-88
- Start with a model primed in black and assembled (except for head and backpack).
- Use XV88 paint directly from the pot and scrunch it onto a piece of paper towel.
- Stipple the paint onto the model with a large brush to cover all armour panels.
- Stab the marine harshly with the stippling brush to create texture.
- Don’t worry about getting paint on other parts; focus on covering armour panels thoroughly.
Step 2: Adding Baylor Brown Highlights
- Switch to a smaller brush for precision.
- Use Balor Brown paint and continue stippling, focusing on areas with prominent curves (shoulder pads, backpack, head).
- Highlight the model by emphasizing the curves for a top-down lighting effect.
Step 3: Airbrushing with Yriel Yellow and Ice Yellow
- Thin Yriel Yellow paint with airbrush thinner in a wet palette.
- Apply a thin coat with an airbrush, blending and smoothing the texture.
- Use Ice Yellow with the airbrush to highlight specific metal areas (gun, joints, recesses).
Step 4: Red Trim with Mephiston Red
- Paint the trim on the marine in red using Mephiston Red paint.
- Avoid painting directly from the pot; thin the paint with water to achieve the right consistency.
- Focus on essential highlights rather than painting every edge.
Step 5: Final Highlights and Stippling
- Use worn-out brushes for final highlights, adding details to areas with texture or leftover stippling.
- Stipple lightly to blend and enhance highlights.
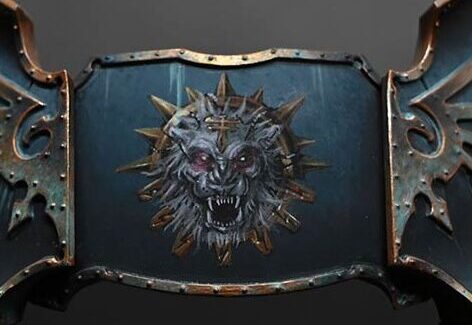
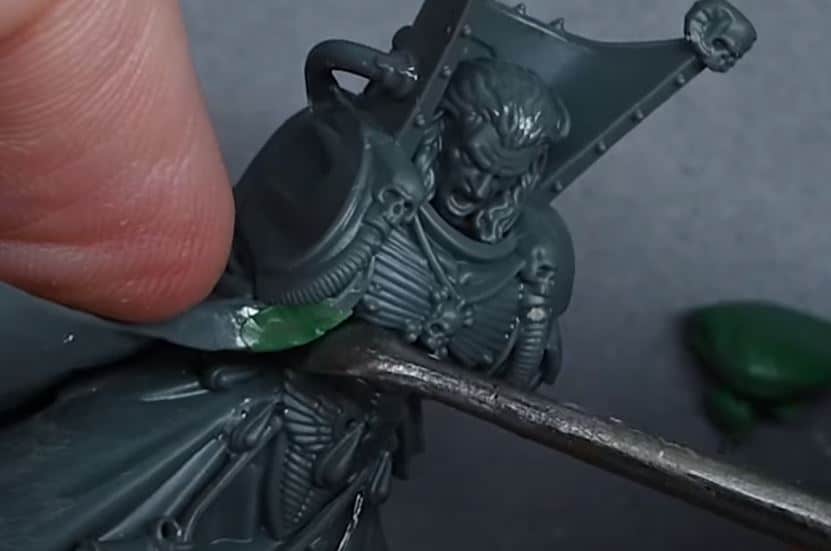
Step 6: Weathering with Sotek Green and Verdigris
- Apply Sotek Green for verdigris weathering on the chest piece.
- Water down the paint and run it into recesses for a weathered effect.
Step 7: Apply Decals and Micro Set
- Glue the head on to avoid wobbly head issues.
- Apply decals using Micro Set for adhesion.
- Skip Micro Sol; Micro Set alone is sufficient for shaping decals.
Step 8: Oil Wash with Agrax Earthshade
- Thin Agrax Earthshade with some Sansodor to create a wash.
- Apply the wash generously over the model, allowing it to settle in recesses.
- Wipe off excess if needed.
Step 9: Final Touches and Stippling
- Stipple over highlights again to clean up and enhance contrast.
- Use Metal Colour Magnesium paint on lower areas (shin, foot) for a dirty, textured effect.
- Focus on making the knee pad stand out and eliminating unwanted highlights.
Step 10: Eyes and Final Details
- Paint eyes with a mix of Sotek Green and Metal Colour Magnesium for a glowing effect.
- Add final details as needed, keeping the overall grimy and weathered appearance.
Free Video Tutorials
More free videos for logged in members – just sign up as a ‘friend’ to view and click any of the thumbs.
To explore all of these, visit this page!


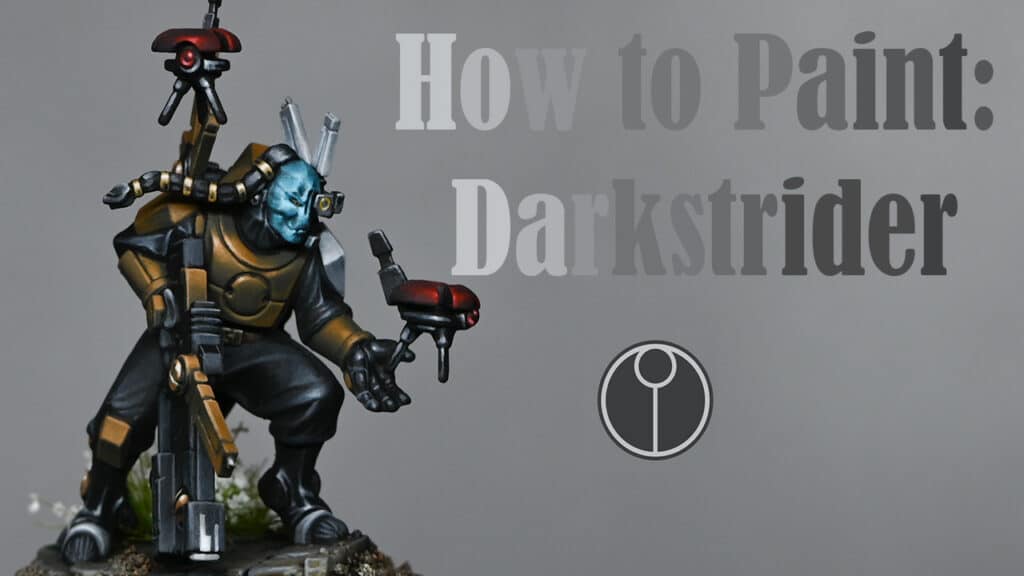
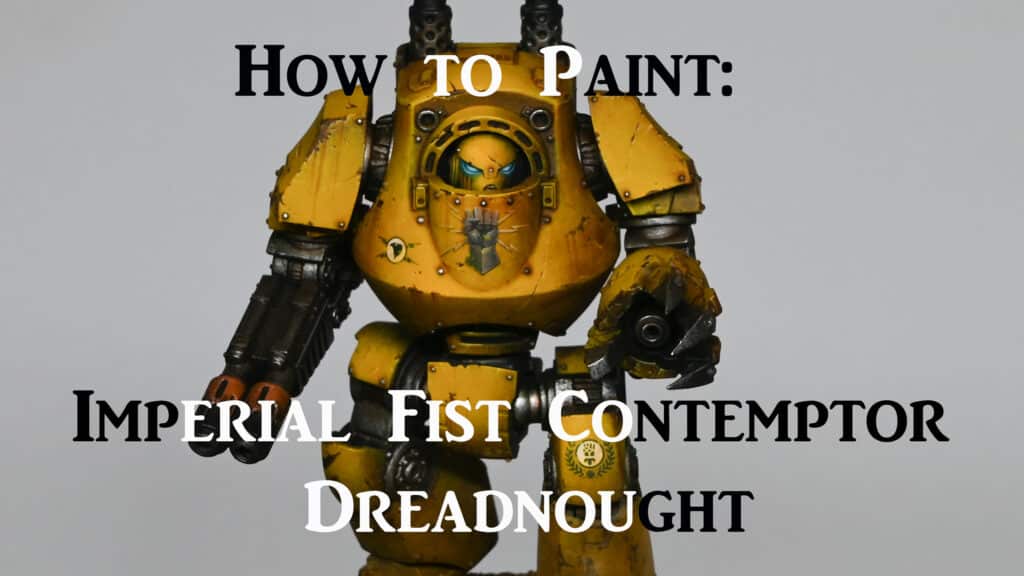
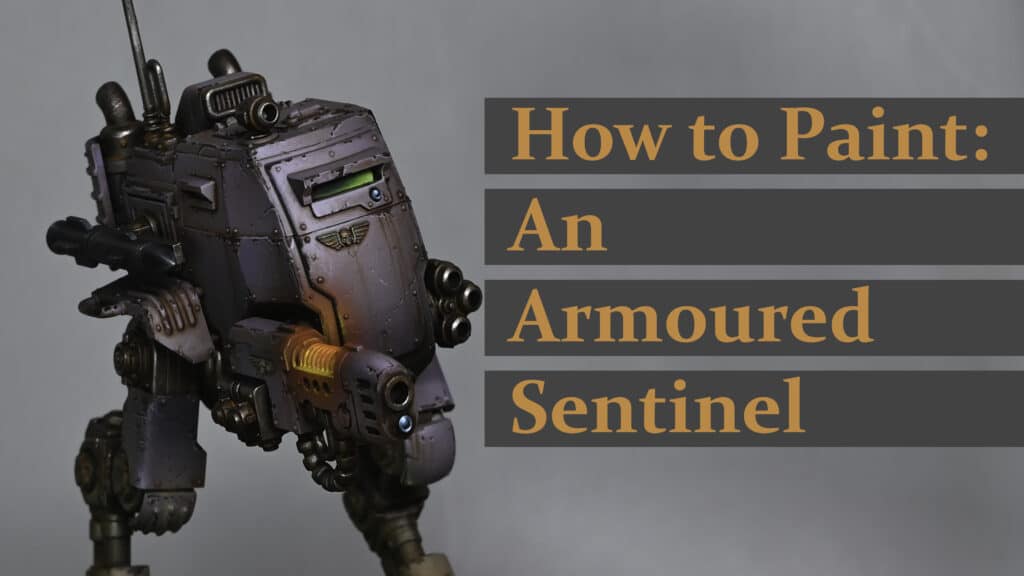
If you don’t have an account, please sign up here! The website currently has over 350 video tutorials, plus step by step guides and PDFs. You can explore more free videos with a free “freebies” membership, or take the plunge and become a full subscriber for full access.


If you’d prefer to support me on Patreon, please visit: https://www.patreon.com/RichardGray