


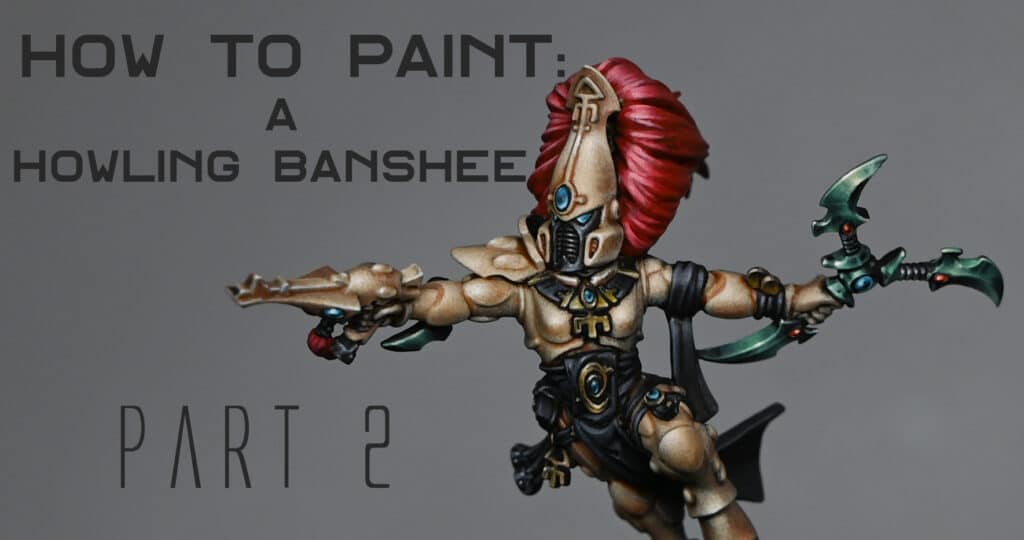
These videos show how to paint an Aeldari Howling Banshee to a high level tabletop standard, ideal for a commanding presence in your army or for smaller game systems like Kill Team.
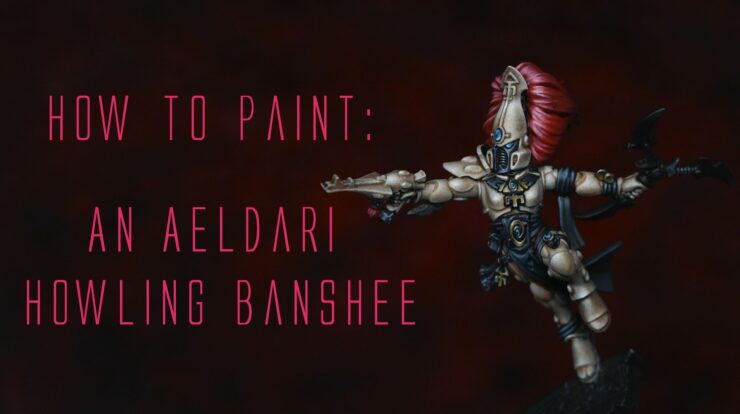
Part One – How to Paint a Howling Banshee
This session focuses on achieving a detailed, bone-coloured armour synonymous with Howling Banshees.
Materials Needed
- Aeldari Howling Banshee Miniature
- Brushes: Various sizes, including a size two for base coating and size 00 Artist Opus (or equivalent) for detail work.
Paints Needed
Games Workshop Paints:
- Base Colours: Morghast Bone, Ushabti Bone, Screaming Skull, Mephiston Red, Sotek Green
- Shades and Glazes: Mournfang Brown, Darkoath Flesh (Contrast), Contrast Medium
- Highlight and Detail Colours: Evil Sunz Scarlet, Corvus Black (for black areas)
Vallejo Paints:
- Basalt Grey, Pale Grey Blue, Ice Yellow (for non-metallic metals)
P3 Paint:
- Morrow White (or any white for extreme highlights)
Step-by-Step Tips and Guide
- Base Coating and Stippling:
- Prime the miniature and begin with a stippling technique using Morghast Bone and Ushabti Bone.
- Apply the paint thinly and evenly with a dry brush for a smooth base.
- Adding Depth with Contrast Paint:
- Mix Darkoath Flesh (Contrast) with Contrast Medium and apply over the stippled areas for added depth.
- Refining Armour with Stippling:
- Progressively build up highlights with Ushabti Bone, Screaming Skull, and Morrow White.
- Focus on light placement to enhance features, keeping the paint watered down for a soft finish.
- Glazing for Shadows:
- Thin down Mournfang Brown considerably and apply in recesses to deepen shadows.
- Painting the Eyes and Non-Metallic Metals:
- Use Sotek Green, Ice Yellow, and Basalt Grey for non-metallic metal areas, ensuring the correct placement of light and reflections.
- Hair and Cloth Details:
- Base the hair with Mephiston Red, building up highlights with Evil Sunz Scarlet and white.
- For the black areas, create subtle highlights with Basalt Grey and Pale Grey Blue, avoiding an overly grey appearance.
- Final Touches:
- Refine details, adjust highlights, and ensure a balanced, cohesive look.
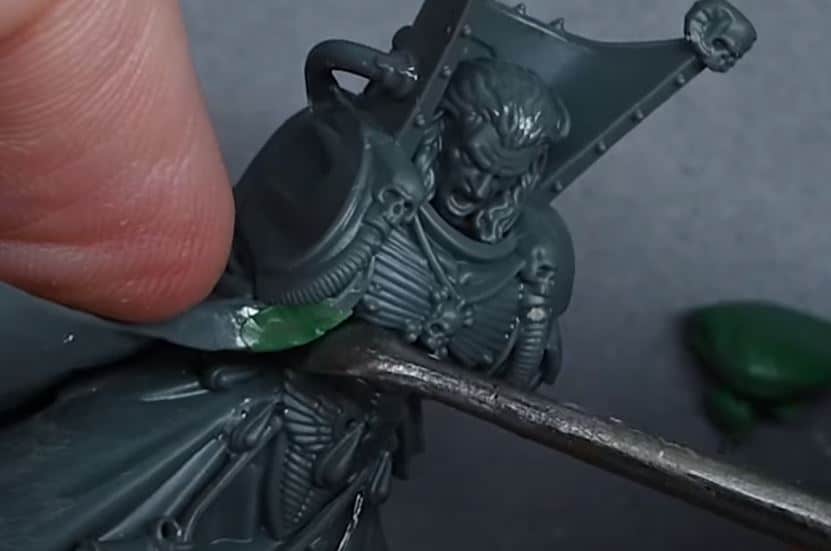
Part Two: How to Paint a Howling Banshee Weapon
The Aeldari Howling Banshee’s power weapon will have a non-metallic, yet luminous green effect. This method involves intricate layering and stippling to simulate reflection. We’ll primarily utilise Cybrite Green from Games Workshop, blended with various quantities of black for shadows, and Vallejo’s Ice Yellow for the highlights.
Materials Needed
- Cybrite Green (Games Workshop)
- Black (Vallejo Model Colour)
- Ice Yellow (Vallejo)
- Evil Sunz Scarlet (Games Workshop)
- Wild Rider Red (Games Workshop)
- Fire Dragon Bright (Games Workshop)
- Morrow White (P3 or any alternative white)
- A fine brush
- A wet palette
Step-by-Step Tips and Guide – Green NMM
- Base Layer: Firstly, coat the power weapon in black, creating a pristine base.
- Green Layering:
- Blend Cybrite Green with a touch of black. Apply this darker green shade to parts of the weapon less exposed to light.
- Incrementally integrate more black into the mixture for creating deeper shadows, ensuring smooth transitions.
- Highlight Application:
- Form lighter shades by mixing Cybrite Green with small increments of Ice Yellow. Gradually apply these on the weapon’s raised and edge areas, depicting where light naturally strikes.
- Keep your paint mix slightly thinned for better control during layering. A recommended mix is two parts water to one part paint.
- Texture via Stippling:
- With the lighter green mixes, stipple the surface to generate a textured, reflective look. The density of the dots correlates with the opacity.
- Reflections Definition:
- Under a lamp, observe the natural light reflections on the blade. Mimic these on the blade’s upper portion using lighter green shades, ensuring they’re the most luminous parts.
- Finalising Highlights:
- Employ white or the palest green mix for the highest light points. Apply these sparingly as minute dots or slender lines to achieve a sparkling effect.
- Gemstone Painting:
- For red gems: Start with Evil Sunz Scarlet, augment with highlights using Wild Rider Red and Fire Dragon Bright, mainly on the gems’ lower areas. Cap off with an Ice Yellow or white dot atop each gem for reflection.
- For the blue gem: Adopt a similar approach, starting with Sotek Green and progressively incorporating white for highlights.
- Refinement and Adjustment:
- If needed, use glazes (diluted paint) to soften transitions or reintroduce colour in areas where over-highlighting may have occurred.
- Continuously evaluate and tweak the intensity and positioning of highlights to achieve a balanced and realistic reflective appearance.
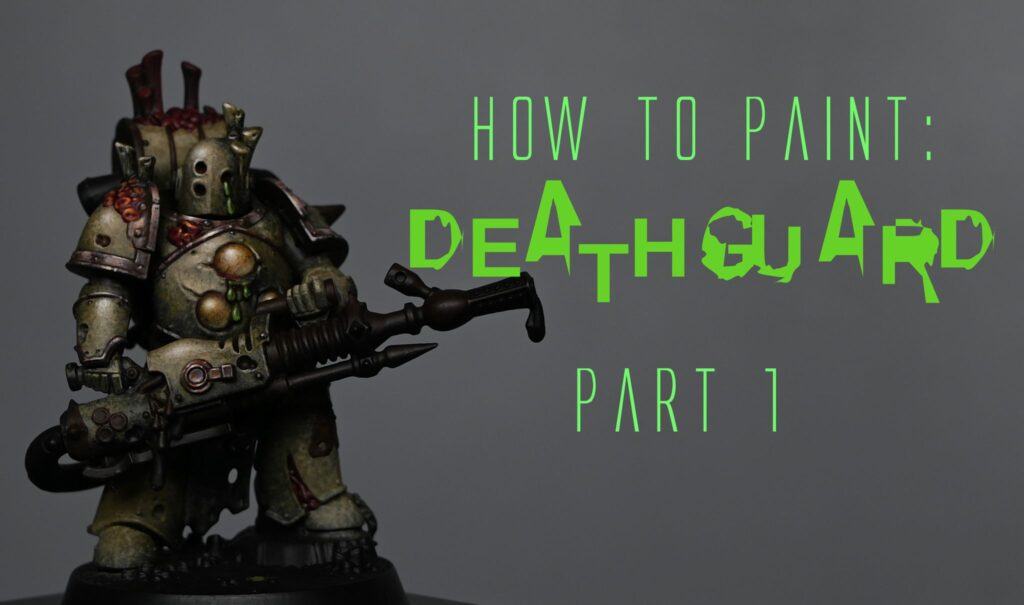
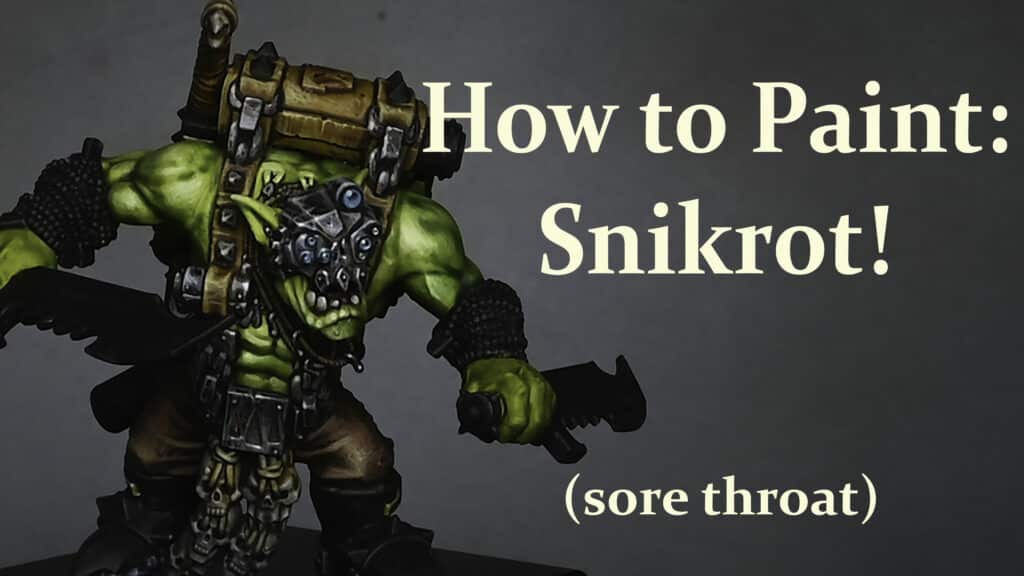
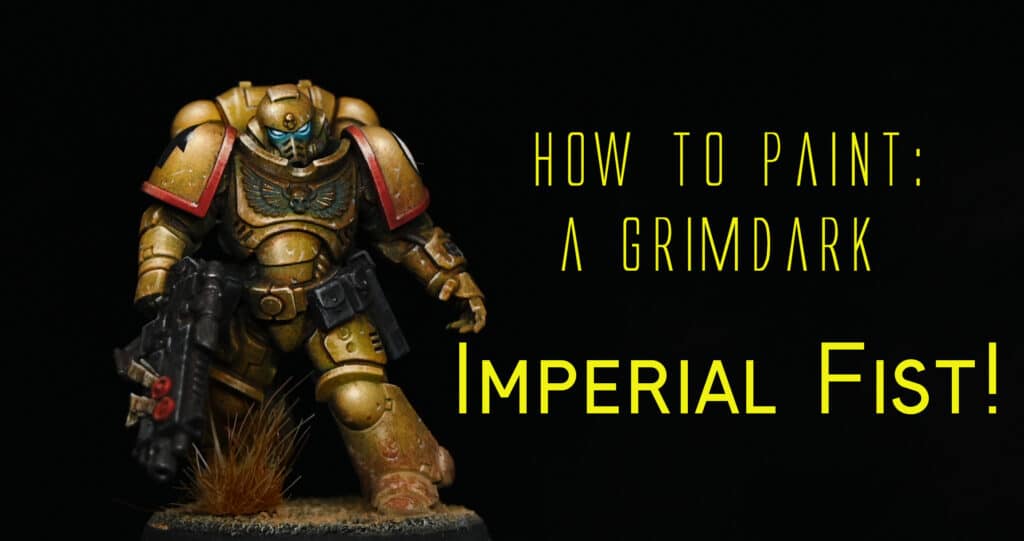
More Video Tutorials
Free videos for logged in members – just sign up as a ‘friend’ to view and click any of the thumbs.
To explore all of these, visit this page!


If you don’t have an account, please sign up here! The website currently has over 350 video tutorials, plus step by step guides and PDFs. You can explore more free videos with a free “freebies” membership, or take the plunge and become a full subscriber for full access.


If you’d prefer to support me on Patreon, please visit: https://www.patreon.com/RichardGray