


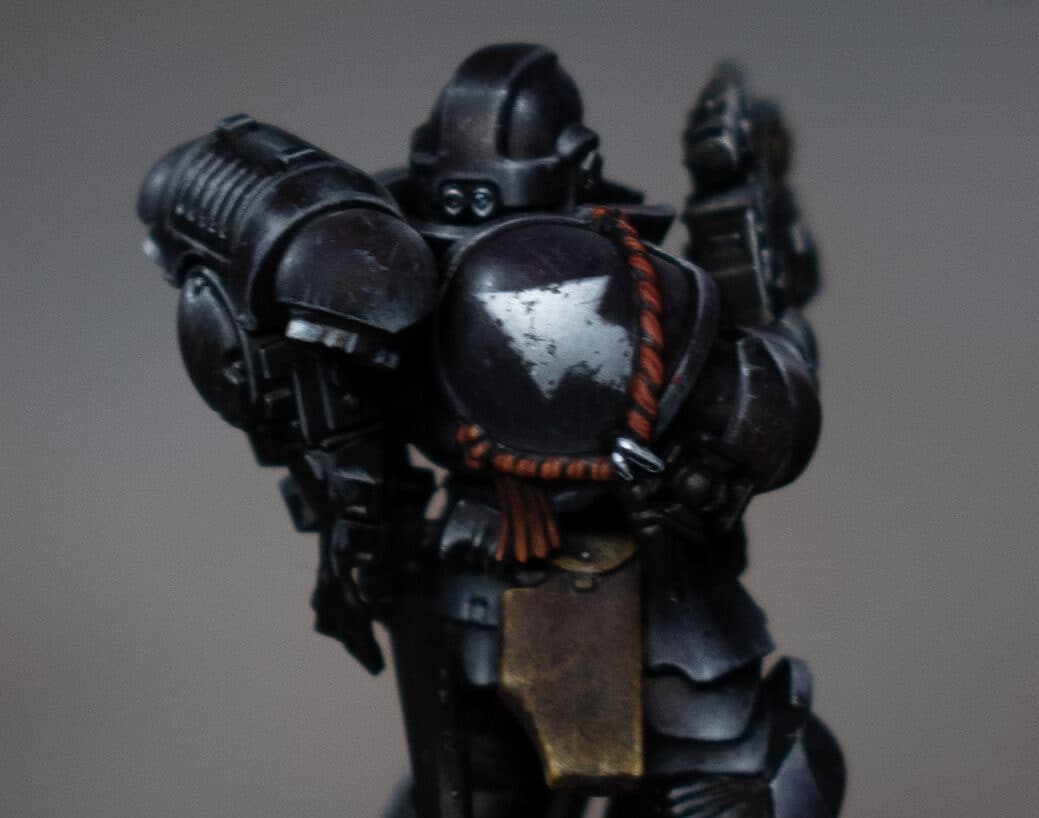
Learn how to paint wing freehand on a Space Marine shoulder pad in this tutorial, with step-by-step guide including paints and materials needed.
This marine has lots more videos to follow, if you’d like to follow the link below! Or, if you are just interested in the freehand, scroll down to explore.
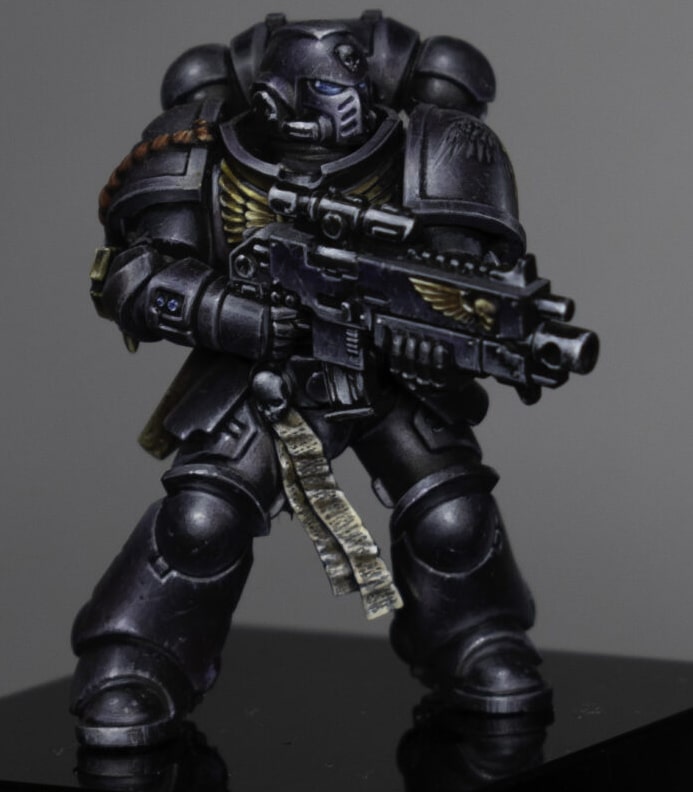
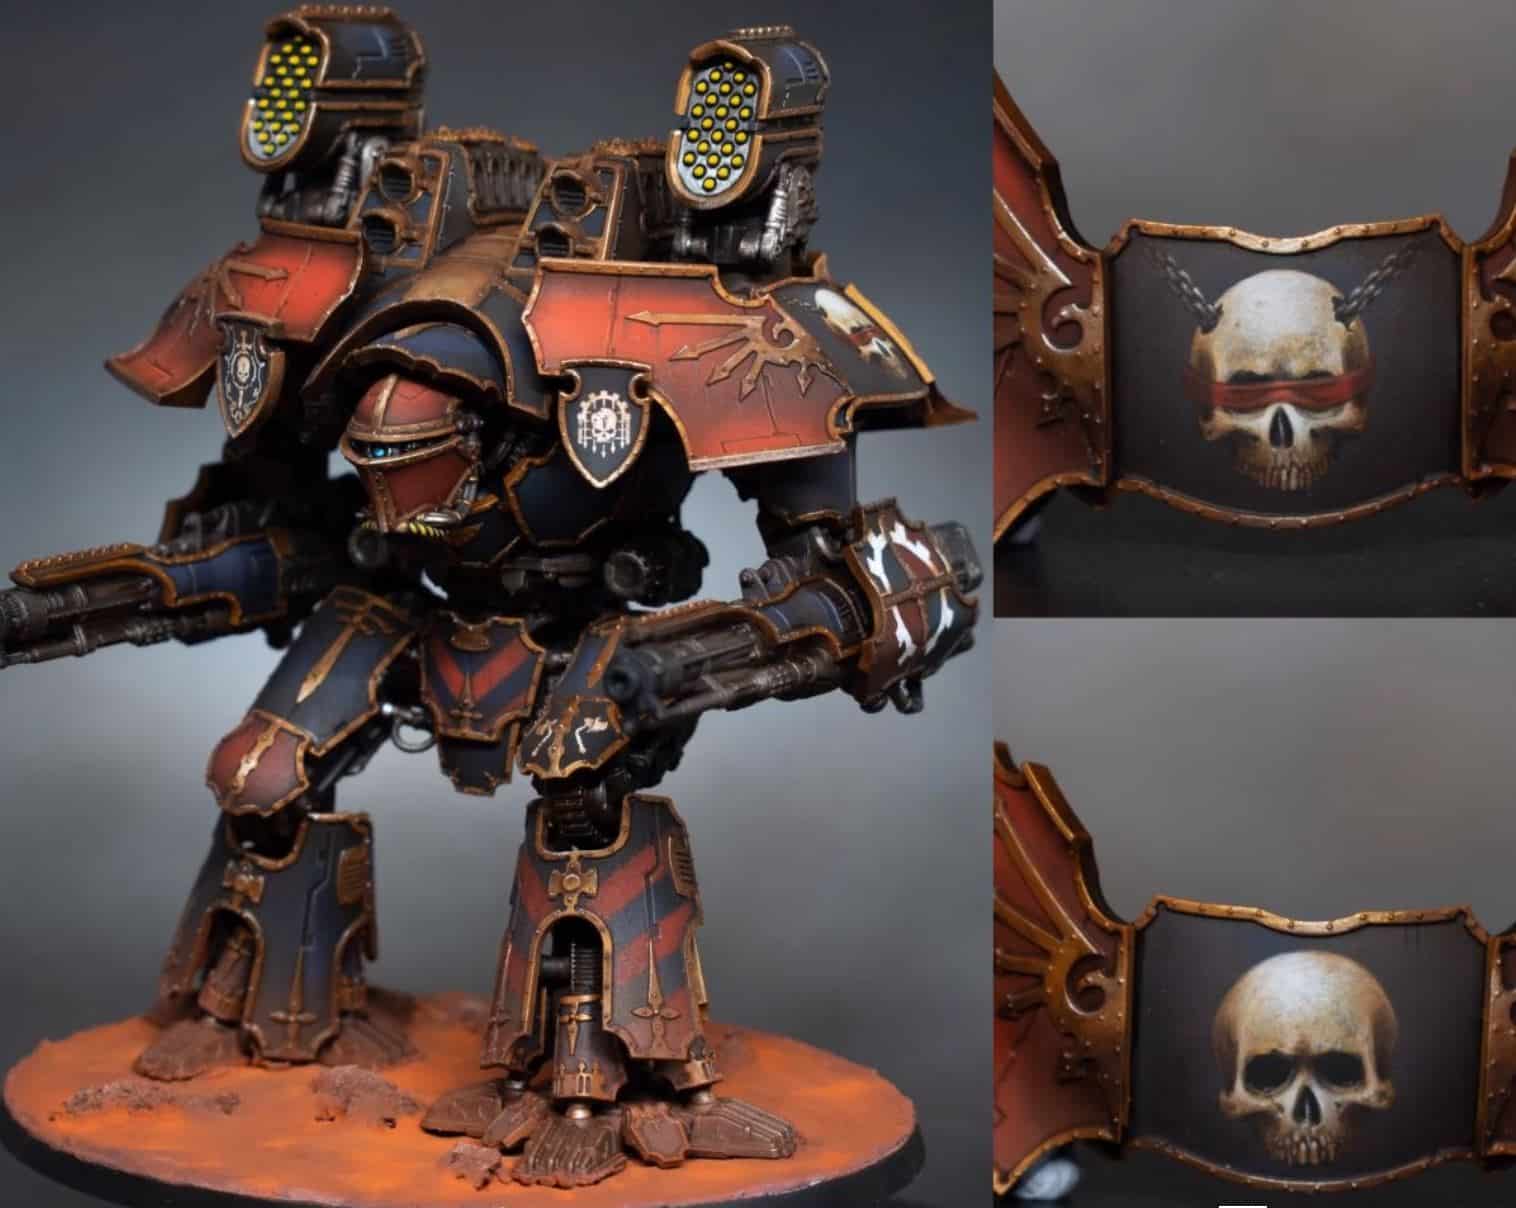
Black Marine
A set of video tutorials on how I painted this black marine, including small freehand tips, subtle weathering, leather and nmm gold detailing.
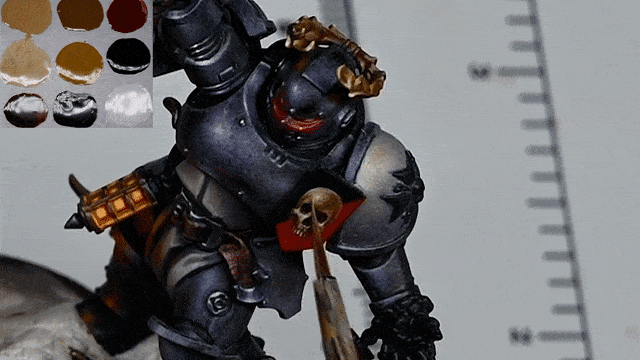
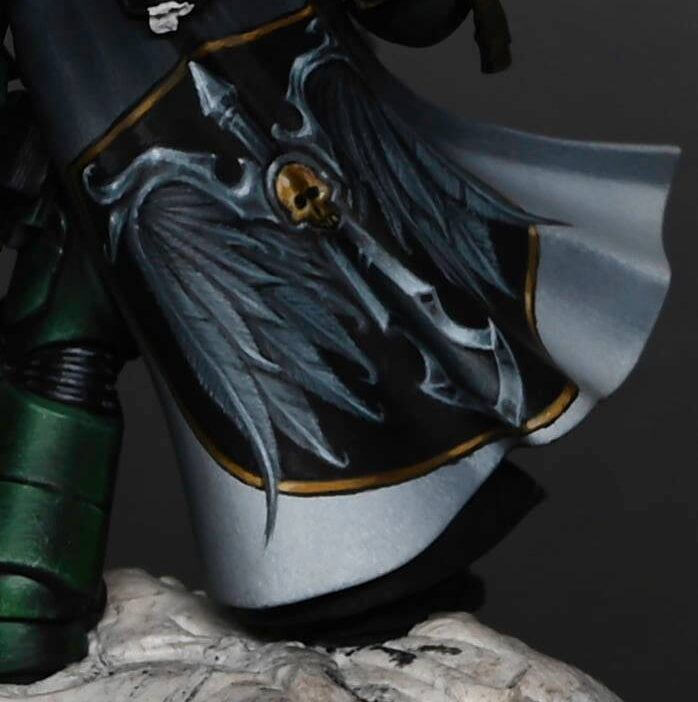
Video: How to Paint a Freehand on a Space Marine (bird skull and wings)
Materials Needed
- Games Workshop paints: Balor Brown, Ushabti Bone
- Vallejo paints: German Grey, Neutral Grey, Heavy Bluegrey
- Fine detail brushes for the intricate work (I use the Artist Opus range).
- A wet palette to keep your paints thinned and workable
- A Space Marine model with a shoulder pad primed and base coated
Step by Step Guide to Freehand on a Space Marine
Step 1: Base Sketch – Start with a rough sketch of the raven skull in the centre of the shoulder pad using Balor Brown. Aim for an upside-down teardrop shape for the skull, keeping the paint light and not worrying about solid color or precise shape at this stage.
Step 2: Highlighting Background – Before detailing the freehand, ensure the shoulder pad is highlighted properly. This includes spot highlights and broader highlights to emulate light reflection. These will later integrate with the highlights on the freehand design.
Step 3: Painting the Wings – Using Neutral Grey by Vallejo, paint the rough shape of the wings flaring from the sides of the skull. The wings should be asymmetrical but balanced, with feathers ruffling outward. Utilize German Grey to add depth and shading, creating a transition between the colours and the black of the armour.
Step 4: Detailing the Skull – Refine the raven skull, paying special attention to its beak and eye sockets. Use German Grey to outline and add depth, ensuring the skull retains its distinct shape against the black armour. For the tip of the beak, maintain a dark but slightly contrasted tone to distinguish it from the background.
Step 5: Feather Texture – Gradually build up the feather texture on the wings using a combination of Neutral Grey and German Grey. Paint the feathers with a fine brush, starting from the base of the wing and working outwards, increasing in size. This creates a natural feathered effect.
Step 6: Final Highlights and Details – Use Ushabti Bone to add highlights to the skull, focusing on the top edges and the eye sockets to enhance its dimensional appearance. Apply Heavy Bluegrey for the final highlights on the wings, blending them into the armour’s highlights for a cohesive look.
Step 7: Finishing Touches – Review the entire piece, adding final adjustments to the skull and wings as necessary. You may need to retouch some areas to ensure a smooth gradient and correct any overspill. The aim is to have a clear, recognisable raven symbol that integrates well with the armour’s existing highlights and shadows.
Step 8: Sealing the Work – Once you’re satisfied with the painting, allow it to dry thoroughly. Consider sealing the model with a matte varnish.
All videos are recorded in HD 1080p or higher – use full screen for the full effect and let the video load completely.
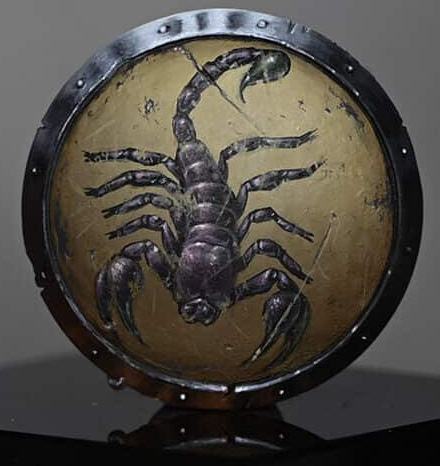
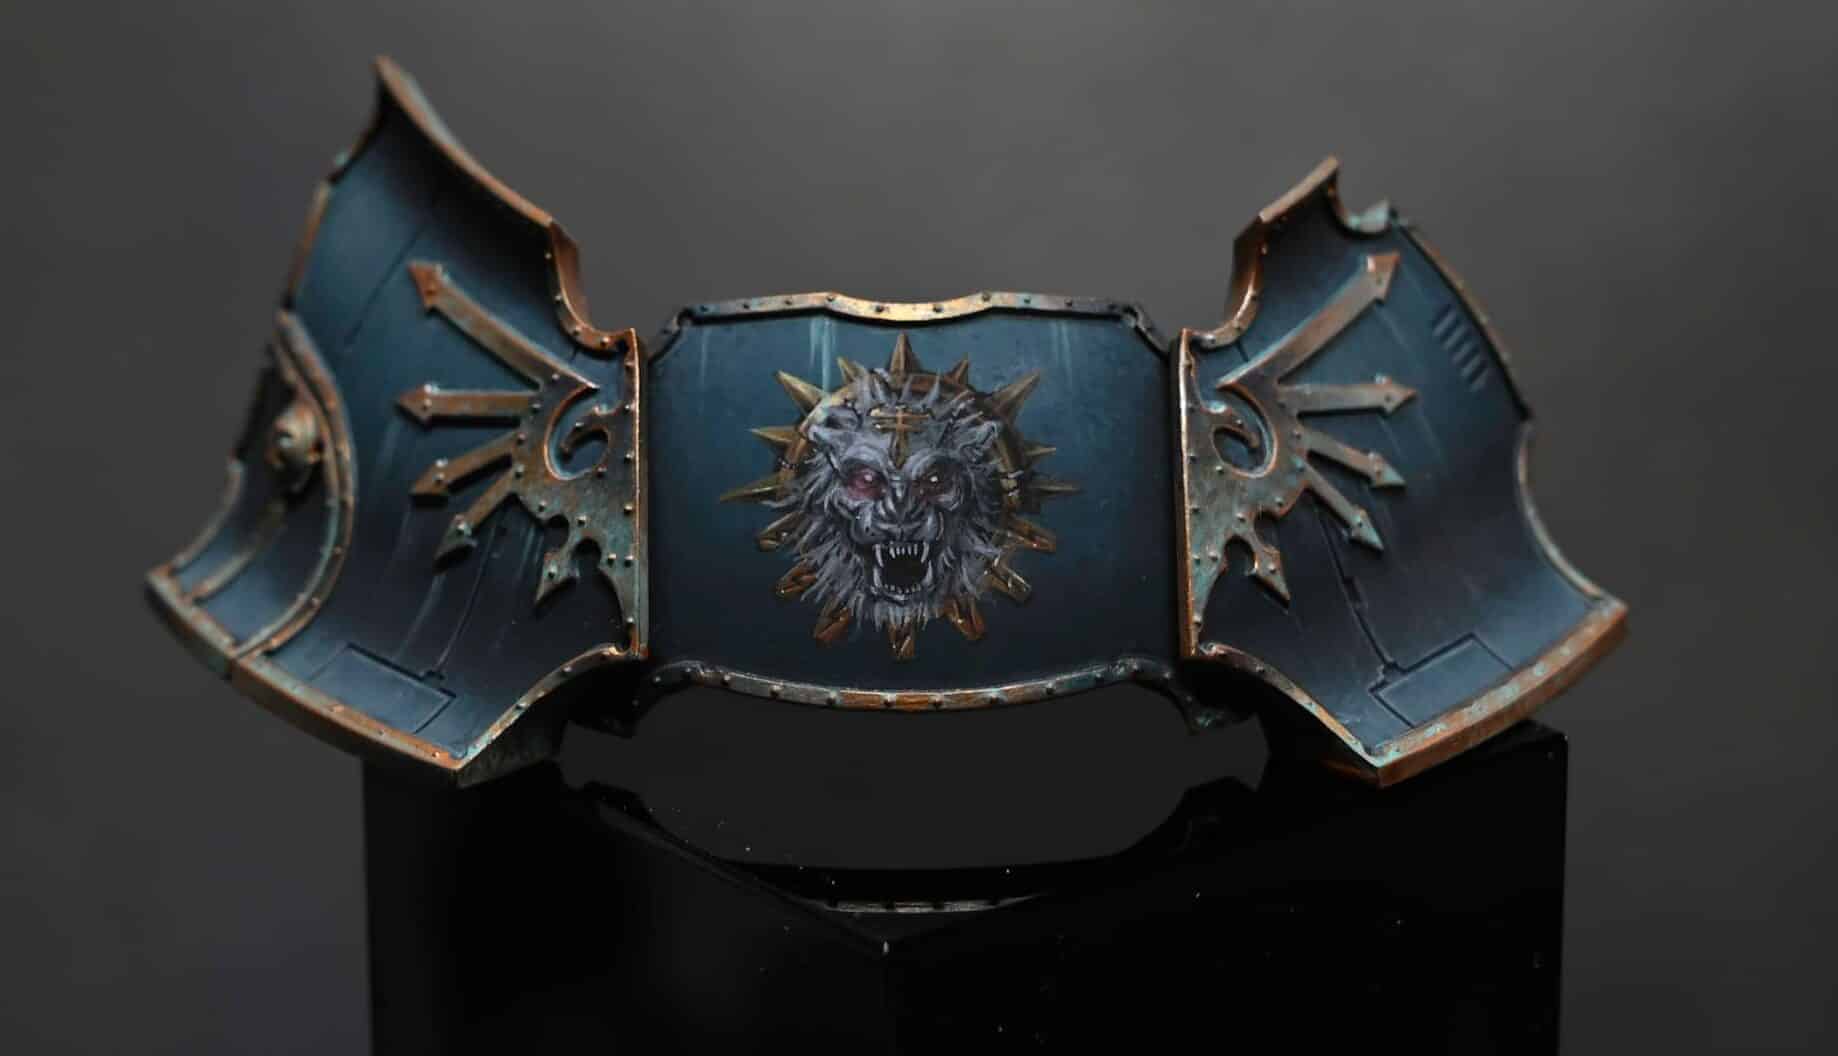
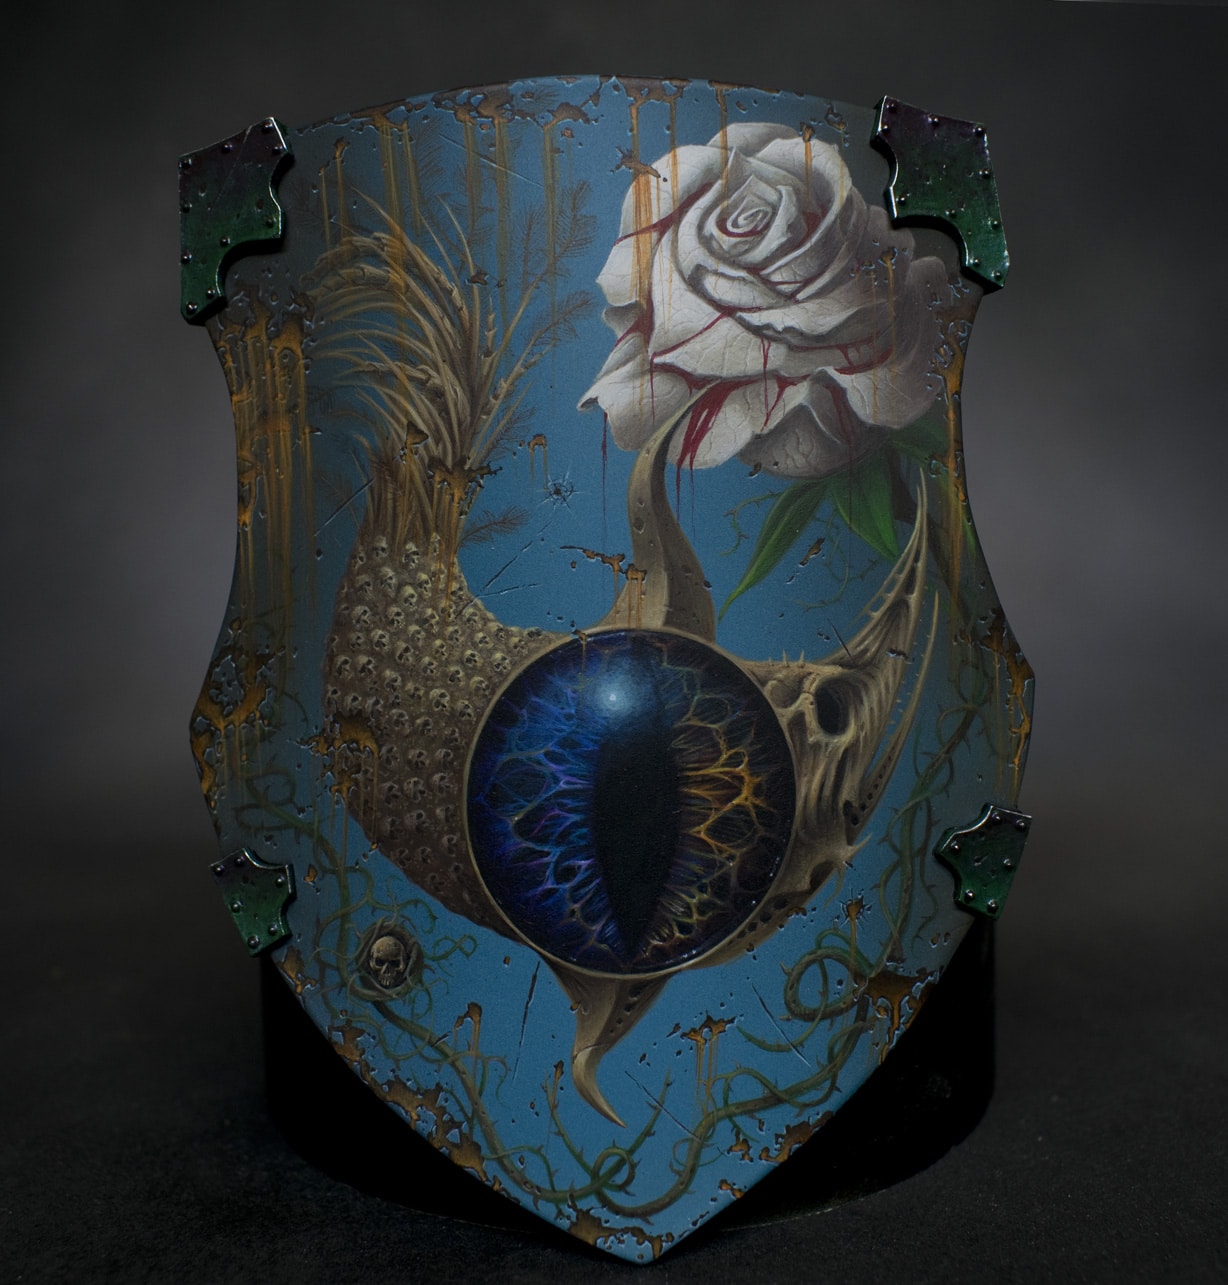
Latest Freehand Tutorials:


If you don’t have an account here on my website, please sign up here! I have over 350 video tutorials with steps and tips, plus a selection of PDFs. If you are not sure about joining, you can explore my free videos with a free membership, or take the plunge and become a full subscriber for full access.


If you’d prefer to support me on Patreon, please visit: https://www.patreon.com/RichardGray