


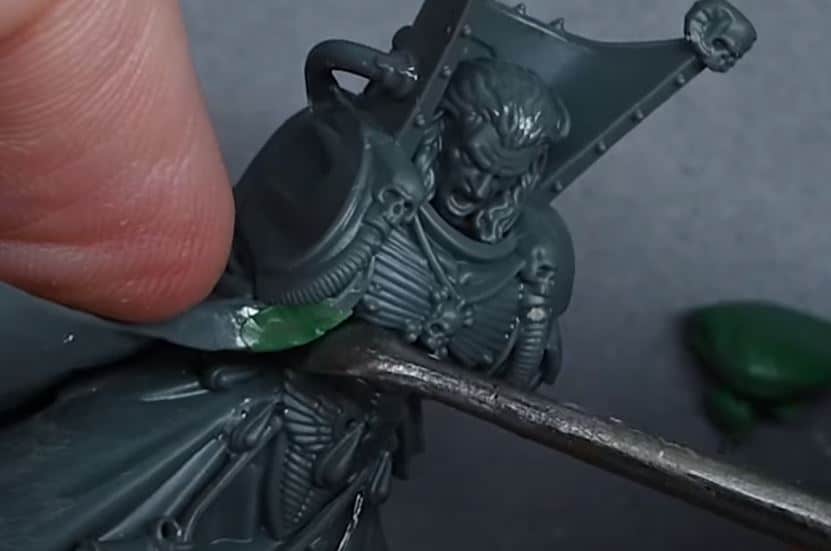
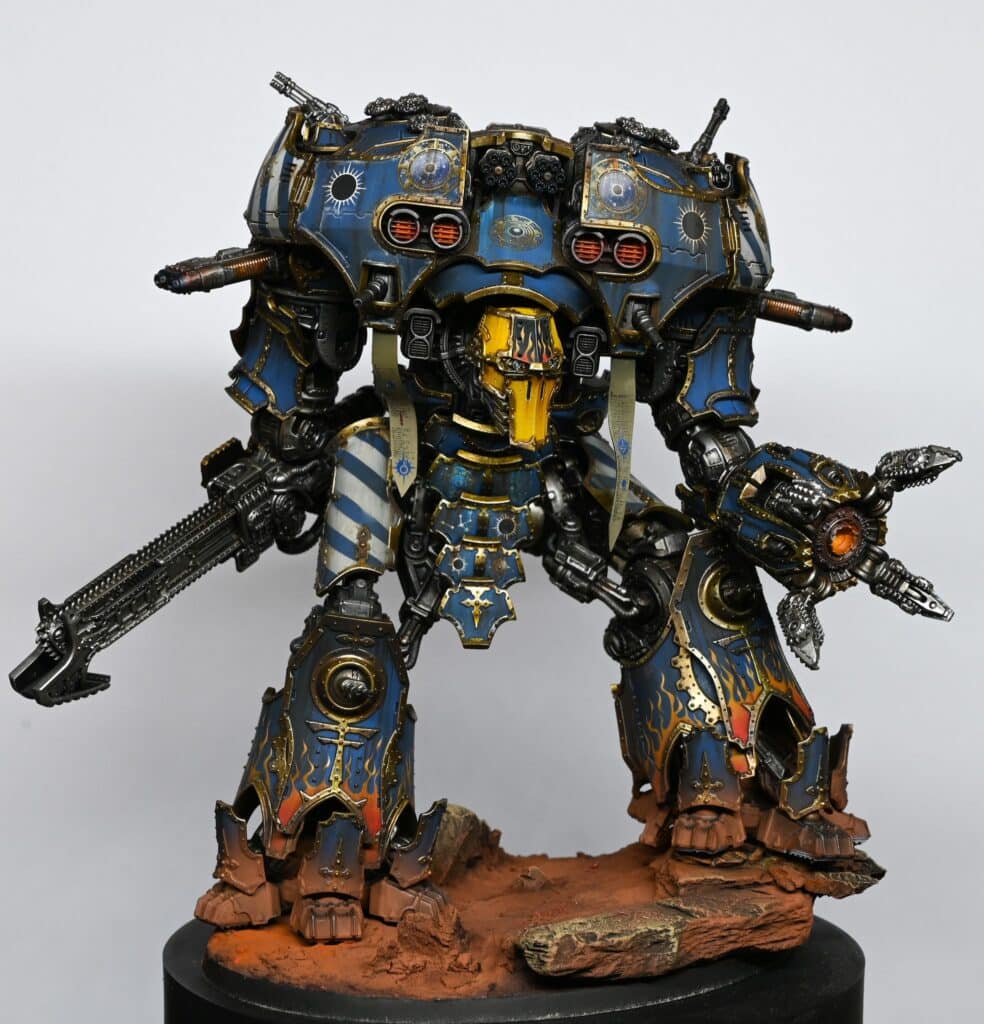
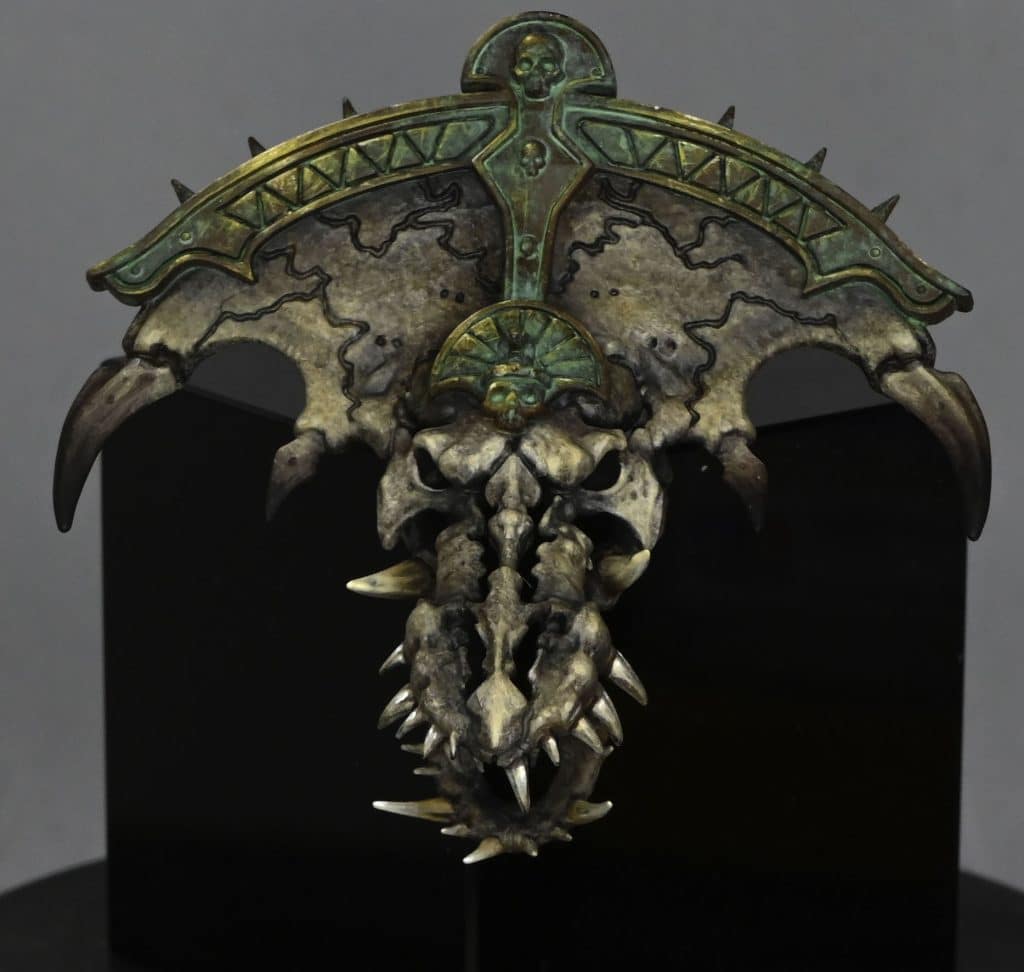
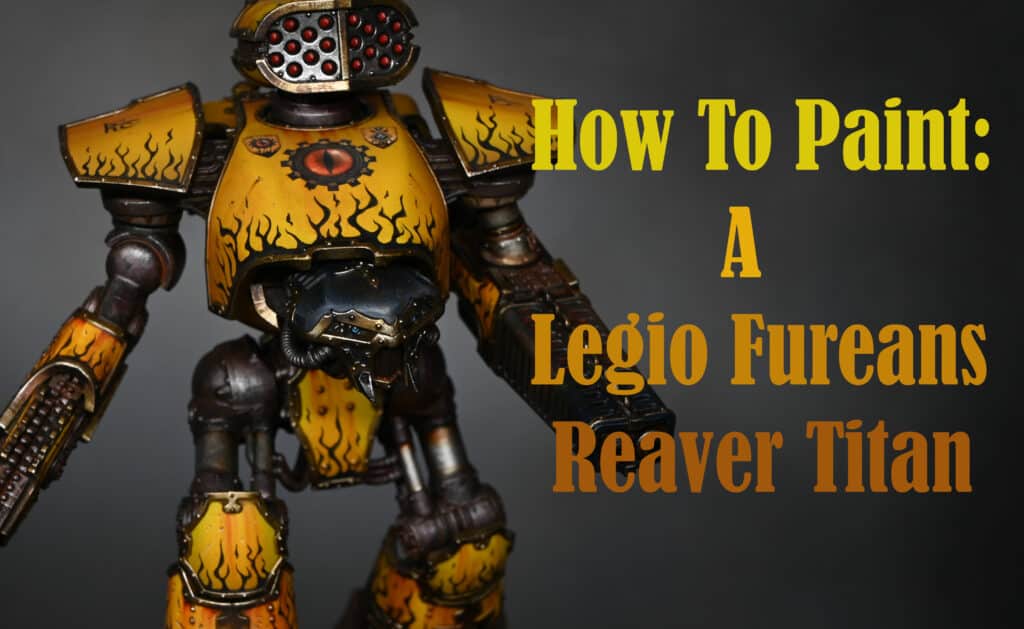
This video shows how to paint the metal and weathering effects on the legs of the Adeptus Titanicus Titan. Enhancing the metalwork, particularly the armour trim and skeletal structure, to achieves a detailed and realistic finish that looks fantastic on the battlefield. We’ll be using a mix of Games Workshop, Vallejo, and Forge World paints to bring our Titan to life.
Video: How to Paint Weathering and Metal on an Adeptus Titanicus Titan
All videos are recorded in HD 1080p or higher – use full screen for the full effect and let the video load completely.
Paints
- Games Workshop:
- Agrax Earthshade
- Wyldwood (Contrast)
- Contrast Aggaros Dunes
- Forge World:
- Aged Rust (Weathering Powder)
- Vallejo Metal Colour (Airbrush Ready):
- Victorian Brass (Scale 75 for an alternative base colour)
- Magnesium
- Gold
- Chrome
- Winsor & Newton:
- Water Mixable Oil Colour Burnt Umber
Brushes
- A fine detail brush for applying precise highlights and for controlled application of contrast paints and weathering powders.
- A medium brush for applying base coats and larger areas of colour.
- A soft, large brush for applying washes and for dusting off excess weathering powders.
- I use the Artis Opus range of brushes, but any good quality brush is recommended.
Step by Step – Weathering and Metal on the Adeptus Titanicus Titan
Preparing the Armour Trim
- Base Coat: Begin with a base coat of Scale 75 Victorian Brass over the trim. This provides a solid foundation for subsequent layers.
- Initial Shading: Apply Contrast Aggaros Dunes over the Victorian Brass to introduce depth and shading to the trim. This step should have been completed in earlier stages of the model’s painting process.
Enhancing the Trim
- Adding Depth: Use Games Workshop’s Wyldwood contrast paint to darken recesses and joints in the trim. The high contrast between the dark recesses and the metallic brass creates visual interest and depth. Apply the paint selectively to areas that would naturally accumulate shadow.
- Highlighting: Vallejo Metal Colour Gold is used to highlight the edges of the trim. Due to its fluidity, it provides a smooth application but be mindful of its runniness. Lightly touch the edges with a fine brush to catch the raised areas.
Painting the Skeleton
- Base Layer: Vallejo Metal Colour Magnesium serves as the base layer for the Titan’s skeletal structure. Its liquidity ensures it flows well into recesses but exercise caution to prevent pooling.
- Weathering: Apply Forge World’s Aged Rust weathering powder mixed with water to the skeletal structure for a grimy, rusted effect. Focus on areas that would naturally collect dirt and rust, maintaining a balance to avoid obscuring details.
- Sealing the Weathering: Once dry, seal the weathering with a mix of Agrax Earthshade. This reactivates and fixes the weathering powder, giving a durable and realistic rust effect.
Detailing Pistons and Metal Accents
- Chrome Pistons: Vallejo Metal Colour Chrome is applied to pistons for a bright, reflective finish. Multiple thin layers may be needed for uniform coverage.
- Oily Effects: Windsor and Newton’s Water Mixable Oil Colour Burnt Umber is used to simulate oil and grime on pistons and mechanical parts. Dilute with water for a manageable consistency and apply at joints and moving parts for a realistic oily effect.
Finishing Touches
- Reichland Fleshshade Glaze: Optional, but can be used to add warmth to metal parts, particularly useful on brass or gold trims to simulate reflected light or heat staining.
- Highlighting and Cleaning Up: After applying weathering and shading, go back to highlight edges and clean up any overspill with your base metallic colours. This step sharpens details and enhances the overall contrast of the model.
Techniques and Tips
- Trim Detailing: Use the fine detail brush with Vallejo Metal Colour Gold to highlight the edges of the trim, applying the paint carefully to avoid spillage onto other areas.
- Skeleton Base Layer: Apply Vallejo Metal Colour Magnesium with a medium brush, ensuring even coverage and avoiding pooling in recesses.
- Weathering Powder Application: Mix Aged Rust with water in the well palette and apply with a large brush, targeting recesses and areas where rust would naturally accumulate.
- Chrome Pistons: Use Vallejo Metal Colour Chrome, applying multiple thin layers as needed for a smooth, reflective finish.
- Oily Effects: Dilute Winsor & Newton Water Mixable Oil Colour Burnt Umber with water and apply at the tops of pistons and around mechanical parts to simulate oil and grime.
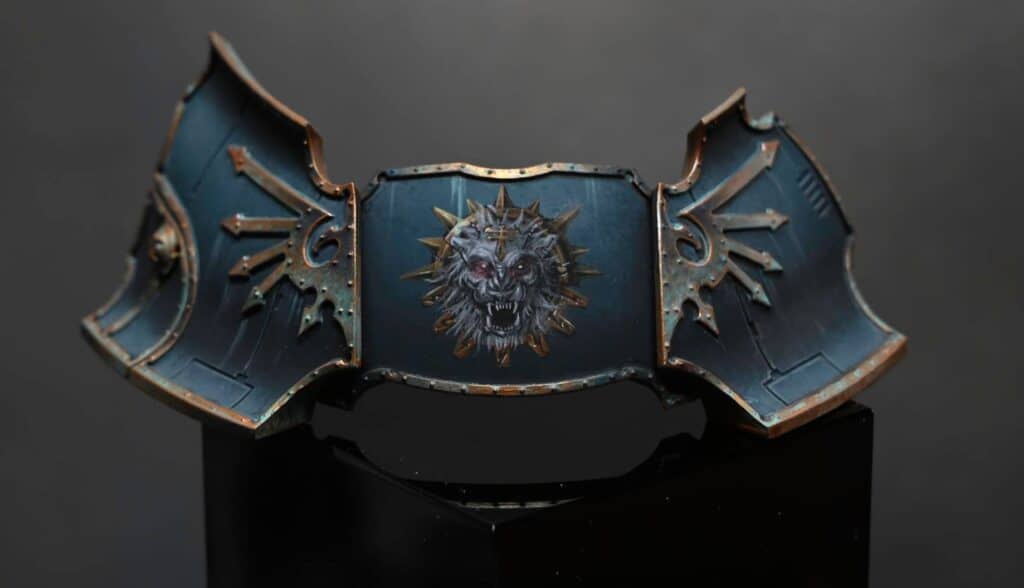
Watch all the tutorials for my War Griffons Warlord!
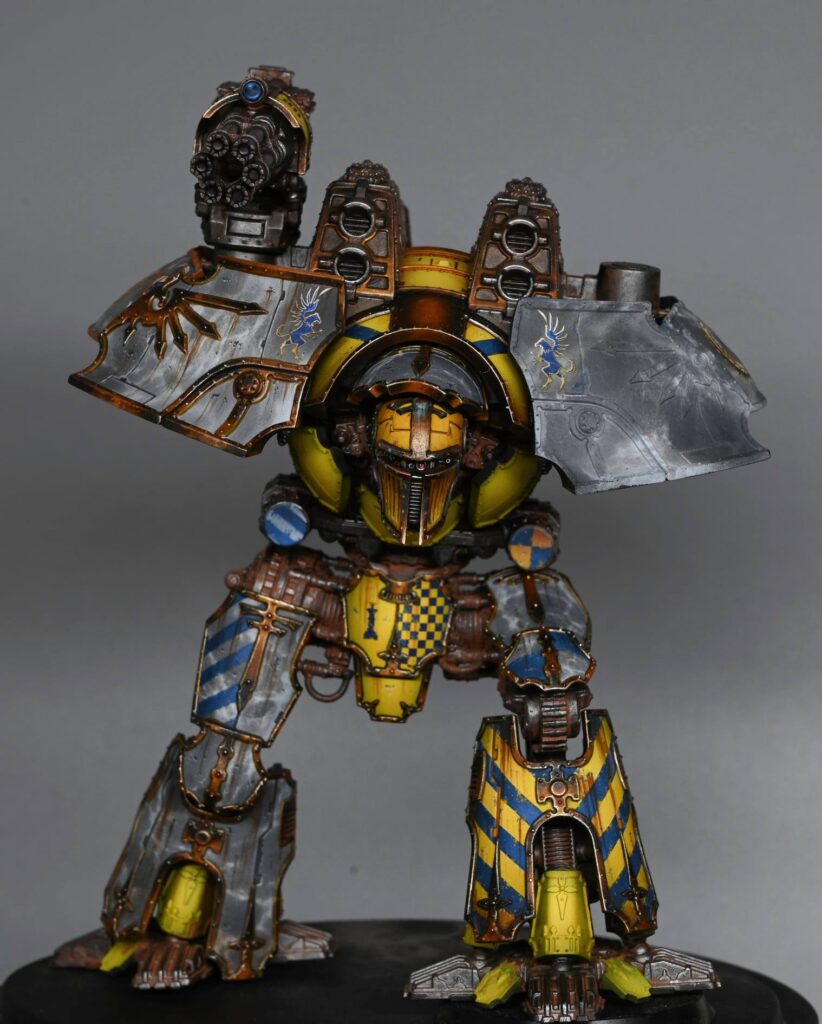
War Griffons Warlord
A series of quick videos on the different techniques used on this model. These include the marble effect, the stripes, applying decals and weathering and metal.
Free Video Tutorials
Free videos for logged in members – just sign up as a ‘friend’ to view and click any of the thumbs.
To explore all of these, visit this page!


If you don’t have an account, please sign up here! The website currently has over 350 video tutorials, plus step by step guides and PDFs. You can explore more free videos with a free “freebies” membership, or take the plunge and become a full subscriber for full access.


If you’d prefer to support me on Patreon, please visit: https://www.patreon.com/RichardGray