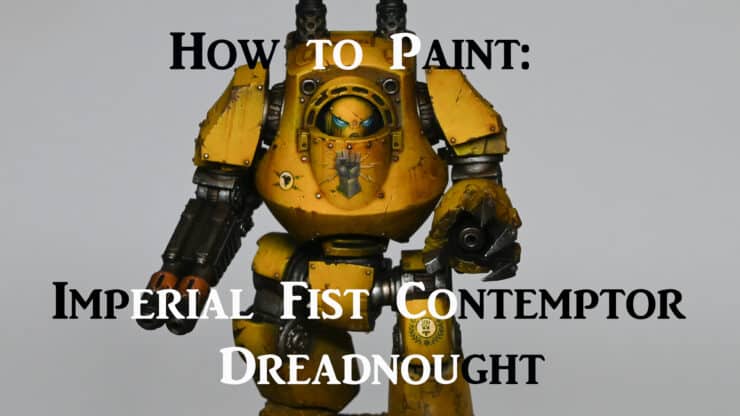
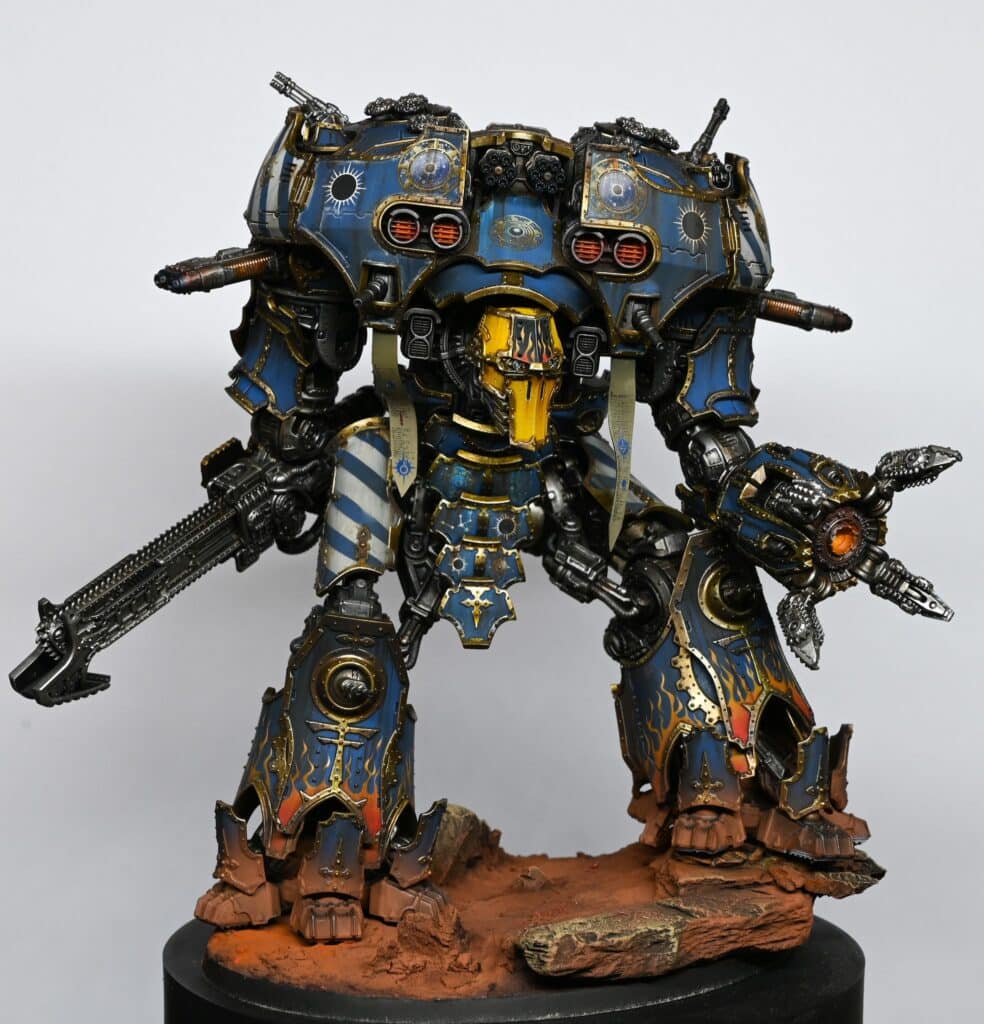
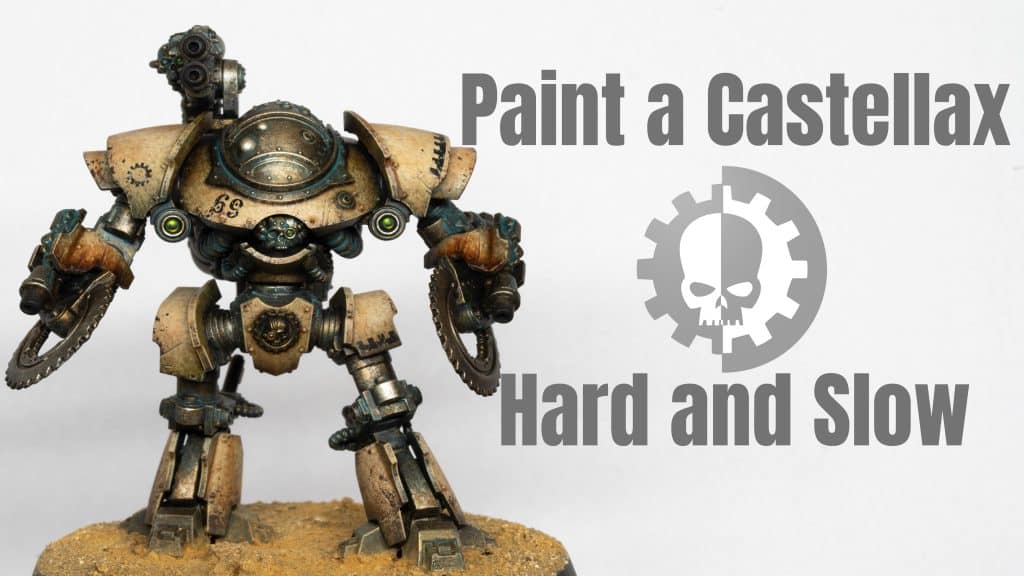
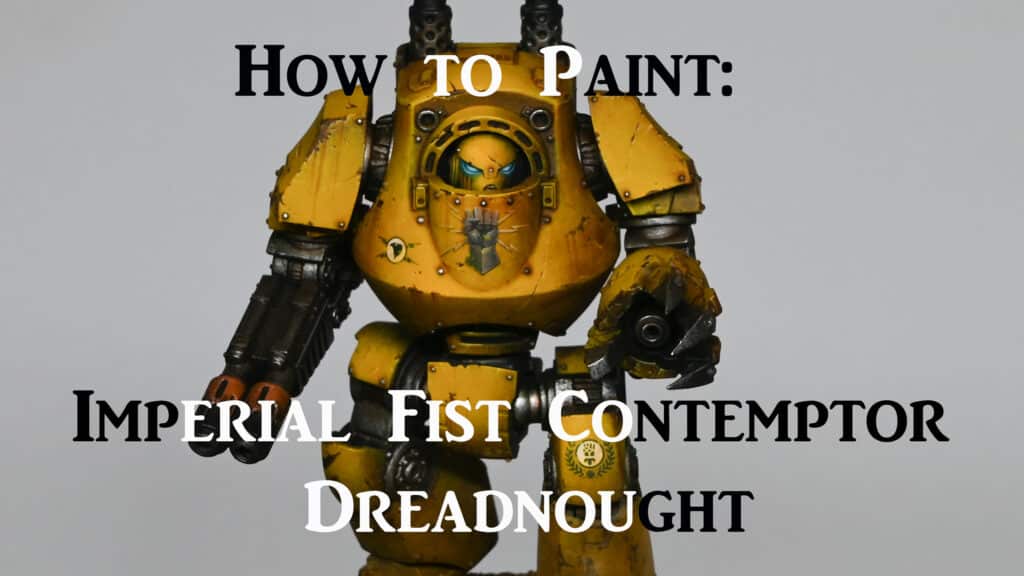
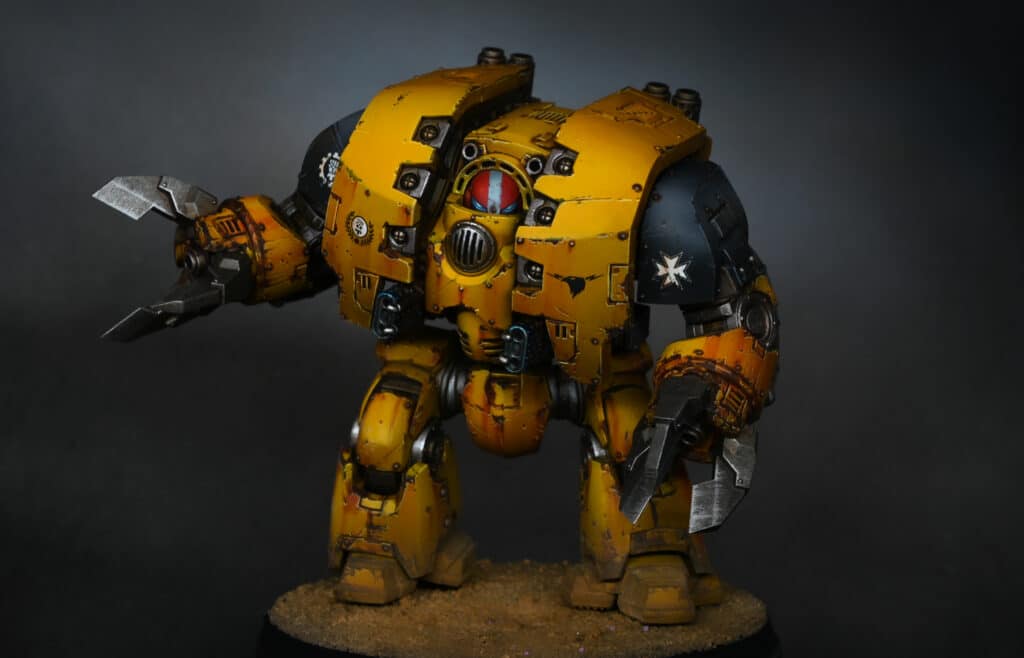
In this guide you will be shown how to paint a Plastic Contemptor Dreadnought in Imperial First colours from the new Horus Heresy boxed game. Many of you were asking for help painting a model in this style without using an airbrush or oils – so here he is!
Video: How to Paint a Plastic Contemptor Dreadnought
The following paints were used:
Games Workshop: Mournfang Brown, Yriel Yellow, Darkoath Flesh (Contrast), Contrast Medium, Sotek Green, Forge World Weathering Powder Dark Sand.
Vallejo: Black, Mecha Varnish Gloss, Mecha Varnish Matt, Metal Colour Burnt Iron
P3: Morrow White (Any White will do)
Step by Step Guide: How to Paint a Plastic Contemptor Dreadnought
Initial Preparation
Begin with assembling the Plastic Contemptor Dreadnought. Keep arms and backpack separate for easier painting. Prime your Plastic Contemptor Dreadnought in black to set the stage for the upcoming colours.
Base Coating with Mournfang Brown
Start with Mournfang Brown, heavily diluted with water for a translucent effect. Using a large brush, apply the paint in a stippling motion. This technique creates a mottled, weathered look on the model. Multiple thin coats are needed, around three or four, to achieve the desired coverage.
Creating Highlights
Mix P3 Morrow White (or any available white paint) with Mournfang Brown. This mixture is used for creating highlights on the model. Apply with a smaller dry brush for more controlled and precise placement of highlights, especially on areas like the chest and upper stomach.
Adding Layers and Textures
Progress with the painting by layering and texturing the model. Focus on building up colours gradually. Use the stippling method to apply these layers, which enhances the weathered and battle-worn appearance.
Incorporating Uriel Yellow
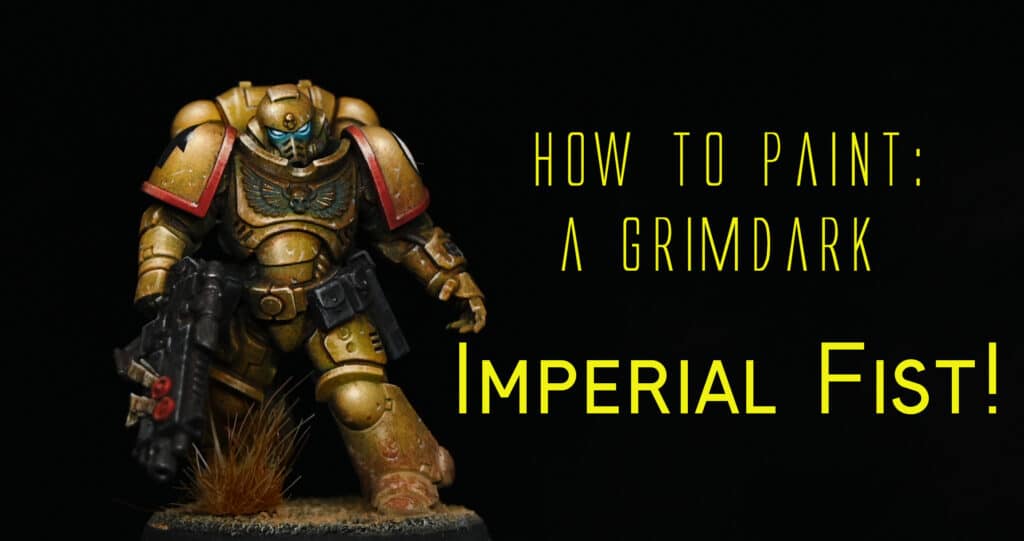
Uriel Yellow, diluted in a similar fashion to Mournfang Brown, is used next. It’s important to keep the brush damp, not wet, to avoid the paint running. Apply in a dabbing motion, focusing on areas where light naturally falls. This stage is crucial for developing the yellow hue characteristic of the Imperial Fist.
Glazing and Fine Details
Move to glazing layers using Uriel Yellow. This involves a thinner consistency and focuses on the model’s focal points like the head and chest. Pay attention to edges and hard lines, using a fine brush for precise application.
Weathering and Final Touches
For weathering effects, employ Rhinox Hide for chipping and damage marks. Apply these strategically across the model to create a realistic battle-damaged effect. Focus on edges and areas likely to receive wear.
Enhancing Eyes and Metal Details
Sotek Green is used for the eyes, creating a layered effect with a transition from green-blue to pure white. For metal parts, use Vallejo Metal Color Exhaust Manifold and Copper, applying carefully due to their fluid nature.
Applying Transfers and Final Varnishing
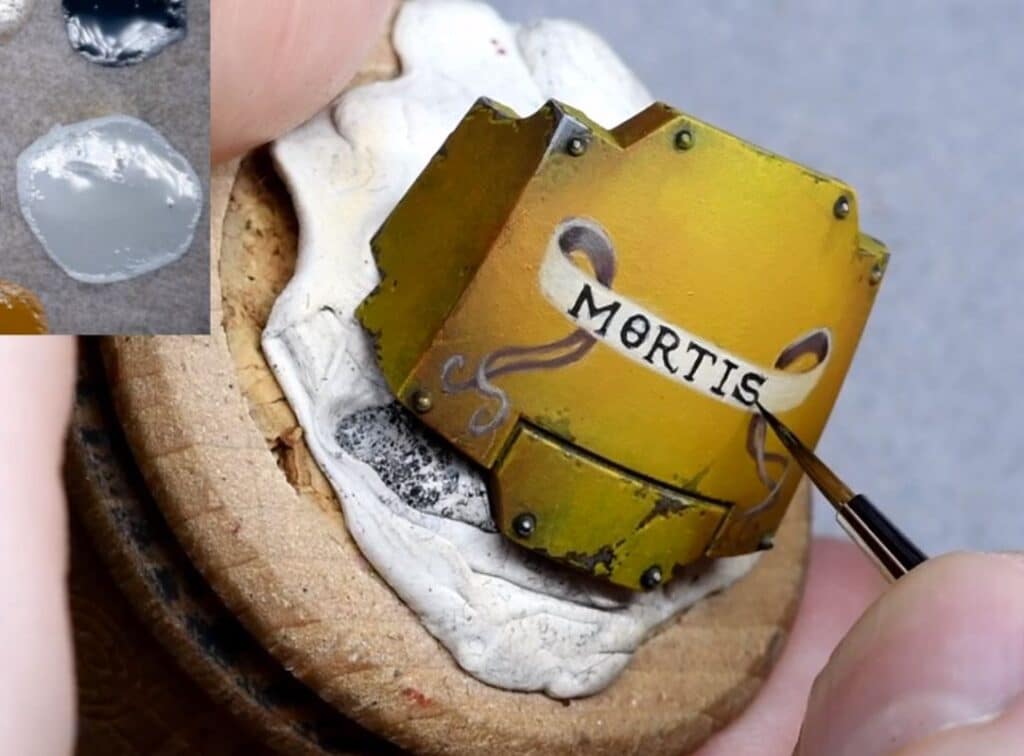
After applying decals or transfers, coat them with gloss varnish to blend them seamlessly into the model. Use Micro Set for applying and setting the transfers.
Base Details
Finish by creating a cohesive base using Forge World Weathering Powder Dark Sand. Apply multiple layers, interspersed with matte varnish, to build up a textured, grimy effect that complements your Contemptor Dreadnought
Show it off!
As you progress, feel free to adapt and tweak techniques to suit your style. Good luck! When you’ve finished, why not pop into our Discord and show it off to other website members? 🙂
More Free Video Tutorials
Free videos for logged in members – just sign up as a ‘friend’ to view and click any of the thumbs.
To explore all of these, visit this page!
If you don’t have an account, please sign up here! The website currently has over 350 video tutorials, plus step by step guides and PDFs. You can explore more free videos with a free “freebies” membership, or take the plunge and become a full subscriber for full access.
If you’d prefer to support me on Patreon, please visit: https://www.patreon.com/RichardGray


