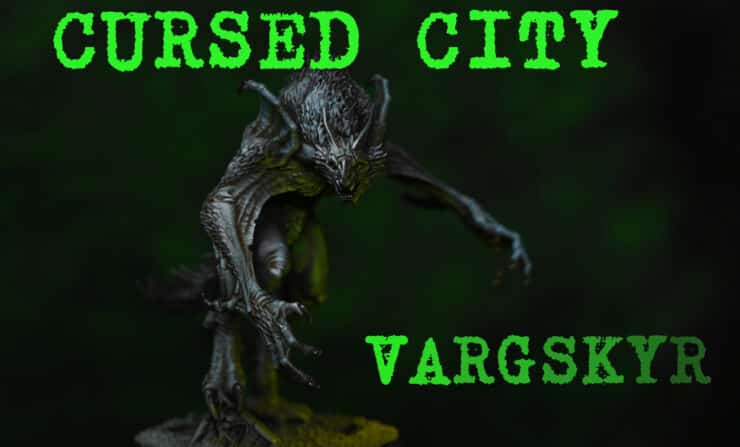
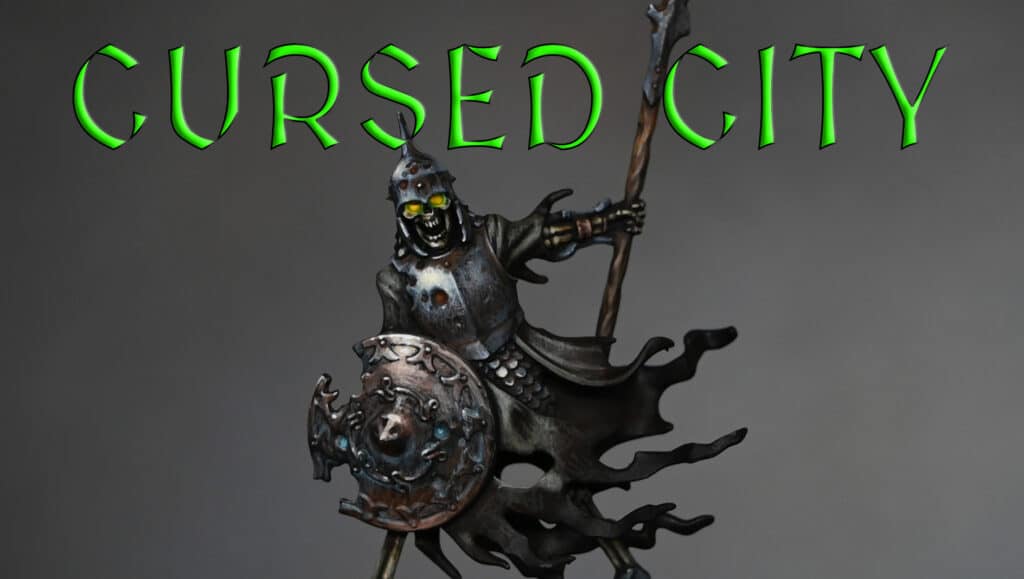
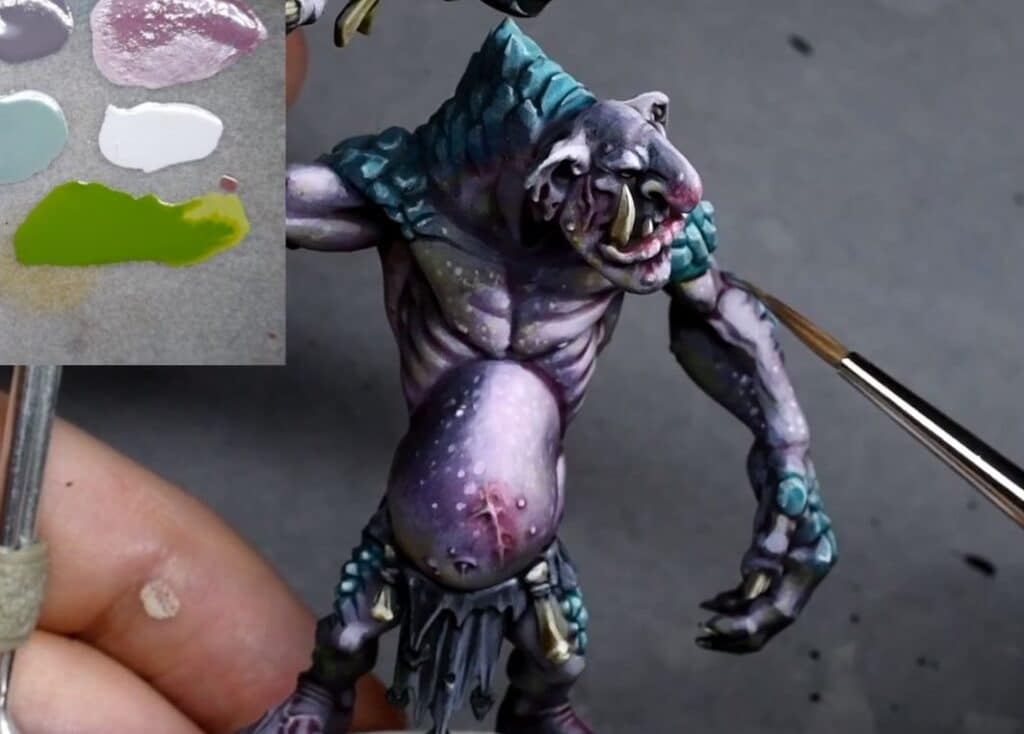
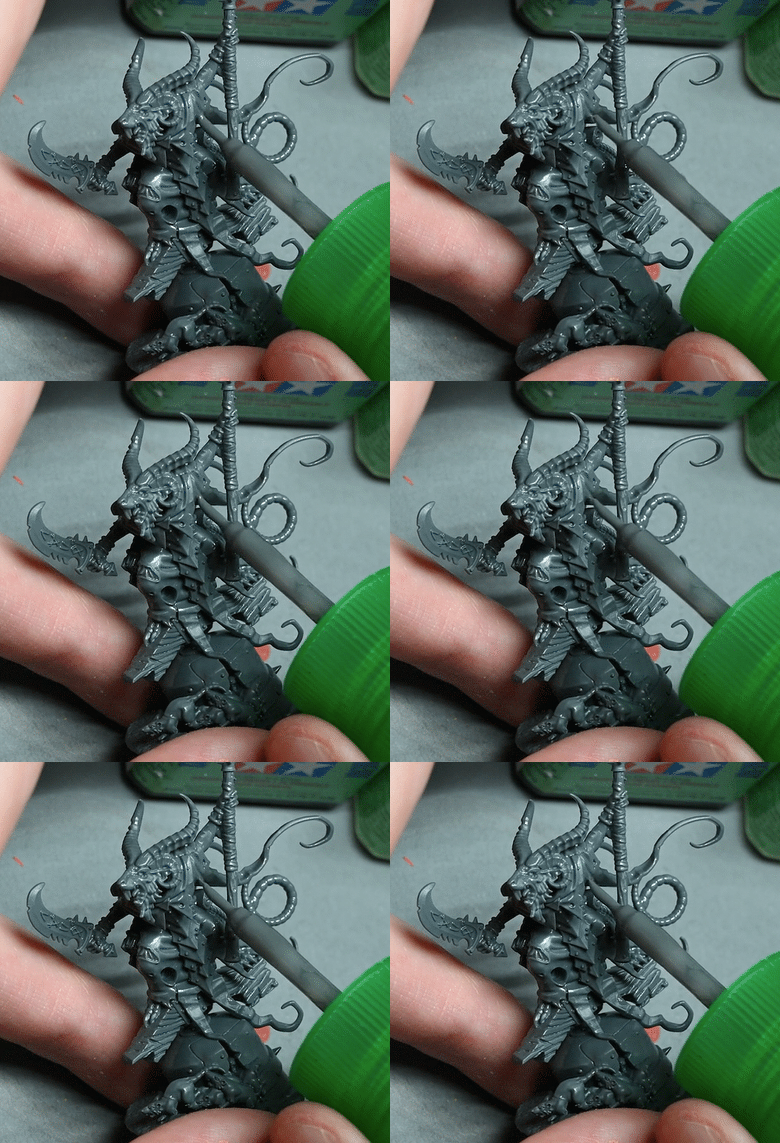
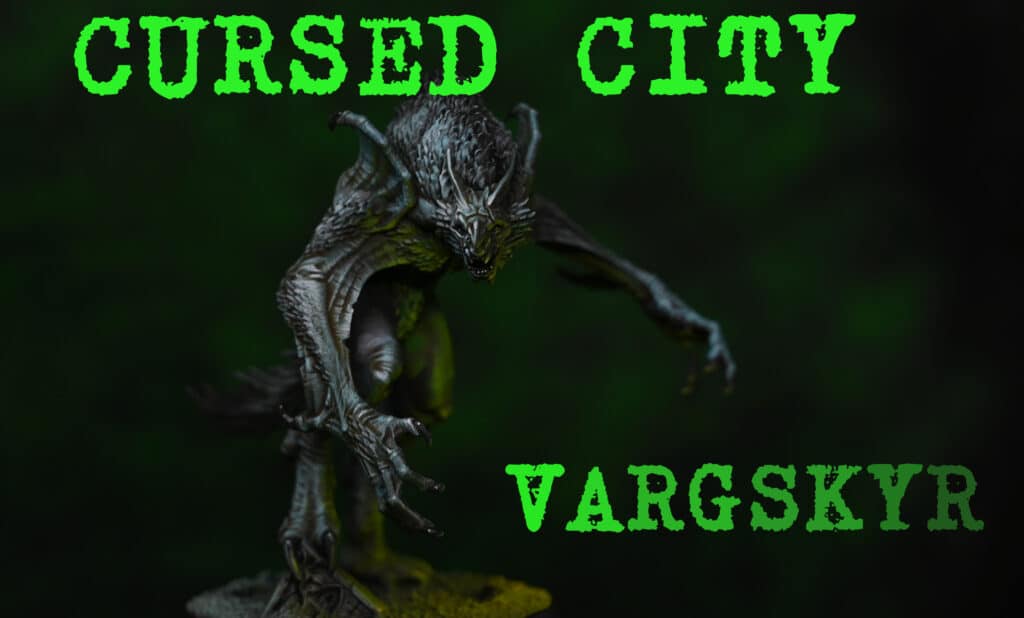
This free video shows how to paint OSL on the Vargskyr from the Cursed City boxed game by Games Workshop with some easy to follow tips.
The following paints were used on the model
Games Workshop: Warpstone Glow, Moot Green, Yriel Yellow, Baharroth Blue, Blue Horror, Contrast Skeleton Horde
Vallejo: Basalt Grey, Neutral Grey, Black, Pale Grey Blue
Top Tips on How to paint OSL on the Vargskyr
Priming and Base Coat:
Start by priming the model with an ultimate primer, like Badger primer, for a slightly satin finish.
Use a black base coat for the OSL (Object Source Lighting) effect, as it provides high contrast.
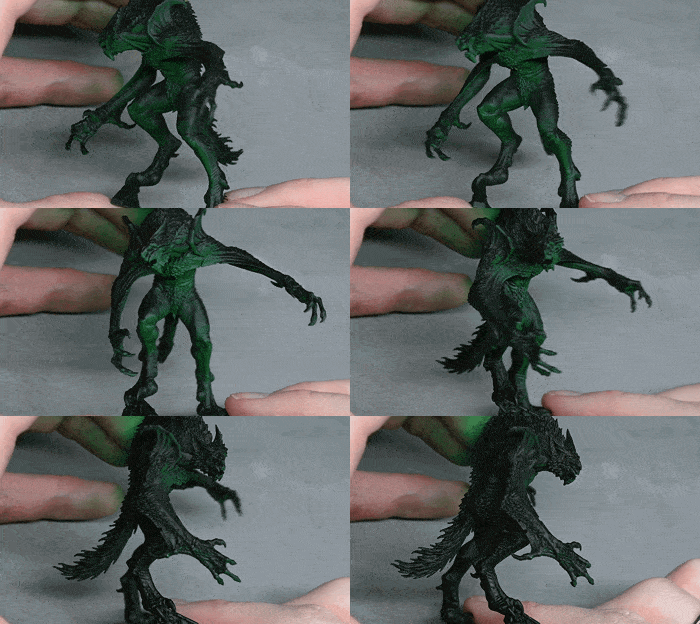
Begin with Warpstone, applying a couple of coats with an airbrush for the green glow.
Adding OSL Effect:
For a sickly look, hold the airbrush a bit further and add yellow to the warp stone glow.
Rotate the model to ensure lighting works from multiple angles.
Reduce the spray area and focus on the back with Baharroth Blue to enhance the OSL effect.
Matte Varnish and Detail Restoration:
Apply a coat of ultra matte varnish, like Lucky Varnish by Mig, to eliminate shine – this brings back detail lost in the varnishing process.
Consider using multiple layers for a transition effect as layers build up.
Fur Texture:
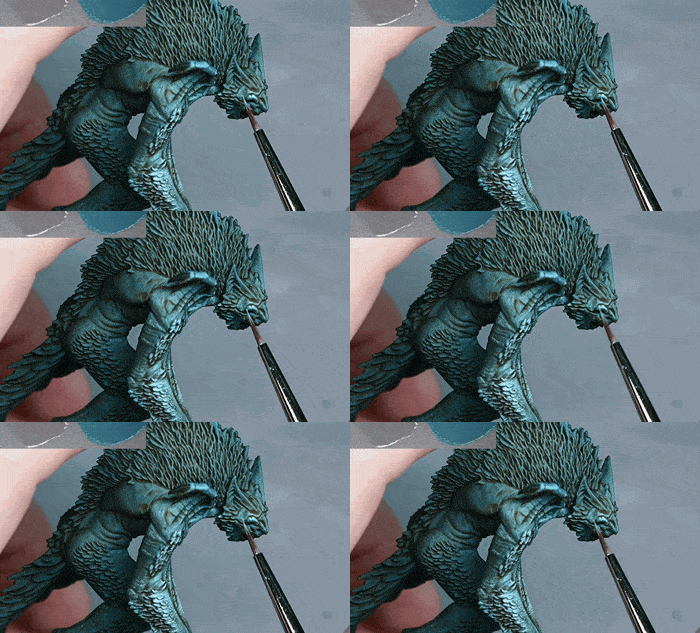
Use Baharroth Blue for fur, but be cautious as it may create a high-contrast jump.
Blend Pale Grey Blue into the fur for a smoother transition, applying thinner coats for textured effects.
Face Highlights:
Highlight the face, a major focal point, using Skeleton Horde as a guide for placement.
Don’t worry about neatness; embrace the furry, textured nature of the model.
Texture Effect Painting:
Use a small brush for texture effect painting, but feel free to experiment with brush sizes.
Maintain a wet paint mixture for precise dry brushing on fur, enhancing the model’s expressive nature.
Accept some roughness in the paint as it adds character to a gaming model.
Green Glow and Final Touches:
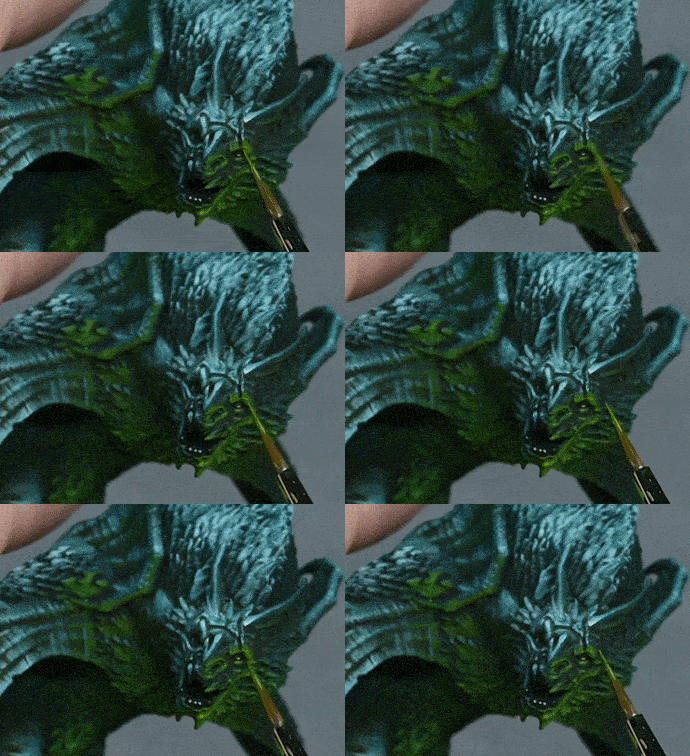
Continue working on the green glow side, following the same process as the light side.
Avoid excessive airbrushing for a clinical look; embrace expressive marks.
Add a slightly darker gray colour to enhance details on non-glowing areas.
Frame with Black Rim:
Paint the model’s base with a black rim to frame and enhance the overall neatness.
Consider the model’s orientation and adjust the painting accordingly to avoid missing details.
Blue Light from the Other Side:
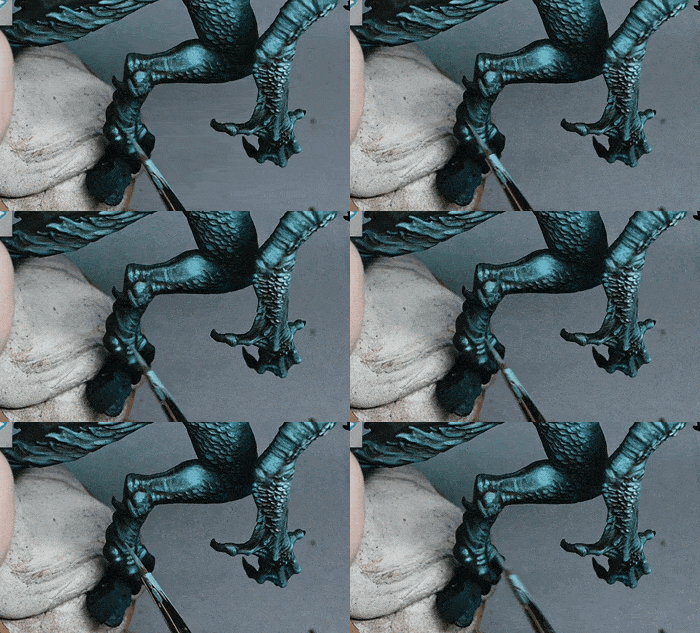
Using Baharroth Blue, dry brush in the direction of the light to create a blue light effect.
Maintain a consistent direction, capturing angles that highlight the green glow, face, and arm.
Free Video Tutorials
Free videos for logged in members – just sign up as a ‘friend’ to view and click any of the thumbs.
To explore all of these, visit this page!
If you don’t have an account, please sign up here! The website currently has over 350 video tutorials, plus step by step guides and PDFs. You can explore more free videos with a free “friend” membership, or take the plunge and become a full subscriber for full access.
If you’d prefer to support me on Patreon, please visit: https://www.patreon.com/RichardGray


