


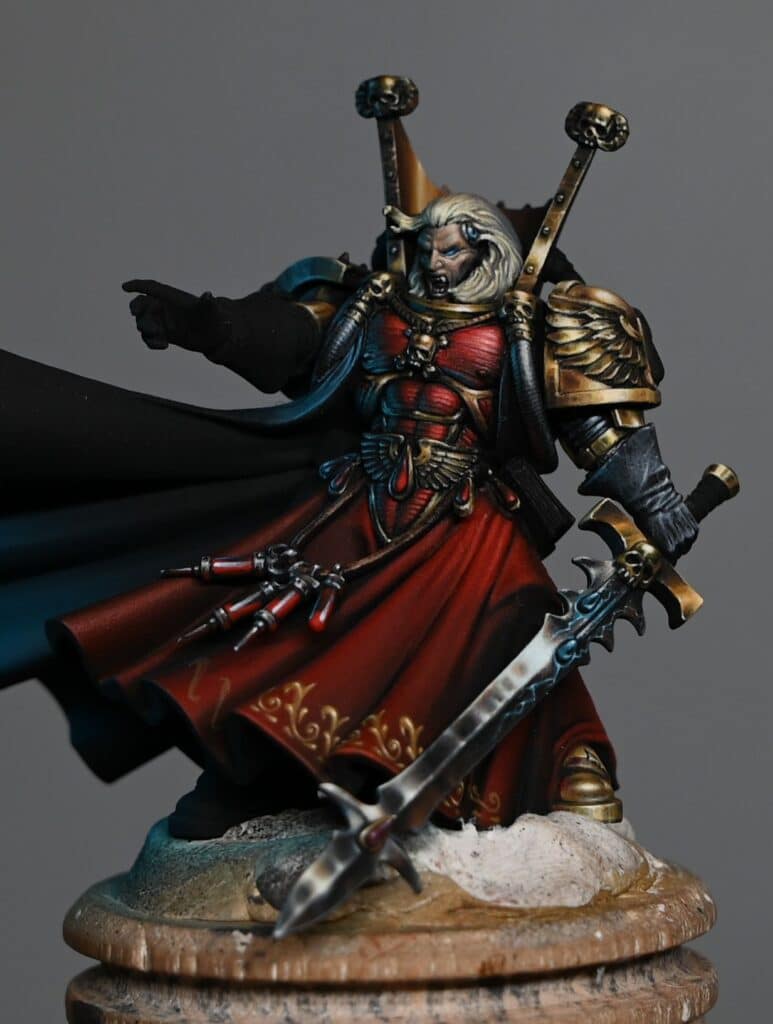
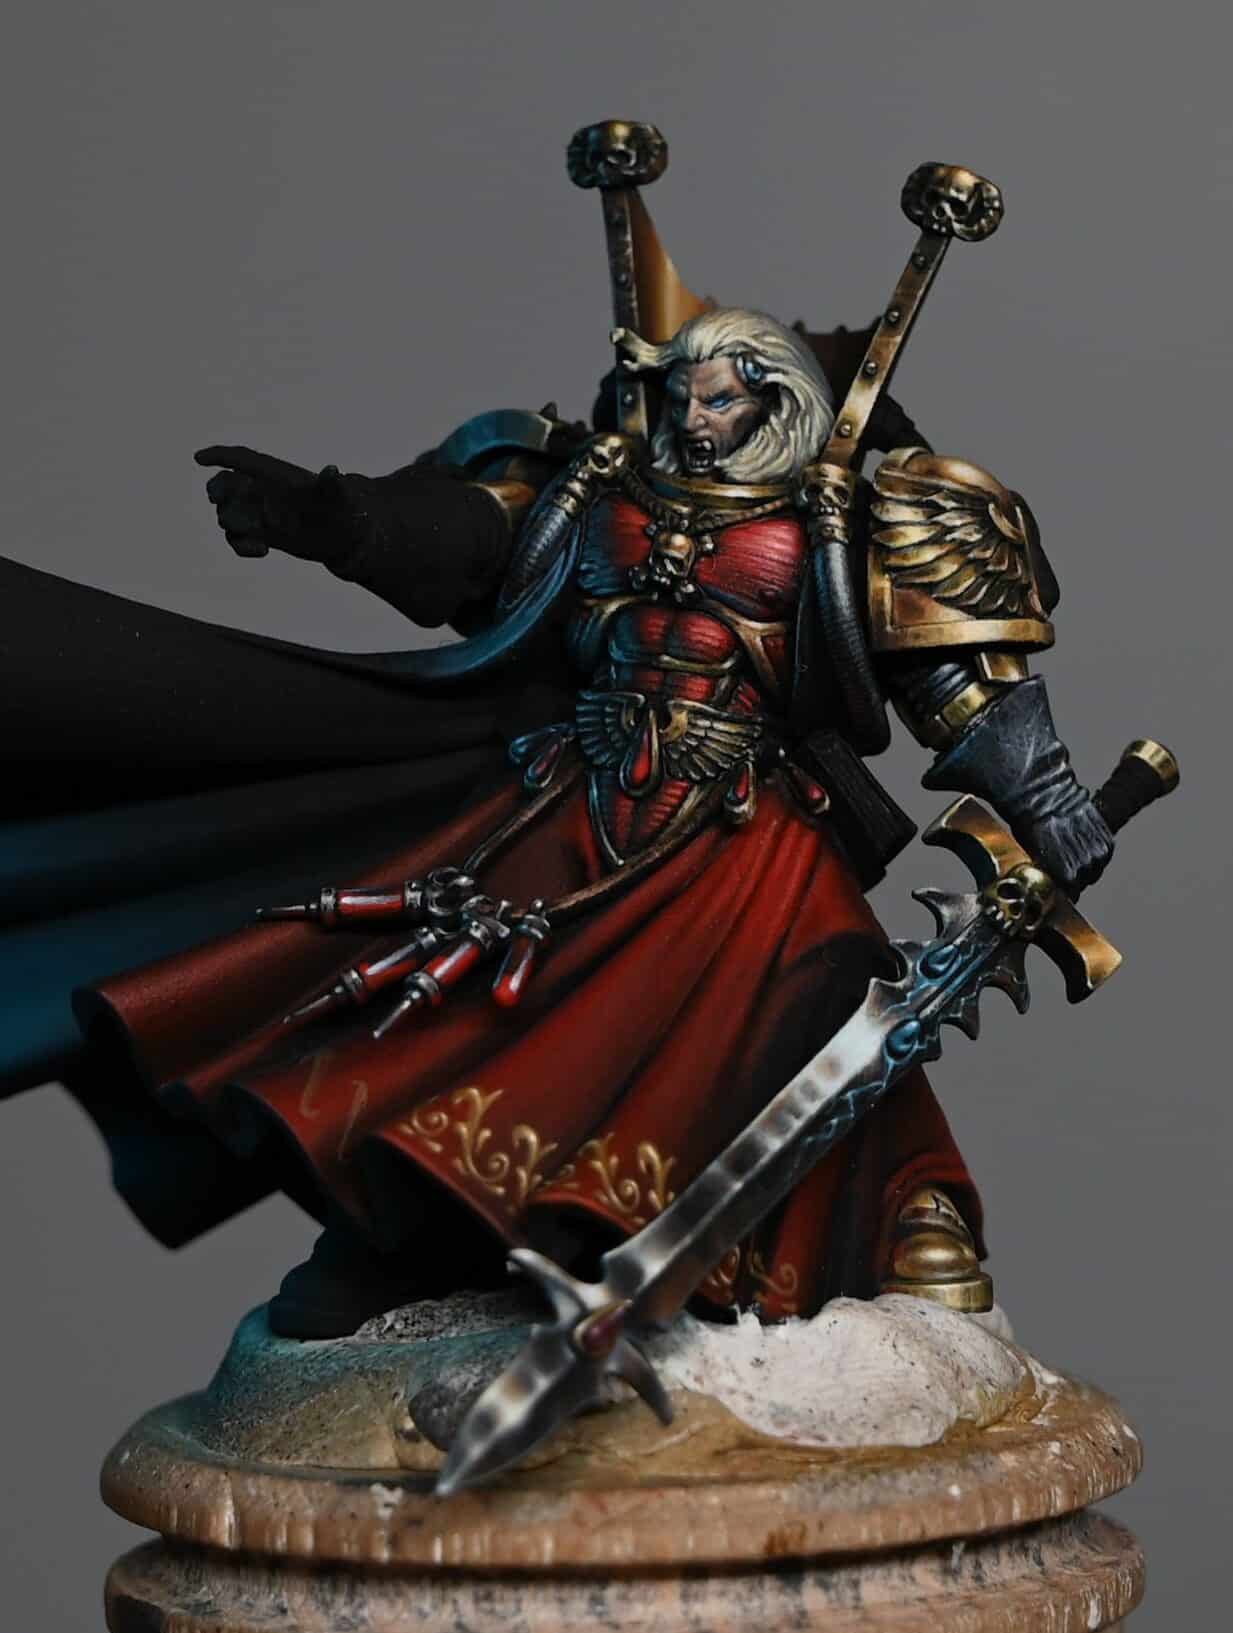
How to paint a non-metallic metal sword (NMM) with a lightning effect, perfect for your Mephiston miniature. This method will add a striking and dynamic element to your model.
Video: How to Paint Non-Metallic Metal Sword w/Lightning
All videos are recorded in HD 1080p or higher – use full screen for the full effect and let the video load completely.
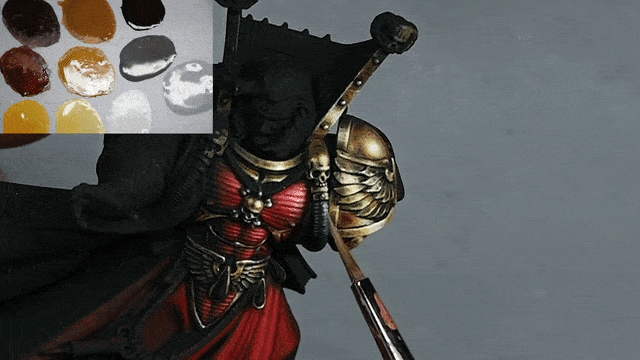
Paints and Materials Needed
- Paints: Basalt Grey, Neutral Grey, Ice Yellow, Black, Pale Grey Blue (Vallejo), Mournfang Brown, Rhinox Hide, Sotek Green (Games Workshop), Morrow White (P3)
- Ultra Matte varnish
- Fine paintbrushes
- Wet palette
Step by Step Guide
- Primer and Base Layers:
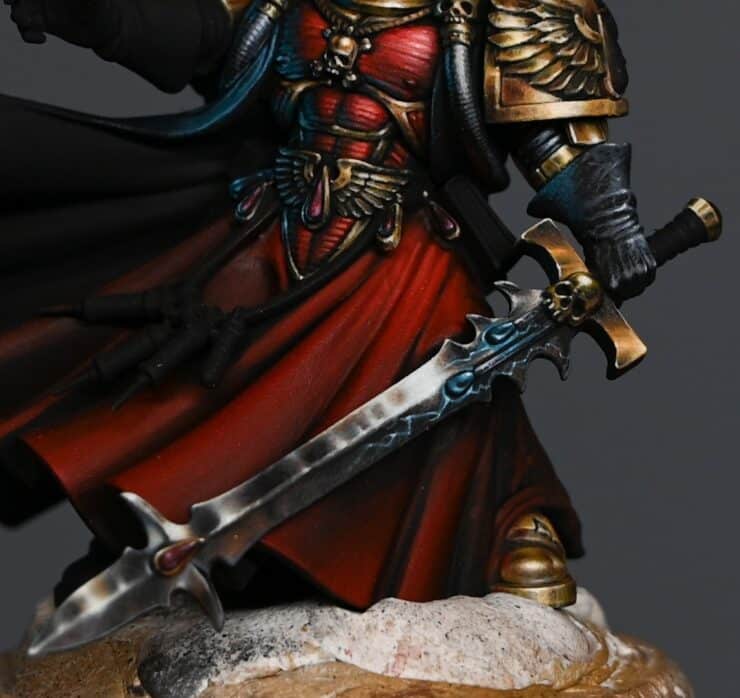
- Ensure your sword is primed black. Begin by applying Basalt Grey to the sword, using horizontal strokes if the sword is held horizontally. This step forms the base of our NMM effect.
- Creating Texture and Contrast:
- Add some texture to your paintwork by creating random reflections on the blade with Basalt Grey. Increase the contrast by adding Ice Yellow for bright highlights. Remember, the Vallejo colours may separate on the palette, so ensure you mix them well before applying.
- Blending and Highlights:
- Use a stippling technique for blending. Mix Neutral Grey and Ice Yellow on your brush for an intermediate tone and blend directly on the model. The goal is to create a smooth transition from dark to light, focusing on the edges of the blade.
- Adding Colour to Transitions:
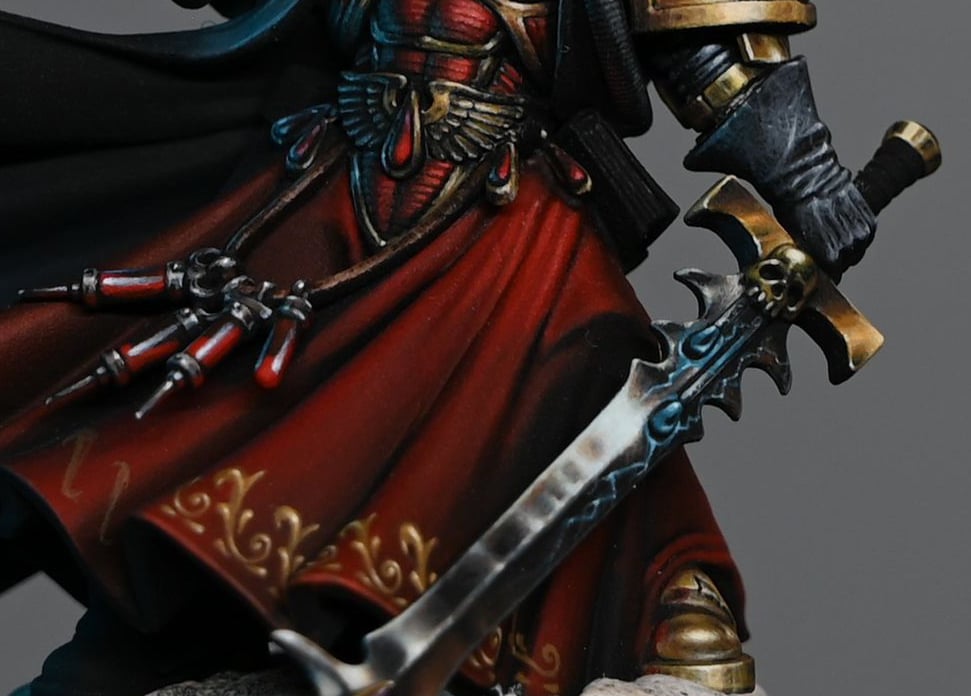
- Introduce Pale Grey Blue at the edges of the transitions for colour variation. This step is crucial for adding realism to the NMM effect.
- Painting the Lightning Effect:
- Begin with Sotek Green to paint the base of your lightning. Create thin, jagged lines emanating from the blue gems on the sword hilt. Mix in a small amount of Morrow White with Sotek Green for a lighter shade and highlight the lightning bolts, focusing on the forks for a realistic effect.
- Detailing the Sword Hilt:
- Paint the hilt in a gold colour (method not covered in this tutorial). Ensure the hilt complements the blade in terms of light direction and colour intensity.
- Adjusting the Lower Part of the Blade:
- Paint the lower part of the blade using Mournfang Brown and Rhinox Hide, keeping it darker to contrast with the lightning. This area reflects the ground, so keep the highlights subtle and minimal.
- Final Touches:
- Use Black, watered down, for glazing and refining the transitions. This step is crucial for achieving a smooth gradient and realistic metallic effect.
- Revisit any areas that need more contrast or sharper highlights. The brightest spots should be opaque for a shiny effect.
- Finishing with Ultra Matte Varnish:
- Once satisfied with your painting, apply a coat of Ultra Matte varnish to even out the surface and enhance the overall look.
The key to successful NMM is patience and attention to detail, especially when blending colours. Remember, the placement and intensity of highlights and shadows are crucial in creating a realistic metallic effect. Enjoy the process, and your Mephiston’s sword will be a standout feature on the battlefield!
Watch all the Mephiston Tutorials
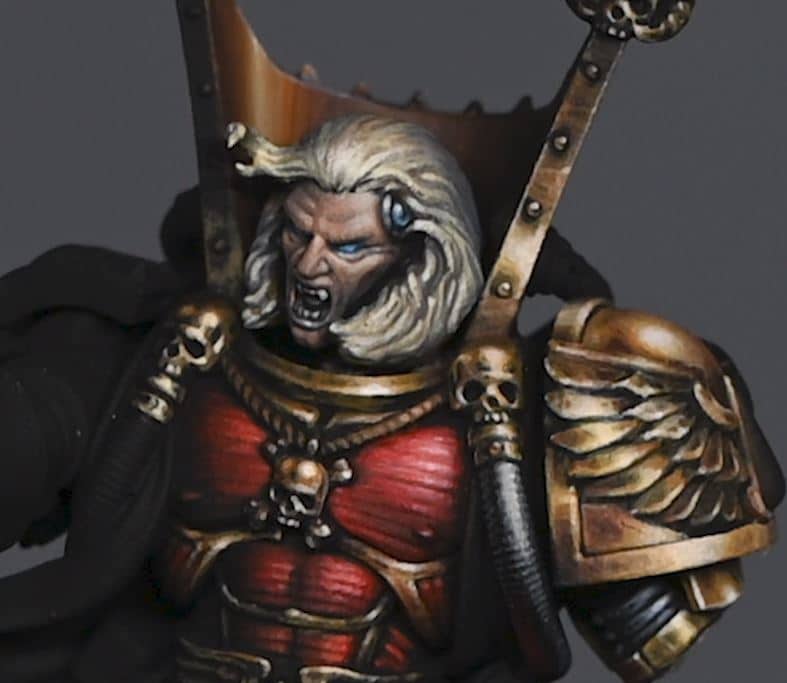
Mephiston, Lord of Death
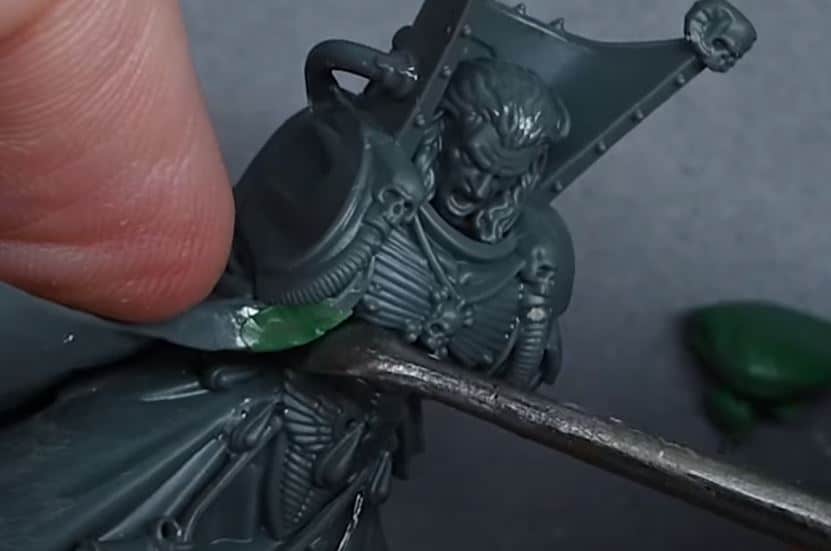
Here are all of my tutorials so far on how to paint Mephiston, from basic assembly and removing mould lines and filling gaps, to detailed instruction on his painting itself with freehand, NMM and more.
Explore the Mephiston Tutorials by Technique

If you don’t have an account, please sign up here! The website currently has over 350 video tutorials with steps and tips, plus a selection of PDFs. If you are not sure about joining, you can explore my free videos with a free membership, or take the plunge and become a full subscriber for full access.


If you’d prefer to support me on Patreon, please visit: https://www.patreon.com/RichardGray