


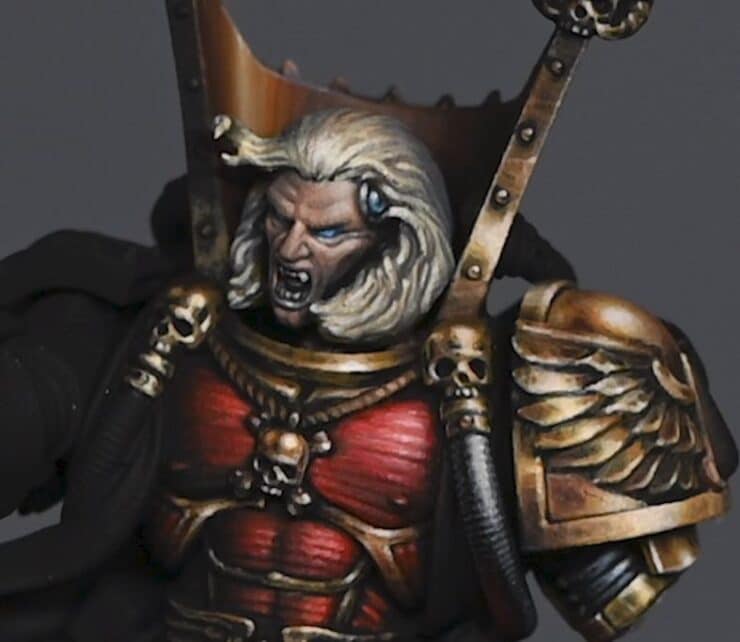
This tutorial covers the detailed process of how to paints Mephiston’s head, focusing on achieving a realistic and dynamic look suitable for a display standard model. The key is to build up thin layers of paint, carefully consider light sources and their impact on facial features, and adjust colours and details as needed. Lets get started!
Video: How to Paint Mephiston’s Head
All videos are recorded in HD 1080p or higher – use full screen for the full effect and let the video load completely.
Paints and Materials Needed
- Paints: Cadian Fleshtone, XV-88, Kislev Flesh, Macragge Blue, Calgar Blue, Blue Horror, Abaddon Black, Ushabti Bone, Screaming Skull (Games Workshop); Ice Yellow, Neutral Grey, Pale Grey Blue (Vallejo); Morrow White (P3, or any white)
Step by Step Guide
- Skin Base Layer:
- Begin by applying a thin base layer of Cadian Fleshtone, using a 2:1 ratio of water to paint. Apply multiple layers to build up colour, focusing on keeping the paint thin to avoid texture build-up on the face.
- Hair Base Layer:
- For the hair, use XV-88 with a similar water to paint ratio as the skin. The goal is to lay a foundation for subsequent detailing and highlights.
- Eye Sockets:
- Fill in the eye sockets with Cantor Blue. The focus is to cover the whole recess without overspilling onto the lower eyelids. This sets the stage for Mephiston’s glowing blue eyes.
- Adjusting Flesh Tones:
- Mix a small amount of Abaddon Black with Cadian Fleshtone to create a darker flesh tone for shading. Apply this carefully, focusing on the left side of the face, which will be in shadow due to planned OSL (Object Source Lighting) effects.
- Refining Facial Highlights:
- Apply Kislev Flesh to raised areas of the face. This stage involves working back and forth with different skin tones to create a realistic light effect. Pay particular attention to the nose bridge and avoid highlighting just the tip of the nose.
- Hair Detailing:
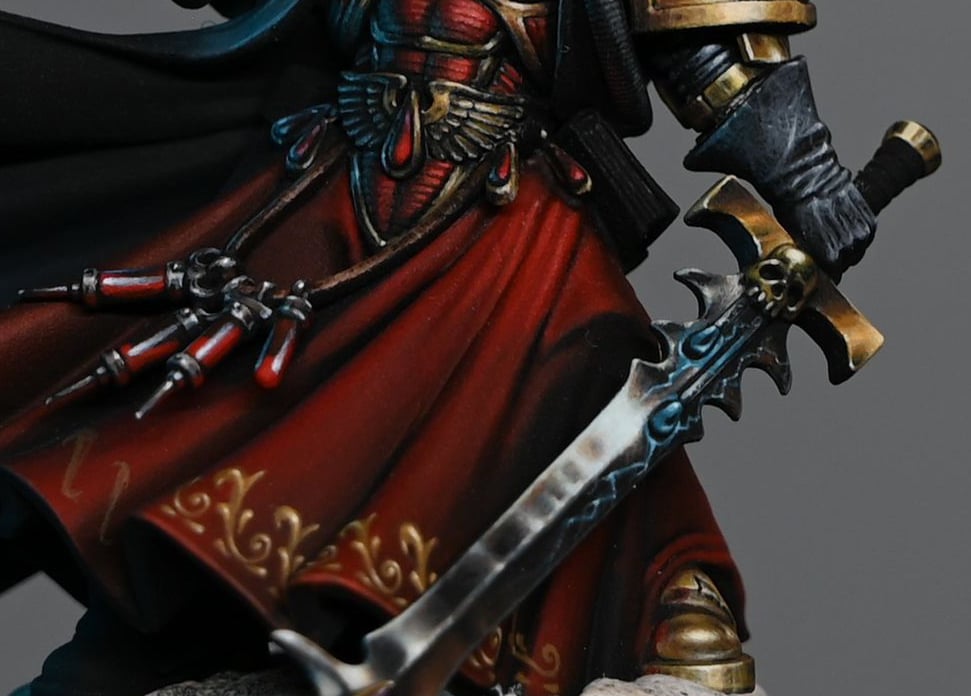
- Blend Ice Yellow with XV-88 for the hair, focusing on creating transitions and natural looking highlights. Later, adjust the hair colour with grey tones to achieve a more platinum blonde look, differentiating it from the non-metallic gold elsewhere on the model.
- Facial Details:
- Use Screaming Skull for teeth, keeping them understated rather than overly bright. Apply white highlights to the blue eyes, making them glow but avoiding an overly bright look.
- Metal Temple Piece:
- Paint the metal piece on the temple starting with Neutral Grey and working up to Pale Grey Blue and then white for the brightest highlights. This should mimic the light effect seen on the rest of the model.
- Final Touches:
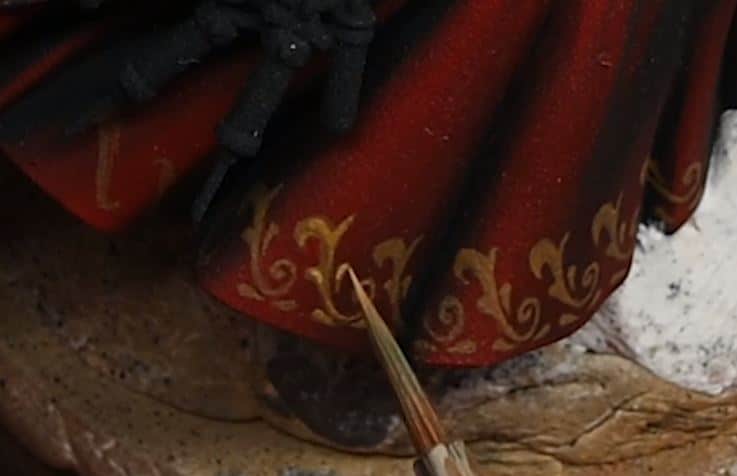
- Apply final highlights and shadows, paying attention to the overall balance of the face. Use photography to assess the progress and make adjustments as needed. Add subtle details like a highlight on the lips and final adjustments to the hair.
Watch all the Mephiston Tutorials
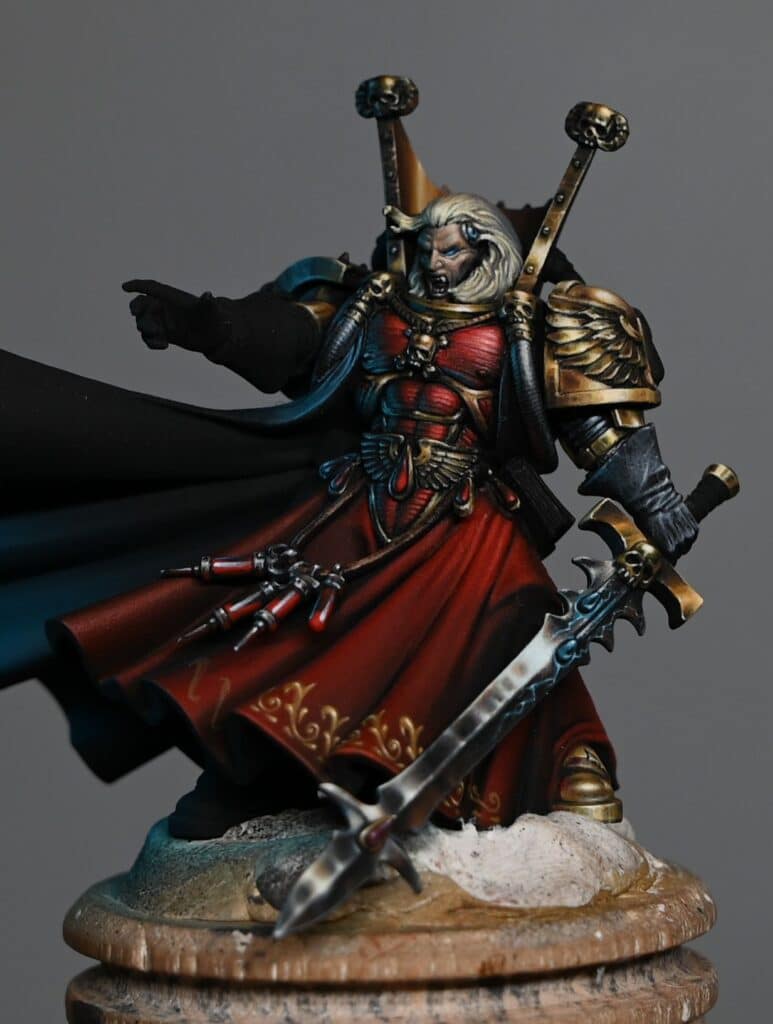
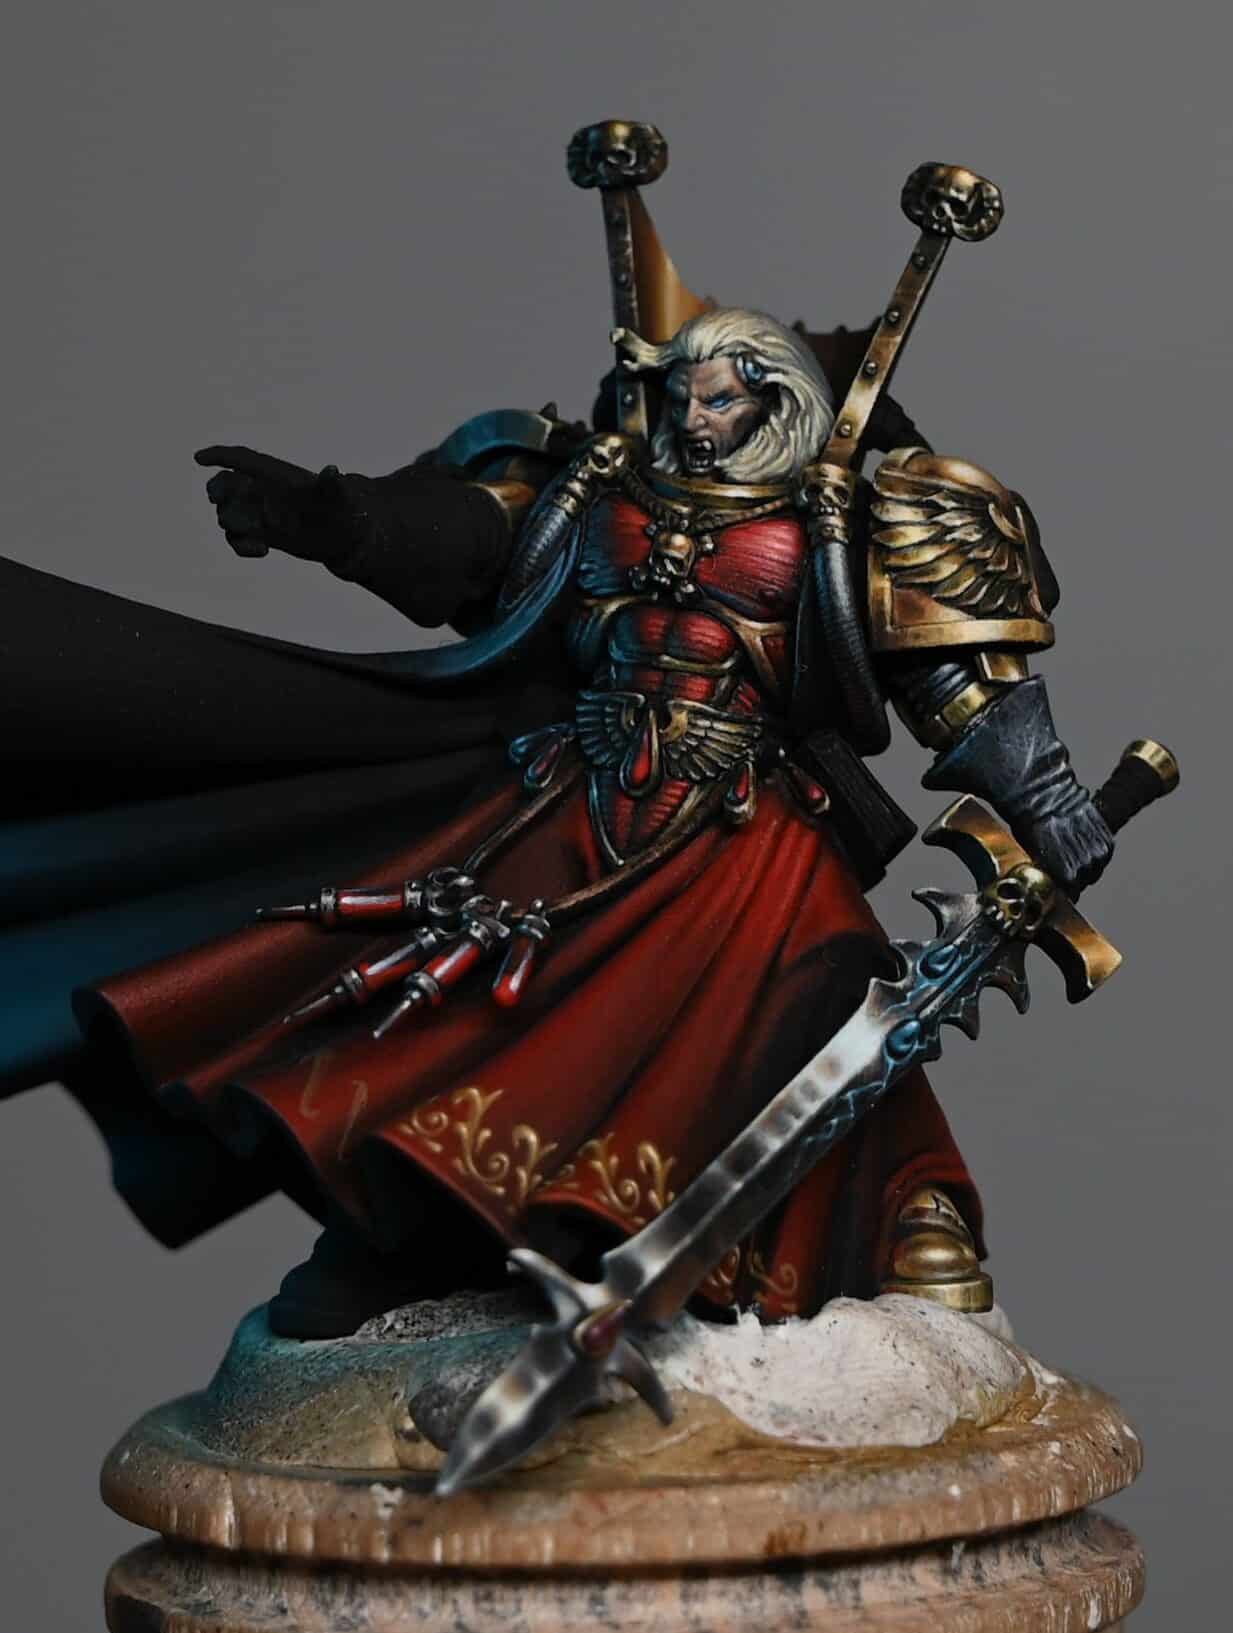
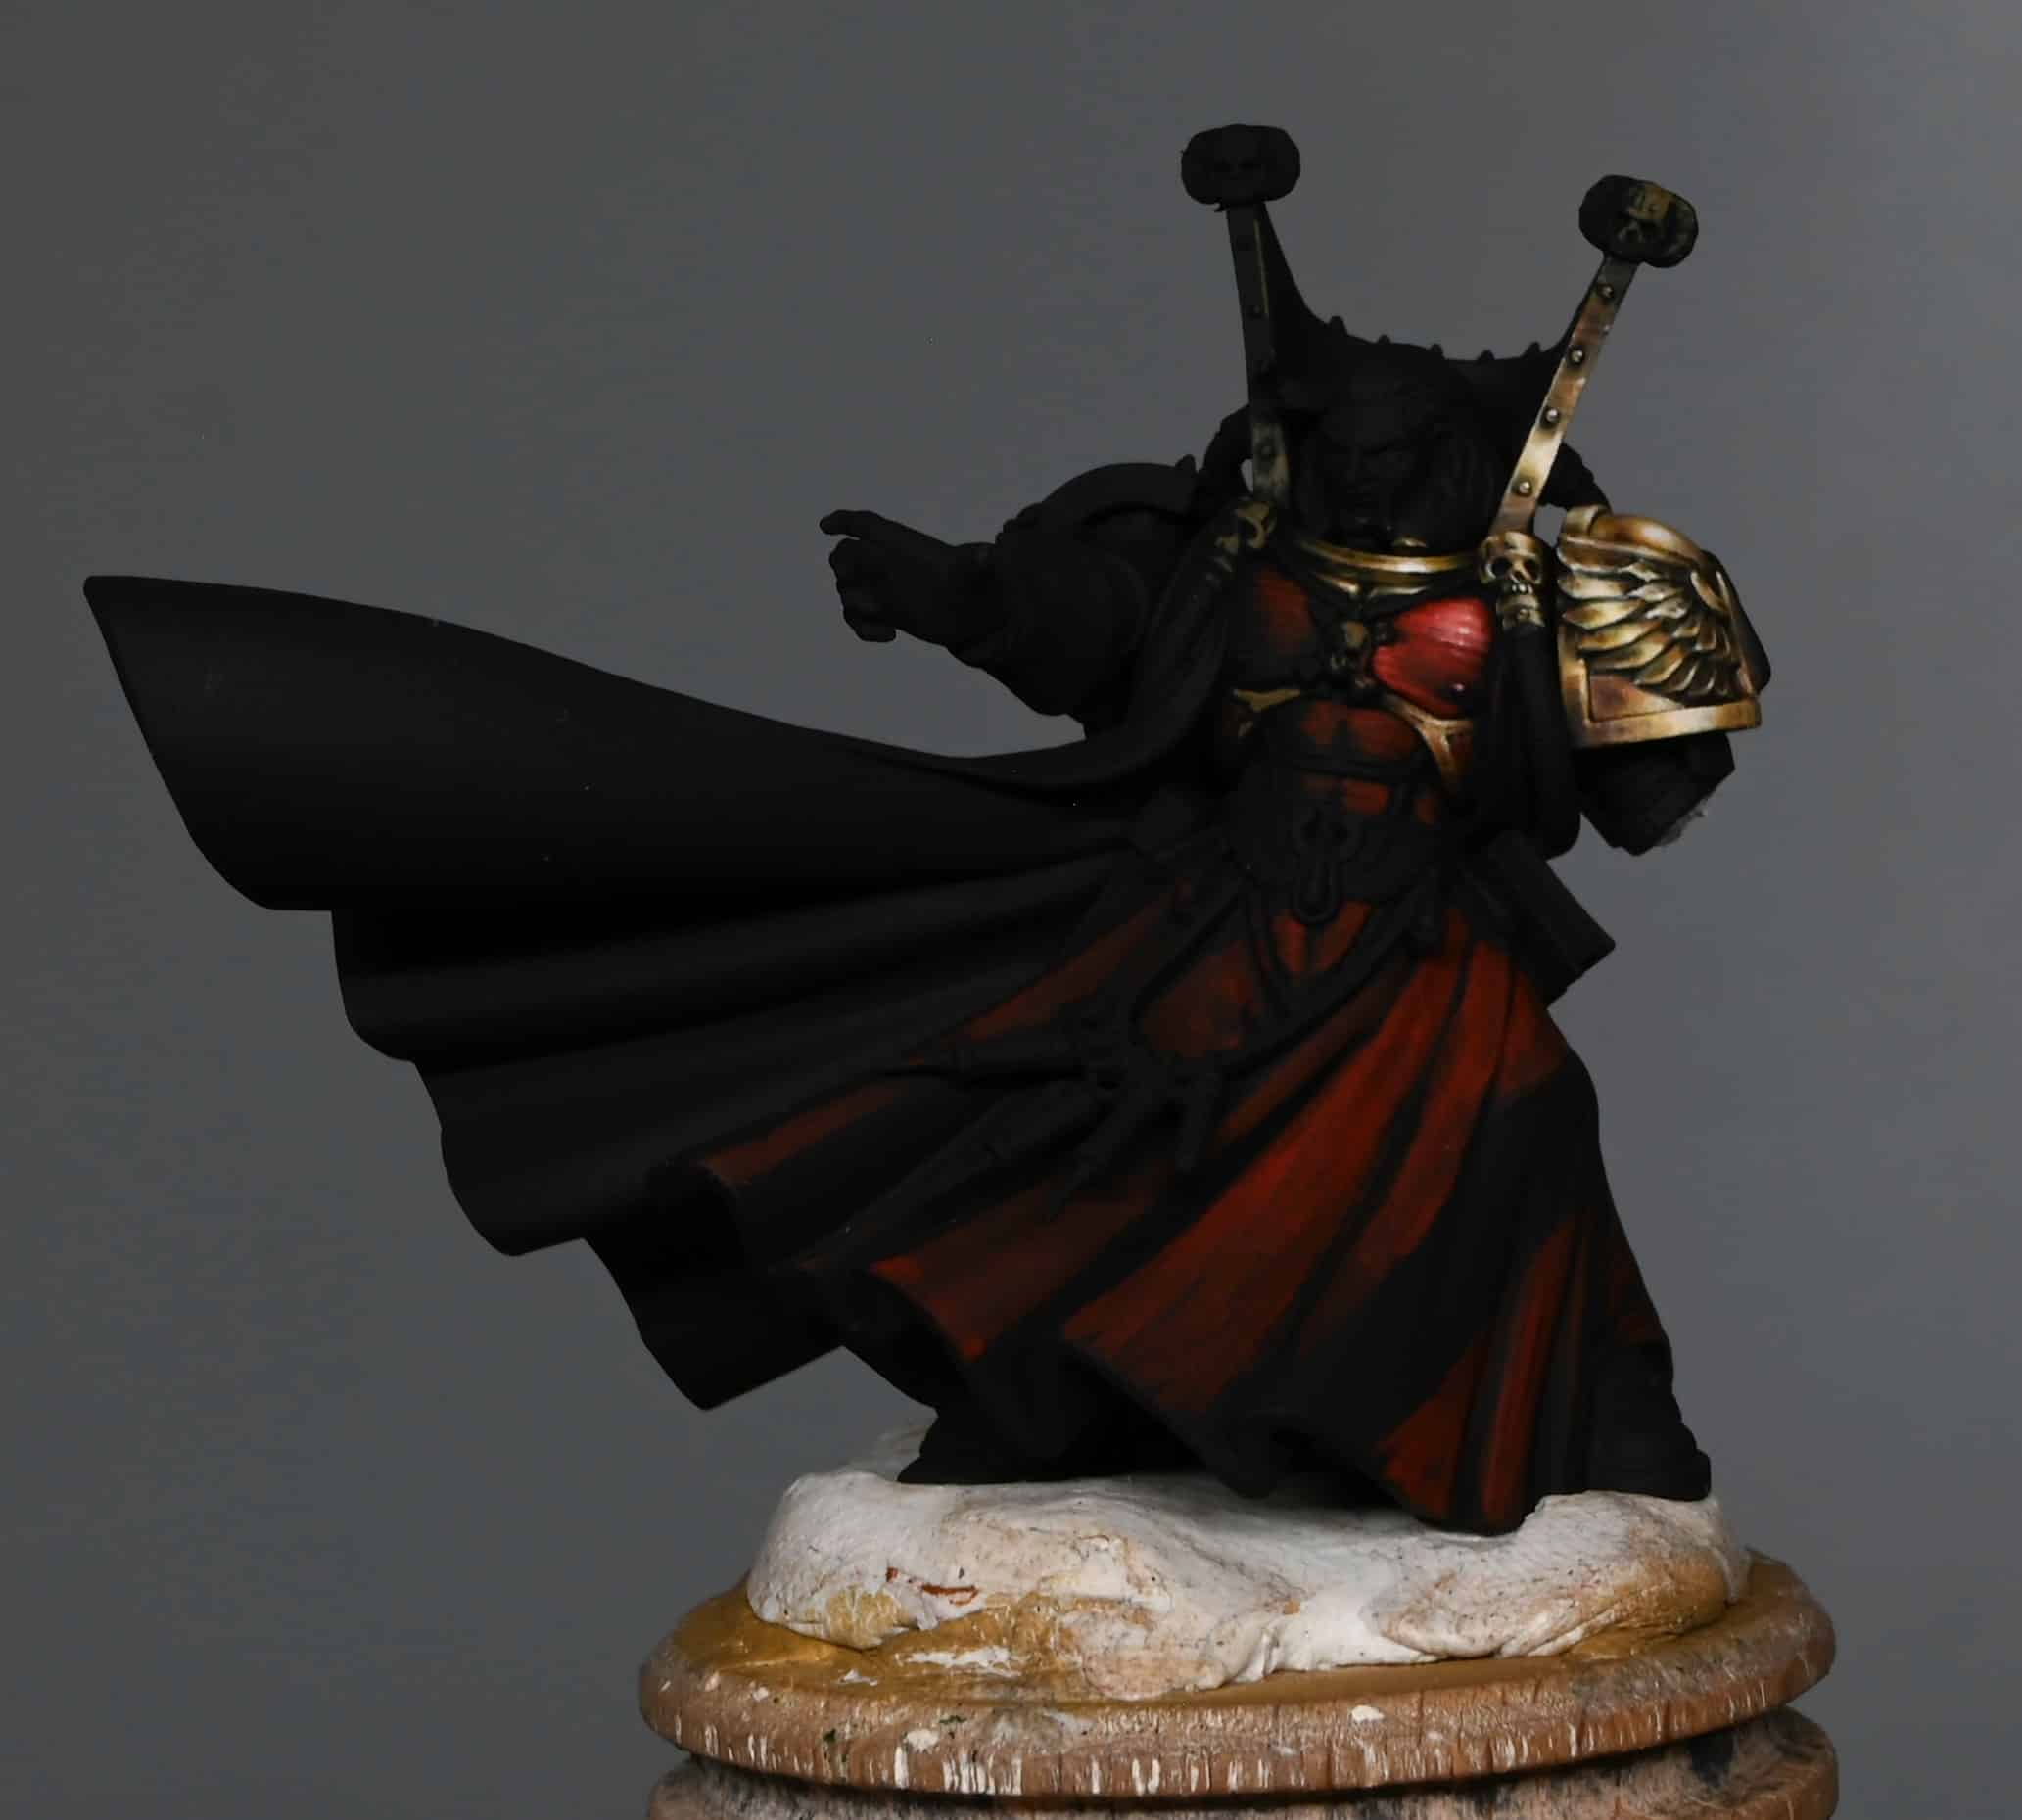
Mephiston, Lord of Death
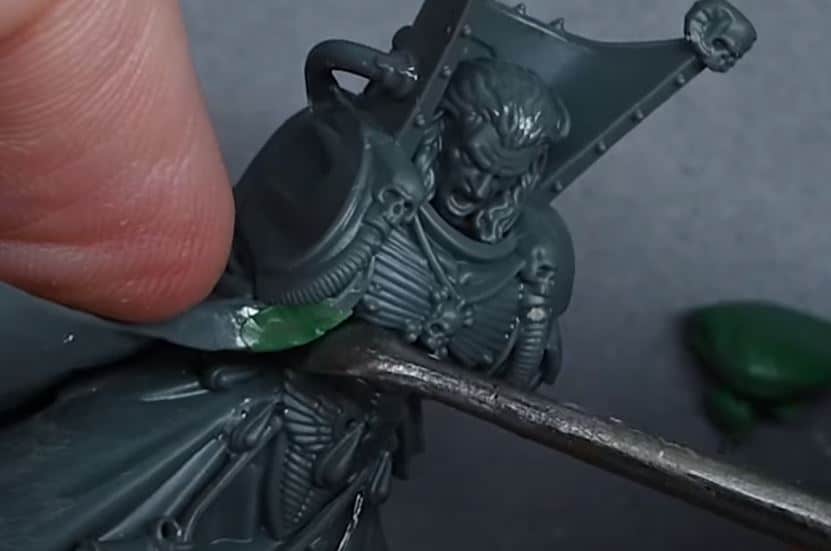
Here are all of my tutorials so far on how to paint Mephiston, from basic assembly and removing mould lines and filling gaps, to detailed instruction on his painting itself with freehand, NMM and more.
Explore the Mephiston Tutorials by Technique


If you don’t have an account, please sign up here! The website currently has over 350 video tutorials with steps and tips, plus a selection of PDFs. If you are not sure about joining, you can explore my free videos with a free membership, or take the plunge and become a full subscriber for full access.


If you’d prefer to support me on Patreon, please visit: https://www.patreon.com/RichardGray