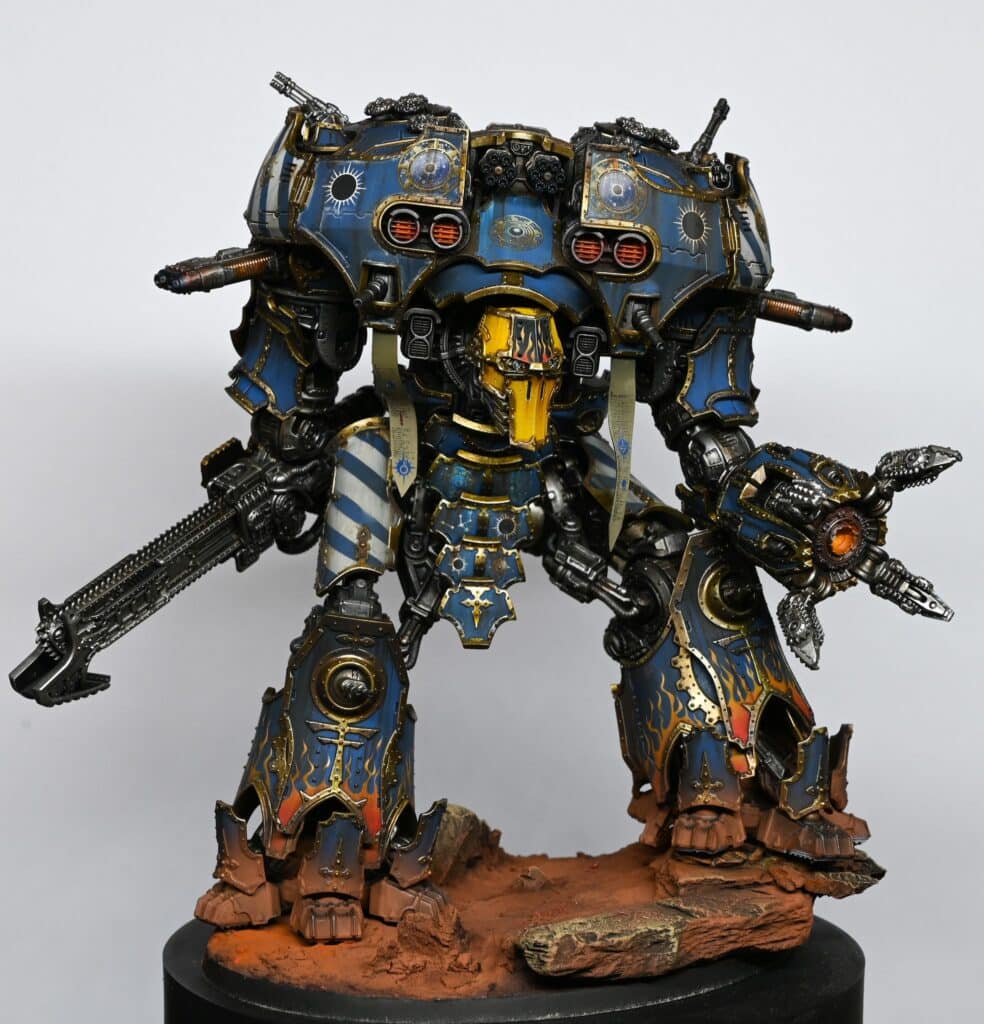
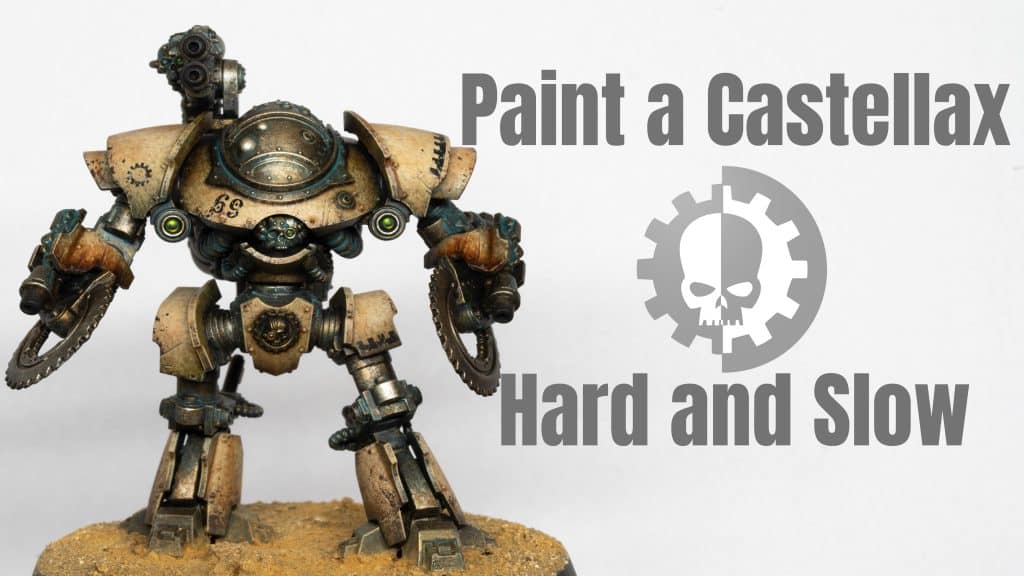
A video tutorial with step-by-step guide on how to freehand a skull on Castellan Knight legplate, with advanced shading and patterns.
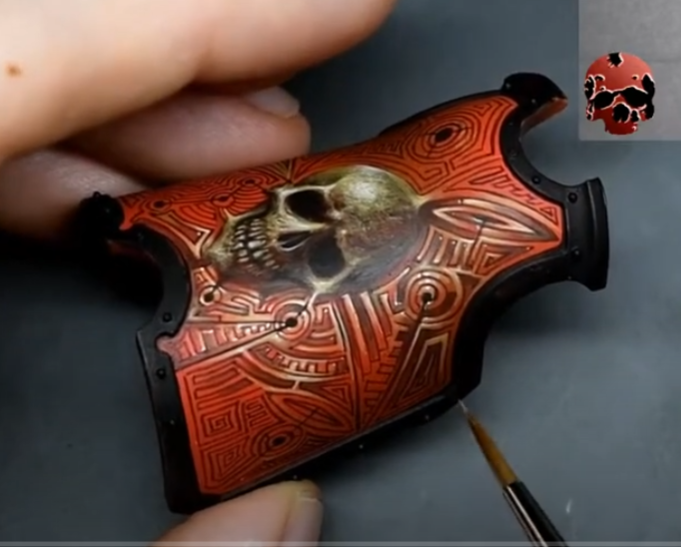
This guide will take you through painting a detailed skull freehand on the shin panel of a Castellan Knight miniature from Games Workshop. We’re focusing on creating a striking skull design amidst a vivid background, with a two-part process that lays the groundwork for intricate background details to be added later. The process begins with modifying the shin panel for a smooth painting surface, followed by base colouring, sketching, and detailing the skull.
Video: Freehand Skull on Imperial Knight Part One
Materials Needed
Brushes:
- Size 1 Artis Opus Brush (used throughout the video for detailed work)
Paints:
Games Workshop (Citadel):
- Rhinox Hide: Base sketching of the skull
- Balor Brown: Refining skull details
- Ushabti Bone: Highlighting the skull
- Ceramite White: Final highlights on the skull
- Wild Rider Red: Used for airbrushing the background (mentioned as part of the orange base)
- Troll Slayer Orange: Part of the airbrushed background
- Mournfang Brown: Used in shadows and for airbrushing background details
Privateer Press (P3):
- Battlefield Brown: Alternative to GW Scorched Brown, used for shading
Vallejo:
- Model Colour Black: For defining eye sockets and other dark areas on the skull
Other Materials:
- Airbrush: For applying the base layer of the shin panel
- Scalpel: For modifying the shin panel to create a smooth surface
- Fine Grit Sandpaper: For smoothing the modified shin area
- Wet Palette: To keep paints hydrated and workable
- Water Container: For rinsing brushes
- Paper Towels: For brush cleaning and paint dabbing
Preparation Tools:
- Filling Material: To fill in gaps after modifying the shin panel for a smooth painting surface
Step-by-Step Guide
Preparing the Surface
- Modify the Shin Panel: Begin by carefully removing excess detail from the shin panel using a scalpel. Fill in any gaps to create a smooth surface for your freehand painting. Although minor dimples might remain, they will be covered by the paintwork.
Base Colouring
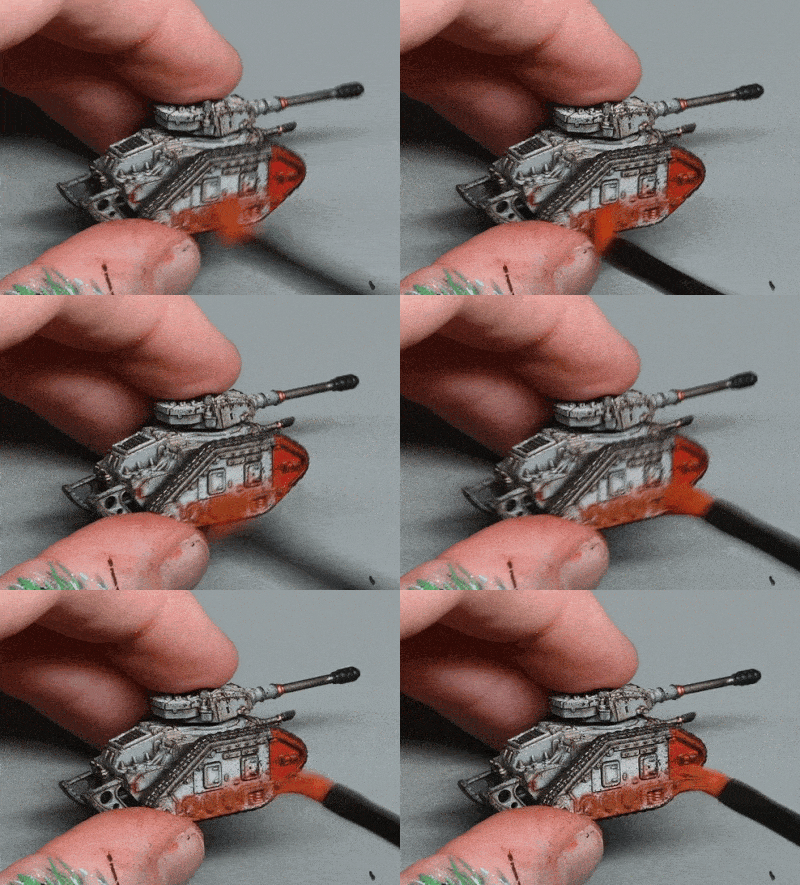
- Airbrush Background: Apply an airbrushed base layer using Wildrider Orange, Troll Slayer Orange, and a touch of Mournfang Brown for shadows. This creates a vibrant orange backdrop, setting a stark contrast for the skull.
Sketching the Skull
- Outline with Rhinox Hide: Start sketching the skull using Rhinox Hide, focusing on getting the overall shape rather than detailed features like eye sockets or teeth. This stage doesn’t require perfection in symmetry or detail, as adjustments can be made later.
- Refine with Balor Brown: With Balor Brown, begin refining the skull’s structure, particularly around the temples, nose, and eye sockets. This layer adds dimension and prepares for detailed work.
Detailing the Skull
- Highlight with Ushabti Bone: Use Ushabti Bone to start bringing out the highlights of the skull. This step involves building up from the darkest shadows to the lightest areas, considering the light source will be from the top left.
- Deepen Shadows: Apply Vallejo Model Colour Black to define the eye sockets and other deep shadows within the skull, enhancing the contrast and depth.
- Add Texture and Fine Details: Continue with Balor Brown and Ushabti Bone, applying very light, fine strokes to create texture and detail across the skull’s surface. Focus on asymmetry and imperfections for a more realistic appearance.
- Final Highlights with Ceramite White: Use Ceramite White sparingly to add the brightest highlights, concentrating on areas that would catch the most light. This step dramatically increases the contrast and brings the skull to life.
Starting the Background Pattern
- Outline Pattern with Black: Begin outlining the background pattern, starting with simple geometric shapes and lines to create a non-symmetrical, maze-like design. This base pattern sets the stage for further detailing.
- Apply Initial Highlights: Initially, experiment with Fire Dragon Bright for highlights but plan to integrate the skull’s colours (Balor Brown, Ushabti Bone, Ceramite White) into the background for consistency.
Finishing Touches
- Adjust and Refine: As the background pattern develops, continuously adjust and refine the design. Incorporate shadows and highlights to create depth and interest, using P3 Battlefield Brown for shading.
- Merge Skull and Background: Begin to subtly blend elements of the skull into the background pattern, ensuring the entire piece feels cohesive.
Video: Freehand Skull on Imperial Knight Part Two
Where we focus on refining the maze-like background detail introduced in Part 1, enhancing the overall visual appeal and integrating the skull into the pattern for a cohesive look.
Materials Required:
- Brushes: A fine detail brush, ideally size 0 or 1.
- Paints: Games Workshop’s Wild Rider Red, Rhinox Hide, Ceramite White, Zamersi Desert, Ushabti Bone, Firedragon Bright, Abaddon Black, and P3’s Battlefield Brown (or Baneblade Brown as a GW alternative).
- Other Supplies: A wet palette for mixing paints, water for thinning paints, and kitchen paper for brush cleaning.
Step-by-Step Guide:
- Review and Refine the Existing Pattern:
- Begin by assessing the pattern laid out in Part 1. Identify areas that require refining or adjustments to ensure a unified appearance across the entire shin armour.
- Adjusting the Pattern:
- Use a mix of Rhinox Hide and Battlefield Brown to refine areas needing adjustments. This may involve smoothing transitions between different sections of the pattern or altering shapes to better integrate with the overall design.
- Focus particularly on areas around the white dots and sections that appeared overly bright or disjointed in Part 1. The aim is to create seamless transitions between the skull and the background pattern.
- Enhancing Contrast and Depth:
- Apply thin glazes of Rhinox Hide in areas needing more depth, helping to highlight details and make the pattern more intricate.
- Increase contrast by selectively brightening areas with Zamersi Desert, followed by Ushabti Bone and Ceramite White for the highest highlights. This step is crucial for giving the pattern a three-dimensional look.
- Blending the Skull into the Pattern:
- To integrate the skull into the background, extend pattern elements over the edges of the skull. Use a fine detail brush and steady hand to draw lines and shapes that flow from the skull into the surrounding areas, unifying them.
- Final Highlights and Touch-Ups:
- Add final highlights with Ceramite White to the highest points of the pattern, enhancing the illusion of depth and detail.
- Review the piece for any areas requiring further refinement or additional highlights before sealing your work.
- Glazing for Cohesion:
- Create a glaze with Firedragon Bright and water for a thin consistency. Apply this over the entire pattern, especially where transitions need softening or colours unifying. The glaze will blend highlights and shadows for a cohesive look.
- Finishing Touches:
- Once the glaze has dried, reassess the effect. If necessary, redefine any details with base colours that may have been softened too much by the glazing.
- Sealing the Work:
- After ensuring the paint is completely dry, apply a matte varnish to protect your work. This also helps unify the finish across different textures and layers.
More Free Video Tutorials
More free videos for logged in members – just sign up as a ‘friend’ to view and click any of the thumbs.
To explore all of these, visit this page!
If you don’t have an account, please sign up here! The website currently has over 350 video tutorials, plus step by step guides and PDFs. You can explore more free videos with a free “friend” membership, or take the plunge and become a full subscriber for full access.
If you’d prefer to support me on Patreon, please visit: https://www.patreon.com/RichardGray




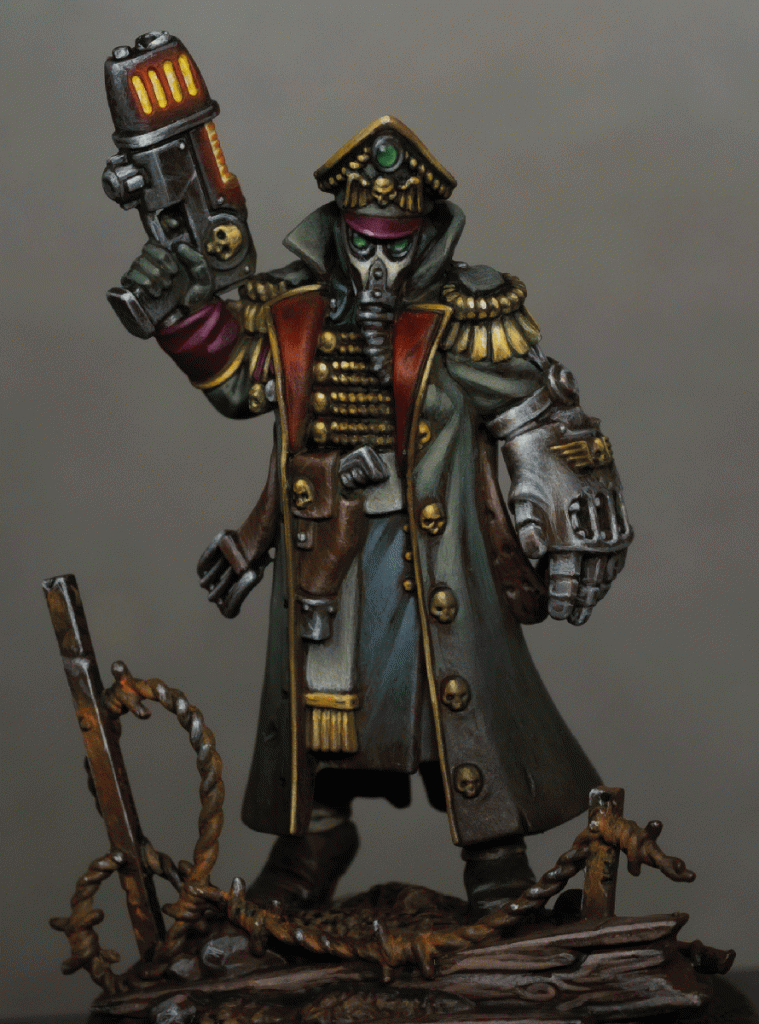


Hi Richard,
Thanks a lot for your tutorials, they have been a great experience for me to try them.
https://i.imgur.com/1azqCPg.jpg
Regards,