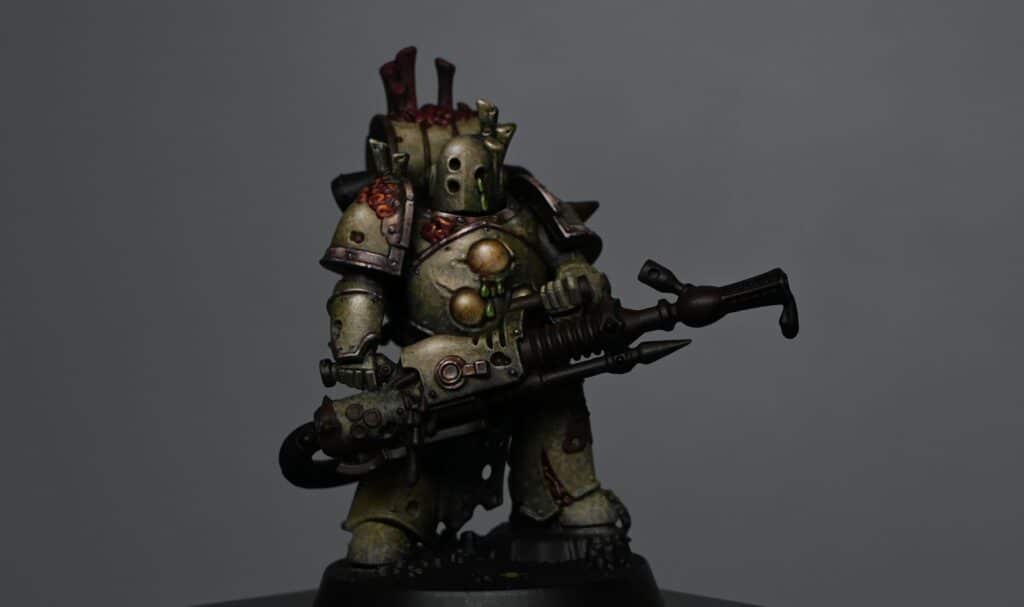
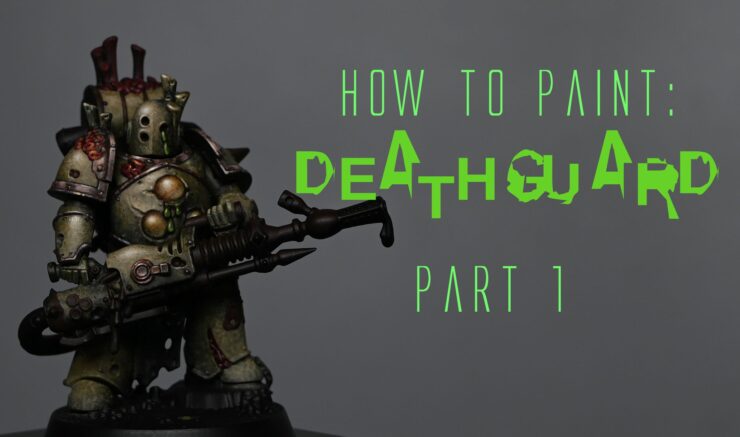
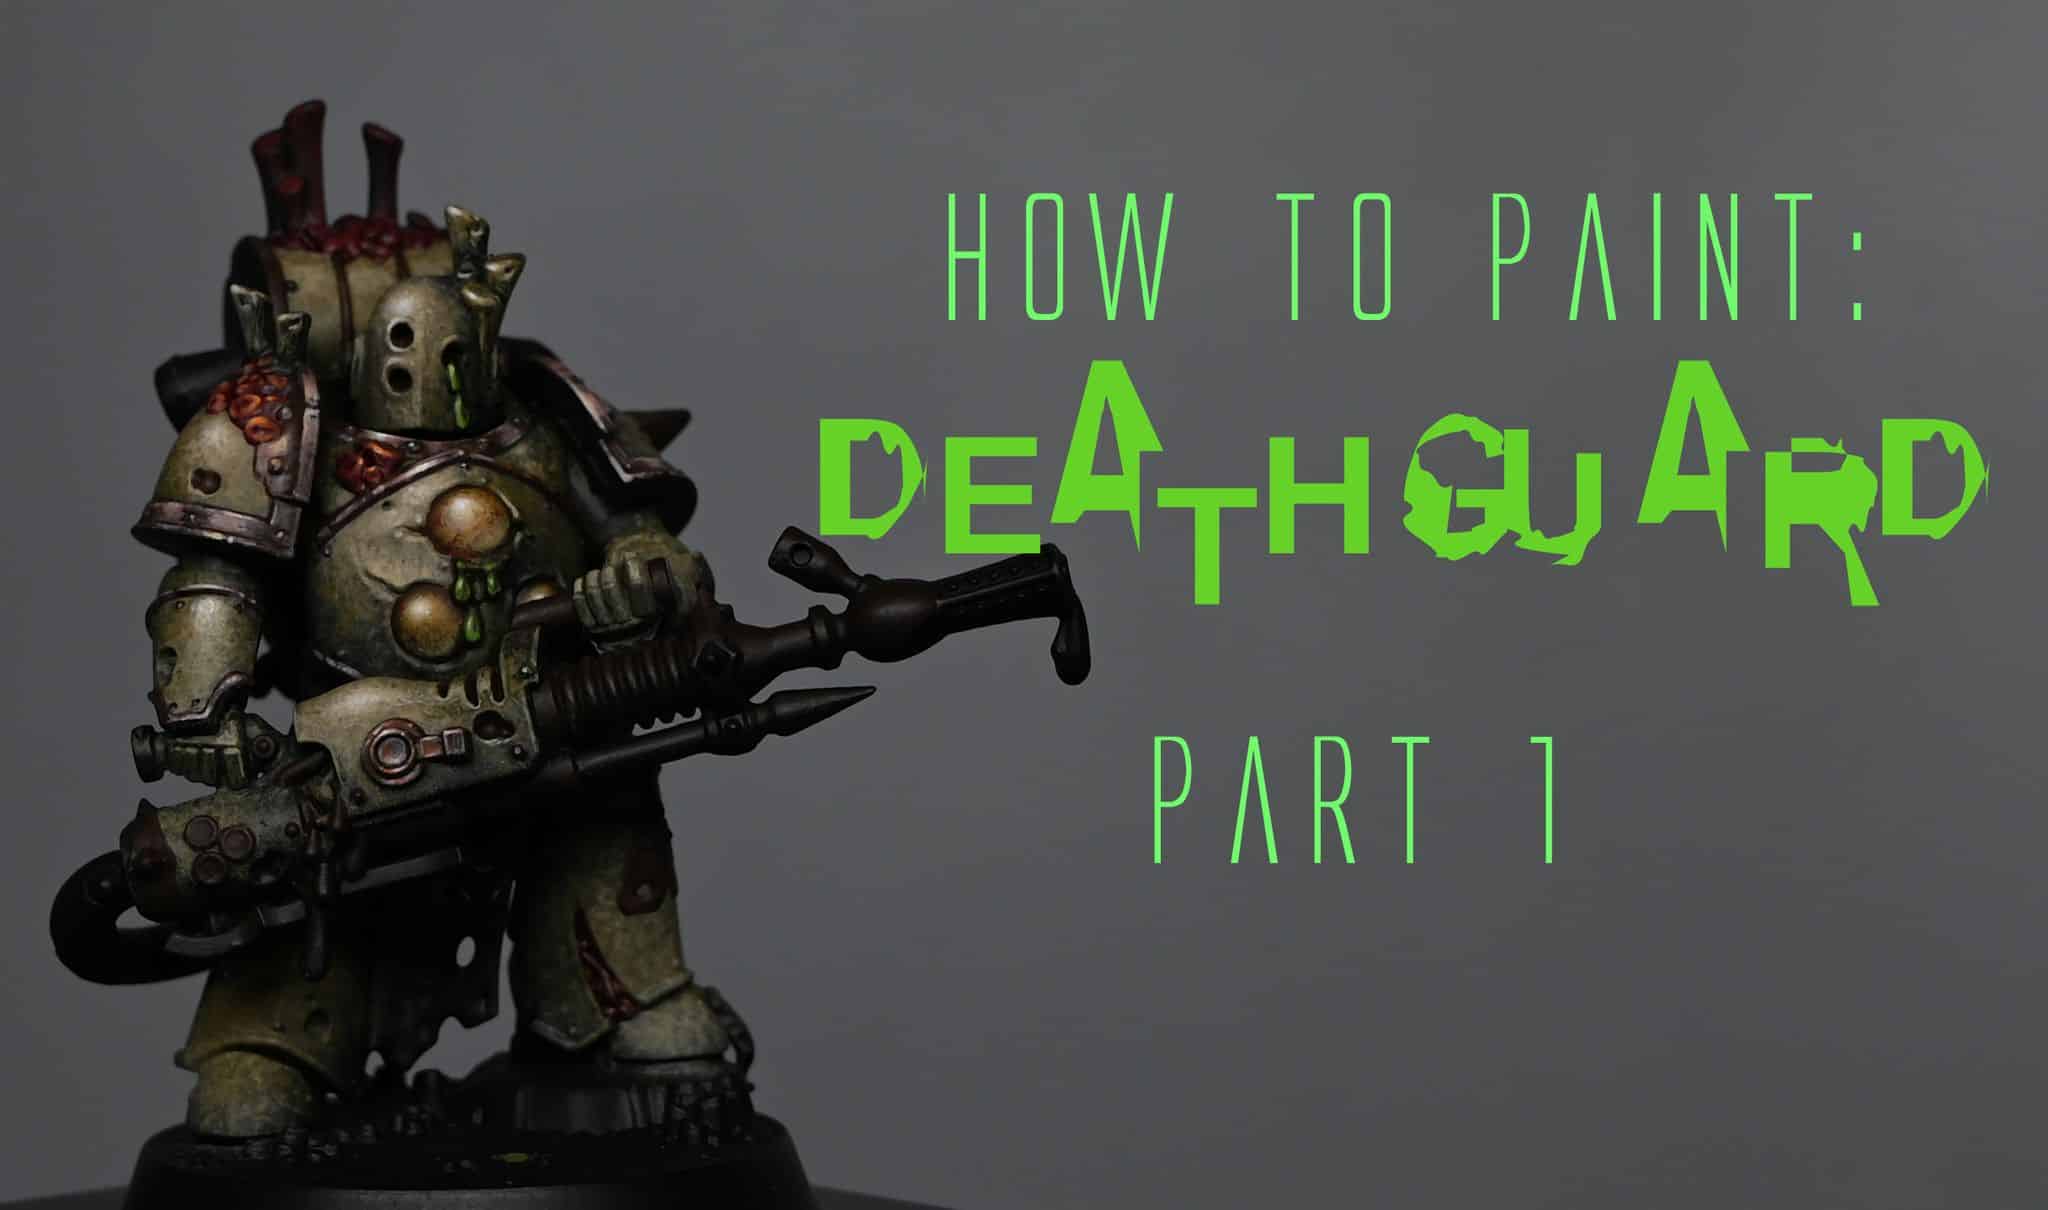
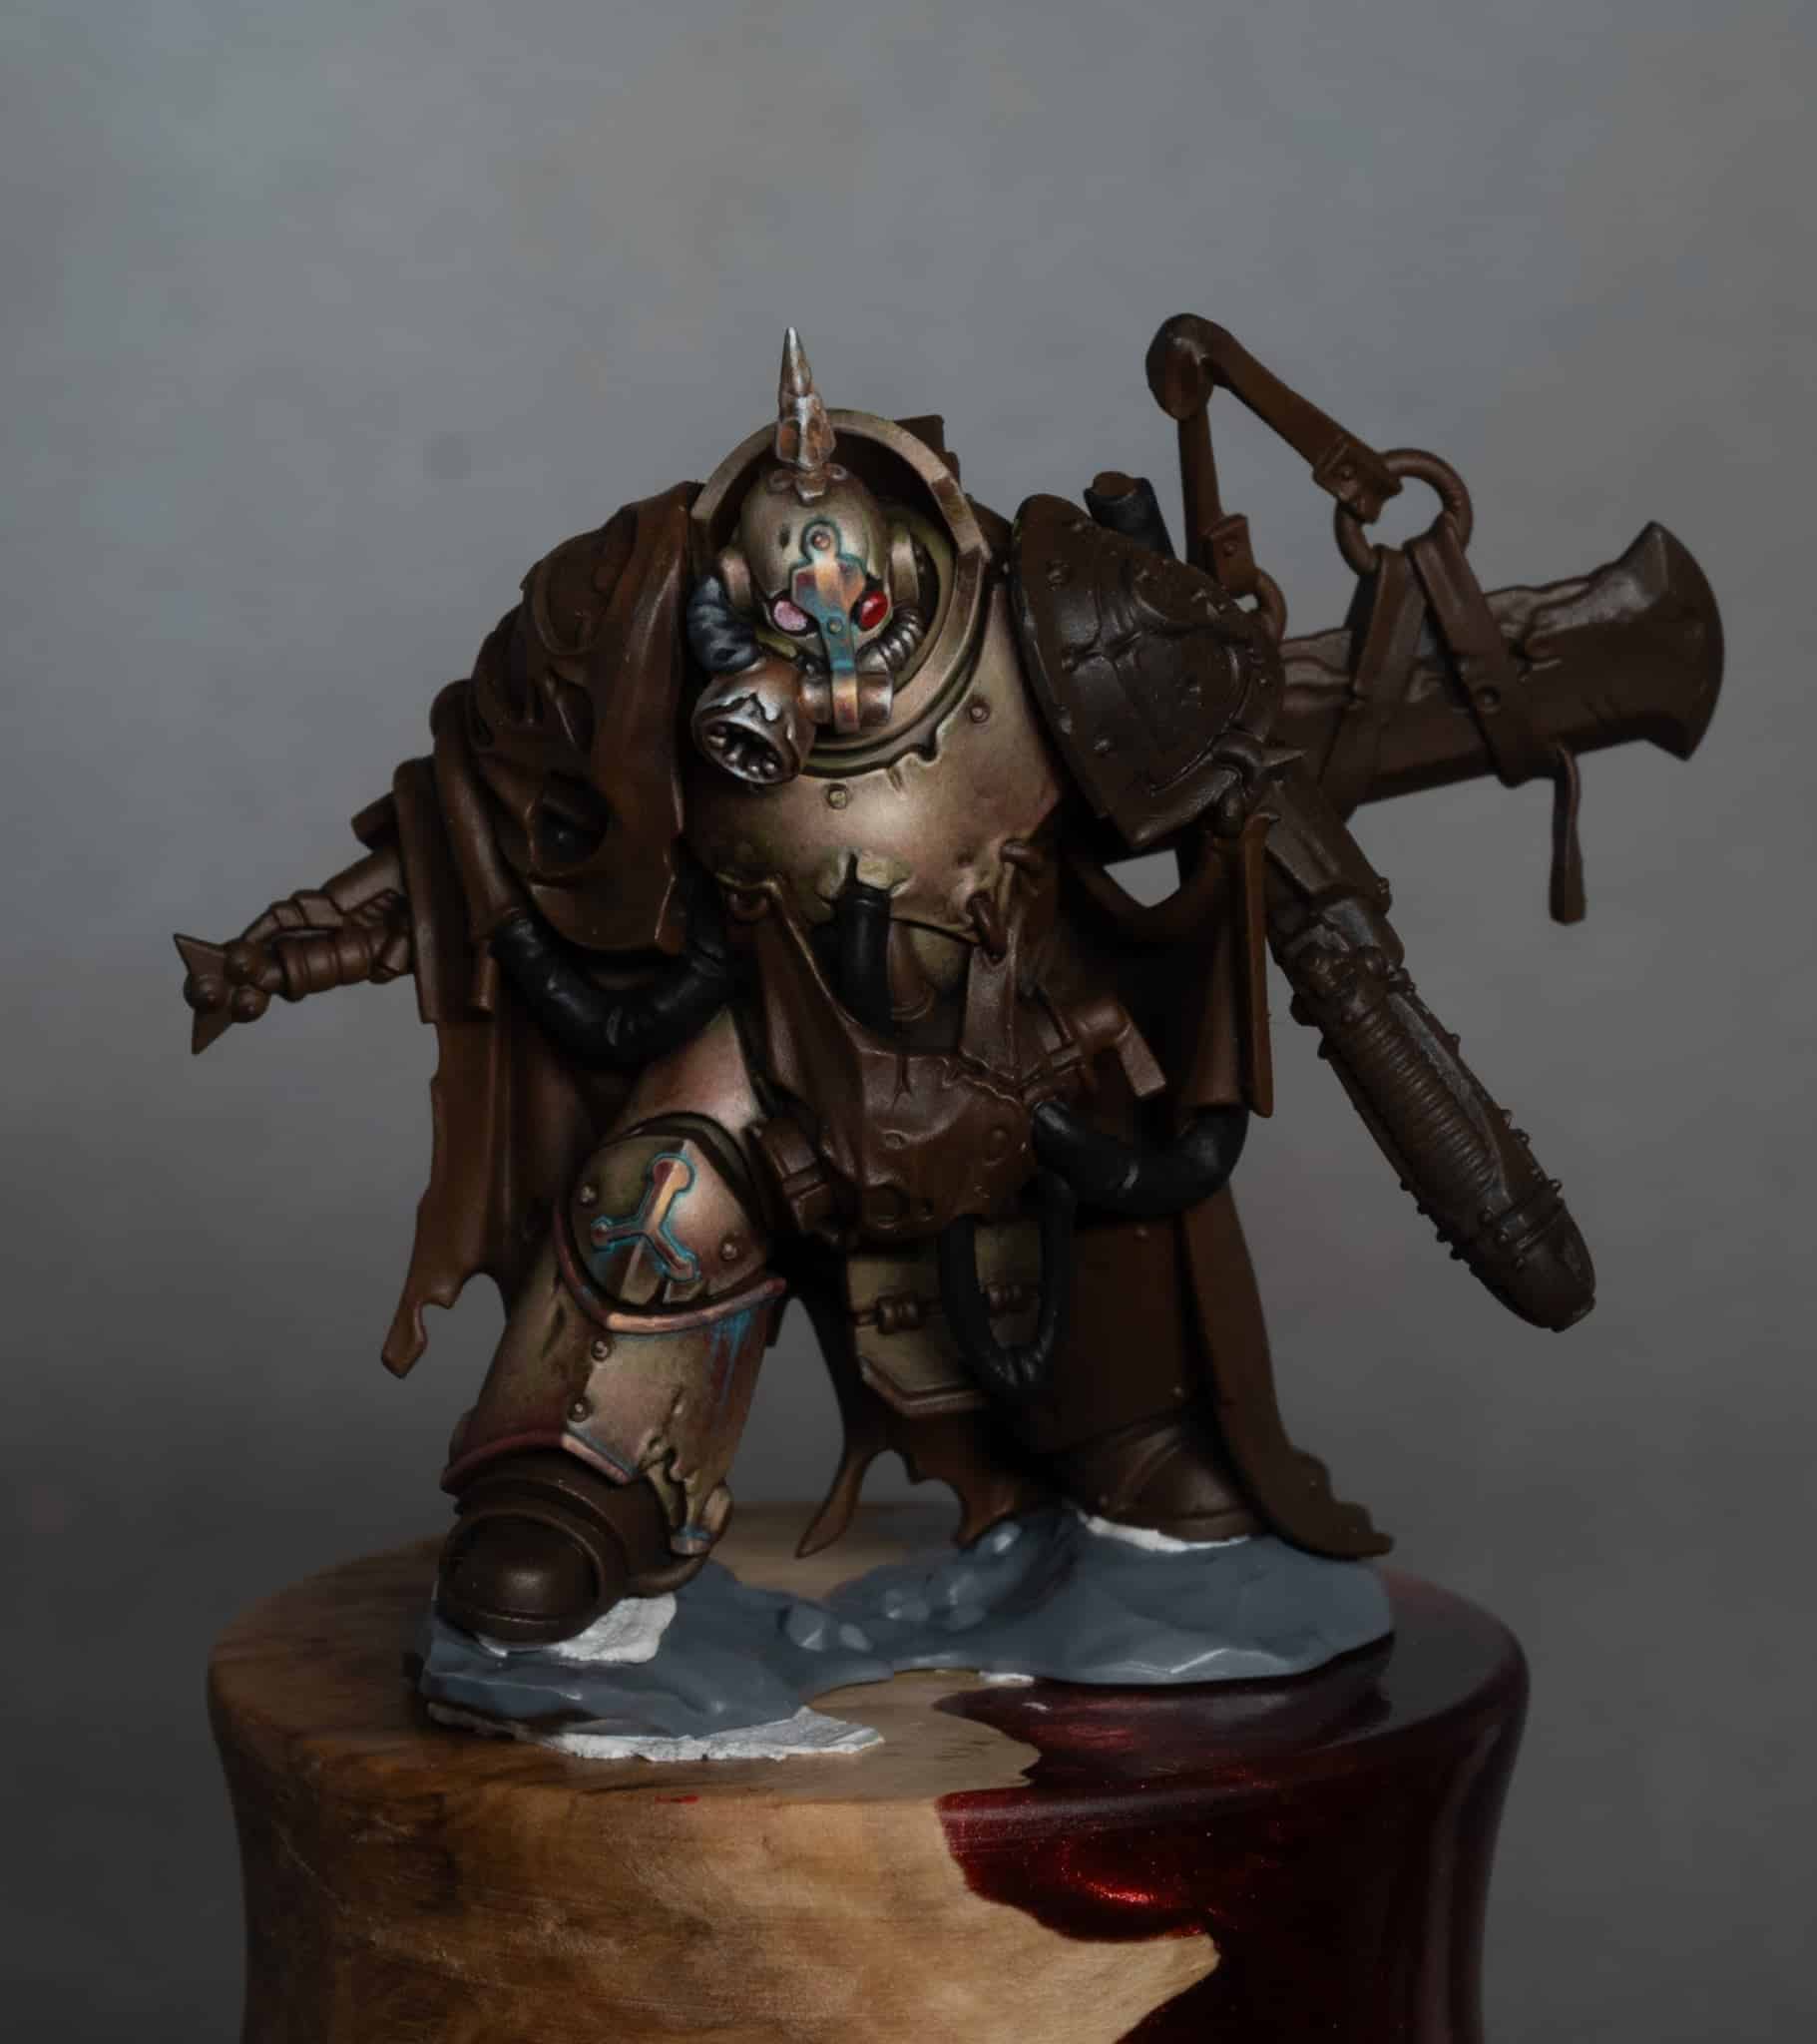
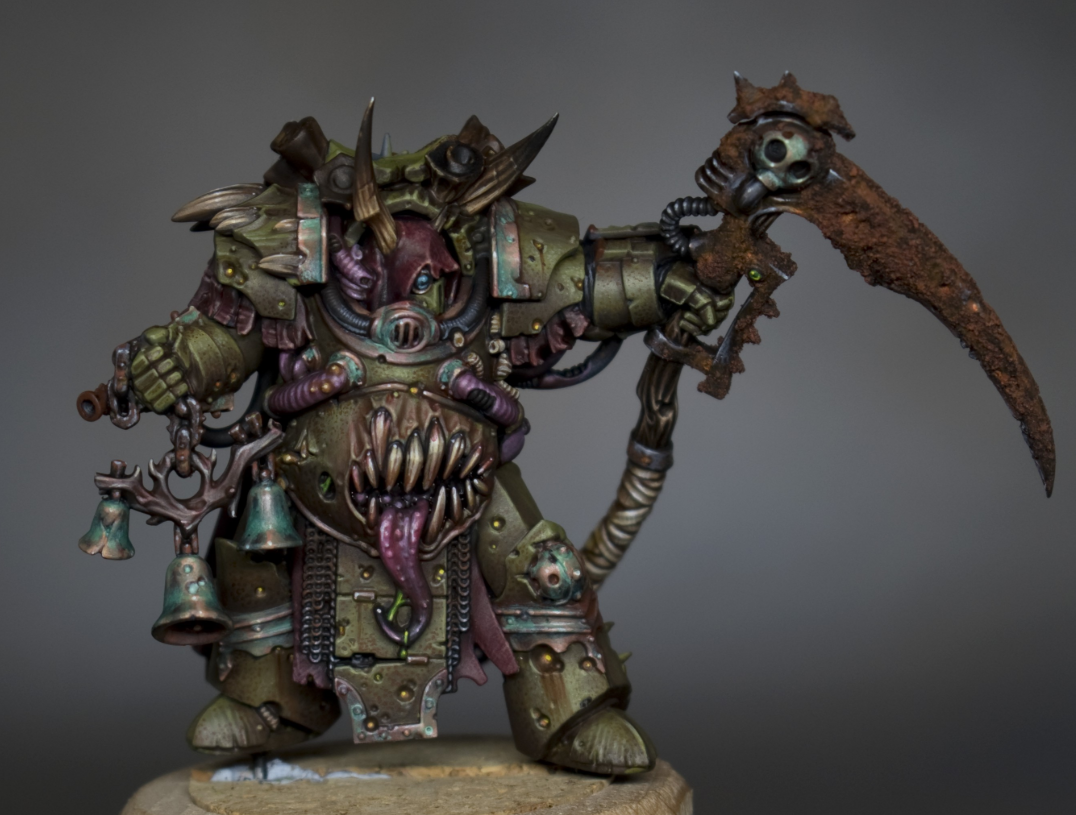
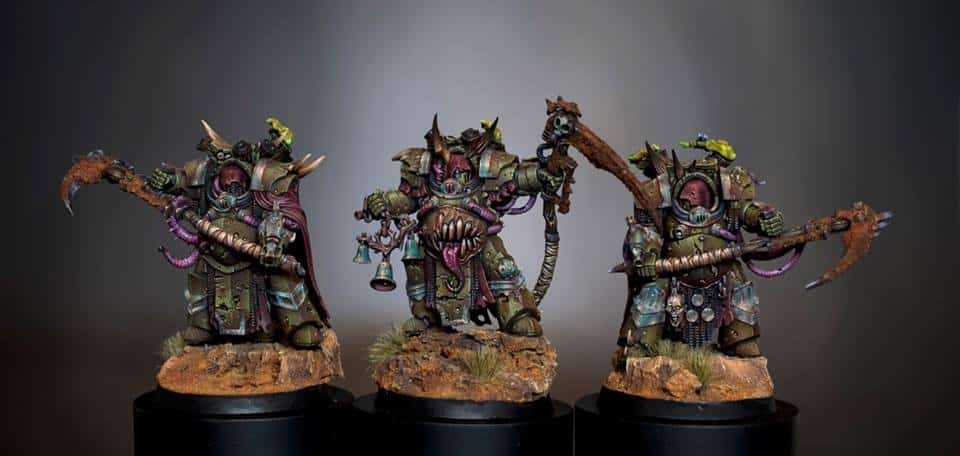
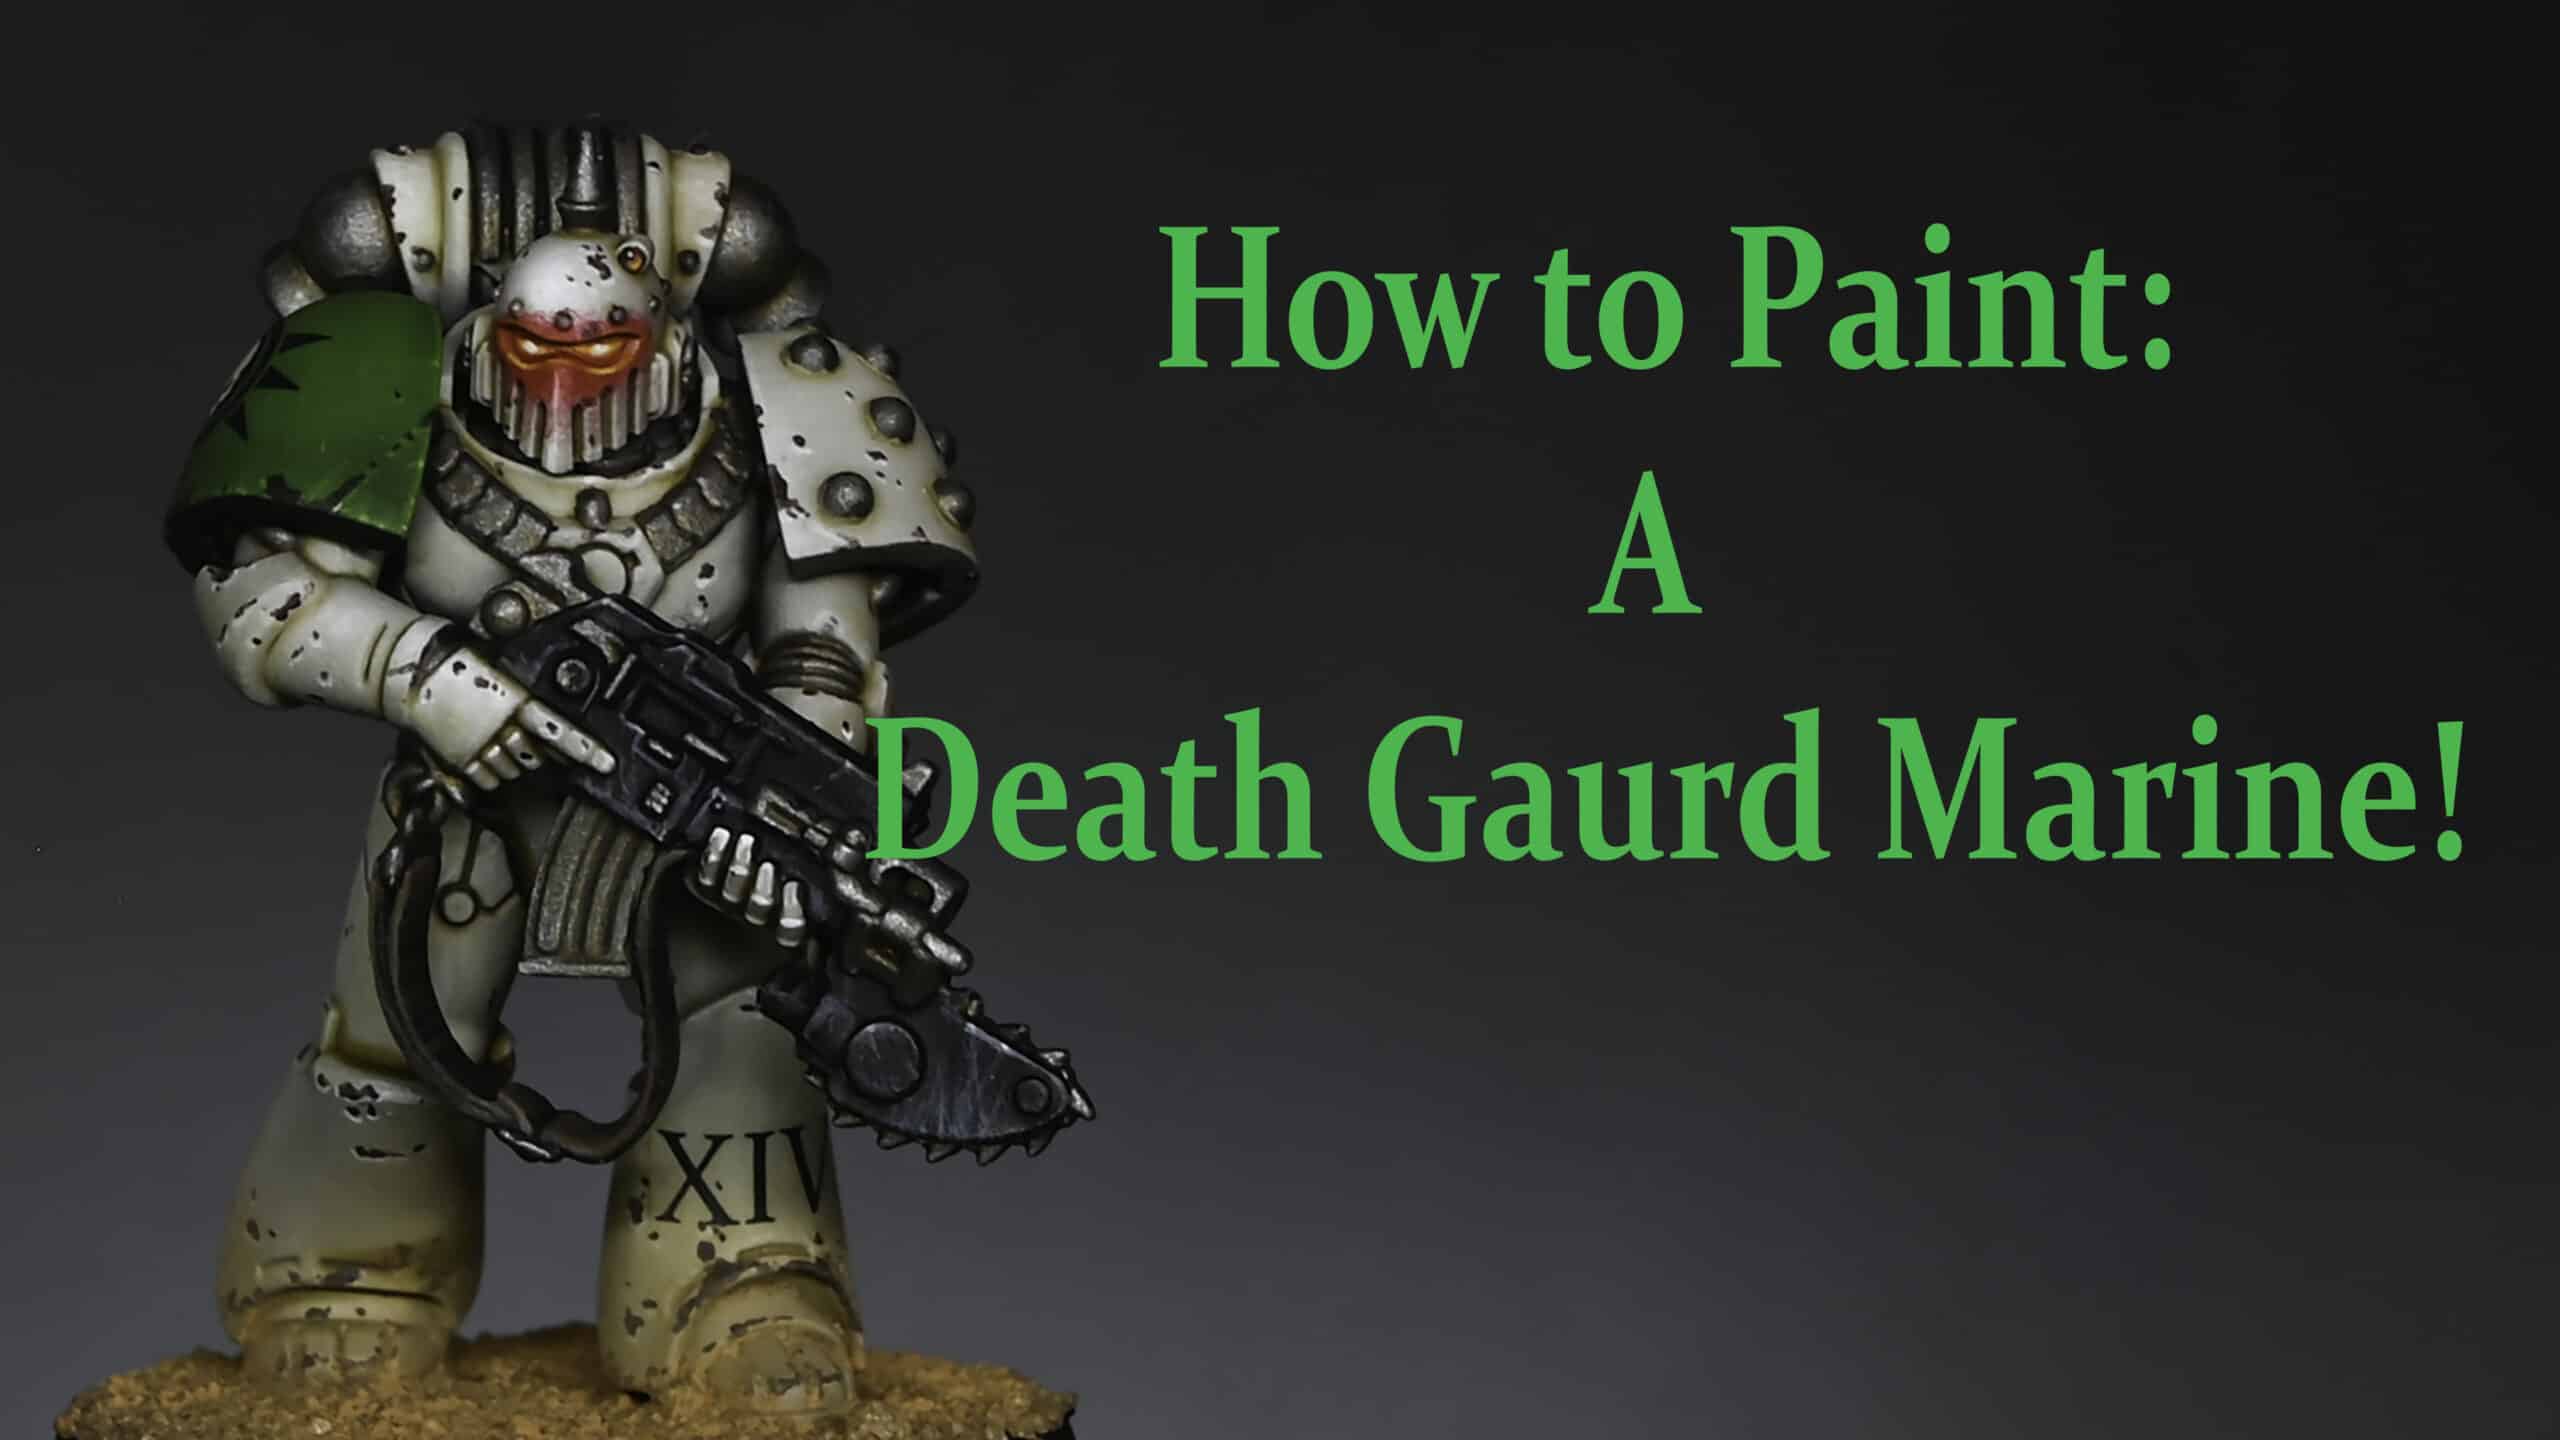
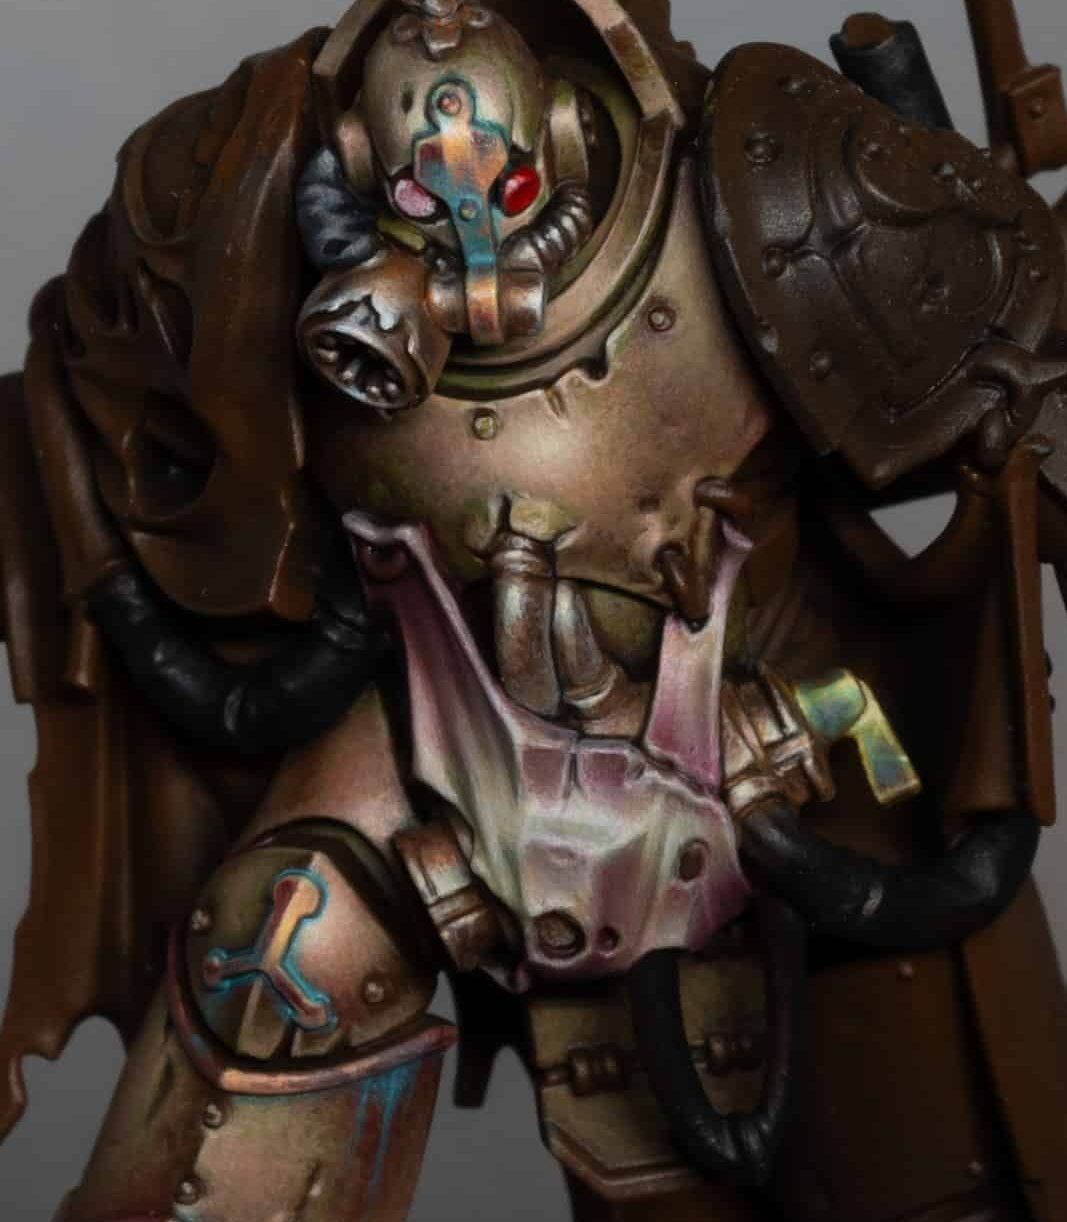
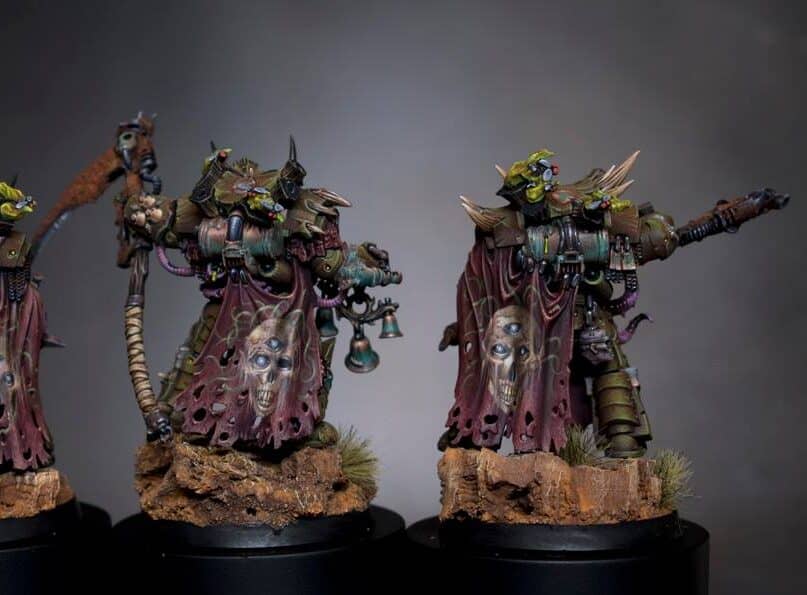
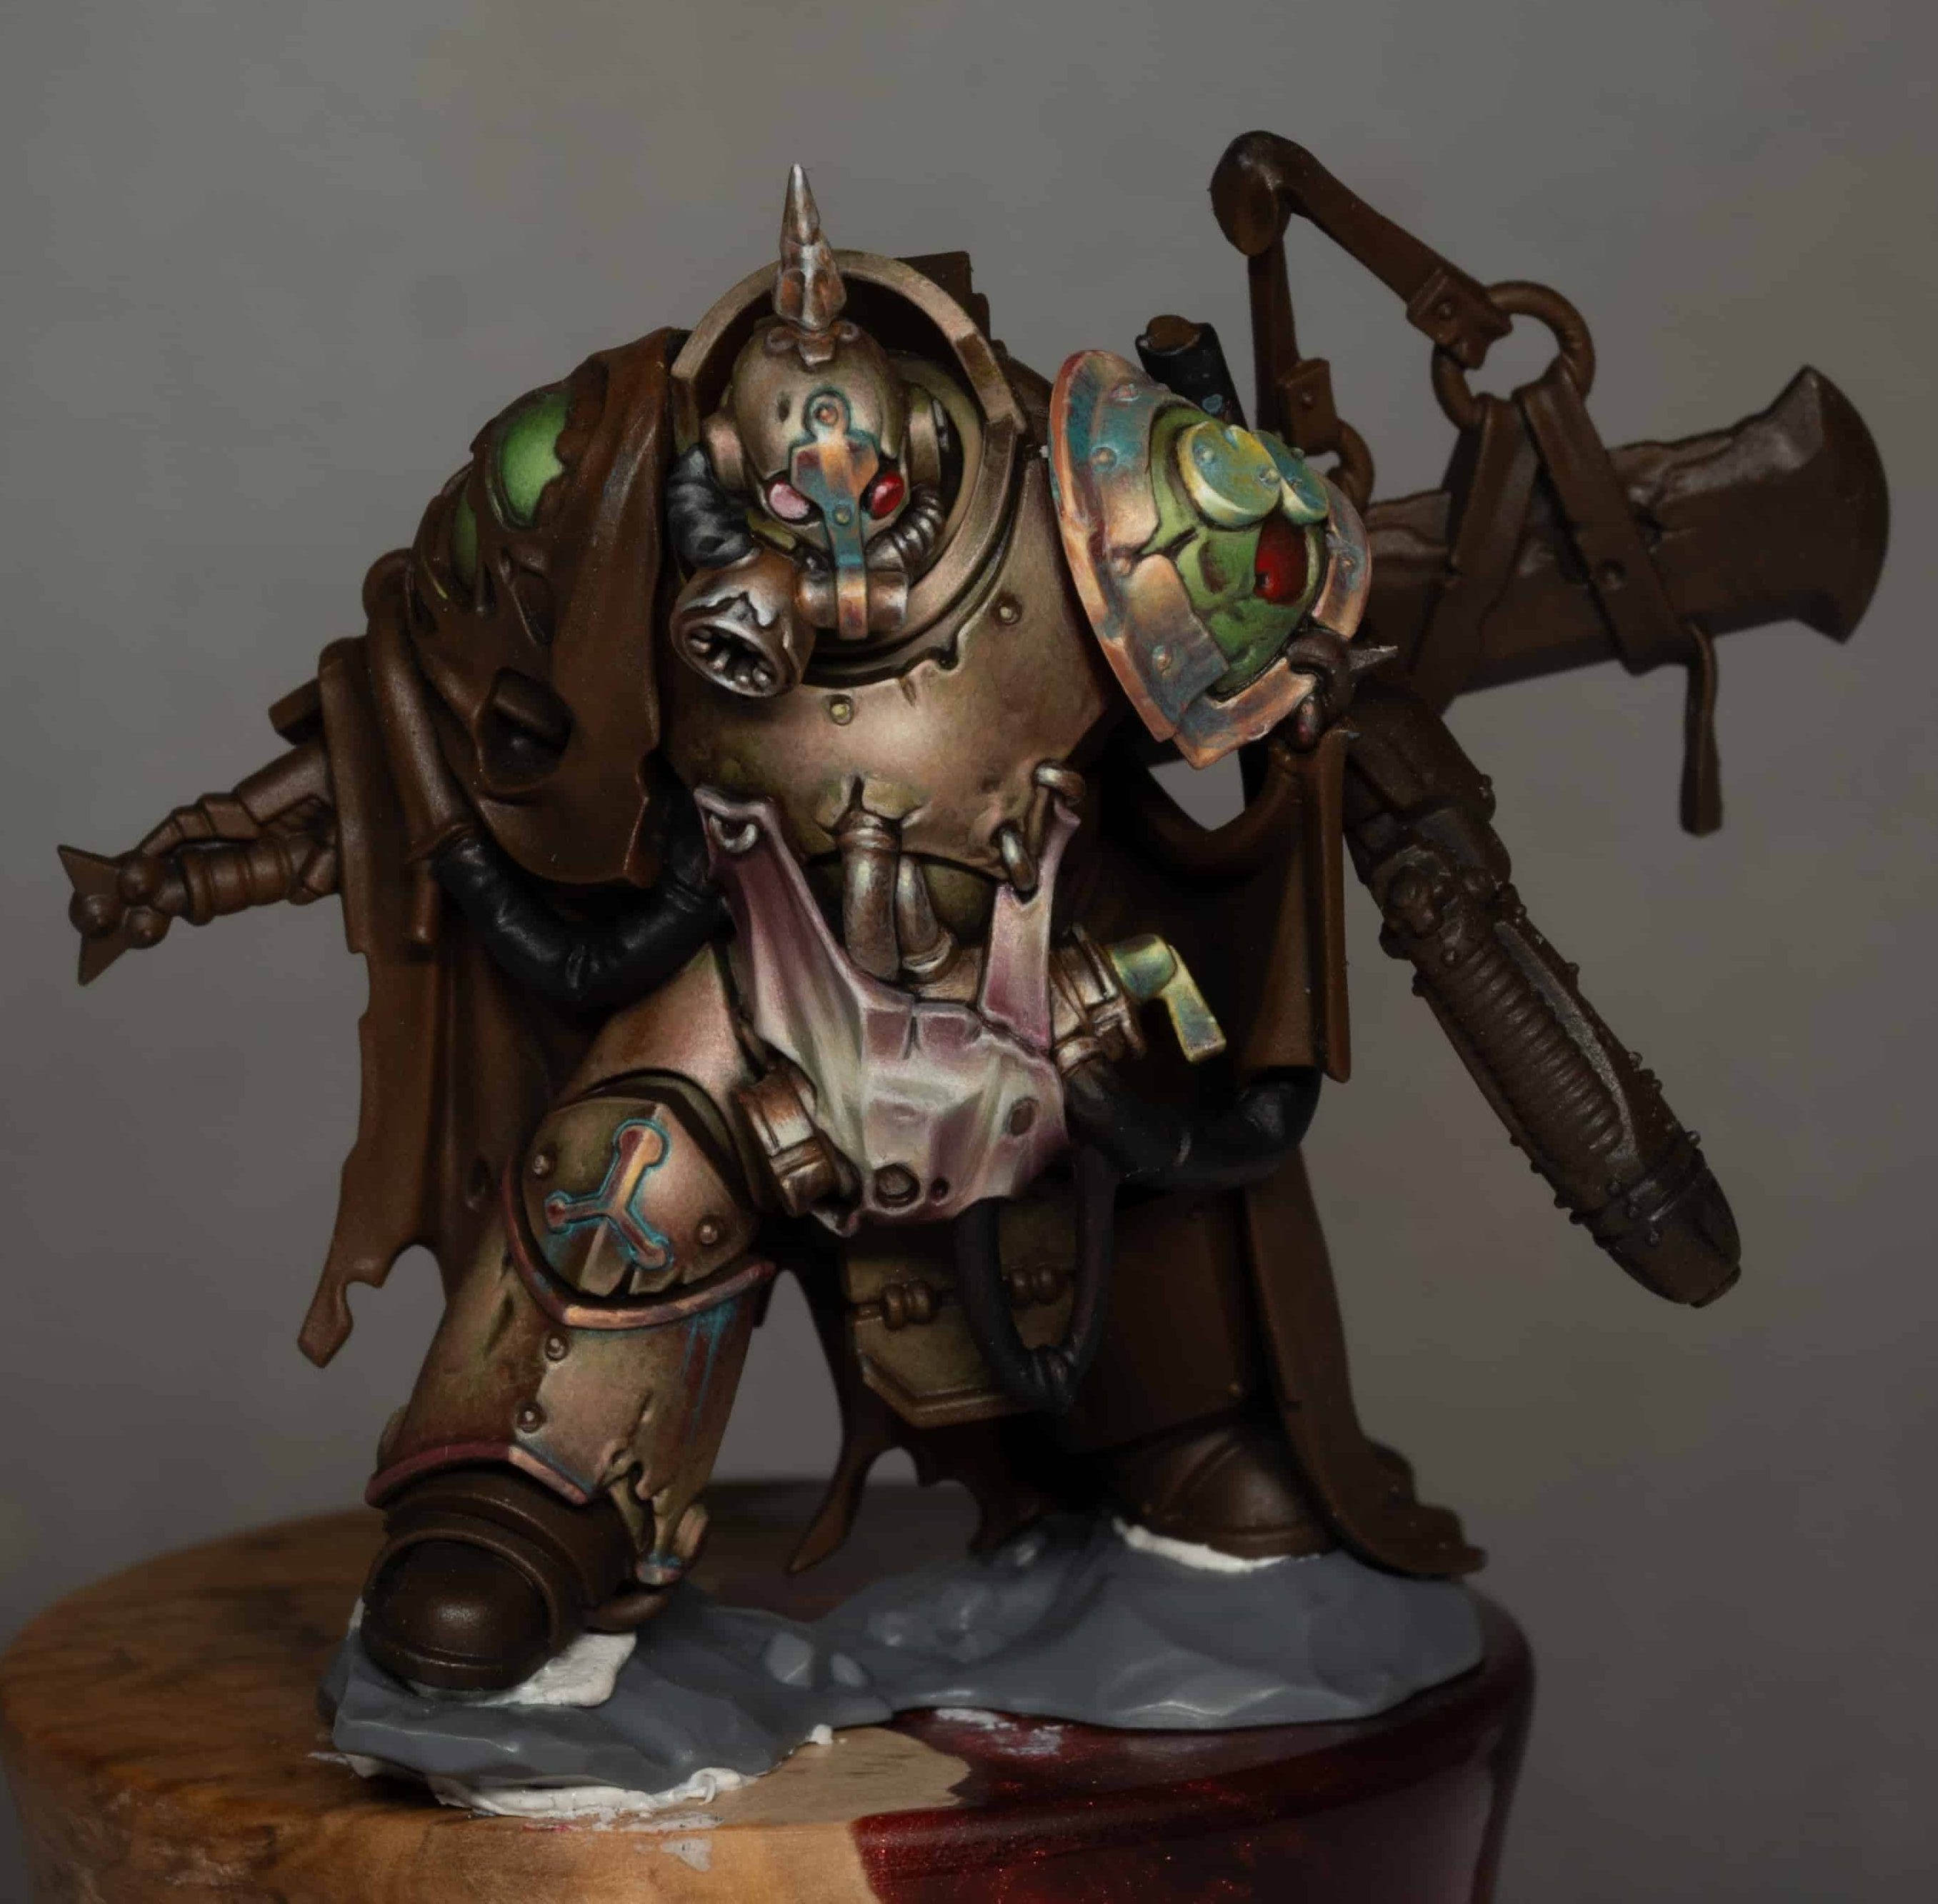
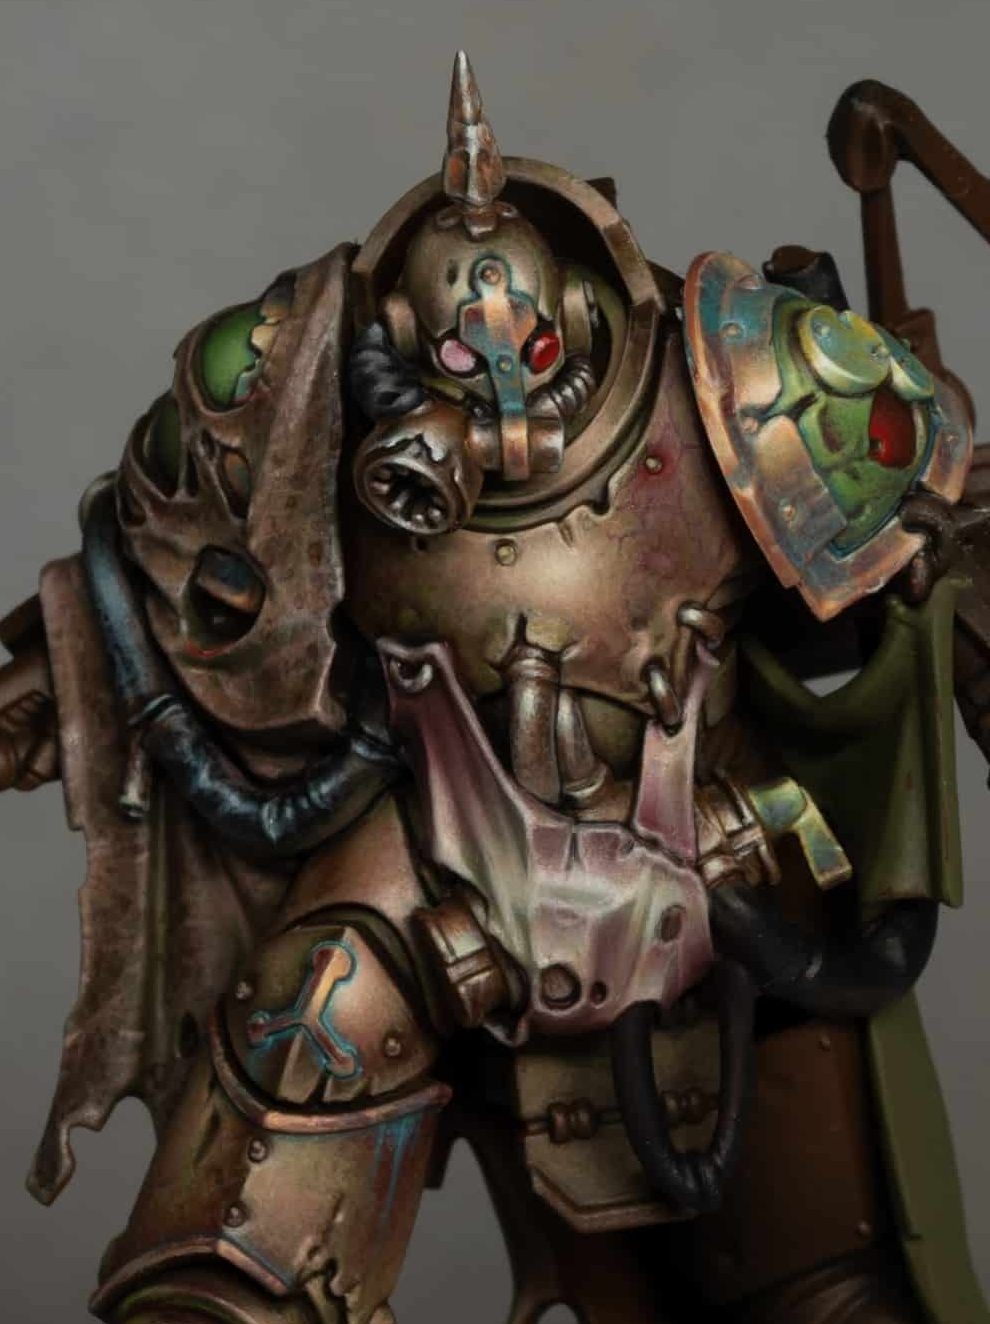
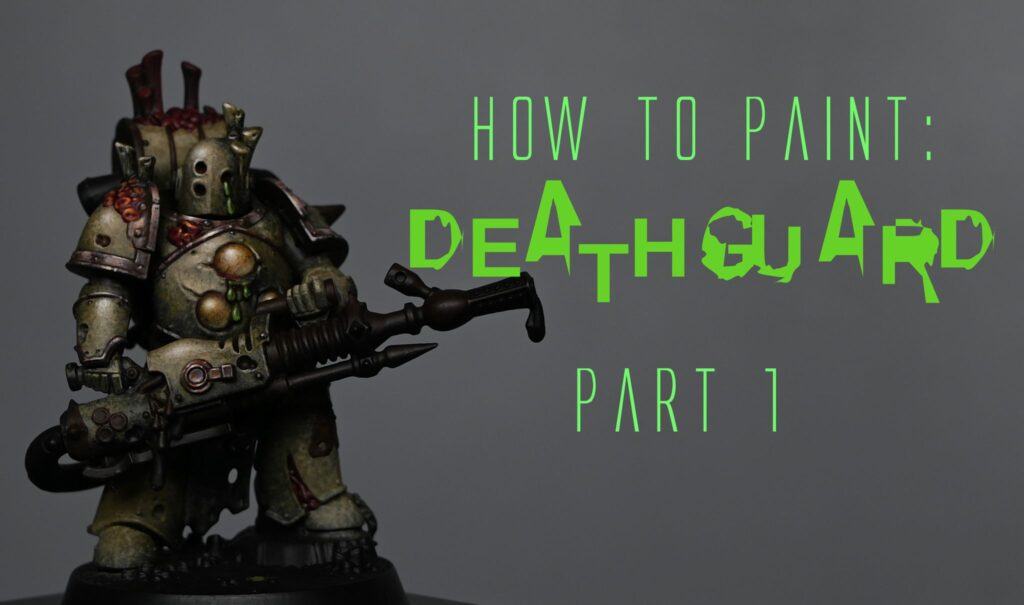
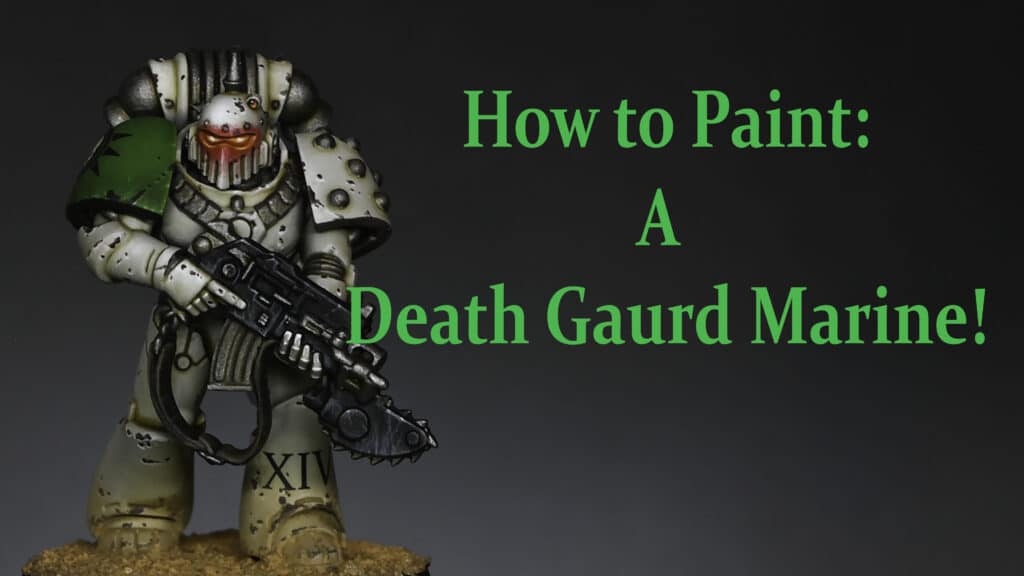
These videos will show you how to paint a Death Guard Space Marine, specifically from the Space Marine Heroes collection. These guides will focus on creating a textured, decayed look characteristic of the Death Guard, using various stippling techniques.
Video – How To Paint: Death Guard Space Marine : Part One
Materials Needed
- Paints:
- Games Workshop: Balor Brown, Rhinox Hide, Morghast Bone, Screaming Skull, Khorne Red, Volupus Pink, Fire Dragon Bright, (alternatively Bugman’s Glow and Cadian Fleshtone for copper effect)
- Vallejo: Ice Yellow, (alternatively Old Rose and Salmon Rose)
- Brushes: A variety of sizes, including stippling brushes (Artist Opus dry brush or makeup brushes can be used)
- Primer: Black primer (Ultimate Primer recommended)
- Palette: For mixing colours
- Water pot: For thinning paints and cleaning brushes
Steps
- Priming and Base Texture:
- Prime the model in black. Start stippling texture onto the armour using Balor Brown. Ensure the paint is diluted (about 50% water) to achieve translucency and avoid excessive build-up.
- Layering the Texture:
- Continue building texture with Morghast Bone, focusing on areas where light naturally hits. Aim for a top-left light perspective.
- Dilute your paints as you stipple, gradually building up layers for a controlled, textured effect.
- Detailing with Contrast Paint:
- Apply Volupus Pink to recesses and bubbly areas on the armour for quick coverage. This helps in defining those decayed spots distinct to Death Guard armour.
- Base Colour for Trims and Metals:
- Paint all trims and metal areas with watered-down Rhinox Hide. This acts as a base for later metallic effects.
- Non-Metallic Metal (NMM) Effect:
- For a non-metallic metal look, mix Old Rose with Rhinox Hide and Salmon Rose with Ice Yellow. Layer these mixes to create a copper-like effect, adding Mournfang Brown for warmth.
- Highlighting Armour and Details:
- Use Screaming Skull to push highlights on the armour. Concentrate on areas like the chest, head, and shoulder pads to draw focus. Stippling Screaming Skull provides a more opaque highlight.
- For the pus boils, start with Balor Brown and build up layers with Fist Red for veins. Add Morghast Bone and Screaming Skull for highlights, creating a shiny, reflective surface.
- Painting Fungus and Red Details:
- Base the fungus-like growths with Khorne Red. Create a gradient effect by mixing Khorne Red with Fire Dragon Bright, then highlight with Ice Yellow for a vibrant contrast against the armour.
Tips
- Patience is Key: Death Guard models are detailed, so take your time to add depth and texture.
- Light Source Consistency: Ensure the light source remains consistent across the model for a cohesive look.
- Layering: Gradual layering helps create a more realistic texture, particularly for the decayed look of the Death Guard.
- Brush Care: Clean brushes thoroughly between colours, especially when working with stippling techniques.
Video – How To Paint: Death Guard Space Marine : Part Two
Continuing from Part 1, let’s delve into completing the Death Guard Space Marine with a focus on the gun, additional weathering effects, and other details. We’ll be using a variety of techniques to add depth and character to the model.
Additional Painting Steps
- Gun and Metallics:
- Start with Bugman’s Glow and Cadian Fleshtone for a coppery effect. Apply these colours to the gun, focusing on light placement and creating non-metallic metal effects.
- Use Mournfang Brown and Ice Yellow for richer copper tones. Ensure smooth transitions and consistent light reflection.
- Weathering and Verdigris Effect:
- For added realism, apply verdigris using Sotek Green. Mix with water (approx. 6-7 parts water to 1 part paint) and apply it to recessed areas and around details for an oxidized look.
- Add layers of Sotek Green mixed with white for a more pronounced effect. Apply sparingly to avoid overpowering the metallic sheen.
- Highlighting and Details:
- Highlight the gun and metallic parts with Ice Yellow and a touch of white for glare effects. Be cautious with paint consistency to avoid unwanted textures.
- Address the back of the model similarly, but you can opt for brighter highlights as this part is often in shadow during gameplay.
- Painting the Backpack and Tentacles:
- For the backpack’s tentacle-like extensions, use a mix of Pink Horror, Emperor’s Children, and Fulgrim Pink. Stipple on these colours to create a mottled, organic texture.
- Use Averland Sunset or a similar yellow for raised pustules, adding depth and contrast to the tentacles.
- Green Goo Effect:
- Paint any dripping goo with Moot Green, applying in layers to create a luminous, toxic effect. Highlight edges with Ice Yellow for added vibrancy.
- Finishing Touches:
- Utilize Corvus Black for deepening shadows and refining details. Water down the paint and apply it as a glaze to enhance contrast and soften textures.
- For the final highlights, focus on the model’s focal points, such as the head, chest, and weapon, ensuring they draw the viewer’s attention.
Additional Tips
- Layering: Build up your colours gradually for a more natural and controlled effect.
- Light Source: Keep the light source consistent across the model for a cohesive appearance.
- Weathering Techniques: Experiment with weathering to add character. Verdigris and rust effects can significantly enhance the decayed look of the Death Guard.
- Patience: Take your time with details, especially on focal points, to make them stand out.
- Brush Care: Maintain your brushes, especially when working with techniques that can be hard on them, like stippling and dry brushing.
More Death Guard Tutorials to Explore!
Free Video Tutorials
Free videos for logged in members – just sign up as a ‘friend’ to view and click any of the thumbs.
To explore all of these, visit this page!
If you don’t have an account, please sign up here! The website currently has over 350 video tutorials, plus step by step guides and PDFs. You can explore more free videos with a free “freebies” membership, or take the plunge and become a full subscriber for full access.
If you’d prefer to support me on Patreon, please visit: https://www.patreon.com/RichardGray






Hey dude,
Is there a 360 of the death guard plauge spewer guy anywhere?
Using your mmm recipe for the copper I managed to do it for the first time, very happy! Just having a hard time figuring out how to do the mmm on the clynder on his backpack.
Also if you were to paint the nurgling to go with this guy what colour would you choose?