


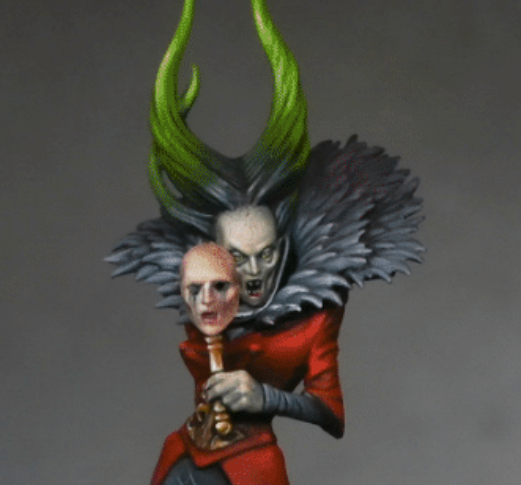
These videos show how I painted Lady Annikas vampire dress, from the distinctive vivid reds to the freehand pattern on her skirts.
Video: Lady Annikas Vampire Red Dress
By starting with a dark base and carefully building up to brighter highlights, you can achieve a rich, velvety appearance.
Materials Needed for Lady Annikas Vampire Red Dress
- Games Workshop Paints: Mephiston Red, Evil Sunz Scarlet
- Vallejo Paint: Model Color Black (or any black paint you prefer)
- Fine detail brushes
- Wet palette
- Water for thinning paints
Step by Step Guide to Lady Annikas Vampire Red Dress
Create a Gradient of Reds: On your wet palette, start with pure Mephiston Red. Then create four additional shades by progressively adding Vallejo Model Color Black to Mephiston Red. You should have a range from pure Mephiston Red to a dark, almost brownish red. The exact proportions aren’t crucial, but aim for a gradual transition from light to dark across the five mixes.
Apply a Dark Red Base: Select one of the darker red mixes (close to a 50/50 mix of Mephiston Red and black) and cover the entire dress. This base layer sets a foundation for building up the red tones and ensures that the shadows aren’t too stark or black.
Begin with Mid-tones: Starting with the second or third darkest shade, begin to layer up the colour, focusing on areas that would naturally catch the light. Keep your paints thinned (approximately 1.5 parts water to 1 part paint) to ensure smooth transitions.
Add Highlights: Gradually work your way up through the shades, ending with pure Mephiston Red for the brightest highlights. Focus these on the highest points of the dress, where light would naturally hit the most. This includes the tops of folds and the hip area.
Smooth Out Transitions: Unlike non-metallic metal (NMM) techniques, which require stark contrasts, velvet demands soft, gradual transitions. Achieve this by applying multiple thin layers, allowing each to dry before applying the next. This method ensures a soft, velvety texture.
Bright Highlights: To add vibrancy, sparingly apply Evil Sunz Scarlet to the very highest points and sharpest creases of the dress. Be cautious with this bright, slightly orange shade, as overuse can detract from the deep red velvet effect. Focus on areas like creases on the arm and the upper parts of the dress.
Detailing: Use the darker red mixes to deepen shadows or adjust transitions where necessary. If you’ve already painted adjacent areas (such as hands or accessories), be extra cautious to avoid splattering these with red.
Modifying Your Brush: For fine detail work, consider customising your brush by trimming it to create a longer, thinner tip. This can provide more control for painting fine details and maintaining thin, even coats.
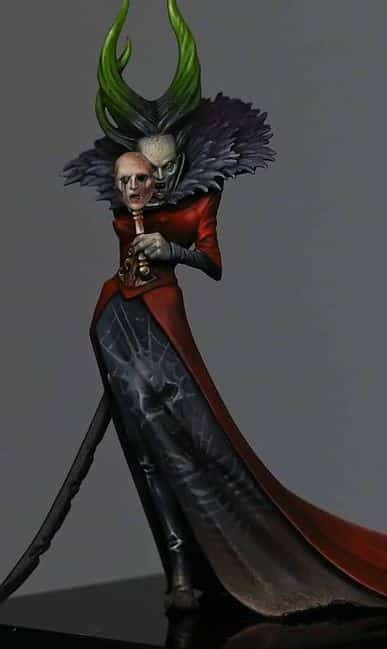
Video: Skirts Freehand
This is the first version of the skirt freehand I did for Lady Annika. Although this attempt was ultimately not to my liking, so I started afresh, the process and techniques described here may be useful for anyone looking to add intricate details to miniature models. This step-by-step guide incorporates a gothic vine pattern.
Materials and Tools Used
- Paints: Vallejo German Grey, Neutral Grey, Black, and Dark Sea Grey; Games Workshop Corvus Black, Pelgrave Blue, and Blue Horror.
- Brushes: Fine detail brushes suitable for precise freehand work.
- Palette: A wet palette to keep your paints workable.
- Water: For thinning your paints.
Step by Step on How to Paint Lady Annikas Dress Freehand (First Version)
Basecoat the Dress: Begin with a black primer as a solid foundation for your paints. This tutorial focuses on the inner dress section or skirt of Lady Annika.
Block in Highlights and Shadows: Use a mix of German Grey and Neutral Grey to block in the highlights on the dress, focusing on areas that would naturally catch the light. Add shadows with a blend of Neutral Grey and Black to create depth. This foundational work is crucial for the subsequent freehand pattern.
Painting the Freehand Pattern
Sketch the Pattern: Start by roughly sketching the pattern using a light grey, such as Dark Sea Grey. This initial sketch doesn’t have to be perfect; it serves as a guideline for your detailed work later.
Refine the Pattern: Once the basic pattern is laid out, begin refining the lines, making them thinner and more precise. This step requires patience and a steady hand. Use the original sketch as a guide but allow for adjustments as needed to achieve a more intricate design.
Add Details: Incorporate additional elements such as leaves or vines into the pattern to enhance its complexity and appeal. These details should complement the overall design and follow the flow of the fabric.
Adjusting the Pattern
Correcting Mistakes: Use the base colours (German Grey and Neutral Grey mixed with Black) to correct any errors or to sharpen the pattern. This “erasing” technique allows for adjustments and improvements to the pattern’s clarity and coherence.
Glazing for Depth: Apply glazes of Blue Horror and Corvus Black to integrate the pattern with the underlying highlights and shadows. These glazes help the pattern adhere to the fabric’s contours, making it appear more natural.
Evaluate and Adjust: Step back and assess your work. Make any final adjustments to the pattern, highlights, or shadows to ensure a cohesive appearance. The goal is for the pattern to complement the model’s overall aesthetic without overwhelming it.
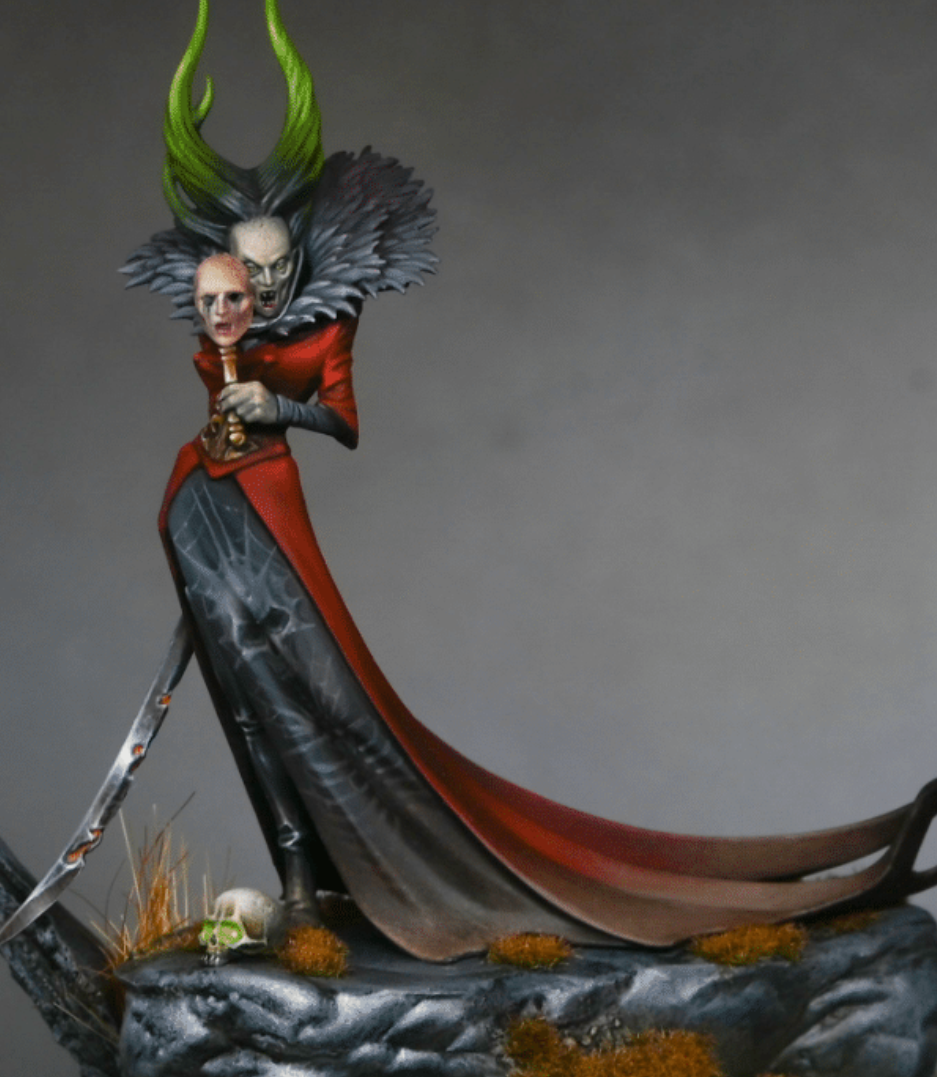
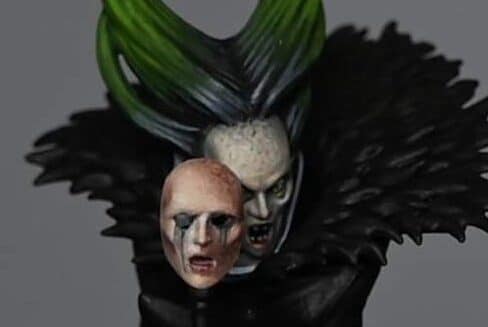
Video: How To Paint A Much Cooler Freehand Skull
In one of my previous videos I did a pattern on the dress for Lady Annika, but decided I wanted to change it to something a little bit creepier. Here is how I did the freehand skull design that replaced it! It includes tips on folds and how I did the weathering at the bottom of the cloth.
Materials Needed
- Primer: Black (if you started with a black primer base).
- Base Paints: Vallejo Black, German Grey, Neutral Grey, Dark Sea Grey.
- Highlight Paints: 50/50 mix of Neutral Grey and Dark Sea Grey.
- Weathering Paints: Vallejo Heavy Grey (appears green), Games Workshop Rhinox Hide, Cadian Fleshtone, Monfang Brown.
- Fine Detail Brushes
- Wet Palette
- Reference Image: A realistic skull from a science book (or the Internet!) for accuracy.
Step by Step – How To Paint A Much Cooler Freehand Skull
Design Sketching: Sketch the skull design lightly on the skirt. Consider the folds and curves of the fabric; your design must follow these contours to look natural. The skull should be positioned considering the fabric’s folds, especially around tricky areas like deep creases or hard lines.
Base Painting: Using Vallejo Black as your darkest shade, begin blocking in the skull and its surroundings. Gradually build up the mid-tones using German Grey and Neutral Grey. For highlights, use a 50/50 mix of Neutral Grey and Dark Sea Grey. Keep the contrast lower than other elements (like the boots) to ensure the skirt’s design doesn’t overpower the miniature’s other focal points.
Adding Details: Focus on defining the skull’s features, adjusting for the fabric’s folds. Use your mixed greys to paint in the finer details, such as the teeth and eye sockets, considering the underlying fabric’s shape and the skull’s anatomy. For the headdress, spikes, and cobweb details, apply the same grey tones, ensuring they blend seamlessly into the skull.
Final Highlights and Shadows: Revisit the highlights and shadows, emphasizing the skull’s curvature and the fabric’s texture. Use the lighter greys to enhance the design’s three-dimensionality, paying special attention to areas that catch the light or recede into shadow.
Weathering: Start with Rhinox Hide, diluted significantly with water. Apply it to the lower third of the skirt, building up layers until you achieve a subtle, brown tint. Follow with Monfang Brown for a richer tone, focusing more intensely at the very bottom. This creates a gradient effect, simulating dirt accumulation.
Final Touches: Use a mix of the weathering colours to add texture and depth to the weathered area, mimicking the appearance of mud or dust caught in the fabric’s texture. This step enhances the realism of your miniature, grounding it in its environment.
For all my Tutorials on the Lady Annika Vampire, follow the link below:
Lady Annika
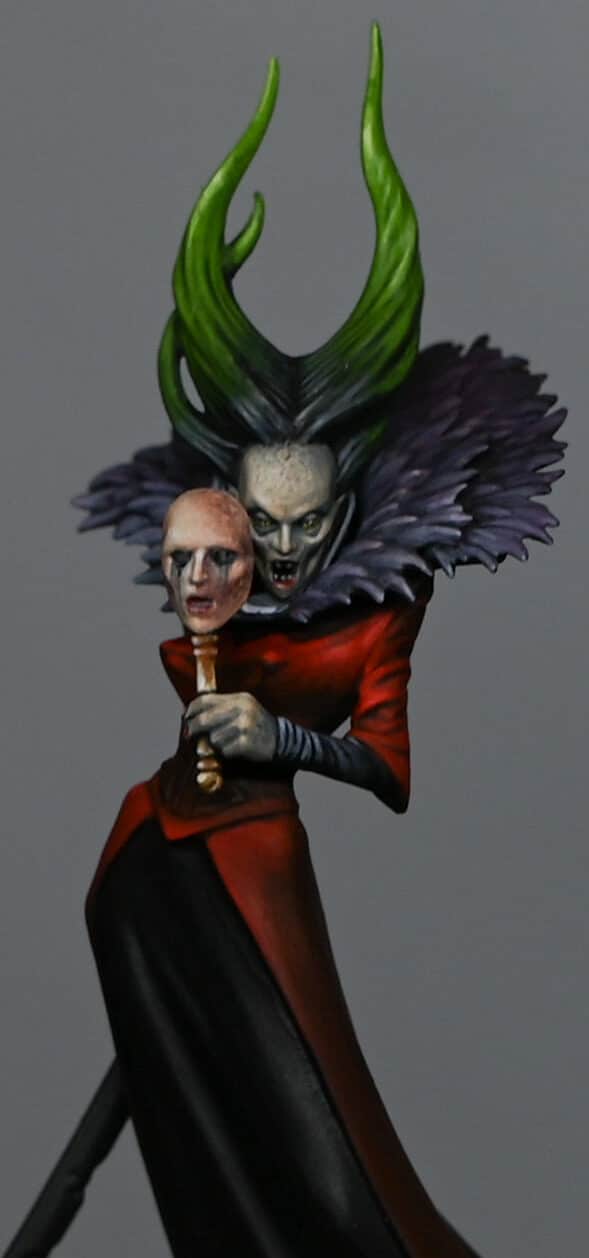
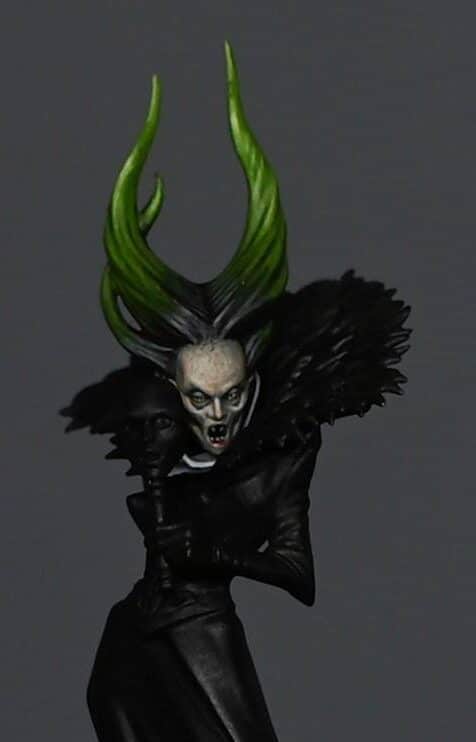
Golden Demon Entry – Lady Annika’s thirst for blood is legendary, even amongst the Soulblight vampires! I really enjoyed painting her and made a few tweaks to the model.
Explore the tutorials by part of the model:
If you don’t have an account, please sign up here! The website currently has over 350 video tutorials with steps and tips, plus a selection of PDFs. If you are not sure about joining, you can explore my free videos with a free membership, or take the plunge and become a full subscriber for full access.


If you’d prefer to support me on Patreon, please visit: https://www.patreon.com/RichardGray