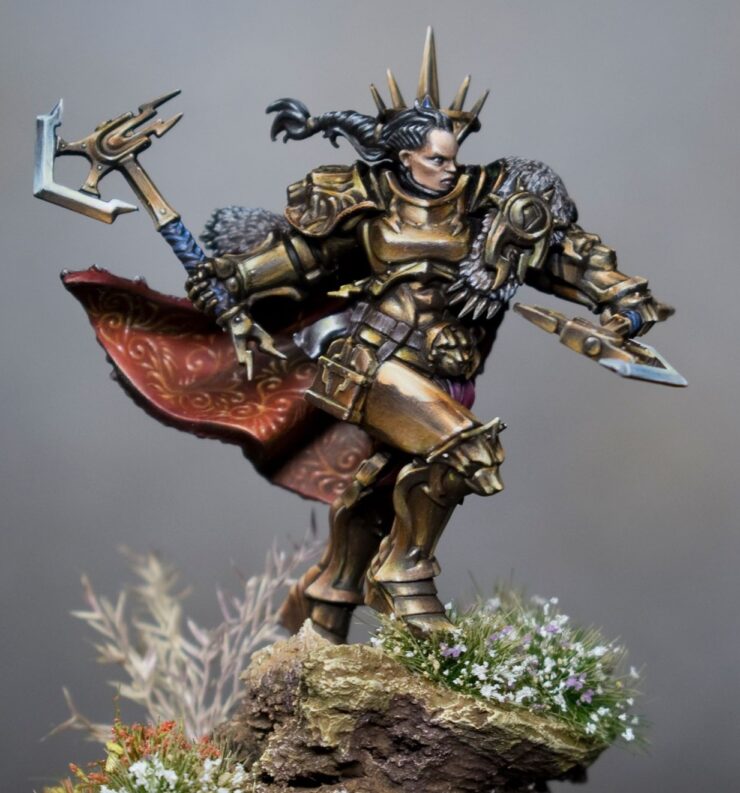
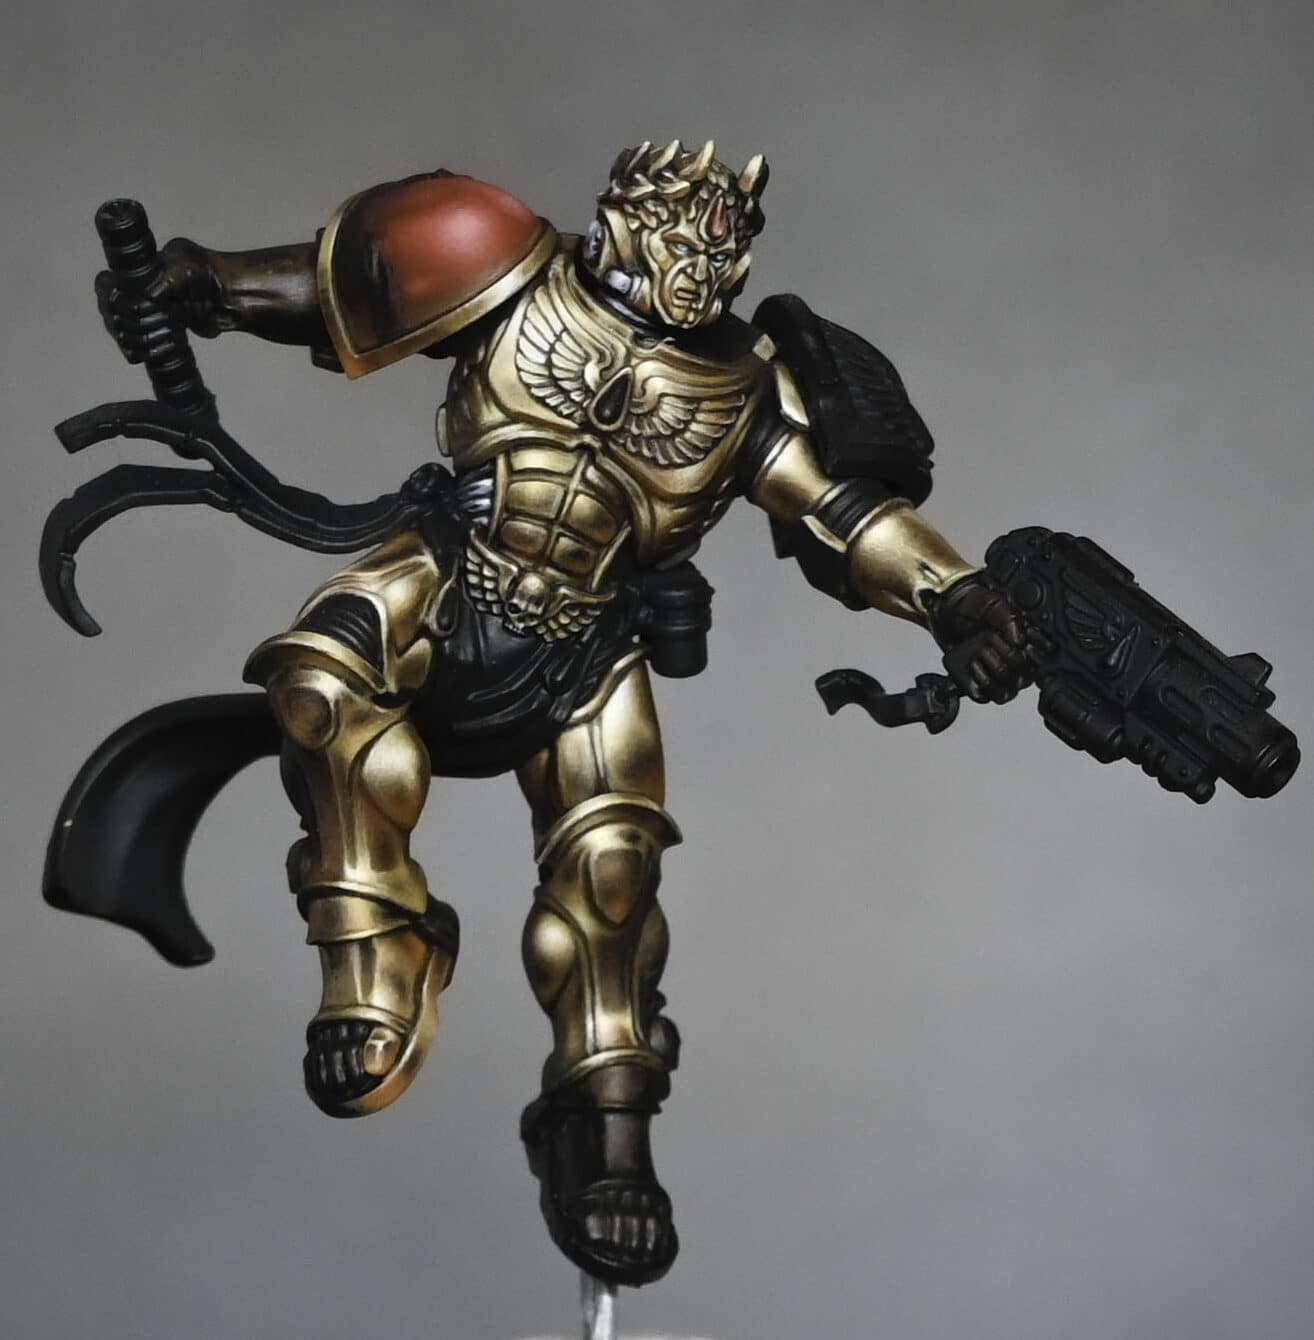
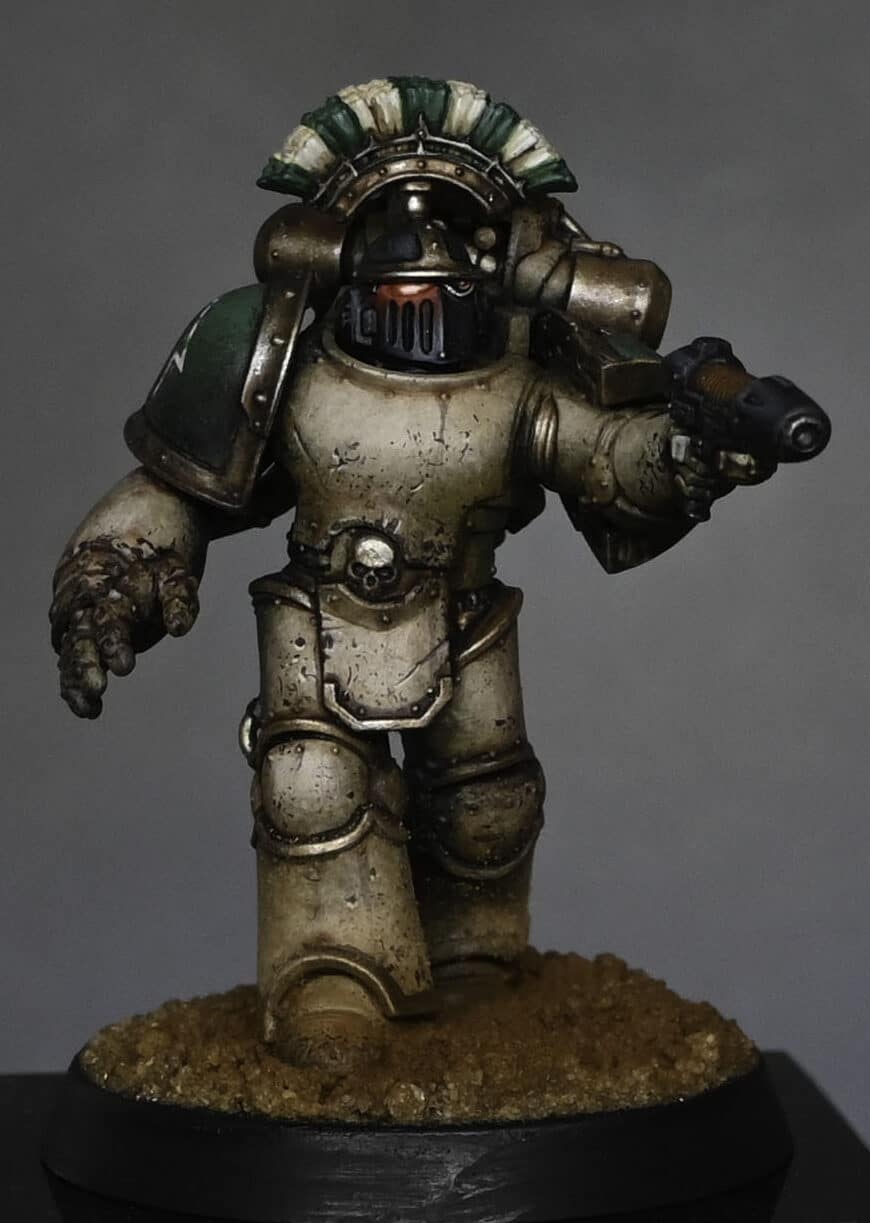
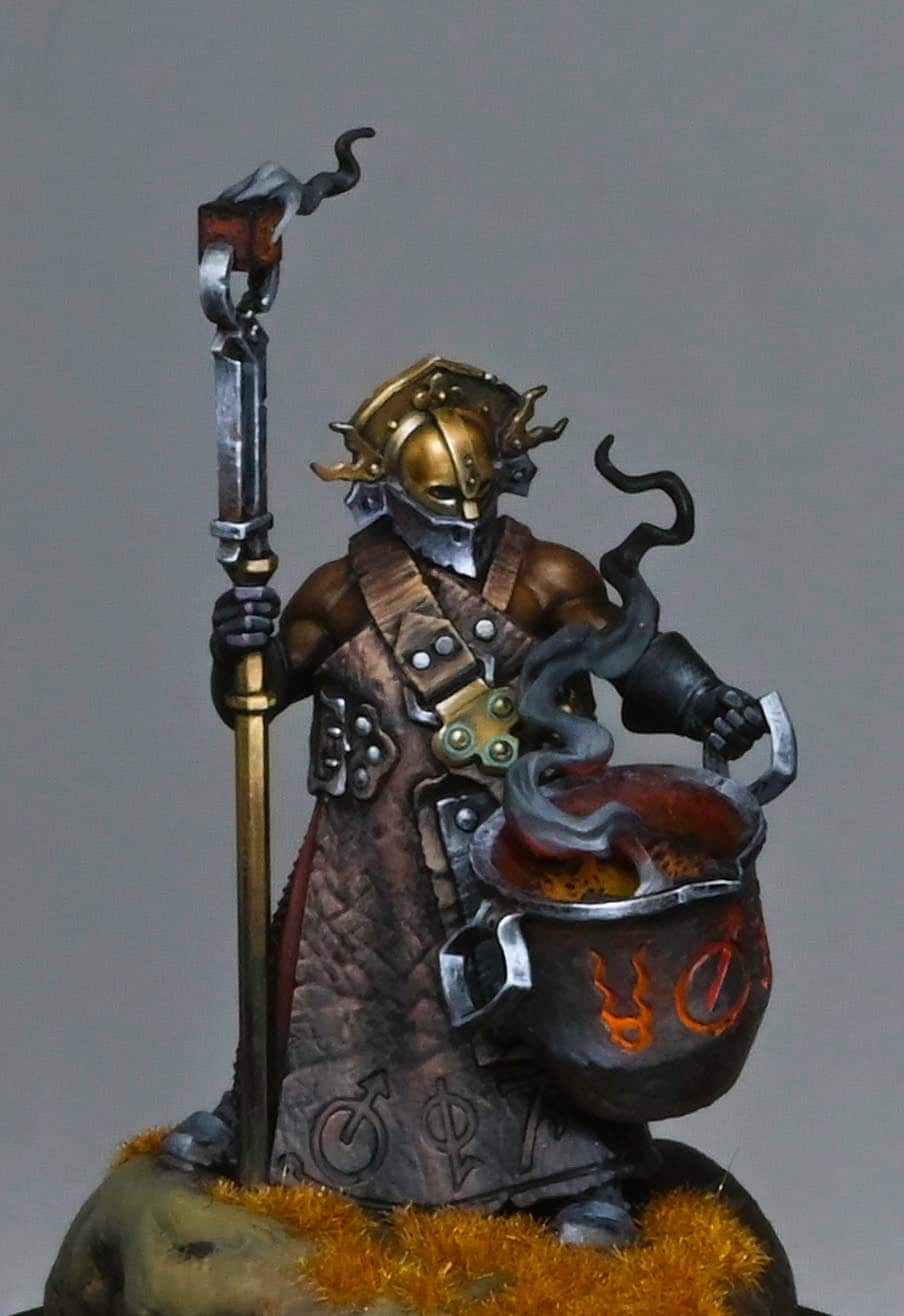
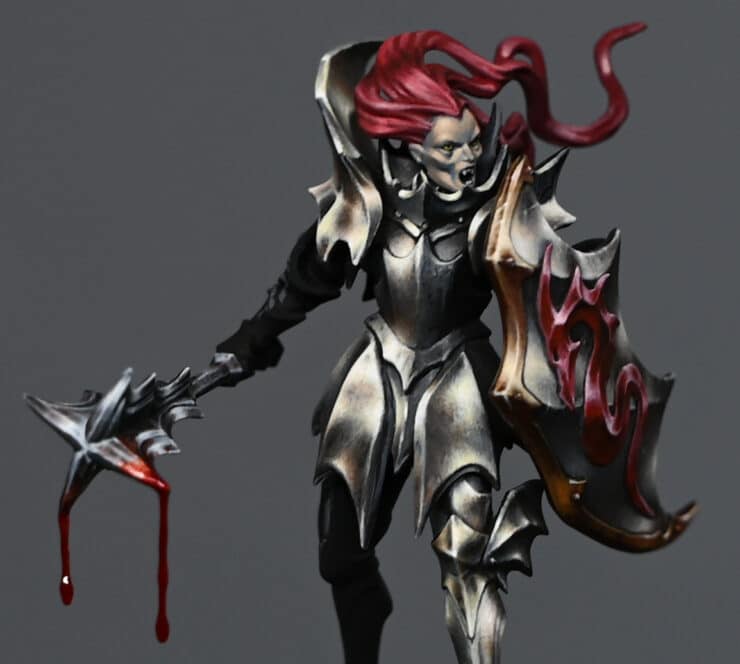
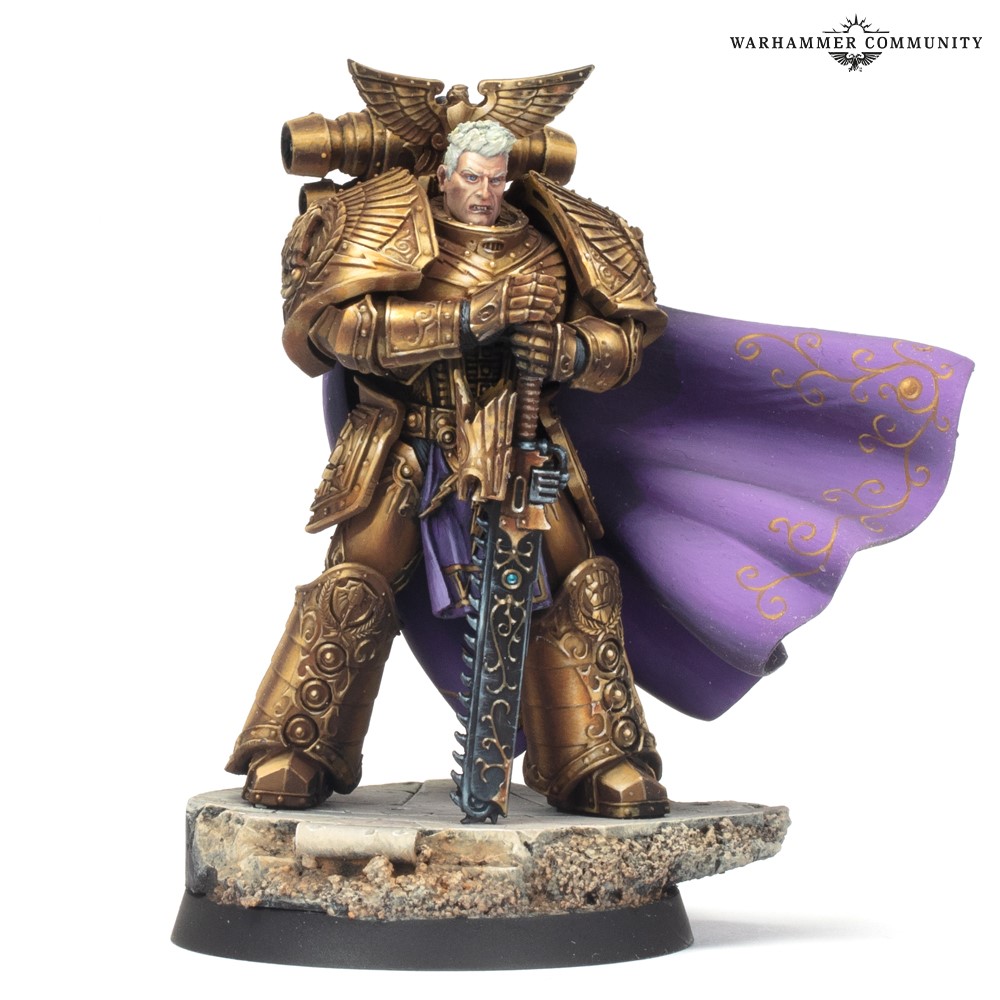
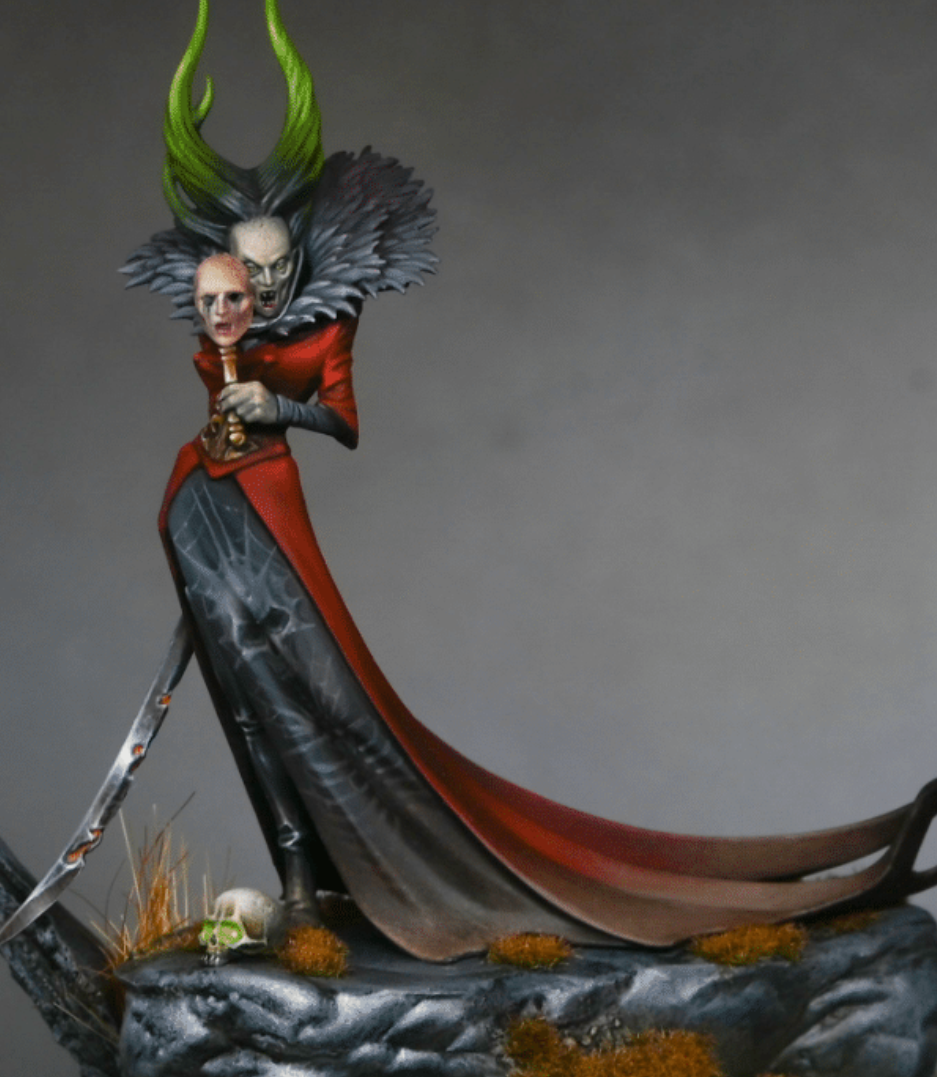
Here is a set of video tutorials on how to paint Naeve Blacktalon, including NMM Gold, her cloak filigree, face, eyes and hair and fur cloak!
Swift as lightning and as utterly devastating, Neave Blacktalon is a single-minded hunter and slayer of the enemy’s most powerful lords.
Scroll down to explore the tutorials in order, or click on the below to quickly jump to a part or technique:
This model won Bronze in the Fantasy Single Miniature Category at Salute in 2018.
These How to Paint Naeve Blacktalon videos are a lot older than my recent ones, so my apologies for the quality of image and sound!
Video: How to Paint Naeve Blacktalon – NMM Gold Armour
Paints and Materials Used
Paints:
- Rhinox Hide – A deep, rich brown, perfect for your base layer.
- Mournfang Brown – A warm brown, excellent for adding depth and warmth.
- Fire Dragon Bright – A vibrant orange, used for highlighting.
- Yriel Yellow – A bright yellow for adding that golden hue.
- Ushabti Bone – A light bone colour, ideal for the strongest highlights.
- Ceramite White – Pure white, used for the final, fine glistening points.
Brushes:
- Fine Detail Brush – Essential for those tiny, precise highlights and details. I use Artist Opus 00.
- Standard Layering Brush – Great for general painting and layering.
- Glazing Brush – Used for applying thin, smooth layers of glaze.
Additional Materials:
- Wet Palette – Keeps your paints hydrated and workable for longer.
- Airbrush (Optional) – Can be used for applying smooth base layers and initial highlighting.
Step-by-Step Guide
- Preparation and Base Colour: Begin by priming your model with a dark colour, ideally something like ‘Rhinox Hide’ from Games Workshop. This dark base will help you achieve a high contrast and a shiny appearance.
- Primary Light Source: Identify the primary light source, typically the sun. Use ‘Fire Dragon Bright’ to highlight areas where the light directly hits the armour. Remember, this step doesn’t need to be neat as it forms the foundation for further layers.
- Secondary Light Sources: Consider secondary light reflections and highlight these areas too. This step adds depth and realism to your model.
- Tonal Contrast: Apply a strong tonal contrast using ‘Fire Dragon Bright’ and ‘Yriel Yellow’. These colours will represent the primary and secondary highlights of the armour, respectively.
- Adding Depth with Glazing: Use glazing techniques for transitions. This involves applying thin, transparent layers of paint to create a smooth gradient.
- Strongest Highlights: For the strongest highlights, apply ‘Ushabti Bone’ judiciously. This colour will cover the majority of the highlight areas.
- Final Glistening Points: Use ‘Ceramite White’ for the final, fine glistening points. This should be used sparingly to maintain the effect of shining metal.
- Refinement and Transition: Apply multiple layers of paint towards the highest areas of highlights to create a slight transition. This step is crucial for achieving a realistic metal effect.
- Creating Light Glow: To enhance the light glow, carefully blend ‘Yriel Yellow’ into the highlighted areas. This adds a realistic golden hue to the armour.
- Additional Depth with ‘Mournfang Brown’: Use ‘Mournfang Brown’ as a glazing colour to bring a warm tone to the armour, toning down the brightness and orange hue.
- Detailing and Sharp Edges: Use ‘Fire Dragon Bright’ to highlight hard edges and details, balancing the colour use to maintain a realistic effect.
- Secondary Reflections: Apply secondary reflections using a toned-down ‘Fire Dragon Bright’. These should be softer and more subtle than primary reflections.
- Further Refinement: Continue refining the model by adjusting the intensity and spread of the highlights and reflections. Use glazing techniques to smooth out transitions and add fine details.
- Final Touches: As the last step, revisit any areas that need more definition or contrast. Use a combination of the aforementioned colours to fine-tune the appearance of the armour.
Video: How to Paint Naeve Blacktalon – Filigree Cloak
Paints and Materials Used
Paints Used:
- Vallejo Heavy Goldbrown: The primary colour for the filigree.
- Vallejo Ice Yellow: Used for highlighting the filigree.
- Games Workshop Abaddon Black: Employed for glazing and shading.
- Games Workshop Evil Sunz Scarlet: Utilized for base colour and glazing.
- Games Workshop Ushabti Bone: For final highlights.
- Games Workshop Ceramite White: Applied for the most prominent highlights.
- Games Workshop Yriel Yellow: Used in glazing for warmth and blending.
Brushes:
- Fine Detail Brushes: Sizes 000 and 00, used for painting intricate filigree patterns. In the video I mention a preference for a Rosemary & Co brush and an unbranded brush under testing – that brush ended up to be the Artist Opus brush, which I prefer to use today!
- Larger Brush (Size 2 or similar): For glazing larger areas smoothly.
Step-by-Step Guide
- Base Colour for Cloak: Begin by painting your cloak in a simple base colour. I suggest using ‘Abaddon Black’ mixed with a bit of ‘Ceramite White’ for transitions, then glazing over with ‘Evil Sunz Scarlet’ from Games Workshop. However, a flat red base is also suitable as the subsequent layers and glazes will define the final look.
- Initial Filigree Design: Start by drawing swirly patterns using ‘Heavy Goldbrown’ from Vallejo. This phase requires patience and a steady hand. If you are not confident in free-handing the design, consider sketching it out first or finding a pattern online as a reference.
- Creating Organic Patterns: Ensure that the filigree patterns are flowing and organic. You may start with thin lines and then work over them to make them thicker. Remember, the glazes applied later will pull back these colours, making them less vibrant.
- Dealing with Uneven Surfaces: When painting over uneven surfaces like a cloak, it’s challenging to get straight lines. Start with thin lines and gradually build upon them. If they become jagged, tidy them up using the base colour.
- Layering and Glazing: After completing the filigree design, start the glazing process. Use ‘Abaddon Black’ for shading down the ‘Heavy Goldbrown’ filigree. This step will begin to integrate the filigree into the cloak and soften the overall look.
- Highlighting the Filigree: Begin highlighting the gold filigree. The main goal here is to create an artificial light effect since you can’t rely on natural lighting for a flat piece. Use ‘Ice Yellow’ from Vallejo for the highlights, focusing on the center of each curl and other prominent areas. Be cautious when highlighting darker areas, as this can create a stark contrast.
- Final Highlights: For the final highlights, apply ‘Ceramite White’ from Games Workshop. This step will make the filigree stand out, but ensure it’s done sparingly to avoid overpowering the design.
- Glazing with ‘Evil Sunz Scarlet’: Now, glaze over the entire cloak with ‘Evil Sunz Scarlet’. This will unify the filigree with the cloak’s base colour and soften the highlights.
- Additional Glazing for Warmth: To add warmth and further blend the highlights, apply a glaze of ‘Yriel Yellow’ over the lighter areas of the cloak. This step enhances the subtleties in the filigree and integrates it more naturally into the cloak.
- Final Touches with ‘Ushabti Bone’: Finally, use ‘Ushabti Bone’ from Games Workshop to pick out some details again. This paint isn’t as yellow as ‘Ice Yellow’, providing a softer highlight and reducing the starkness of the earlier highlighting stage.
Video: How to Paint Naeve Blacktalon – Face and Hair
Paints and Materials Used
Paints Used:
- Games Workshop Cadian Fleshtone: The primary colour for the skin.
- P3 Ryn Flesh: Used for highlighting the skin.
- Games Workshop Mournfang Brown: Employed for shading the skin.
- Games Workshop Abaddon Black: For the pupils and hair detailing.
- Games Workshop Skavenblight Dinge: Base colour for the hair.
- Games Workshop Celestra Grey: For highlighting the hair.
- Games Workshop Ceramite White: Used for the highest points of hair highlights.
- Games Workshop Lothern Blue: Optionally mixed with Ceramite White for the eyes.
Brushes:
- Fine Detail Brushes: Essential for the intricate work on the face and eyes.
- Artist Opus Series S Brushes: I mention that I am testing these in the video, ideal for precision and detail.
- Medium Brush: For broader strokes and blending on the hair.
Step-by-Step Guide
- Preparing the Skin:
- Base Colour: Start with ‘Cadian Fleshtone’ from Games Workshop. Apply it to highlight the main points on the face such as cheeks, forehead, and nose. The paint should be thinned to about a 50/50 ratio with water.
- Highlighting: Use ‘Ryn Flesh’ from P3 to highlight the highest points on the face. This should be applied more sparingly, focusing on areas where light naturally hits the most.
- Shading: Apply ‘Mournfang Brown’ for shading. This helps in creating a consistent lighting effect and adds depth to the facial features.
- Detailing the Face:
- Work in layers, gradually building up the ‘Cadian Fleshtone’ and blending in the ‘Mournfang Brown’.
- Be careful around the eye sockets and hairline, ensuring a natural transition from skin to hair.
- Adjust the highlights and shadows to emphasize the facial expression and structure, remembering that the light source must be consistent with the rest of the model.
- Painting the Eyes:
- Use a mix of ‘Ceramite White’ and ‘Lothern Blue’ (optional) to paint the whites of the eyes. Ensure to leave some of the primed colour in the eye socket for natural shadowing.
- Add pupils using ‘Abaddon Black’. Be precise and consistent in their placement for a natural look.
- Avoid adding white reflections unless the eyes are sufficiently large to accommodate this detail without looking unnatural.
- Painting the Hair:
- Base Colour: Apply ‘Skavenblight Dinge’ as a base for the hair.
- Highlighting: Use ‘Celestra Grey’ from Games Workshop to pick out the highlights. Pay attention to the sculpted strands and how the light would naturally hit them.
- Further Highlights: Apply ‘Ceramite White’ for the highest highlight points, focusing on areas where the light would be strongest.
- Blend these highlights using ‘Skavenblight Dinge’ and ‘Abaddon Black’ to create a realistic sheen and prevent the hair from appearing grey.
- Final Touches:
- Revisit any areas that need more definition or blending.
- Ensure that the lighting on the face and hair is consistent with the rest of the model, adjusting as necessary.
Video: How to Paint Naeve Blacktalon – Fur Cloak
Paints and Materials Used
Paints Used:
- Games Workshop Abaddon Black: Used for creating shadow effects and detailing.
- Games Workshop Skavenblight Dinge: Applied as the base layer on the cloak.
- Games Workshop Celestra Grey: Utilized for the lighter tones and highlights.
- Games Workshop Ceramite White: Employed for the highest points of highlights on the fur.
- Games Workshop Rhinox Hide: Used sparingly for tinting in the shadow areas.
- Games Workshop Mournfang Brown: Applied as a glaze to add a bit of color to the fur.
Brushes and Tools:
- Artist Opus Series S Brushes: I switch between a size two and a size one brush for different stages of painting.
- Blue Tack: Used to hold the cloak in place during painting.
Step-by-Step Guide
- Base Coat with Skavenblight Dinge: Begin by covering the entire cloak with Skavenblight Dinge. Use the side of the brush to apply the paint, focusing on allowing some of the textures underneath to remain visible while not completely obscuring the contrast.
- Directional Lighting Consideration: Although the cloak isn’t shiny like the armour, maintain consistency with the lighting direction. This step is about setting up a “map” of lighting on the cloak, which will guide you in later stages.
- Applying Celestra Grey: Carefully apply Celestra Grey, ensuring not to cover all the details. This lighter grey will form the basis of higher points of light on the fur but avoid making large blocks of pale paint.
- Refining Shadows with Skavenblight Dinge: Go back to Skavenblight Dinge to refine the shadows. Use lighter marks to blend the Celestra Grey into darker areas, balancing the tones.
- Adding Depth with Rhinox Hide and Mournfang Brown: Use these colours, thinned down to a glaze consistency, to add depth and a hint of colour to the fur, particularly in the shadows.
- Detailing with Ceramite White: Now, use Ceramite White to add fine lines representing individual fur strands. This should be done delicately, ensuring these lines are thin and do not overwhelm the previously painted layers.
- Final Adjustments: Adjust the intensity of the highlights and shadows by going back and forth between the greys and the white. This process is about refining the fur’s appearance, enhancing its texture and realism.
- Edge Detailing: Pay special attention to the edges of the cloak. Use white to emphasise these areas, ensuring they stand out against the rest of the model.
- Final Touches and Cleanup: Make any necessary final adjustments to ensure a balanced, realistic fur appearance. Clean up any areas where paint may have strayed from the intended sections.
- Assemble the Model: Once the painting is complete and dry, carefully assemble the cloak onto the model, taking care not to damage your work.
Video: How to Paint Naeve Blacktalon – Base
Materials Required
- Resin plinths and cork bark for the base.
- Tools including a Dremel for shaping.
- Protective gear: Mask for dust protection.
- Games Workshop plastic skulls for decoration.
- Builder’s sand (with a mix of fine and large grains).
- Standard PVA glue.
- Baking soda and matte varnish for texture.
- Scale 75 paints (Brown Leather, Orange Leather, Arabic Shadow, Sherwood Green, Black Leather).
- Games Workshop Ahriman Blue and Ceramite White.
- P3 Menoth White Base.
- Airbrush (optional).
- Superglue.
- Acetate sheet or similar for creating a barrier.
- Epoxy resin for water effects.
- Gloss varnish (AK Interactive recommended).
- Vallejo Model Colour Black.
Step-by-Step Guide
- Base Preparation: Glue resin plinths together and top with cork bark for a natural rock formation look. Use a Dremel to shape the cork, ensuring proper ventilation and safety measures when you do so.
- Adding Detail: Place GW plastic skulls in the drilled areas for added interest.
- Texturing with Sand: Apply a mix of builder’s sand using PVA glue to add varied texture. This creates a more natural look with different grain sizes.
- Baking Soda and Varnish Mix: Combine baking soda with matte varnish to add fine texture, particularly around the edges and over the cork.
- Priming: Once dry, prime the base black using Vallejo Surface Primer.
- Airbrushing Base Colours: Optionally use an airbrush to apply Scale 75 paints in layers (Brown Leather, followed by Orange Leather, then Arabic Shadow). Airbrush inside the holes with Ahriman Blue, lightened with Ceramite White for a glowing effect.
- Dry Brushing Textures: Overemphasize textures with dry brushing, starting with Balor Brown and progressively lighter shades up to Menoth White Base. Focus on raised areas and edges.
- Applying Colour Washes: Use watered-down Scale 75 Sherwood Green and Black Leather to add natural colour variations. The washes will blend naturally, creating a cohesive look.
- Moss and Algae Effects: Mix Sherwood Green with baking soda and varnish to create a mossy texture, especially around the water edge.
- Adding Vegetation: Apply grass tufts, flowers (from Army Painter and MiniNatur), and field-found “real life!” vegetation with PVA and superglue for a diverse and organic look.
- Resin Water Effects: Carefully pour mixed epoxy resin into the prepared areas. Ensure a leak-proof barrier with acetate and superglue. Let it set for at least 24 hours.
- Final Touches: Once the resin is set and clear, tidy up the base edges with Vallejo Model Colour Black. Sand any rough edges if needed.
- Integration with the Model: To blend the model with the base, replicate the base’s texturing under the model’s foot.
- Completion: Leave to dry and cure fully. The finished base should present a detailed and textured landscape, complete with realistic water effects, enhancing Neave Blacktalon’s dynamic pose.
If you don’t have an account, please sign up here! The website currently has over 350 video tutorials with steps and tips, plus a selection of PDFs. If you are not sure about joining, you can explore my free videos with a free membership, or take the plunge and become a full subscriber for full access.
If you’d prefer to support me on Patreon, please visit: https://www.patreon.com/RichardGray
More Full Character Tutorials to Explore!


