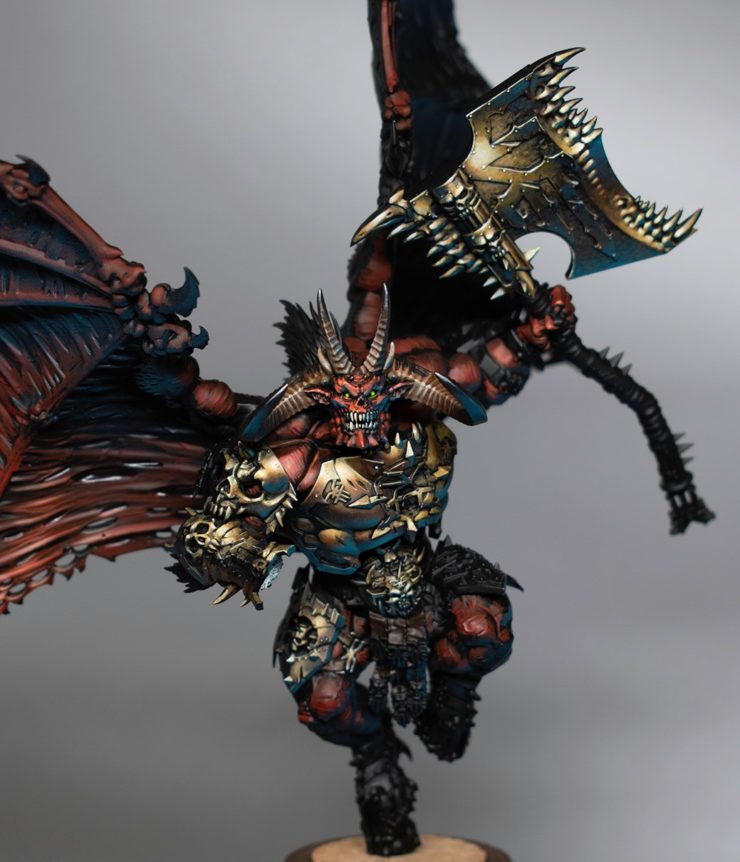
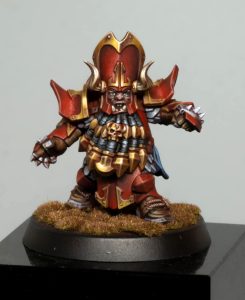
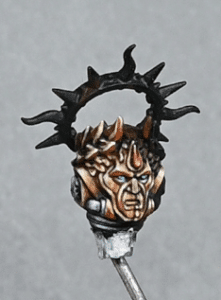
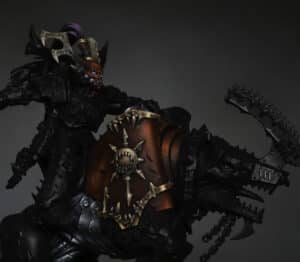
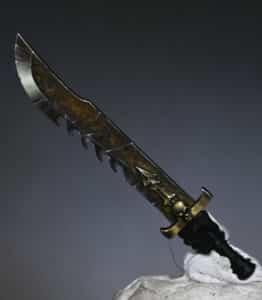
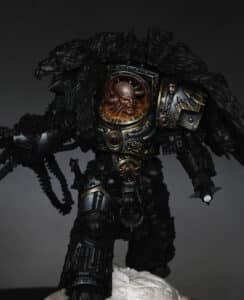
How I achieved the effect on the skin and the first part of the NMM gold effect on a Daemons Of Khorne Bloodthirster! This guide covers the foundational steps, focusing on establishing a vibrant and dynamic appearance through careful application of base colours and highlights. While this is the only video I created for this model, the techniques applied serve as a good basis for further detailing, such as adding finer highlights or textures.
Video: How to Paint Skin and NMM on a Daemons Of Khorne Bloodthirster
Materials and Paints Needed:
- Miniature: Daemons Of Khorne Bloodthirster
- Primer: Black
- Paints from Games Workshop:
- Mephiston Red
- Evil Sunz Scarlet
- Wild Rider Red
- Fire Dragon Bright
- Lugganath Orange
- Mournfang Brown
- XV-88
- Balor Brown
- Dorn Yellow
- Ceramite White
Step 1: Preparation and Priming
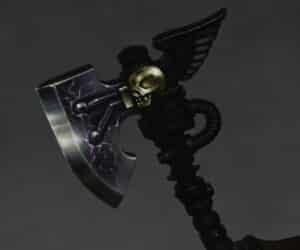
- Assembly: Assemble your Daemons Of Khorne Bloodthirster, making any modifications you like. In this guide, I’ve converted the Bloodthirster’s axe to a one-handed version, and the jaw was adjusted to close the mouth for a less exaggerated appearance.
- Priming: Apply a smooth coat of black primer to the entire model. This will help in defining the darker tones and shadows in the next steps.
Step 2: Base Colour Application
- Applying Mephiston Red: Start with Mephiston Red, focusing on a top-down lighting direction slightly to the right. Apply the paint broadly to areas that will be red, keeping in mind the light source as you choose which sections to highlight. This step is about establishing the base tone and volume of the model.
Step 3: Developing the Base Layers
- Enhancing the Red: Gradually build up the red tones by applying layers of Evil Sunz Scarlet, followed by Wild Rider Red, and finally Fire Dragon Bright. Focus on areas that would catch more light, enhancing the sense of volume and shape.
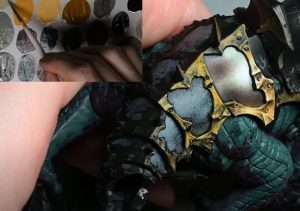
- Metallic Areas: Begin working on the metallic sections using a base of XV-88. Layer up through Balor Brown and Dorn Yellow, concentrating on highlights that match the lighting direction established with the reds. This creates a non-metallic metal (NMM) effect.
Step 4: Refining Details
- Detailing with Lugganath Orange and Fire Dragon Bright: Use these to refine the highlights, especially on focal points such as the face, chest, and weapon. The goal is to create striking contrasts and draw attention to key areas.
- Creating Texture and Depth: Apply Mournfang Brown strategically to add warmth and depth, especially in areas meant to reflect light or where shadows would be softer. This step adds complexity and realism to the model.
Step 5: Final Highlights and Adjustments
- Dorn Yellow and Ceramite White: Use these paints for the final highlights. Apply them sparingly to the highest points and edges that would catch the most light, enhancing the metallic effect on armour and the vibrancy of the flesh.
- Evaluating and Adjusting: As you progress, take the time to step back and assess the model. Adjust the intensity and placement of highlights to ensure they align with your envisioned light source and overall aesthetic.
Explore more NMM Tutorials!
If you don’t have an account, please sign up here! The website currently has over 350 video tutorials with steps and tips, plus a selection of PDFs. If you are not sure about joining, you can explore my free videos with a free membership, or take the plunge and become a full subscriber for full access.
If you’d prefer to support me on Patreon, please visit: https://www.patreon.com/RichardGray


