


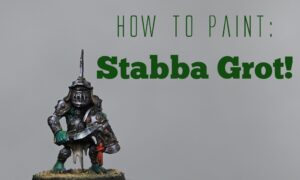
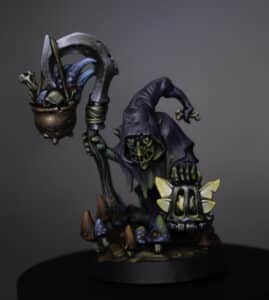
I’ve finished up Zarbag, now just the rest of his Gitz so that I can game! He’s such a cool model, and a good warm up for the rest of the goblins I’ve bought. Read on to follow my detailed video tutorials on how I paint him in order from priming to applying the final glazes, or use the links below to quickly jump to a technique or part of the model.
Video: Zarbag the Goblin – Part One
All videos are recorded in HD 1080p or higher – use full screen for the full effect and let the video load completely.
Materials Needed
- Vallejo Black Surface Primer
- Paints (Vallejo unless specified otherwise): German Grey, Dark Sea Green, Neutral Grey, Dark Sea Grey, Pale Grey Blue, Xereus Purple (Games Workshop), Abaddon Black (Games Workshop)
- Wet palette
- Fine detail paintbrushes
- Water jar
- Kitchen roll
- Small portable hand dryer (optional)
Step 1: Preparation
- Prime your Zarbag miniature with Vallejo Black Surface Primer. Although the miniature in the tutorial is fully assembled, it’s recommended to leave some parts unassembled to ease the painting process, especially the lower half which is obstructed by the lantern and mushrooms.
Step 2: Base Colour Application
- On your wet palette, prepare the following colours: German Grey, Dark Sea Green, Neutral Grey, Dark Sea Grey, and Pale Grey Blue. These colours range from dark to light and will serve as the base for the cloth and other details.
- Begin by applying Dark Sea Green to the default areas like the cloth, using rough strokes. Don’t worry about texture at this stage as we will refine it later.
Step 3: Lighting and Texturing
- Use a top-down lighting effect to simulate natural light falling on the miniature. This will guide where your highlights and shadows will be placed.
- Paint with downward strokes to follow the direction of the cloth’s creases. Consider adding your own creases for added detail and texture.
Step 4: Highlighting
- Progressively work your way up through the lighter tones on your palette, starting with Neutral Grey and moving to Pale Grey Blue for the highest highlights. Apply these colours to areas where light would naturally hit, such as the top of the hood and the shoulders.
- Use stippling and controlled brush marks to blend the colours and add texture to the cloth.
Step 5: Glazing
- Prepare a glaze with Xereus Purple to tint the greys towards a purple hue. Apply the glaze carefully, focusing more on the mid-tones and shadows while preserving the brightness of the highlights.
- Use Abaddon Black to deepen the shadows if necessary. Remember, glazing requires multiple thin layers, so patience is key here.
Step 6: Detailing and Finishing Touches
- Revisit the highlights by reapplying the original grey tones to enhance the folds and textures. This step will soften the highlights and integrate them with the purple glaze.
- Add final details and textures as needed, ensuring that any added creases or folds follow the overall lighting and shape of the model.
Top Tips
- When painting him, maintaining a clean brush is crucial. Ensure excess water is removed from the brush after rinsing to avoid diluting the paint too much.
- The consistency of the paint should be like single or double cream for strong, controlled marks.
- Consider the use of a portable hand dryer to speed up the drying process between glazes.
- Glazing should be done with care to avoid flooding the model. Aim for thin, controlled layers to build up the desired intensity.
Video: Painting Zarbag’s Sickle: A Step-by-Step Non-Metallic Metal Guide
Materials Needed
- Primer: Vallejo Black Surface Primer (already applied)
- Paints:
- Vallejo: German Grey, Neutral Grey, Dark Sea Green, Pale Grey Blue
- Games Workshop: Rhinox Hide, Ceramite White, Firedragon Bright
- Tools: Fine detail brushes, wet palette, water jar, kitchen roll
Step 1: Adding Texture to the Robe
- Start with Neutral Grey on your wet palette. Use a stippling technique over the previously applied purple glaze to create a soft transition and add texture to the robe. This method involves layering texture upon texture, glazing, and then adding more texture to achieve a dense and controlled effect.
- Incorporate Dark Sea Green for stippling on the darker areas of the robe to blend the textures without making them look too stark against the shadows.
Step 2: Non-Metallic Metal (NMM) Technique for the Sickle
- Map Out Highlights: Begin with Neutral Grey to map out the primary and secondary highlight areas on the sickle. Apply the paint to areas that would naturally catch the light, considering the sickle’s curved shape and edges.
- Apply Pale Grey Blue: Over the initial highlights, layer Pale Grey Blue, focusing on the areas that will be the brightest. This step starts to define the metallic look of the sickle.
- Adjust Contrast: Use a mix of the paints to create transitions and blends on the sickle. Add Black (or German Grey lightened with a touch of white) to deepen shadows and enhance the metallic effect.
Step 3: Refining Highlights and Shadows
- Highlight Edges: With Ceramite White, add fine highlights to the edges and textures of the sickle to simulate light reflections. This creates a more realistic metallic effect by showing how light interacts with the metal’s surface.
- Add Rust and Grime: Glaze with Rhinox Hide and possibly Fire Dragon Bright to simulate rust and grime on the sickle. Apply these glazes sparingly to avoid overpowering the metallic effect. This step adds realism and character to the weapon.
Step 4: Final Touches
- Re-emphasize Details: Go back over the highlighted areas, especially after glazing, to re-emphasize the texture and highlights. This helps maintain the metallic look while incorporating the effects of wear and tarnish.
- Use Ceramite White for Sharp Highlights: Apply very fine dots of Ceramite White in the darkest areas as well as the brightest points to enhance the contrast and visual interest of the NMM effect.
Top Tips
- Stippling for Texture: Use stippling to build up texture on both the robe and the sickle. This technique allows for controlled, visible layers that contribute to the overall depth and realism.
- Layering for NMM: Build up layers gradually when working with NMM techniques. Start with darker shades and move to lighter ones, focusing on where light naturally hits the object.
- Glazing for Effects: Use glazes to subtly adjust colours and add effects like rust or grime. This can add depth and realism but should be done carefully to maintain the underlying details.
Video: Painting Zarbag’s Skin and Eyes
In this third installment of the Zarbag painting series, we focus on bringing Zarbag’s skin and eyes to life, excluding the Object Source Lighting (OSL) effects for now.
Materials Required
- Primer: Vallejo Black Surface Primer (previously applied)
- Paints (all by Games Workshop unless stated otherwise):
- Base Layers: Warpstone Glow, Averland Sunset
- Highlights and Detailing: Warboss Green, Ceramite White, Ushabti Bone, Balor Brown, Incubi Darkness, Pink Horror, Emperor’s Children, Mournfang Brown
- Tools: Fine detail brushes, a wet palette, a water jar, and kitchen roll
Step 1: Base Layer for the Skin
- Apply Warpstone Glow across the skin. Given its translucency, multiple applications may be necessary for even coverage. Alternatively, use P3’s Iosan Green or a similar Vallejo shade for better opacity.
- Underpainting Technique: For enhanced vibrancy, consider underpainting the skin with a lighter colour, such as pale grey, before applying Warpstone Glow.
Step 2: Enhancing Skin Tones
- Layer with Warboss Green to highlight. Adjust the intensity by mixing it with Warpstone Glow for a subtler effect.
- Mix Ushabti Bone with Warboss Green for peak highlights, focusing on prominent features like the nose, cheeks, and knuckles.
Step 3: Facial Details
- Nose: Mix Emperor’s Children with white for a pinkish hue. Adjust saturation as needed to avoid overly pale tones.
- Eyes: Start with Averland Sunset for the iris’s base. Define the iris further with Mournfang Brown, then detail the pupil with Ceramite White.
- Highlight the Eyes: Add a pinpoint of Ceramite White to each iris to simulate reflective light.
Step 4: Final Touches to the Skin
- Shade with Incubi Darkness in the recesses to add depth, using this sparingly to maintain the skin’s vibrancy.
- Apply Pink Horror lightly over the green to introduce subtle colour variation without obscuring the green base.
- Detail Boils: Begin with Averland Sunset, highlighted with Ushabti Bone for a lifelike effect.
Step 5: Teeth and Fingernails
- Teeth: Base with Balor Brown, then highlight with Ushabti Bone at the tips for a yellowed, aged appearance.
- Fingernails: Use Balor Brown, adding Ushabti Bone highlights to define the shape and texture.
Top Tips
- Layering for Depth: Build up the skin’s depth with multiple layers, especially when using translucent paints like Warpstone Glow.
- Highlighting for Effect: Strategic highlighting brings out the miniature’s details without overwhelming the base colours.
- Detailing for Personality: Paying attention to small details, such as eyes and boils, adds character and depth to the miniature.
- Adjusting Paint Saturation: Modify the saturation of your paints by mixing in whites or other hues, especially when aiming for vibrant areas like the nose or boils.
Video: Zarbag’s Staff: Wood Grain and Copper Pot
This segment will guide you through painting the wood grain on Zarbag’s staff and achieving a textured copper pot effect
Materials Needed
- Primer: Vallejo Black Surface Primer (already applied)
- Paints (Games Workshop unless noted):
- Base Colours: Rhinox Hide, Bugman’s Glow, Mournfang Brown
- Detailing and Highlights: Balor Brown, Ushabti Bone, Ceramite White, Sotek Green, Mephiston Red
- Special Effects: Vallejo Ice Yellow (or mix Screaming Skull with a touch of yellow for a similar effect)
- Tools: Fine detail brushes, a wet palette, water jar, kitchen roll
Painting the Wood Grain on the Staff
- Base Coat: Apply Rhinox Hide to the staff, taking care to avoid the already painted areas like the sickle and the goblin’s hands.
- Wood Grain Effects: Use Balor Brown to start adding wood grain details. This involves freehand painting, simulating the natural curves and twists of wood grain. For a more natural look, include knots by painting swirls at points where the staff curves.
- Highlighting: Accentuate the wood grain with Ushabti Bone, focusing on the edges of the curves and knots to enhance the 3D effect of the staff.
- Refining: If necessary, use Rhinox Hide to tidy up any overly thick lines or to separate closely painted grains, ensuring each strand stands out distinctly.
Painting the Copper Pot
- Textured Base: Begin with a base coat of Bugman’s Glow on the pot, applying the paint thickly enough to leave brush strokes for a textured look.
- Adding Depth: Layer Mournfang Brown over the base, focusing on areas that would naturally be darker or have more shadow. This step starts to build the copper effect.
- Highlighting: Use Vallejo Ice Yellow (or a Screaming Skull and yellow mix) to highlight the edges and raised areas, giving the pot a metallic sheen. Be judicious with this strong colour to maintain the coppery hue.
- Glazing for Realism: Dilute Mournfang Brown with water to create a glaze. Apply this over the pot to soften the texture and blend the highlights, enhancing the overall metallic effect.
Detailing the Copper Pot and Staff
- Enhancing Texture: Go back over the pot with Rat Skin Flesh and then Ushabti Bone, focusing on the most raised areas and edges to emphasise the worn, textured look.
- Final Touches: Add final highlights with Ceramite White on the sharpest edges and highest points to mimic light reflections on the metal.
Painting the Strap and Mushrooms
- Leather Strap: Paint the strap with Mournfang Brown, followed by Balor Brown and Ushabti Bone for highlights. Aim for a worn leather look by focusing highlights on edges and creases.
- Mushrooms: Base the mushrooms with Sotek Green, adding layers mixed with white towards the tips for a gradient effect. For red mushrooms, start with Mephiston Red and blend towards the base for a natural transition.
Tips for Success
- Freehand Techniques: Practising freehand techniques like painting wood grain will significantly improve your skills. Use a brush with a sharp point for the finest lines.
- Texture Through Brushwork: Achieve texture not just with colour but how the paint is applied. Thick, visible brush strokes can simulate the roughness of materials like copper.
- Glazing: Use glazing to unify your paintwork, softening transitions and blending highlights into the base colours.
Video:
Painting Zarbag’s Base Mushrooms and Fairy with Object Source Lighting (OSL)
Welcome to the final installment of our tutorial series on painting Zarbag from Zarbag’s Gitz. In this part, we will focus on adding life to the base with mushrooms and a captivating fairy in a cage, which will serve as the source of our Object Source Lighting (OSL), illuminating Zarbag and enhancing the overall miniature
Materials Needed
- Paints (Games Workshop unless specified):
- Base Colours: Mephiston Red, Sotek Green, Yriel Yellow, Abaddon Black
- Highlights and Details: Wild Rider Red, Fire Dragon Bright, Ceramite White
- Glazes and Washes: Griffon Sepia Wash
- Vallejo: Ice Yellow (or a mix of Screaming Skull with a touch of yellow)
- Tools: Fine detail brushes, wet palette, water container, kitchen paper
Painting the Mushrooms
- Base Coat: The mushrooms are based in Mephiston Red for the red mushrooms and Sotek Green for the blue ones. Despite its name, Sotek Green gives a bluish hue, especially when lightened, perfect for our needs.
- Highlighting Red Mushrooms: Use Wild Rider Red followed by Fire Dragon Bright to highlight towards the tips of the red mushrooms. Achieve a gradient effect; perfect blending is not necessary due to the small scale and subsequent glazing.
- Highlighting Blue Mushrooms: Follow a similar approach with the blue mushrooms, but aim for a pattern that mimics the ones seen on the staff’s pot for consistency across the model.
Painting the Fairy/Sprite
- Base Layer: Start with Vallejo Ice Yellow for a solid coverage over the black primer. The aim is for a light, bright base that we can tint yellow.
- Shading: Apply Griffon Sepia Wash to add depth and a yellowish tint, preparing for the OSL effect.
- Highlighting: Use Ceramite White to highlight the fairy, focusing on the central body to enhance the glow effect.
Creating Object Source Lighting (OSL)
- Choosing the Light Source: Our fairy in the cage will be the source of light, casting an ethereal glow on Zarbag and his surroundings.
- Applying OSL on Zarbag: Dilute Yriel Yellow to a glaze consistency and apply it to areas that would naturally catch light from the fairy. Focus on the face, cloak edges, and hands, ensuring transitions are smooth and the underlying detail is preserved.
- Enhancing the Mushrooms: Apply the same Yriel Yellow glaze to the mushrooms closest to the fairy, strengthening the illusion that the fairy’s light is hitting them.
Final Touches
- Detailing the Fairy’s Wings: Use Ceramite White to add vein-like details to the wings, painting from the body outwards for a natural look.
- Refining the Mushrooms: Add small white dots to the blue mushrooms for additional texture and interest, using a mix of Sotek Green and Ceramite White for the brightest highlights.
- Adjusting the Light Intensity: Depending on the desired effect, you may choose to intensify or soften the OSL by adjusting the amount of Yriel Yellow used. Remember, less is more when aiming for a subtle glow.
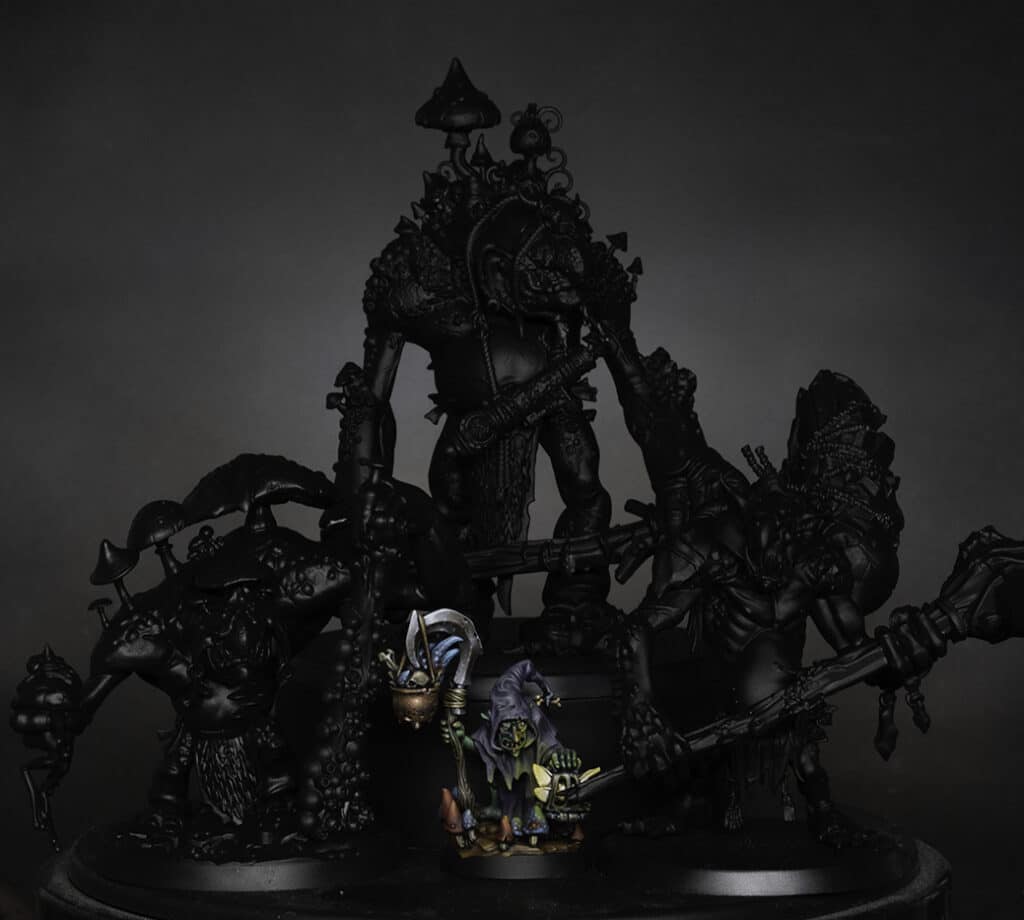
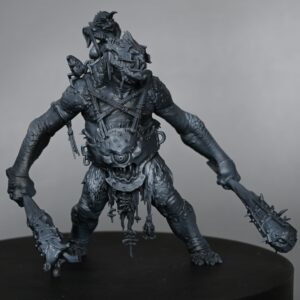
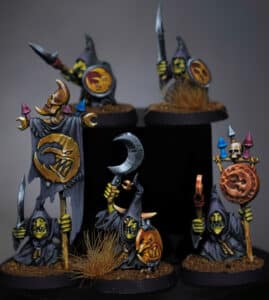
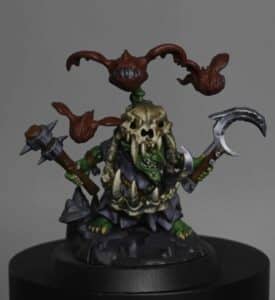
Zarbag has lots of bigger friends, which I am looking forward to showing you, too…
Learn How to Paint more Goblins and Gitz!
If you don’t have an account, please sign up here! The website currently has over 350 video tutorials with steps and tips, plus a selection of PDFs. If you are not sure about joining, you can explore my free videos with a free membership, or take the plunge and become a full subscriber for full access.


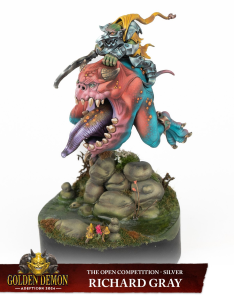
If you’d prefer to support me on Patreon, please visit: https://www.patreon.com/RichardGray