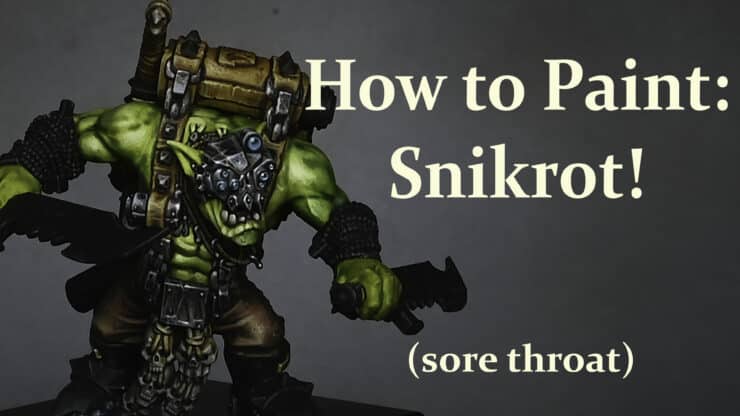
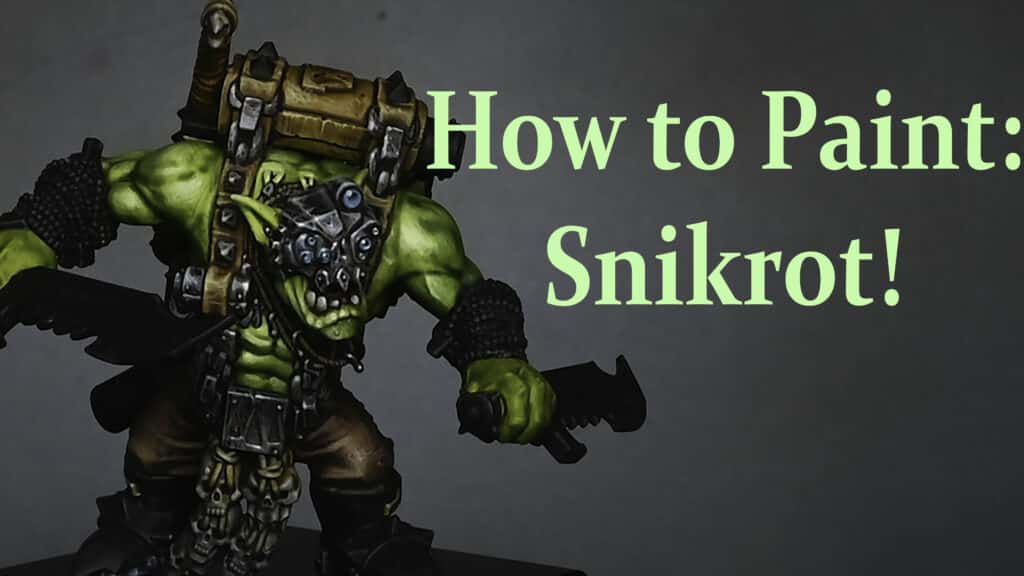
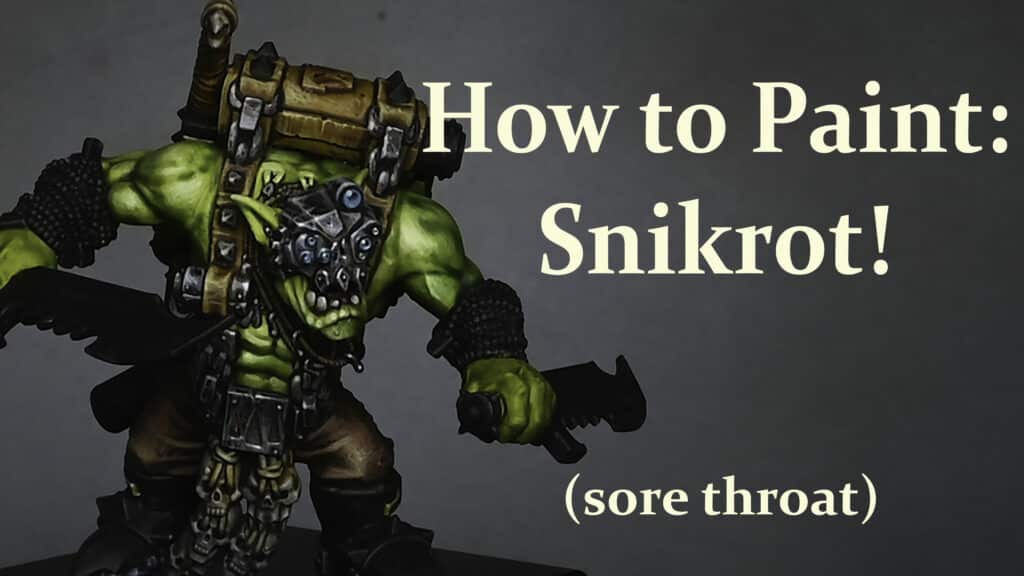
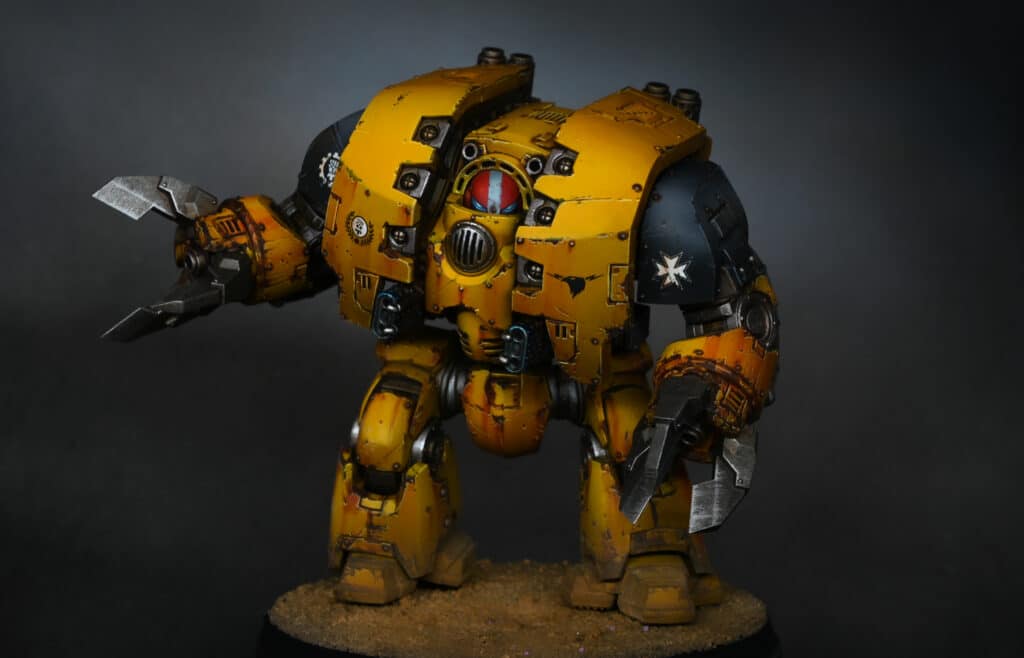
This video looks at how to paint the Ork special character, Snikrot, which Games Workshop sent to me as an early review copy.
The model is painted to a high tabletop standard and Contrast paints are used heavily.
Quick Jump to:
Video Tutorial – How to Paint Snikrot the Ork!
The following paints were used:
Games Workshop Contrast: Black Legion, Mantis Warriors Green, Aggaros Dunes, Skeleton Horde, Garaghak’s Sewer
Vallejo Game Colour (New): White Ink, Mecha Matt Varnish, Neutral Grey, Black, Desert Yellow, Bile Green, Grunge Brown, Dead Flesh, Turquoise, Aquamarine, Dead White, Airbrush Thinner
Steps and Tips
Priming and Highlighting
Prime the model.
Apply white ink using an airbrush, thinned with Vallejo airbrush thinner, focusing on the face and chest for natural light effects.
Applying Contrast Paint
Start with Mantis Warriors Green for the skin. Use a large brush for efficient coverage, allowing the paint to settle in the recesses.
For trousers, use Aggaros Dunes, a dark brown contrast paint.
Apply another brown contrast paint for the leather areas.
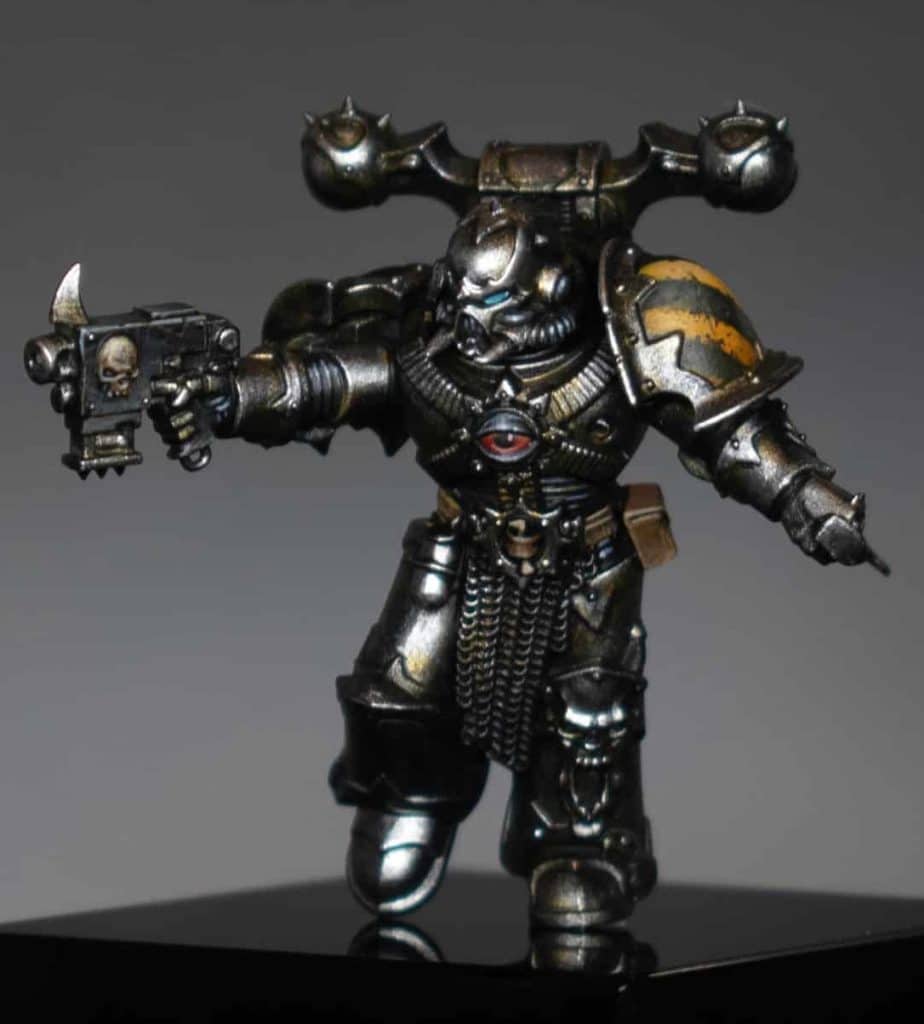
Paint all metal areas with Black Legion contrast paint, without worrying about neatness as black will cover any overlapping paint.
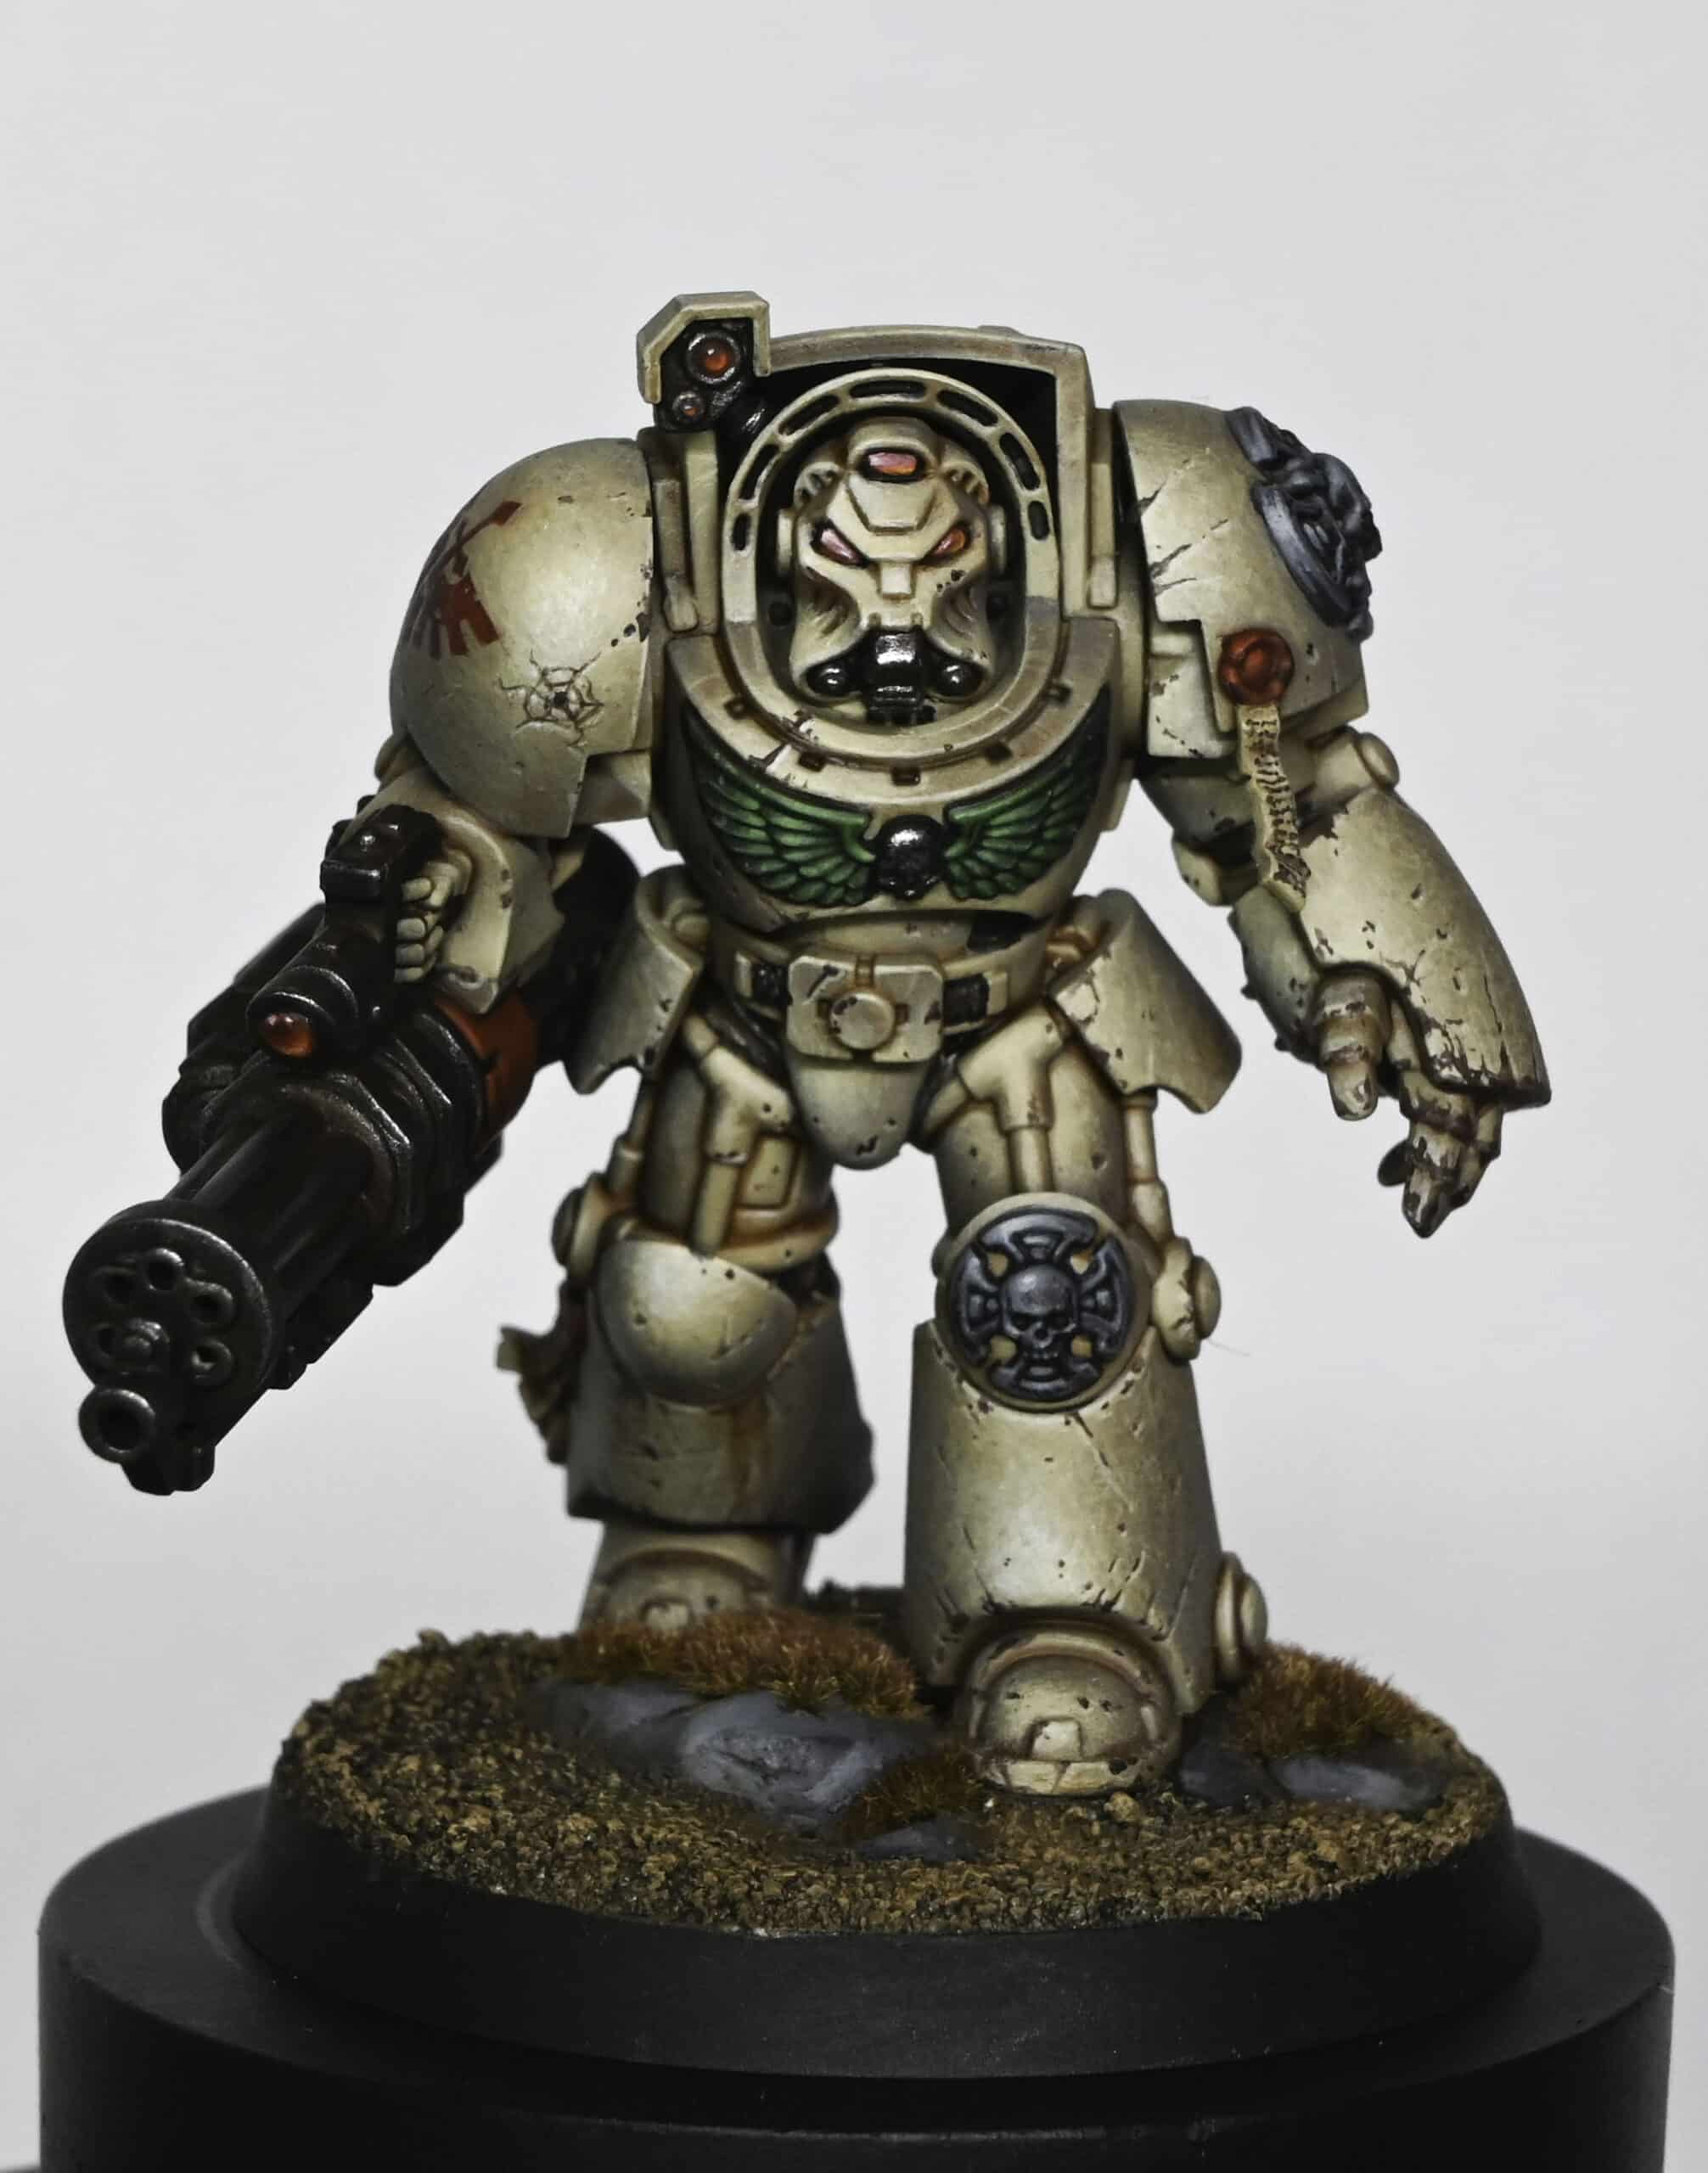
For bone areas, use Skeleton Horde.
Painting Details
Paint teeth and tongue with Skeleton Horde, and use a pink colour for the tongue.
Apply a coat of matte varnish (Mecha Matt Varnish by Vallejo) to reduce the sheen from the contrast paints.
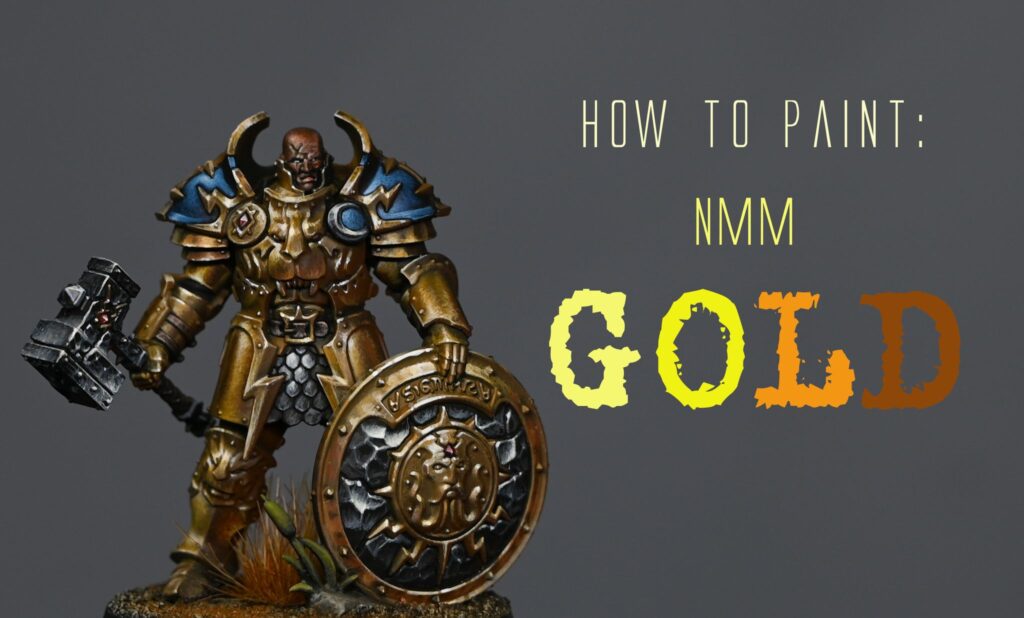
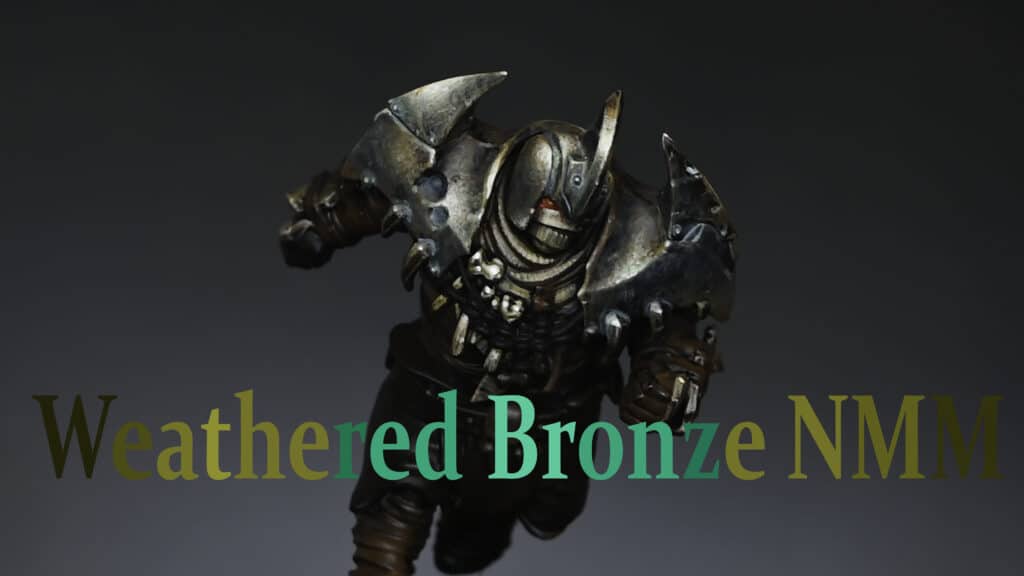
Non-Metallic Metal (NMM) Technique
Start with Vallejo Game Colour Neutral Grey for the metallic areas.
Create a palette with Neutral Grey, mixed with white and black, and use Dead White for the brightest highlights.
Skin Highlights
Mix Bile Green with white for brighter skin highlights. Focus on the areas where natural light would
hit, such as the tops of muscles and face.
Leather and Straps
For additional texture and highlights on leather, use Grunge Brown.
Apply Desert Yellow for final highlights on leather, following the sculpted creases and stress points.
Final Touches on Metallic Areas
Enhance the metal parts with additional Grunge Brown, focusing on recesses and flat surfaces for a grimy look.
Use Dead Flesh for final highlights on metallic areas, achieving a high contrast non-metallic metal effect.
Lenses and Eyes
Paint the lenses starting with Turquoise, followed by Aquamarine for the first highlight.
Add a small dot of Dead White at the bottom for a reflective effect.
Throughout the process, remember to let each layer dry before applying the next.
Video Tutorial – (Richard Version)
Yep – it was an April Fools! 😀 This was my wife and she wanted to have some fun doing a voice over.
She has her own channel here, if you’d like to check out more of her Warhammer New Release unboxings and voice overs, or you can explore them below.
More Free Video Tutorials
Free videos for logged in members – just sign up as a ‘friend’ to view and click any of the thumbs.
To explore all of these, visit this page!
If you don’t have an account, please sign up here! The website currently has over 350 video tutorials, plus step by step guides and PDFs. You can explore more free videos with a free “”friend” membership, or take the plunge and become a full subscriber for full access.
If you’d prefer to support me on Patreon, please visit: https://www.patreon.com/RichardGray
