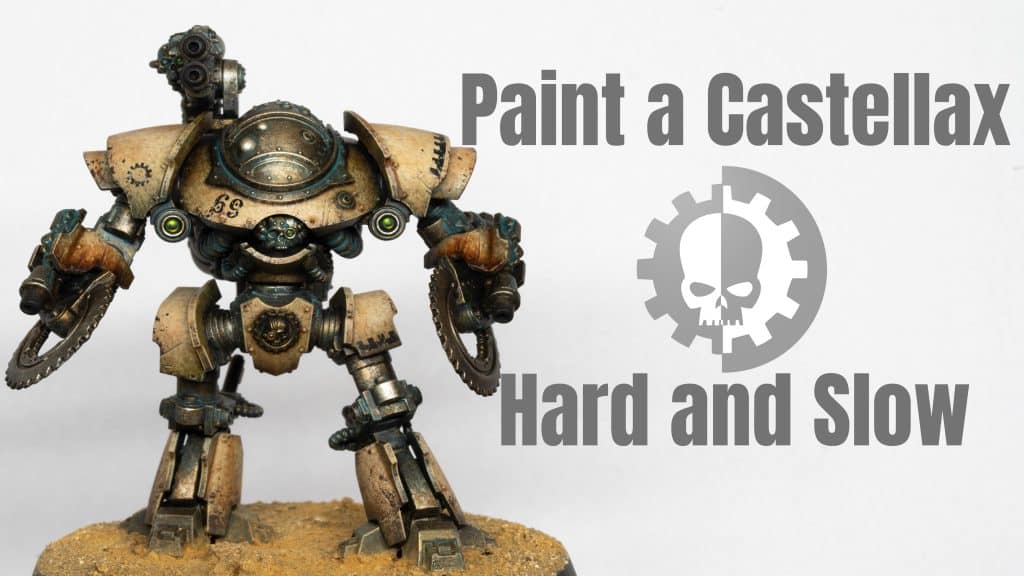
This video guide and full instructions will walk you how to paint a Castellax model from the Mechanicum Battle Force box set. The goal is to achieve a high-quality tabletop standard using quick, repeatable techniques—no airbrush required!
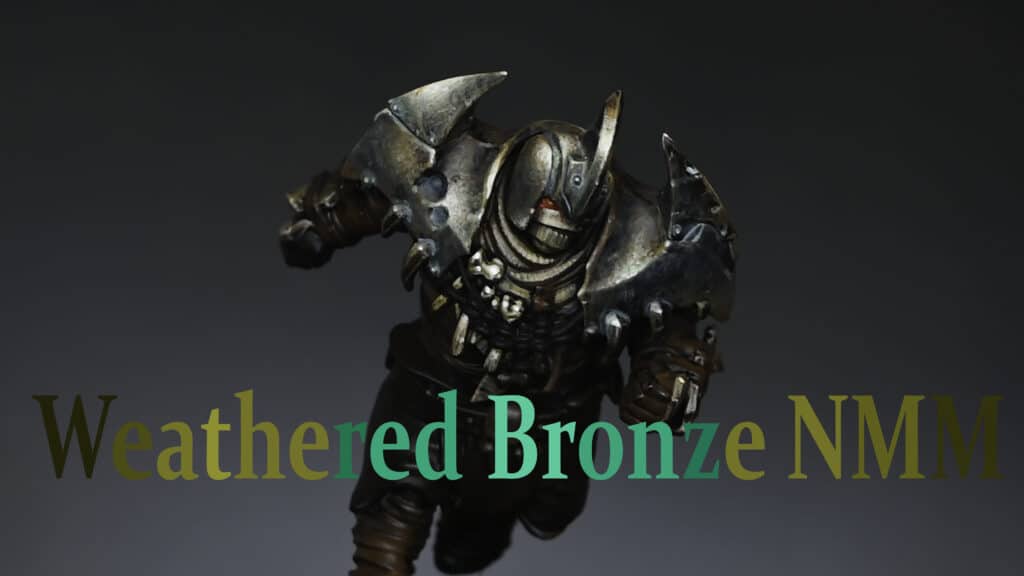
The process focuses on achieving a grimy, weathered look that complements a Death Guard army.
Video – How to Paint a Castellax from the Mechanicum Battle Force Box
Paints and Materials Needed
Paints:
Games Workshop: Balor Brown, Morghast Bone, Screaming Skull, Darkoath Flesh (Contrast), Contrast Medium, Sotek Green, Sybarite Green, Warpstone Glow, Moot Green, Flash Gitz Yellow
Vallejo: Model Colour Black
Scalecolour: Necro Gold
Pro Acryl: Light Bronze Metallic
P3: Morrow White
Brushes:
Artis Opus Size 4 (Worn-out brush for stippling)
Artis Opus Size 3M (Shorter bristle brush for dry brushing)
Size 0 brush (for detailing)
Size 00 brush (for fine details)
A piece of dense foam (for sponge chipping)
Step 1: Preparation
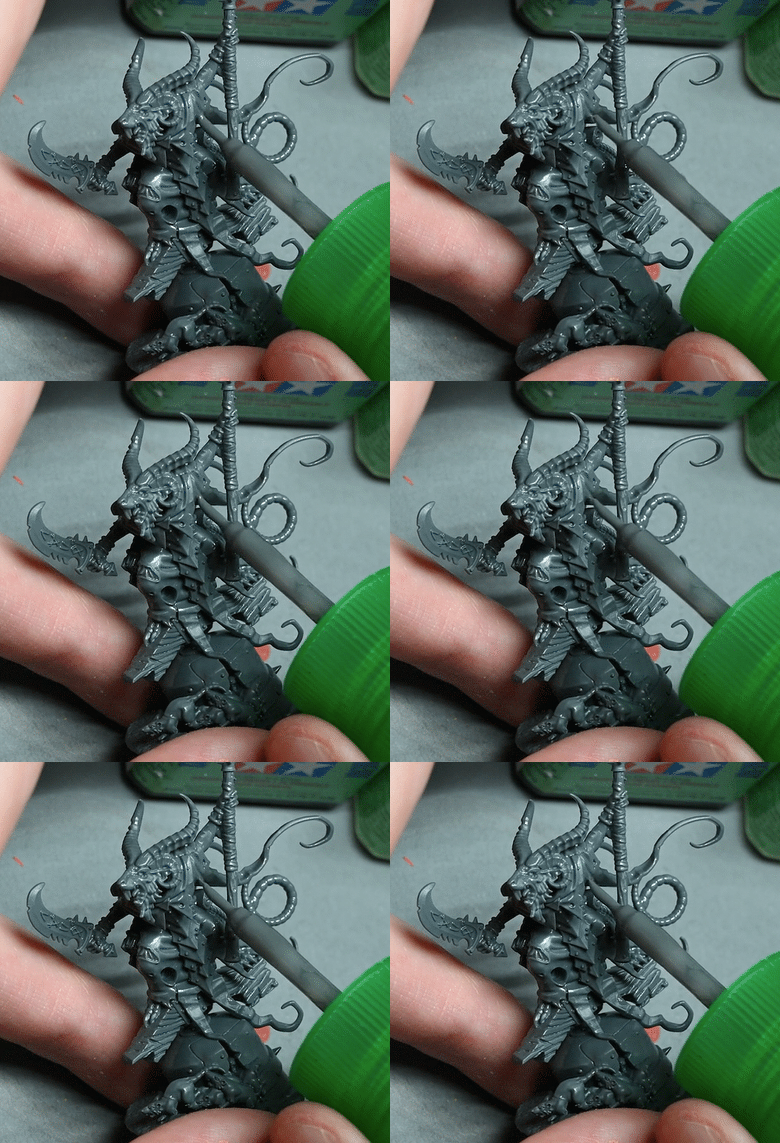
Begin by assembling the model, leaving the legs separate from the torso to make painting easier. This is a common technique to manage sub-assemblies, allowing easier access to harder-to-reach areas and making the model more manageable to hold.
All I’ve done there is put some sprue glue and I’d left that to dry so I hadn’t sanded that down perfectly smooth here because the shoulder pad’s coming two parts and you can clearly see how one part connects to the other, but they are glued onto the model at the moment.
While it’s possible to leave the shoulder pads off to make painting easier, it’s up to personal preference. Some may find that too many sub-assemblies can result in scattered parts and unfinished projects. If you do decide to leave them off, it will make painting these parts slightly easier, especially when it comes to avoiding overspill.
Step 2: Base Coat
Prime the model with a black base coat using Vallejo Model Colour Black. This forms a solid foundation for the metallic and armour colours, ensuring good coverage and depth in subsequent layers.
“The first thing we’re doing is using some scale colour necro gold… I haven’t really watered it down too much… you want it reasonably runny but not too runny.”
Ensure the base coat is smooth and even, as this will help the metallics and other layers adhere better and produce a cleaner finish.
Step 3: Metallic Base
Use Scalecolour Necro Gold to cover all metal areas of the model. Apply this using a stippling technique with a worn-out Artis Opus Size 4 brush. The goal here is to create a textured, weathered look on the metallic areas. Be cautious with the thickness of the paint to avoid unwanted texture buildup, as you only want the paint to create a visual texture, not a physical one.
“You’re just doing that all over all the metal areas on the model… be careful of physical texture buildup… the only texture you want really on the model is painting texture, not three-dimensional thick paint texture.”
Next, use Pro Acryl Light Bronze Metallic to highlight raised areas. Focus on prominent features like the dome of the head, flamer nozzles, and the edges of the armour. Switch to a Size 3M Artis Opus brush for more control, as its shorter bristles help achieve a smooth application with this dry brushing technique.
“This is a little bit thinner than the Necro Gold and the idea with this is you’re doing a very similar kind of process with it… don’t go too crazy with the light bronze because it is a very light colour; it almost looks silver when you apply it.”
Step 4: Clean Up
Once the metallics are dry, use Vallejo Model Colour Black to go back over any areas where metallic paint has spilled onto the armour panels. This clean-up step is crucial for keeping the final look neat and avoiding metallic flakes showing through when painting the armour colours.
“When I was painting the metal I didn’t care where the paint got onto armour panels… it makes the process much quicker, and you don’t have to worry… just keeps everything looking neat.”
Take your time with this step to ensure all overspill is covered, particularly in recesses and around edges where the metallics might have spread.
Step 5: Armour Panels
Start by applying Games Workshop Balor Brown, thinned with water in a 1:1 ratio. Stipple this over all armour panels using the Size 3M brush. This technique creates a textured, weathered effect that forms the base layer for the armour.
“You’re basically covering all of the armour panels with that stippling effect… a large brush makes it hard to paint in some of these recess areas without getting the paint onto the metal.”
Next, apply Games Workshop Morghast Bone in the same manner, focusing on the curves and raised areas of the armour. The goal here is to start building up lighter areas, enhancing the depth and contrast on the model.
“You want the area to look darker in the recesses anyway… making sort of like a very soft light volume onto the armour.”
Finally, highlight the most prominent areas with Screaming Skull. As you progress to lighter colours, apply the paint more carefully, focusing on areas where light naturally hits the model, such as the tops of the shoulder pads, the chest, and the front-facing parts of the armour.
“We’re trying to get those highlight positions and be a little bit more accurate with it… you want to rotate the brush around a little bit and you also want to make sure that when you dab the brush onto the model you have it straight on.”
Remember to dab off any excess paint on kitchen roll before applying it to the model to avoid blobs or streaks.
Step 6: Applying Wash
Mix Darkoath Flesh Contrast with Contrast Medium in a 1:1 ratio. Apply this wash over the entire model, covering both the armour and metallic areas. This step is essential for toning down the highlights, blending the colours, and adding a grimy effect that suits the model’s aesthetic.
“If you use water, you will actually destroy the effect the way that the contrast paint works… it will give a very smooth, clean finish all over.”
Be mindful of pooling, especially in recesses. Use a clean brush to wick away any excess wash from these areas to maintain the model’s detail.
Contrast paint is slightly thick, so if you have a big pool of contrast paint, it will dry and it will just start to kind of gloss over some of the details.
Step 7: Decals and Further Weathering
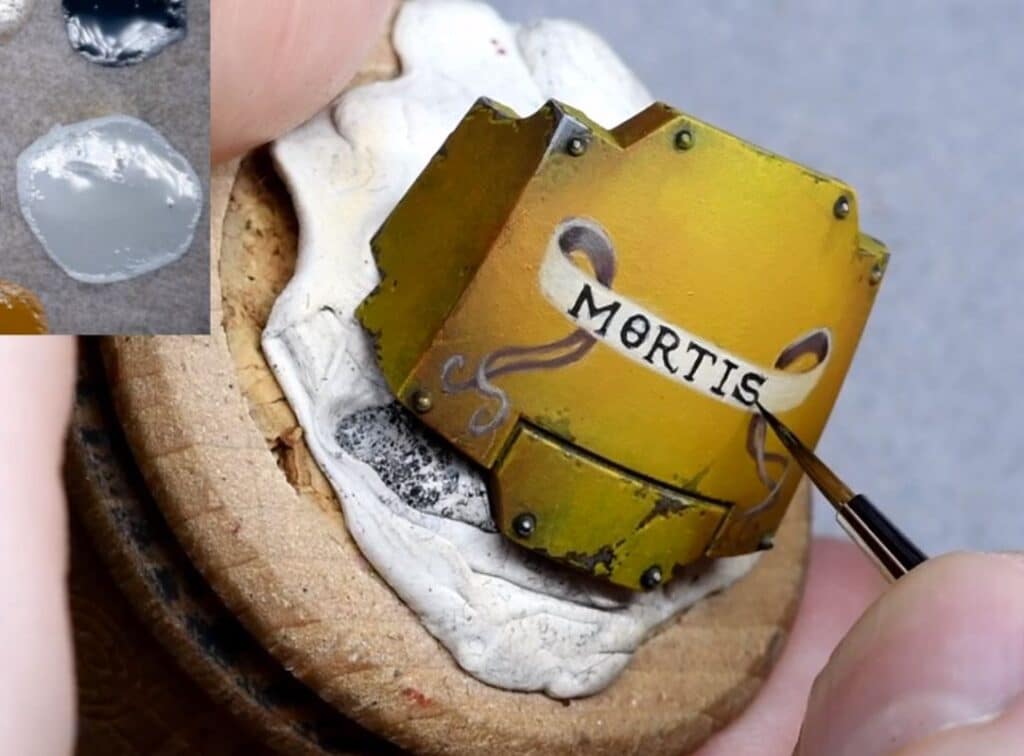
If using decals, apply them at this stage. Use Micro Set to position them and ensure they blend seamlessly with the surface. For a more integrated look, consider applying the decals before the Darkoath Flesh wash so that they naturally blend into the model’s finish.
After the decals are in place, stipple Morghast Bone along their edges to simulate chipping and wear, especially around the corners and where the decals might receive the most damage.
Finally, apply another layer of the Darkoath Flesh wash over the decals to blend them further and reduce the starkness of the decal’s edges.
Step 8: Sponge Chipping
Thin Games Workshop Rhinox Hide with water in a 1:1 ratio. Use a piece of dense foam (such as that from old Warhammer clamshell packs) to sponge this onto the edges and areas likely to receive wear and tear. Focus on creating an irregular, natural pattern, with more chipping towards the front and the edges of the armour.
“You want to pay attention to the position of the weathering… it’s very easy to rub an edge against something, whereas the flat surface is less likely to get any damage.”
Before applying, dab the sponge on kitchen roll to remove excess paint. This prevents the foam from dumping too much paint onto the model, which could create an unwanted texture buildup.
“When you put the foam into the paint, you need to dab it off on some kitchen roll… you want to remove the excess paint.”
Step 9: Detailing
Using a Size 00 brush, paint fine scratches and streaks with Rhinox Hide. Place these near areas likely to see heavy use or impact, such as around weapons or sharp edges. This step adds realism and depth to the model by simulating wear and tear.
For larger chips created during the sponge chipping, consider adding a highlight line with Morghast Bone on the lower edge of the chip to simulate light catching the edge of the flaked paint.
“Picking out a few edges here and there… it makes it look like a chip and the light’s catching the flake of paint.”
Run the side of your brush along the edges of the armour to create subtle highlights, but focus primarily on upward-facing edges where light would naturally hit.
Step 10: Grimy Weathering
For added grime, especially around weapons and heavily used areas, use undiluted Darkoath Flesh. Apply this carefully, building up layers to simulate dirt, grease, and other battlefield detritus. Focus this application near the front of the model,
Step 11: Further Grimy Weathering
For added grime, especially around weapons and heavily used areas, use undiluted Darkoath Flesh. Apply this carefully, building up layers to simulate dirt, grease, and other battlefield detritus. Focus this application near the front of the model, particularly around the chainsaw blade hands, where the most action would occur.
If desired, you can mix a bit of red into the Darkoath Flesh to create a fresher, bloodier effect, adding another layer of realism to the model’s grimy appearance.
Step 12: Verdigris (Optional)
To add a verdigris effect to the metal areas, mix Sotek Green and Sybarite Green in a 50:50 ratio, then thin it heavily with water (4:1). Apply this wash into the recesses and areas where water might naturally collect, simulating the patina of aged copper.
If you want to push the verdigris further, add a touch of white to the mix for the most extreme recesses, but be careful not to overdo it as it can make the effect too opaque.
Step 13: Metallic Highlights
Reapply the Light Bronze Metallic sparingly to the highest points of the metallic areas to restore some shine lost during the wash step. This should be done with a very fine brush and thinned paint (2:1 water to paint) to maintain control and avoid overpowering the subtle weathering.
Step 14: Lenses (Optional)
For the lenses, start with Warpstone Glow, then layer Moot Green, followed by a final highlight with Flash Gitz Yellow. This creates a gradient effect that mimics light shining through the lens.
“This makes it slightly less shiny… it just depends on how you want to do it; I just like the way this looks personally.”
Finish by adding a small white dot in the top left corner of each lens for a reflective effect, bringing the lenses to life and adding a focal point to the model.
Final Touches and Further Tips
As you finish your Castellax, take a moment to review your work and touch up any areas that may need it. Focus on ensuring your highlights are consistent, your grime looks natural, and that the overall effect is cohesive and fitting with the rest of your army.
Further Tips:
Patience with Stippling: When stippling, less is often more. Build up your layers gradually and step back occasionally to check the overall effect. This prevents overworking the model and keeps the texture subtle and realistic.
Experiment with Washes: The mix of Contrast Medium with Darkoath Flesh can be adjusted to suit your preference. A thicker wash will give a grimier look, while a thinner wash will maintain more of the underlying colour. Don’t be afraid to experiment on a test model or a hidden part of the figure.
Edge Highlighting: For a clean and professional finish, take your time with edge highlighting. While it may seem tedious, careful edge highlighting can significantly enhance the depth and definition of your model, making it stand out on the tabletop.
Free Video Tutorials
Free videos for logged in members – just sign up as a ‘friend’ to view and click any of the thumbs.To explore all of these, visit this page!
If you don’t have an account, please sign up here! The website currently has over 350 video tutorials, plus step by step guides and PDFs. You can explore more free videos with a free “freebies” membership, or take the plunge and become a full subscriber for full access.
If you’d prefer to support me on Patreon, please visit: https://www.patreon.com/RichardGray [...]
