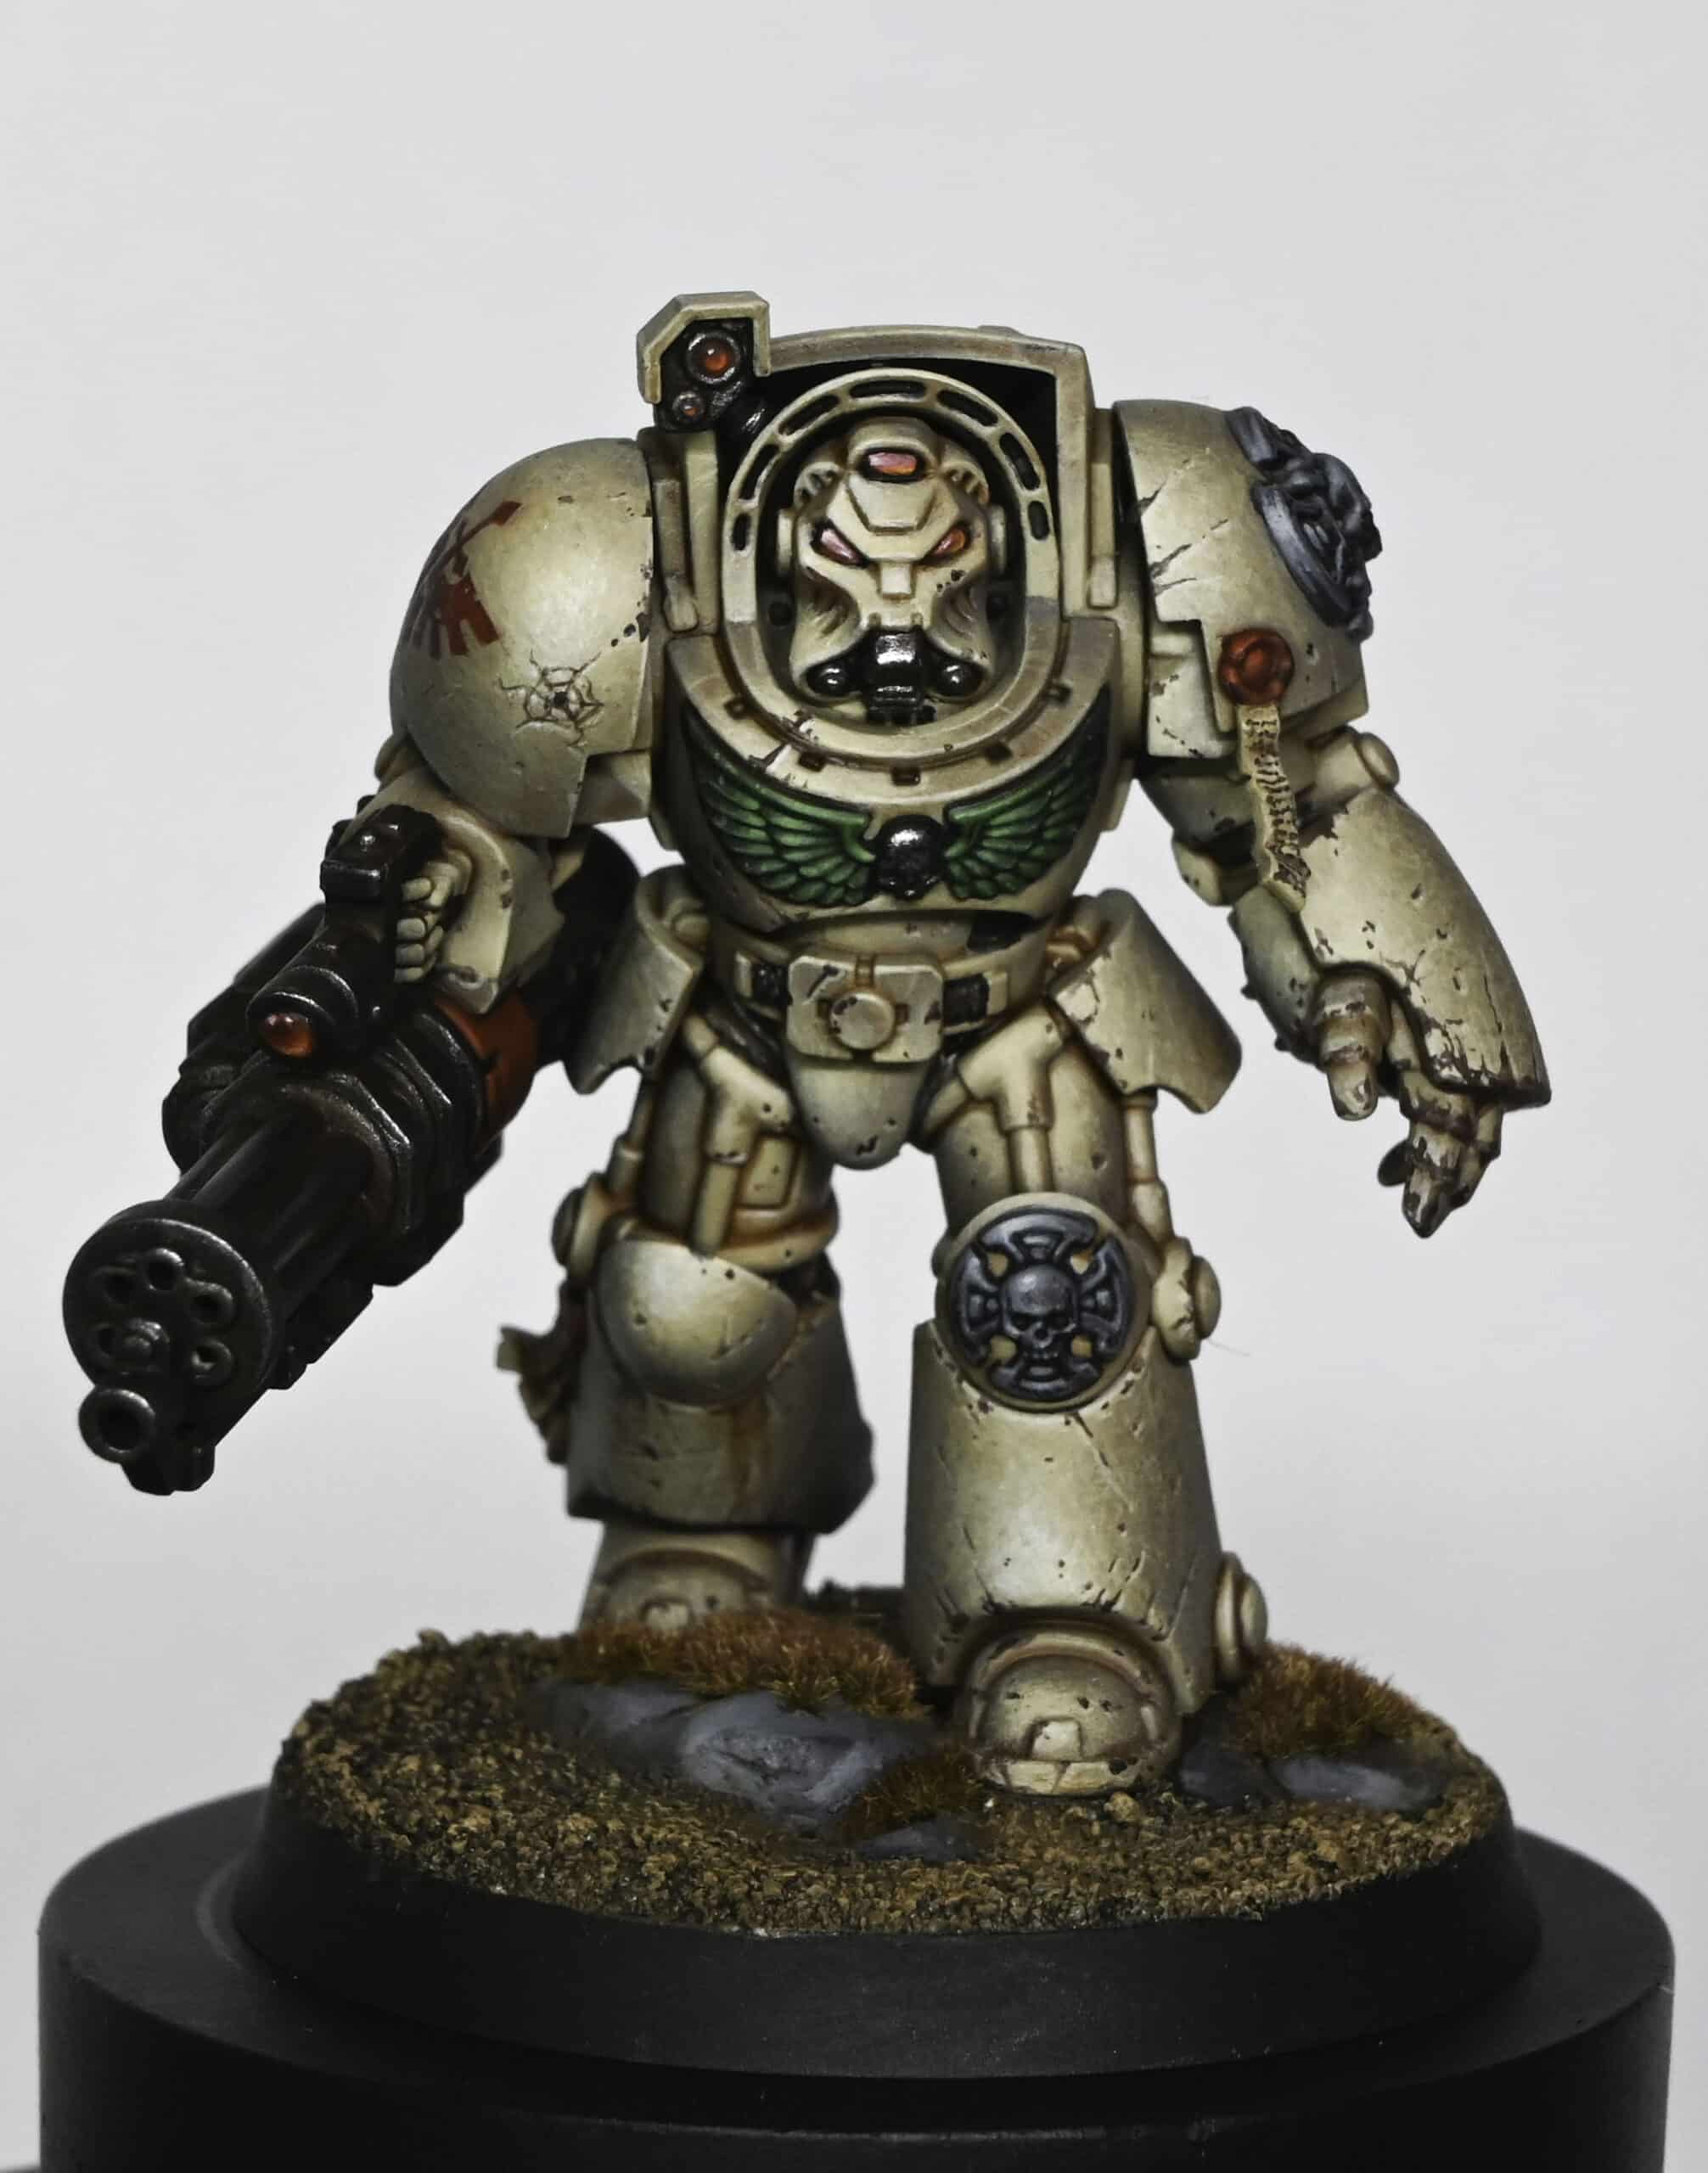
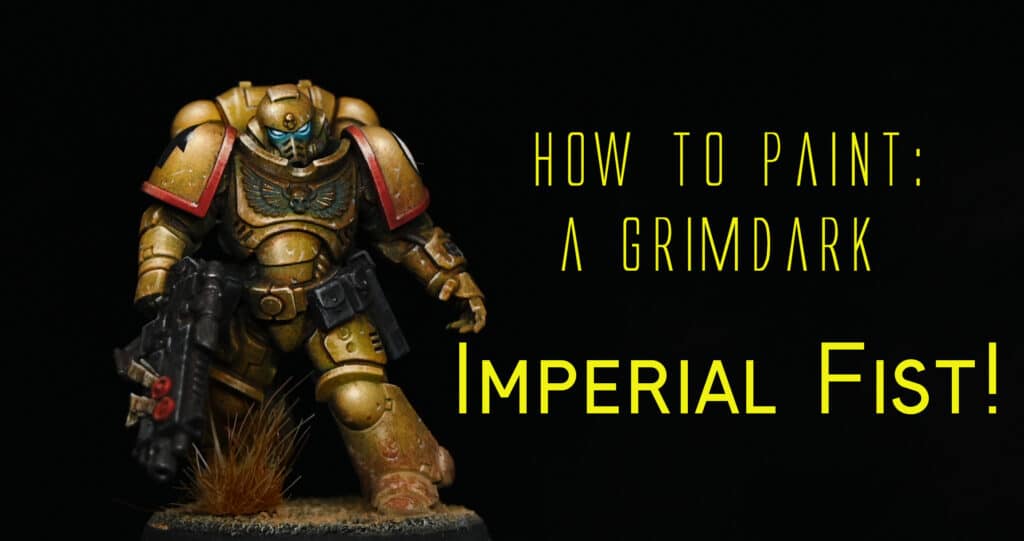
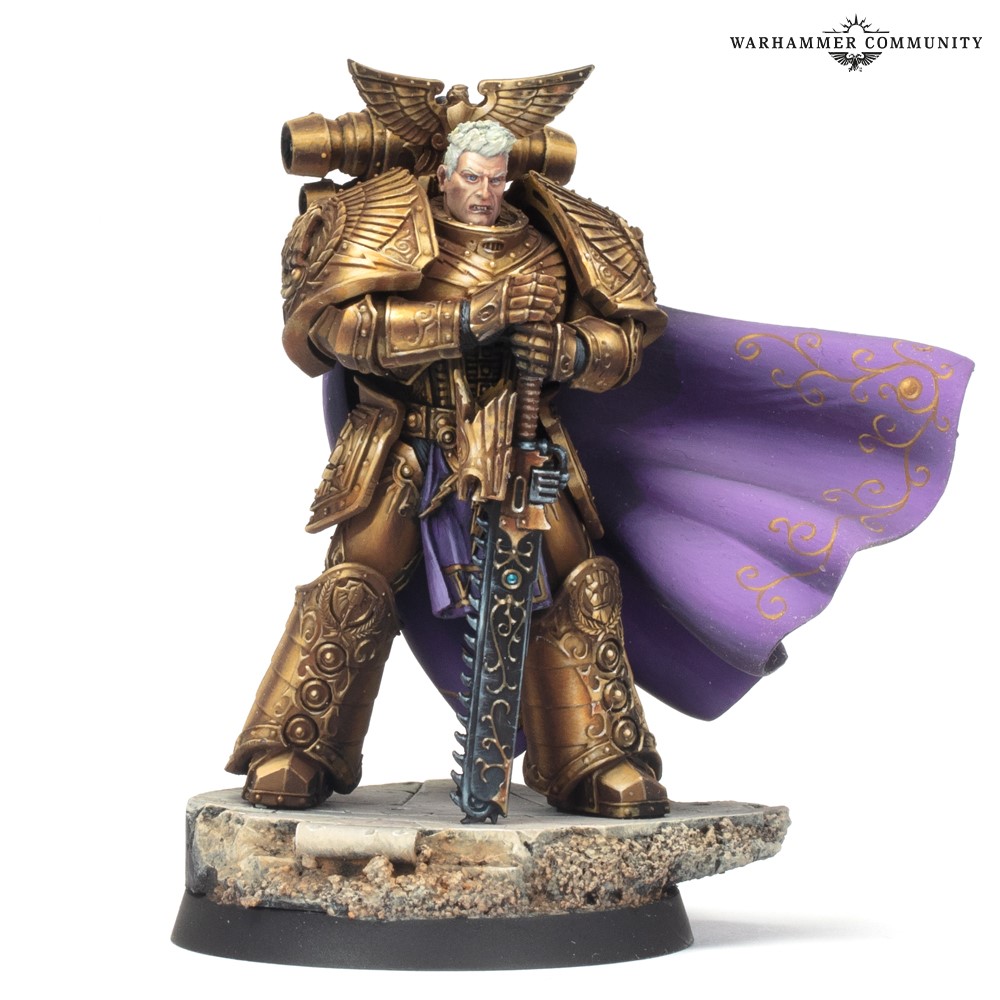
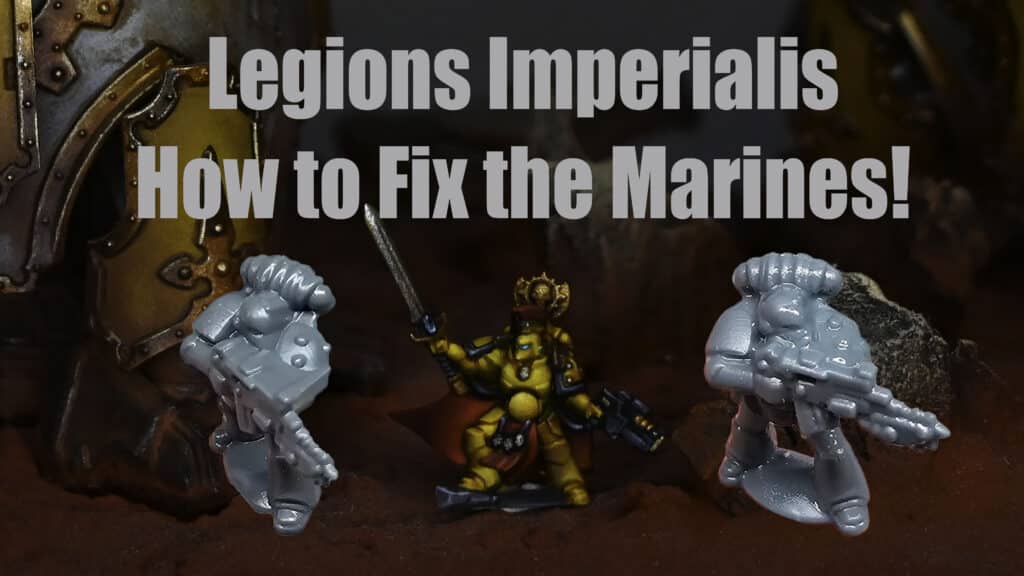
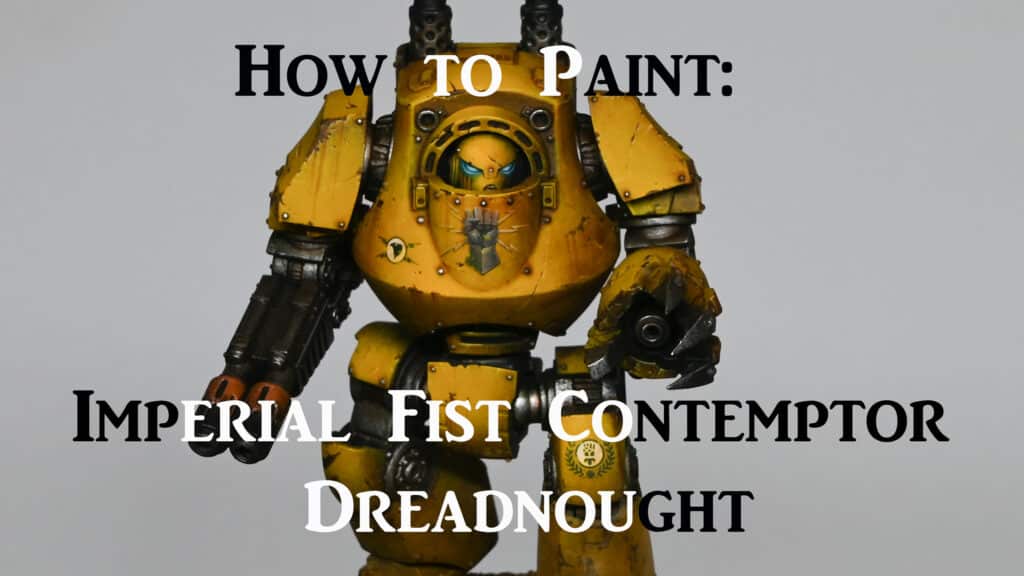
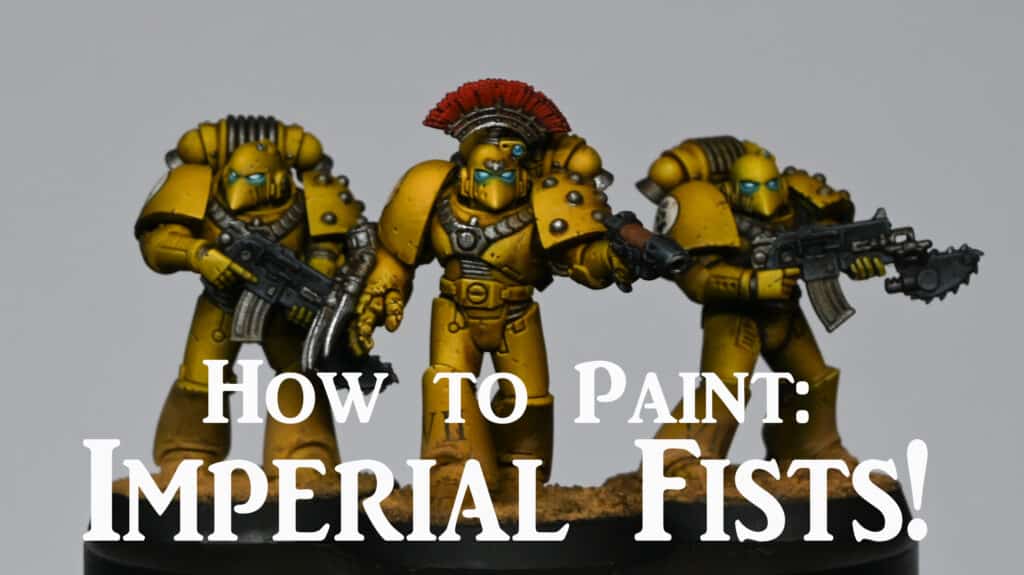
In this guide you will be shown how to paint Imperial Fists with Heavy Bolters without the need for an Airbrush or Oil Paints!
Video – How to Paint Imperial Fists with Heavy Bolters
Paints and Materials Used
Games Workshop: Mournfang Brown, Zamesi Desert, Yriel Yellow, Mephiston Red, Wild Rider Red, Sotek Green, Forge World Weathering Powder Dark Sand, Darkoath Flesh (Contrast), Contrast Medium
Vallejo: German Grey, Neutral Grey, Black
Vallejo: Mecha Varnish Gloss, Mecha Varnish Matt, Metal Exhaust Manifold
P3: Morrow White (Any White will do)
Micro Set
Step by Step Guide on How to Paint Imperial Fists with Heavy Bolters
Preparing the Base
Begin by applying Mournfang Brown, heavily watered down with a ratio of about two or three parts water to one part paint. Patience is key here; you’ll need to apply multiple coats. Ensure each layer is thin to avoid a bumpy finish. This step is time-consuming compared to airbrushing but results in a more weathered, textured look.
Applying the Base Yellow
Next, use Zamesi Desert for the base yellow. Don’t be alarmed if it appears desaturated and pale; this is merely the foundation for a cleaner yellow. This stage might require up to four coats due to the paint being heavily watered down. Though initially patchy, the paint evens out as it dries.
Highlighting with Yriel Yellow
Once the base layers are dry, start highlighting with Yriel Yellow. Focus on areas where light naturally falls, like the chest, head, and forward-facing elements of the armour. The contrast created by less yellow paint in shadowed areas will add depth and make the highlighted sections pop.
Detailing the Black Elements
For the black elements, like the gun and eyes, Vallejo Black is a suitable choice. Paint a black stripe on the head to denote a heavy weapon marine. Keep in mind, sergeants may have different helmet colours, but for practicality and ease, you can rely on the red plume to indicate the sergeant’s status.
Metallic Trims
The metallic trims, especially on Mark III shoulder pads, add considerable painting time. Use Vallejo Metal Colour Exhaust Manifold for these areas. Pay special attention to highlighting as it requires neat painting around the trim, increasing time spent on each marine.
Applying Decals
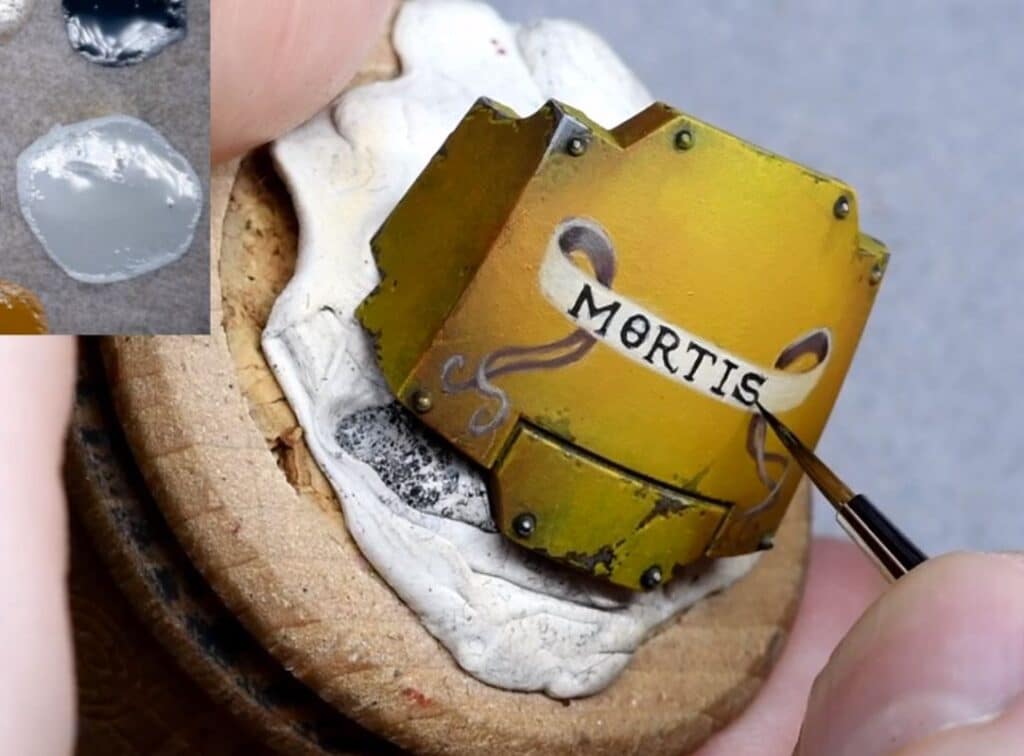
After painting the trims, apply a layer of Vallejo Mecha Gloss Varnish to the shoulder pads for a smooth surface. This helps in applying decals neatly. Use Micro Set for decal application. Ensure to add another layer of gloss varnish after the decals to blend them seamlessly with the surface.
Creating Shadows and Depth
For creating shadows and depth, use Darkoath Flesh contrast paint mixed with Contrast Medium. Apply it quickly and efficiently as it dries faster than oils. Focus on the brighter areas and remove any excess to avoid losing detail in crevices.
Final Yellow Glazing
Post the contrast application and a layer of matte varnish, begin the final yellow glazing. Use the thinned down Yriel Yellow, focusing on the model’s focal points. The matte varnish’s texture aids in a smoother application of this glaze, highlighting the model’s prominent features.
Heavy Bolter Detailing
For the heavy bolter, start with German Grey and gradually transition to Neutral Grey. The paint should be thinned down for smoother blending. Focus on the upward-facing surfaces and sides for a realistic effect. Highlight edges with pure Neutral Grey for a more three-dimensional look.
Plume and Eye Details
The plume is initially painted with Mephiston Red, followed by highlights using Wild Rider Red. For the eyes, start with Sotek Green, adding P3 Morrow White for subsequent highlights. Ensure the brightest part of the eye is off-centre for a more natural look.
Chipping and Weathering
Use Rhinox Hide for chipping effects, focusing on edges and high-wear areas. Highlight the lower edges of these chips with a mix of Yriel Yellow and Morrow White for a realistic worn look. For the metal parts, return to Exhaust Manifold for highlights, focusing on areas where light naturally hits.
Final Touches with Weathering Powder
Finish off with Forge World Weathering Powder Dark Sand, particularly on the lower parts of the armour and base. This adds a realistic, battle-worn effect. Seal with a matte varnish to fix the powder in place.
More Free Video Tutorials
Free videos for logged in members – just sign up as a ‘friend’ to view and click any of the thumbs.
To explore all of these, visit this page!
If you don’t have an account, please sign up here! The website currently has over 350 video tutorials, plus step by step guides and PDFs. You can explore more free videos with a free membership, or take the plunge and become a full subscriber for full access.
If you’d prefer to support me on Patreon, please visit: https://www.patreon.com/RichardGray


