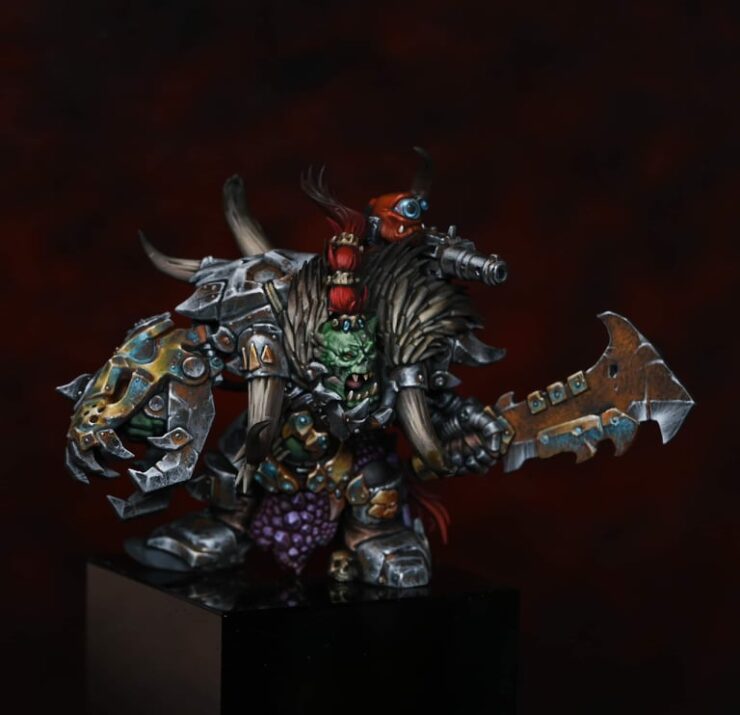
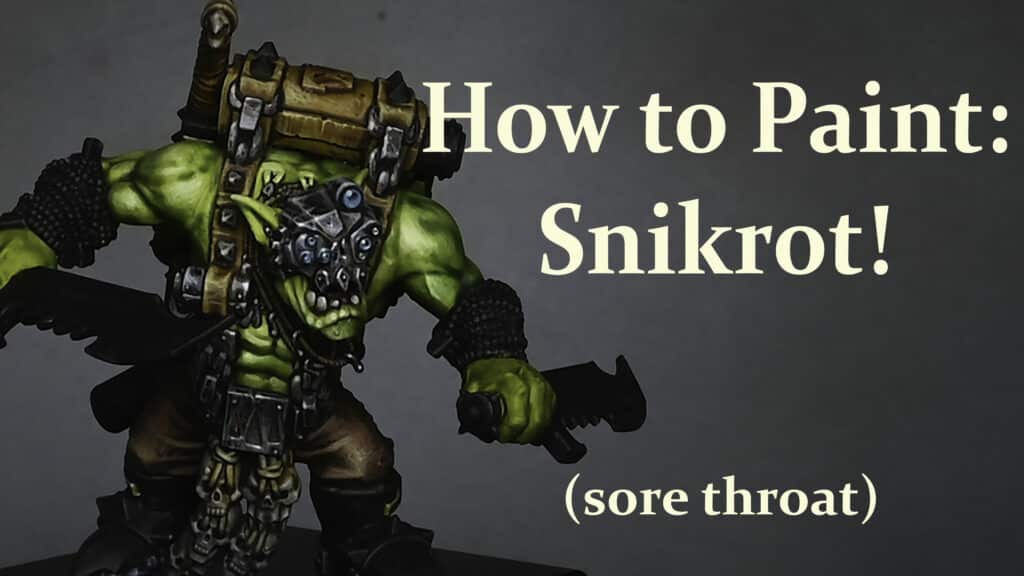
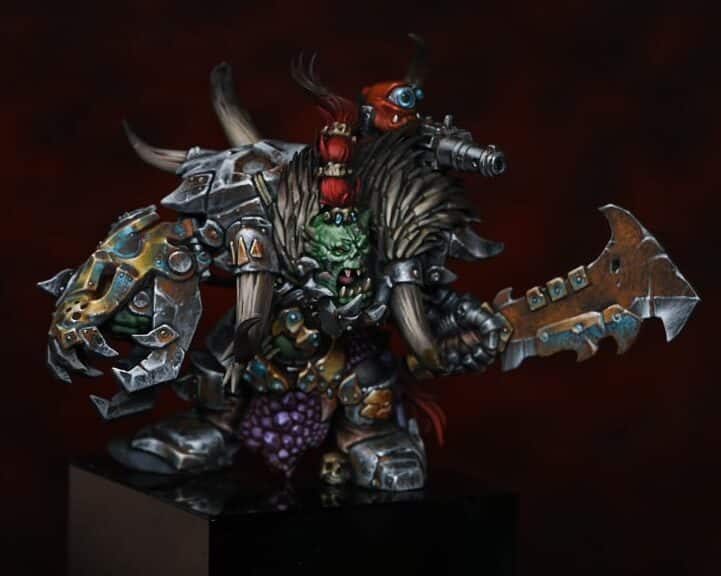
These videos shows how to paint an Ork Beastboss to a high level tabletop standard.
In them, we are aiming to achieve a rugged, battle-worn look, emphasising strong contrasts and weathered metallics.
Quick Jump to:
There is also a detailed 26 page PDF guide for this model, which can be found here.
Video – How to Paint an Ork Beastboss : Part One
Materials Needed
- Ork Beastboss Miniature
- Brushes: Various sizes for different techniques
- Paints (Games Workshop): Mournfang Brown, Contrast Medium, Balor Brown, Trollslayer Orange, Yriel Yellow, Ork Flesh (Contrast), Skeleton Horde (Contrast), Black Templar (Contrast), Blood Angel Red (Contrast), Gryph-Hound Orange (Contrast), Flesh Tearers Red (Contrast), Volupus Pink (Contrast)
- Vallejo Paints: Dark Sea Grey, Pale Grey Blue, Ice Yellow
- P3 Paint: Morrow White (or any white will do)
Step-by-step Guide on How to Paint the Ork Beastboss
- Priming and Zenithal Highlighting:
- Prime the model black and apply a zenithal highlight using Vallejo Pale Grey Blue. This creates natural shadows and highlights, guiding future paint layers.
- Skin Tones:
- Paint the Ork’s flesh using a 50/50 mix of Ork Flesh Contrast and Contrast Medium. This enables some of the grey from the zenithal highlighting to show through, providing a guide for later highlights.
- Fur and Details:
- Apply Skeleton Horde Contrast directly for fur, ensuring highlights are visible.
- Use Volupus Pink Contrast for lizard-like skin textures and Blood Angel Red Contrast for the top knot and tassel.
- Armour and Metallics:
- Paint areas intended to be bronzy or gold with Gryph-Hound Orange Contrast. This creates a dark orange base over the light grey zenithal highlights.
- For black areas or parts you want darker, mix Black Templar Contrast with Contrast Medium and apply.
- Bronze Metallics:
- Start painting the skeleton head and other bronzy parts. Use scratchy, rough strokes to build up layers, starting from a darker base and gradually adding lighter colours for highlights.
- Highlight Placement:
- Follow the guide provided by the zenithal priming for light placement, enhancing it with further highlights where needed.
- Steel Armor:
- For a steel-like finish on certain armour parts, use a similar scratchy technique, starting with Vallejo Dark Sea Grey and building up to lighter greys and whites.
- Weathering and Rust:
- Add weathering using Mournfang Brown and Trollslayer Orange, focusing on recessed areas, rivets, and parts where rust naturally accumulates.
Video – How to Paint an Ork Beastboss : Part Two
Paints Used
Games Workshop: Mournfang Brown, Contrast Medium, Balor Brown, Trollslayer Orange, Yriel Yellow, Ork Flesh (Contrast), Skeleton Horde (Contrast), Black Templar (Contrast), Blood Angel Red (Contrast), Gryph-Hound Orange (Contrast), Flesh Tearers Red (Contrast), Volupus Pink (Contrast)
Vallejo: Dark Sea Grey, Pale Grey Blue, Ice Yellow
P3: Morrow White (Any white will do)
Step-by-step Guide on How to Paint the Ork Beastboss
Picking up from where we left off in the first guide…
1. Sword (Big Chopper) with Rusty Texture
- Base Layer: Start with Rhinox Hide, using a scribbly and scratchy technique similar to the armour’s style. This creates a dark base for the flat of the blade. If Rhinox Hide is unavailable, mix Mournfang Brown with Black for a close approximation.
- Stippling Technique: Apply Mournfang Brown with stippling, creating a rusty texture. Remember, the paint can be a bit thicker here to add texture.
- Additional Rust Effect: Use Trollslayer Orange for more rust detail, focusing on areas like the top hook of the blade. This paint is slightly translucent, so you might need to layer it for a stronger effect.
2. Highlighting the Blade
- Scratches and Cutting Edge: Use lighter colours like Pale Grey Blue and White to highlight and define scratches and the cutting edge of the blade. This gives a contrasting effect to the rusty areas.
- Bounce Highlights: Consider adding bounce highlights to reflect the battlefield’s environment, like green reflections for a green terrain.
3. Horns and Fur
- Base Colours: Use the same colours as the blade for consistency. Start with a mix of Rhinox Hide and Morghast Bone.
- Highlighting: Gradually lighten the base with pure Morghast Bone and then Screaming Skull, focusing more on the base of the horns and the top of the fur for a natural gradient.
4. The Face
- Initial Layers: Begin with a base of Warboss Green. You might need several layers due to its translucency. To reduce the shine from contrast paints, apply an ultra-matte varnish partway through the painting process.
- Detailing: Add more detail than is sculpted, especially around the temple and eyes, to create a more menacing look. Use Warboss Green mixed with Screaming Skull for highlights, making the face a focal point.
5. Teeth and Bone Decorations
- Base Colour: For teeth and bone-like decorations, start with a base of Balor Brown.
- Texture Technique: Use a stippling and scratchy technique for texture, similar to the horns and fur.
6. Red Hair
- Base and Highlights: Start with a base of Evil Sunz Scarlet. For highlighting, mix in a bit of white for a slightly pinkish hue, but be careful not to overdo it.
- Detailing: Use vertical strokes to highlight, focusing on the strands without overly brightening the recesses.
7. Loin Cloth (Lizard Skin)
- Base Layer: Use Xereus Purple over a base that was previously primed and given a coat of Volupus Pink.
- Highlighting: Highlight selectively, focusing on larger scales and facets. Use lighter shades of purple mixed with white for the highlights, but remember to keep the overall area dark for contrast.
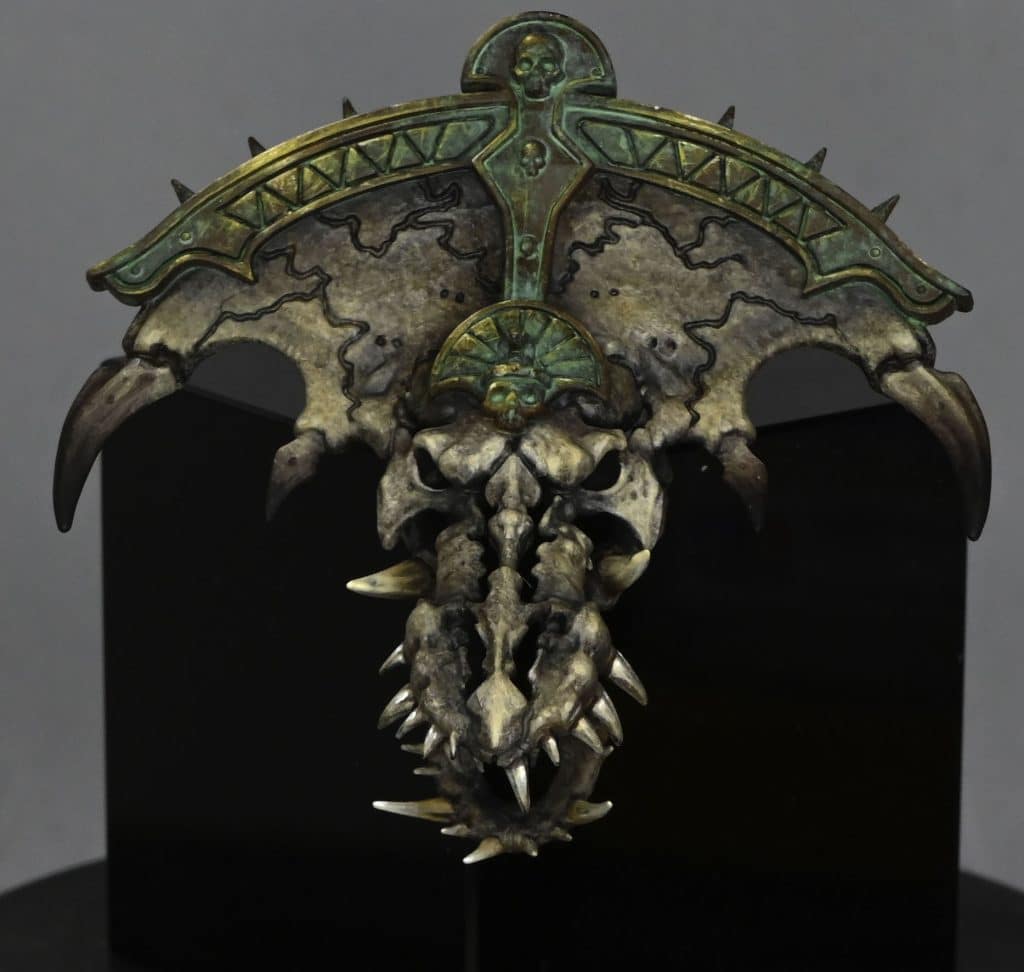
8. Verdigris Effect on Bronze Areas
- Base Colour: Apply Sotek Green, watered down for a flowing effect into recesses.
- Layering: Add white to Sotek Green for progressive highlights, focusing on the darker areas and avoiding the brightest highlights to maintain the metallic sheen.
9. Back to the Face
- Detailed Texturing: Add more detailed textures to the face using the lighter green mixture, emphasizing areas where light hits directly.
- Balancing Highlights: Alternate between highlighting and shading to balance the contrast and maintain the focus on the face.
10. Finishing the Eyes
- Initial Layers: Start with a base of Pearl Grey Blue, then define the iris with Sotek Green.
- Highlighting: Use lighter shades of blue for the lower parts of the eyes. For the final highlights, map out the placement with the first highlight blue, focusing on the top left to represent the light source.
11. Final Touches
- Teeth and Tongue: Paint teeth in Balor Brown and adjust the tongue if needed.
- Bone Decorations: Add final touches to bone decorations, ensuring they stand out against the hair.
- Red Hair: Refine the highlights and ensure they blend well with the base colour.
And there you have it, your Ork Beastboss is now ready for battle, boasting a range of textures and colours, all contributing to its fierce and battle-worn appearance. For more detailed instruction, check out the PDF Guide!
PDF Guide
I have also created a detailed 26 page PDF guide on painting this model, that can be found here for full website members:
Free Video Tutorials
Free videos for logged in members – just sign up as a ‘friend’ to view and click any of the thumbs.
To explore all of these, visit this page!
If you don’t have an account, please sign up here! The website currently has over 350 video tutorials, plus step by step guides and PDFs. You can explore more free videos with a free “freebies” membership, or take the plunge and become a full subscriber for full access.
If you’d prefer to support me on Patreon, please visit: https://www.patreon.com/RichardGray






This is fantastic. Great job.