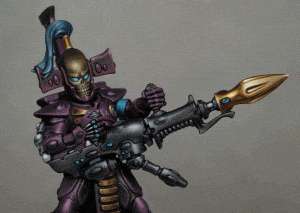
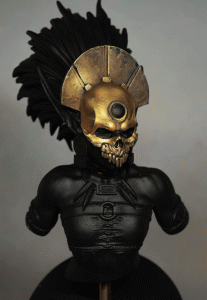
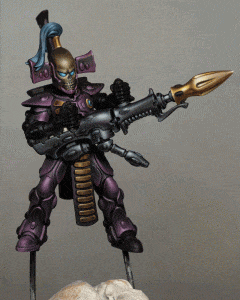
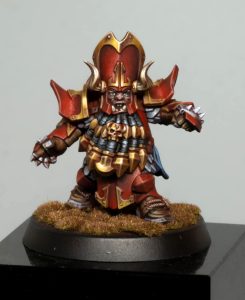
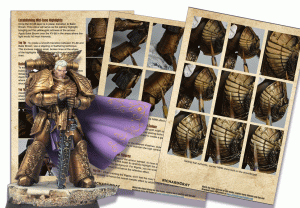
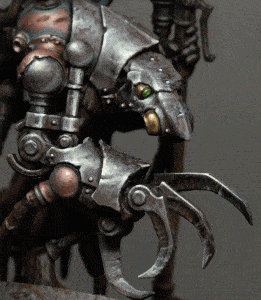
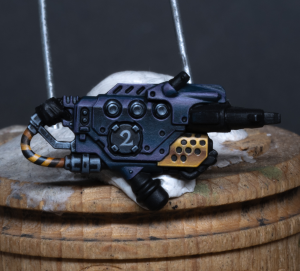
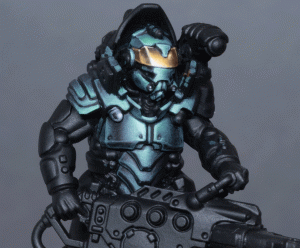
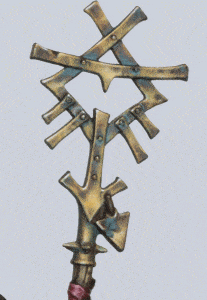
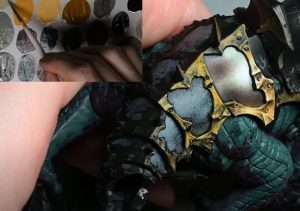
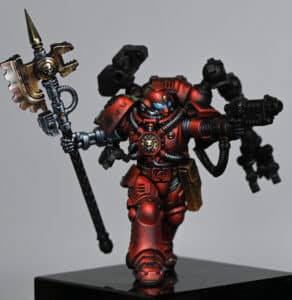
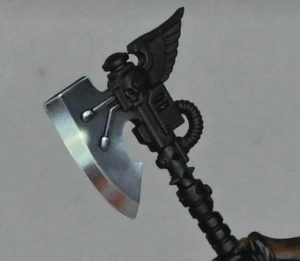
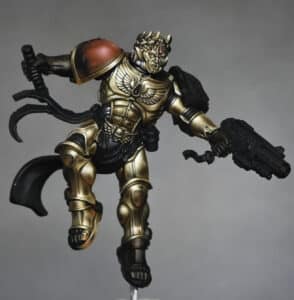
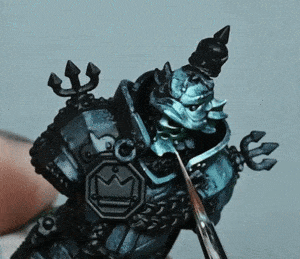
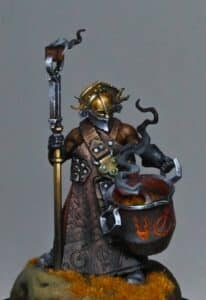
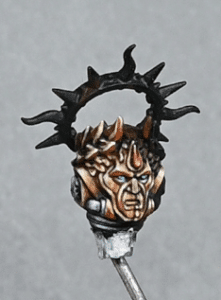
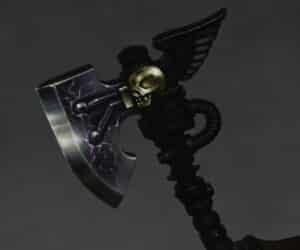
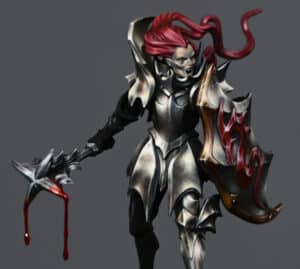
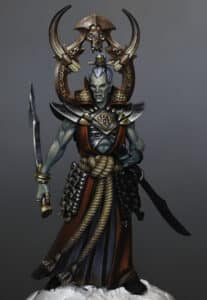
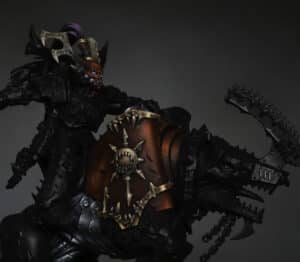
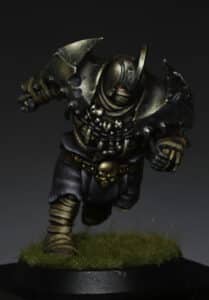
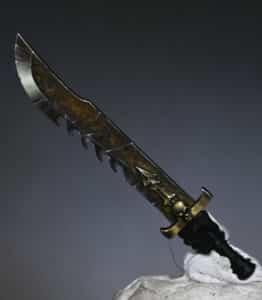
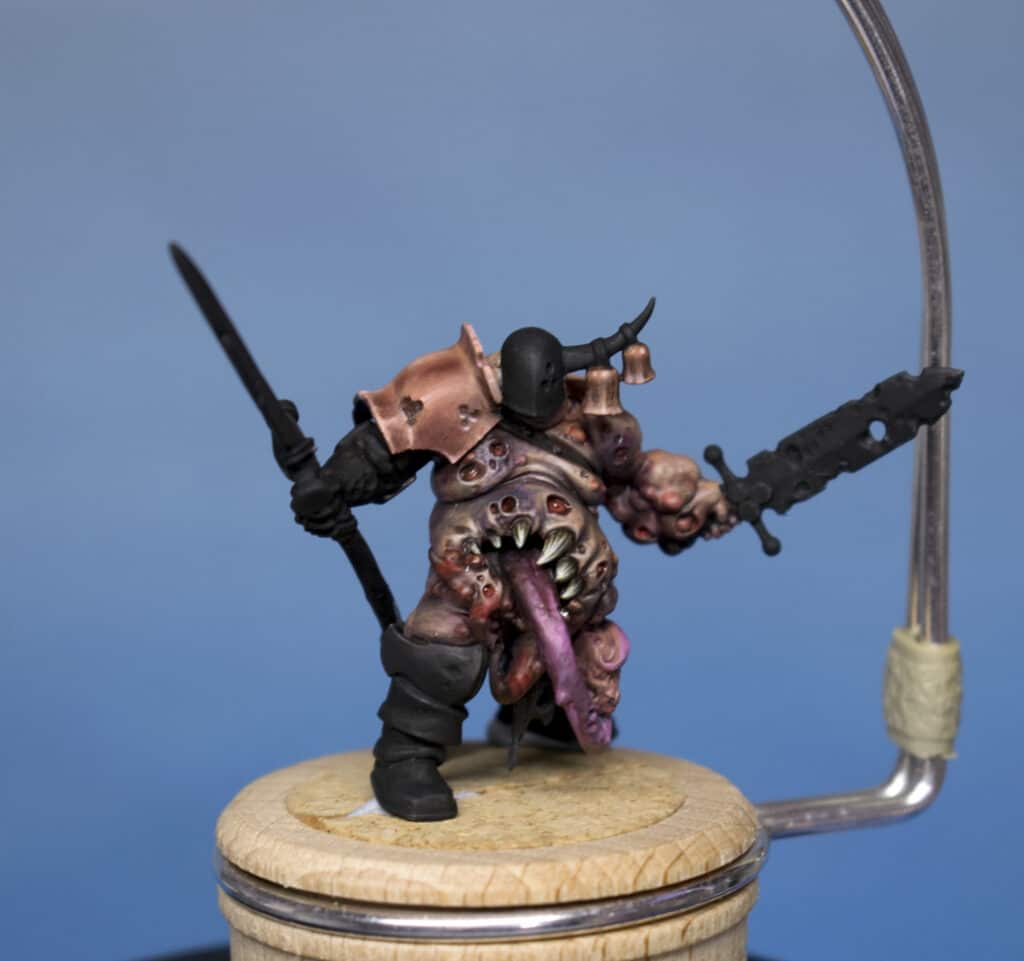
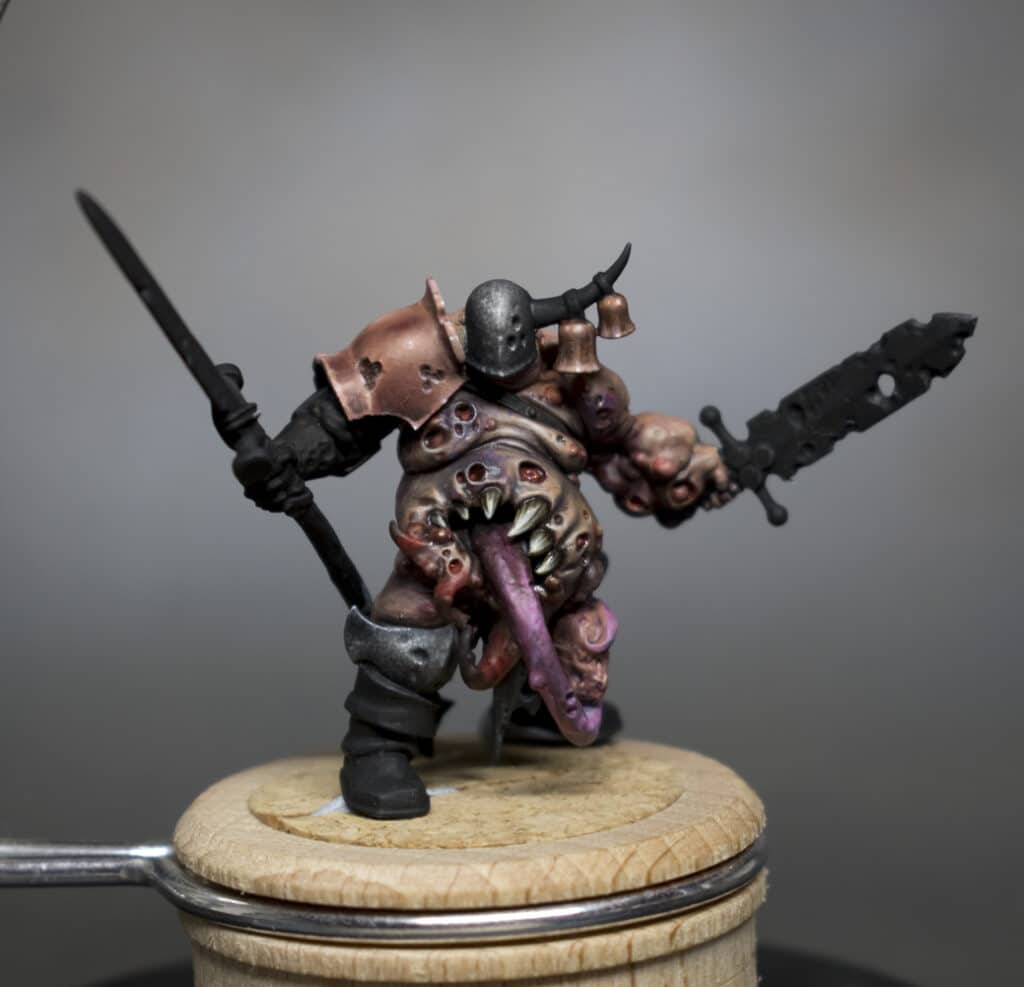
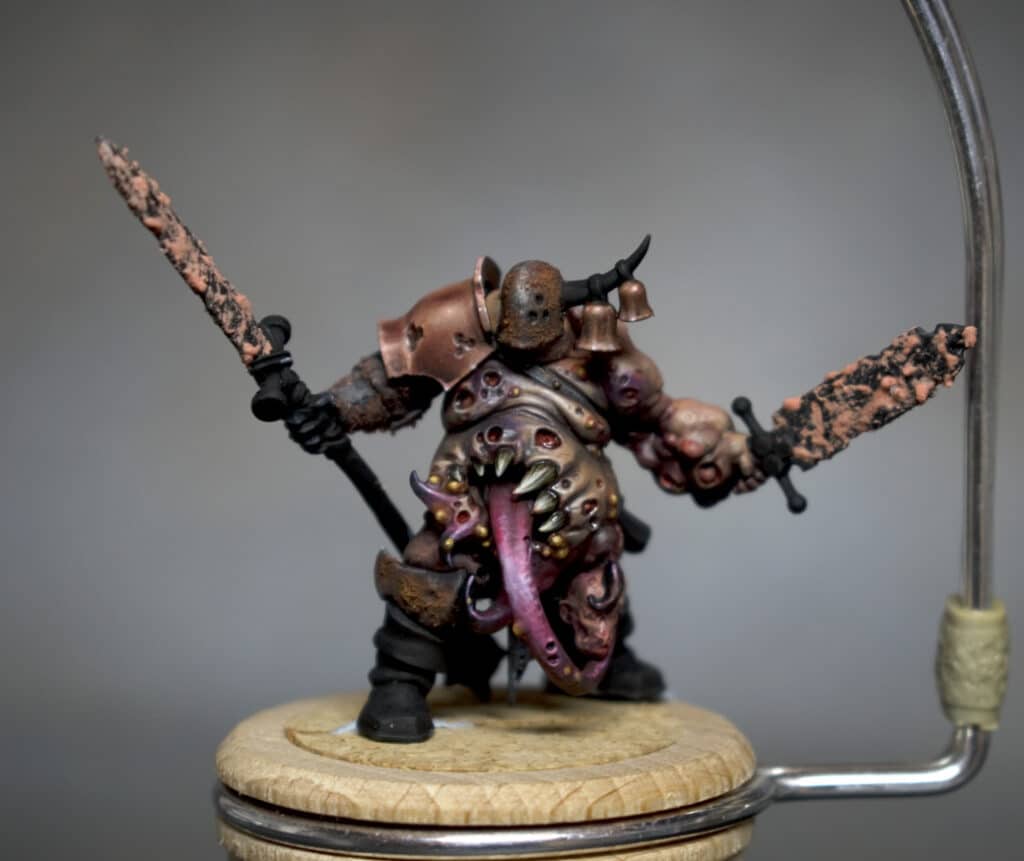
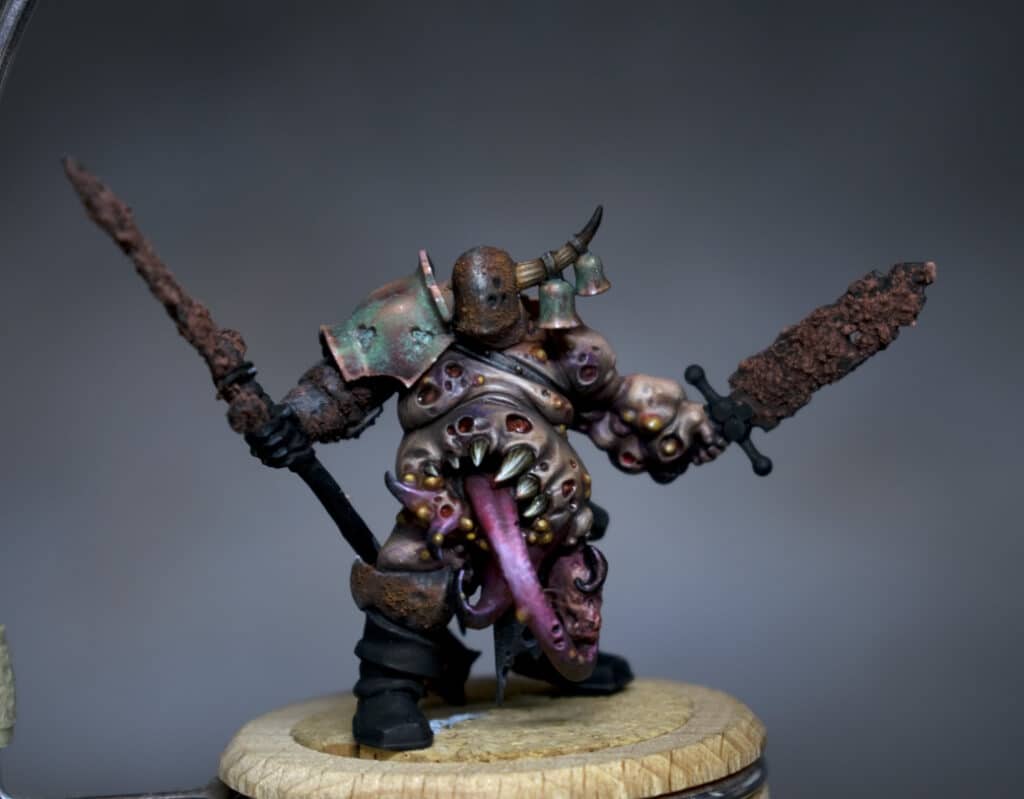
I created some shiny (and then grimy!) non metallic metal copper on my Maggotkin of Nurgle, which I then weathered with distinctive green verdigris. This is how I did it in a series of step by step guides and videos on NMM copper.
How to Paint NMM Copper – Part One
Paints and Materials
Brush Size and Type:
Don’t use a tiny detail brush for the entire process. Instead, a slightly larger, older brush is preferred. My older brush has a worn tip, which is thicker than a new brush and allows for better paint control and blending.
An old, well-used brush is good for this type of painting. The worn tip of an older brush can make blending easier.
Paints Used
- Games Workshop: Doombull Brown, Golden Yellow (old colour; find a modern equivalent if needed)
- Scale 75: Ice Yellow, Salmon Pink, Black Red
- Black and White paint (any preferred brand)
Step-by-Step Guide
- Understanding Copper NMM:
- Remember, copper NMM aims to create a metallic effect without using metallic paints. Copper is essentially pink in hue, similar to skin tones, with brown for shadows and a hint of sand yellow.
- Preparation of Palette:
- On your wet palette, blend all the colours together into one smear. This is because copper has a lot of subtleties in colouring. Start with Doombull Brown and mix in Black Red from Scale 75. If you don’t have Black Red, mix black and red to achieve a dark, reddish brown.
- Creating the Base Colour:
- For the darker areas of copper, you want something a bit more red. Along your paint smear on the palette, integrate colours that become more yellow and orange. Use Golden Yellow and Ice Yellow for this purpose. Add Salmon Pink at the very end for highlights.
- Applying the Base Layer:
- Before starting the video, paint the whole model (or the part you’re working on) with Doombull Brown. This creates an easier starting point for the copper effect.
- Mixing on the Model:
- You’ll be mixing the paint directly on the model, working quickly. This method is different but effective for creating copper NMM. Apply the colours and quickly determine where the highlights will be. The idea is to get lighter colours down first as a base to work from.
- Developing the Effect:
- Start blending in reflections and refining the look. Add lighter colours and work on creating smooth transitions and contrast. Remember, smooth transitions and good contrast are key in NMM painting.
- Refining the Details:
- As you progress, you’ll refine the copper effect by using thinner paint and increasing contrast. Use Salmon Pink for the higher highlights and blend it in for a smooth transition.
- Final Touches:
- Towards the end, focus on refining the paint with continual glazes until it looks smooth and metallic. You might need to make slight adjustments to the highlights and shadows. Add black, turned into a glaze, at the bottom of the shoulder pad to increase contrast.
- Final Overview:
- The final piece should showcase a refined copper NMM effect with smooth transitions, proper contrasts, and a realistic metallic look.
How to Paint NMM Copper Greeny Verdigris Effect
Paints and Materials
- Games Workshop Sybarite Green
- P3 Morrow White (or your preferred white paint)
Step-by-Step Guide
- Understanding Verdigris:
- Verdigris is a patina that forms on copper, brass, or bronze when exposed to air or seawater over time. This guide aims to create a more realistic effect, where verdigris covers larger areas rather than just around rivets and crevices.
- Creating Verdigris Tones:
- You will mix Sybarite Green with Morrow White to create three stages of verdigris tones:
- First Stage: Pure Sybarite Green.
- Second Stage: A mix of half Sybarite Green and half Morrow White.
- Third Stage: Mostly Morrow White with a tint of Sybarite Green.
- You will mix Sybarite Green with Morrow White to create three stages of verdigris tones:
- Applying the First Layer:
- Start with the pure Sybarite Green. Apply it by gently dabbing it onto the model. The goal is to create a patchy texture rather than smooth streaks.
- This layer should cover most of the area, but try to maintain the shades and shine of the underlying metallic paint.
- Mid-tone Application:
- Next, apply the second stage mix (half Sybarite Green, half Morrow White). This should be used more sparingly than the first layer.
- Focus on applying this mix to darker areas and recesses. You want to maintain visibility of the copper NMM base, so apply it carefully and artistically.
- Adding Highlights:
- For the final layer, use the lightest mix (mostly Morrow White with a hint of Sybarite Green). This is like a reverse highlight, working best in shadows to create contrast.
- Apply this very selectively, as it can quickly cover the base layers. It should go into the deepest recesses and lower curved areas where verdigris would naturally accumulate.
- Final Touches:
- Remember, verdigris should have an uneven, patchy appearance. It should not be smooth or uniformly applied like rust.
- Check your work against reference images to ensure a natural look.
- Finishing Up:
- After applying all three stages, your model should exhibit a realistic verdigris effect over the copper. The underlying NMM copper should still be visible, contributing to the overall realism.
Gallery – Click to view larger
More NMM Tutorials to Explore!
If you don’t have an account, please sign up here! The website currently has over 350 video tutorials with steps and tips, plus a selection of PDFs. If you are not sure about joining, you can explore my free videos with a free membership, or take the plunge and become a full subscriber for full access.
If you’d prefer to support me on Patreon, please visit: https://www.patreon.com/RichardGray


