


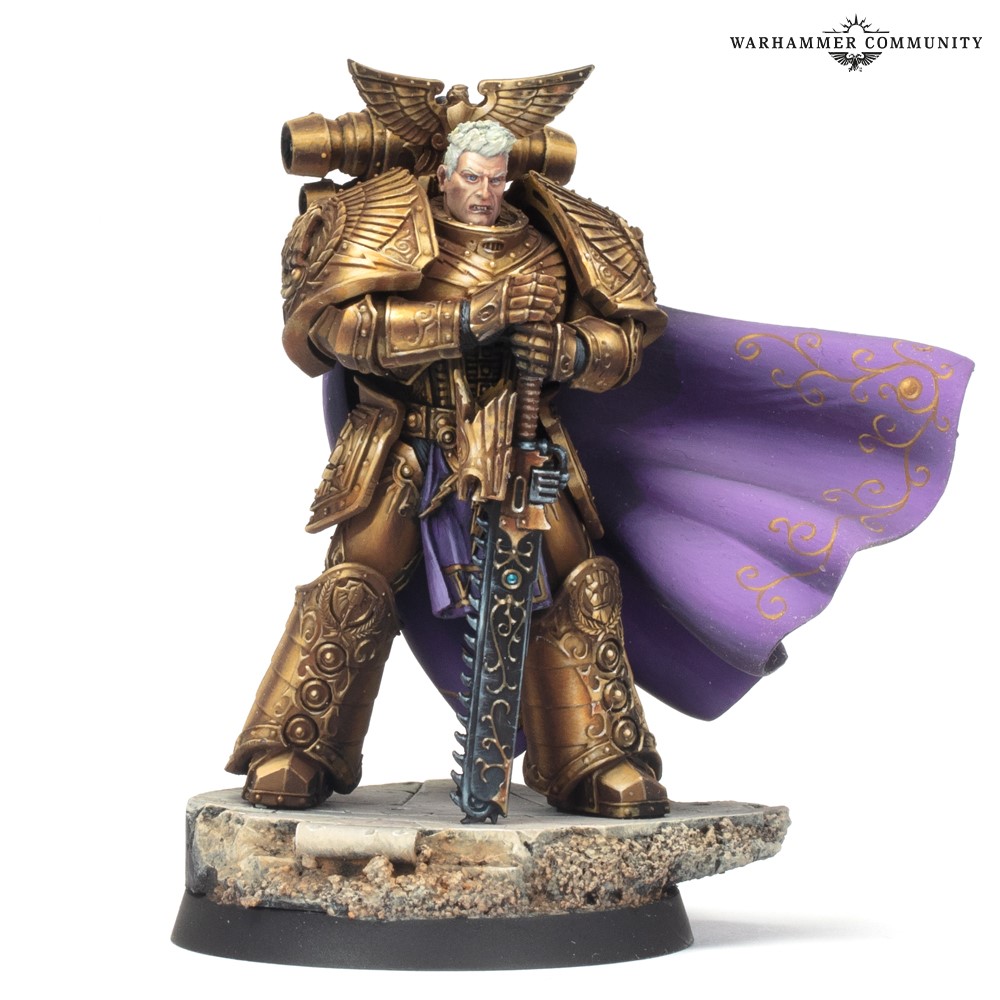
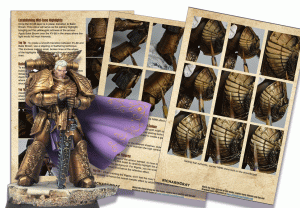
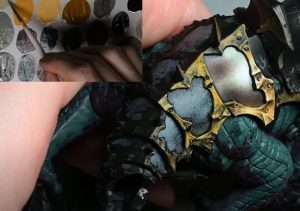
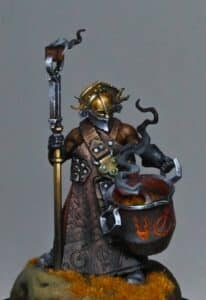
Unlock the secrets to painting Rogal Dorn’s iconic armour with this comprehensive guide on the Non-Metallic Metal (NMM) technique. Learn how to master the art of simulating reflective gold without using metallic paints. This step-by-step guide, complete with tips and tricks, will walk you through every stage of the process, from priming and base layers to perfecting highlights and shadows. Whether you’re new to NMM or looking to refine your skills, this guide is your go-to resource for achieving stunning results.
How to Paint Rogal Dorn’s Armour in Non-Metallic Metal (NMM) Gold PDF will load below (please allow a few mins for it to load!). You can also access it by clicking here.
Rogal-Dorn-Sept-2024Looking for the video?
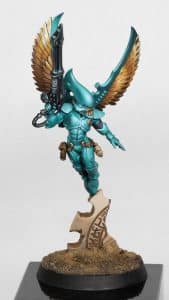
How to Paint Rogal Dorn’s Armour in Non-Metallic Metal (NMM) Gold
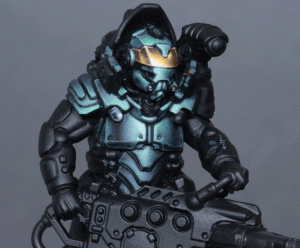
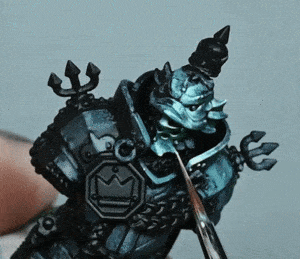
In this detailed video guide you will be shown how to paint Rogal Dorn’s armour in NMM (non-metallic metal) gold. This is a higher level technique, suitable for the mighty Primarch of the Imperial Fists!
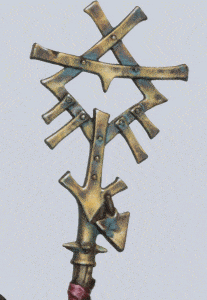
Why Use NMM Gold for to Paint Rogal Dorn’s Armour?
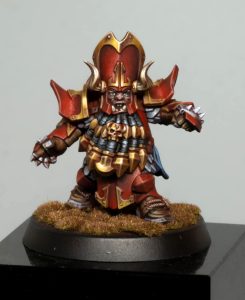
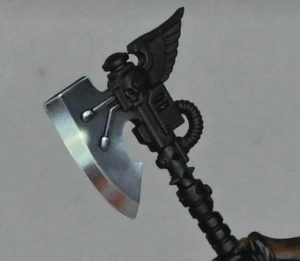
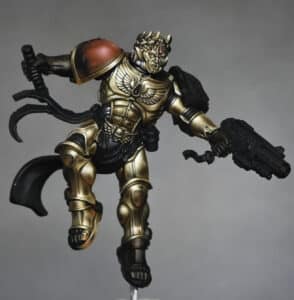
Rogal Dorn, the stalwart Primarch of the Imperial Fists, is renowned for his unyielding defence of the Imperium. His armour, adorned in resplendent gold, symbolizes not only his noble duty to protect humanity but also reflects the unbreakable spirit of the Imperial Fists. The gold represents his loyalty and the shining beacon of hope he stands for in the dark times of war. Painting his armour in Non-Metallic Metal (NMM) gold captures this grandeur and allows you to highlight the brilliance and majesty of one of the Imperium’s greatest warriors!
More Tips on NMM!
If you don’t have an account, please sign up here! The website currently has over 350 video tutorials with steps and tips, plus a selection of PDFs in addition to the How to Paint Rogal Dorn’s Armour in Non-Metallic Metal PDF above. If you are not sure about joining, you can explore my free videos with a free membership, or take the plunge and become a full subscriber for full access.

