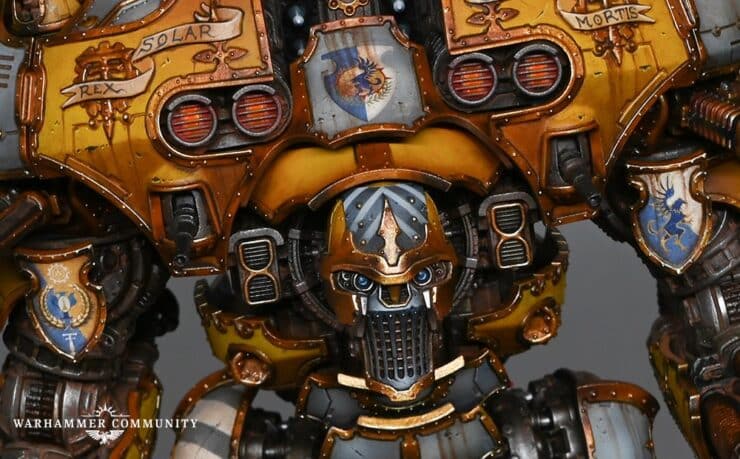
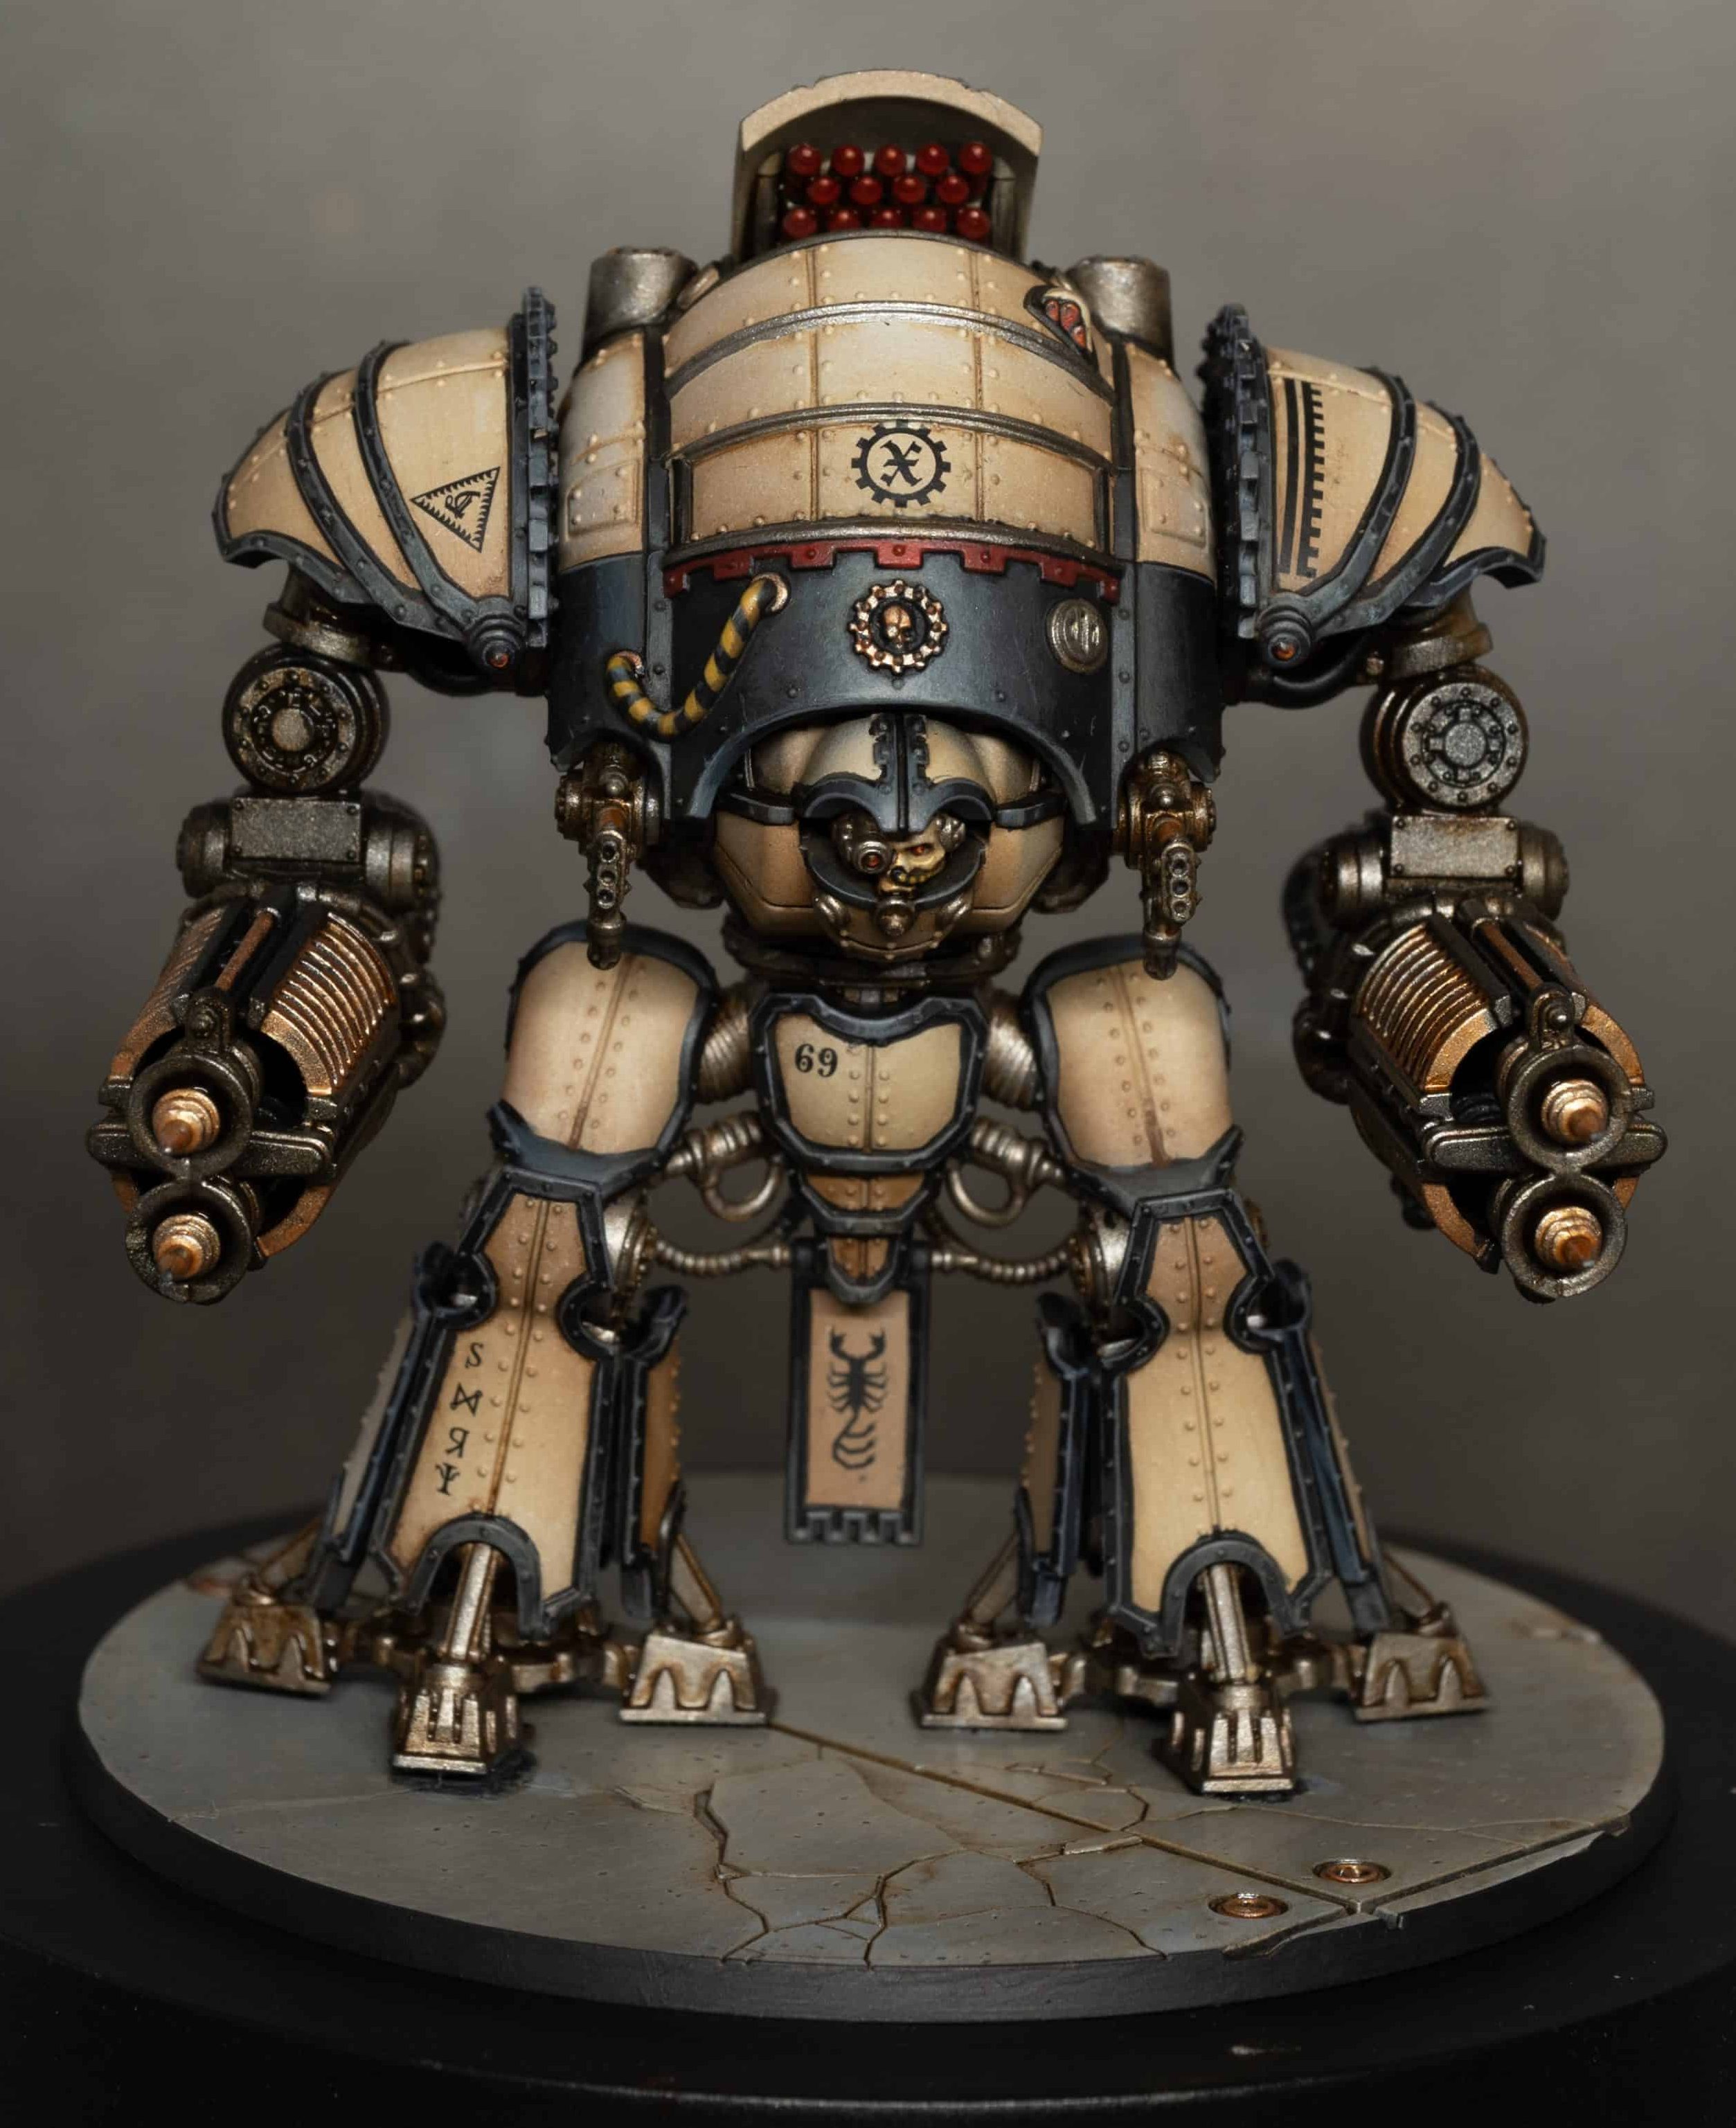
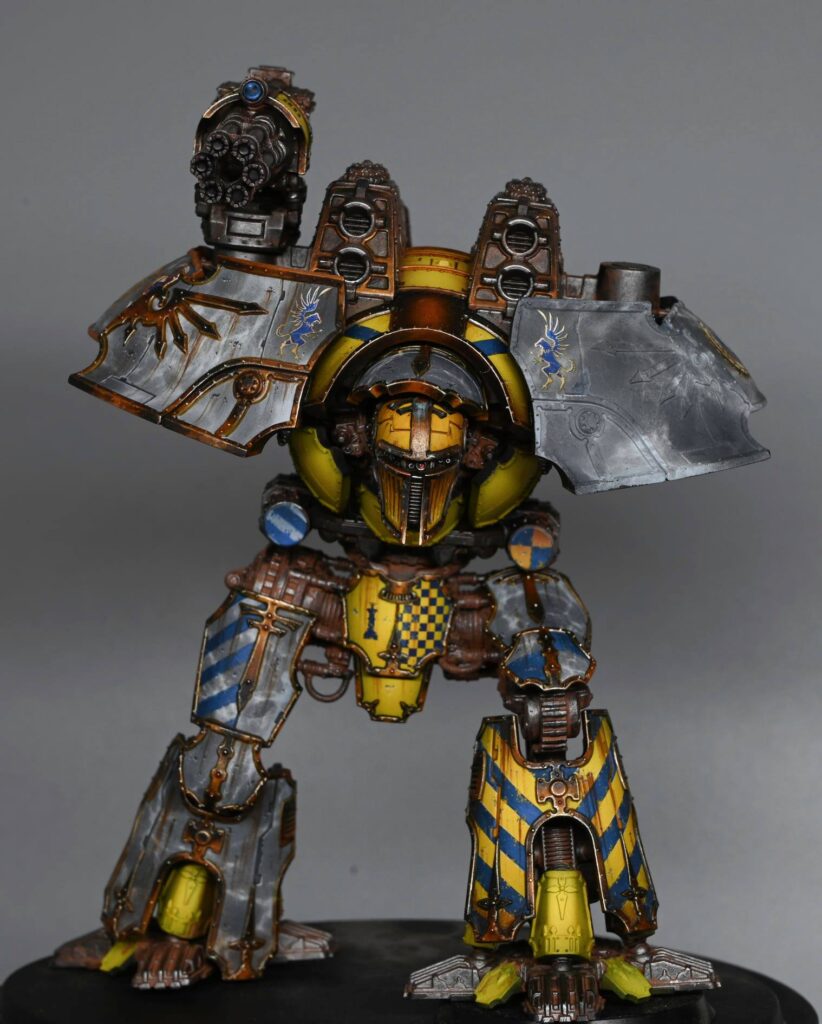
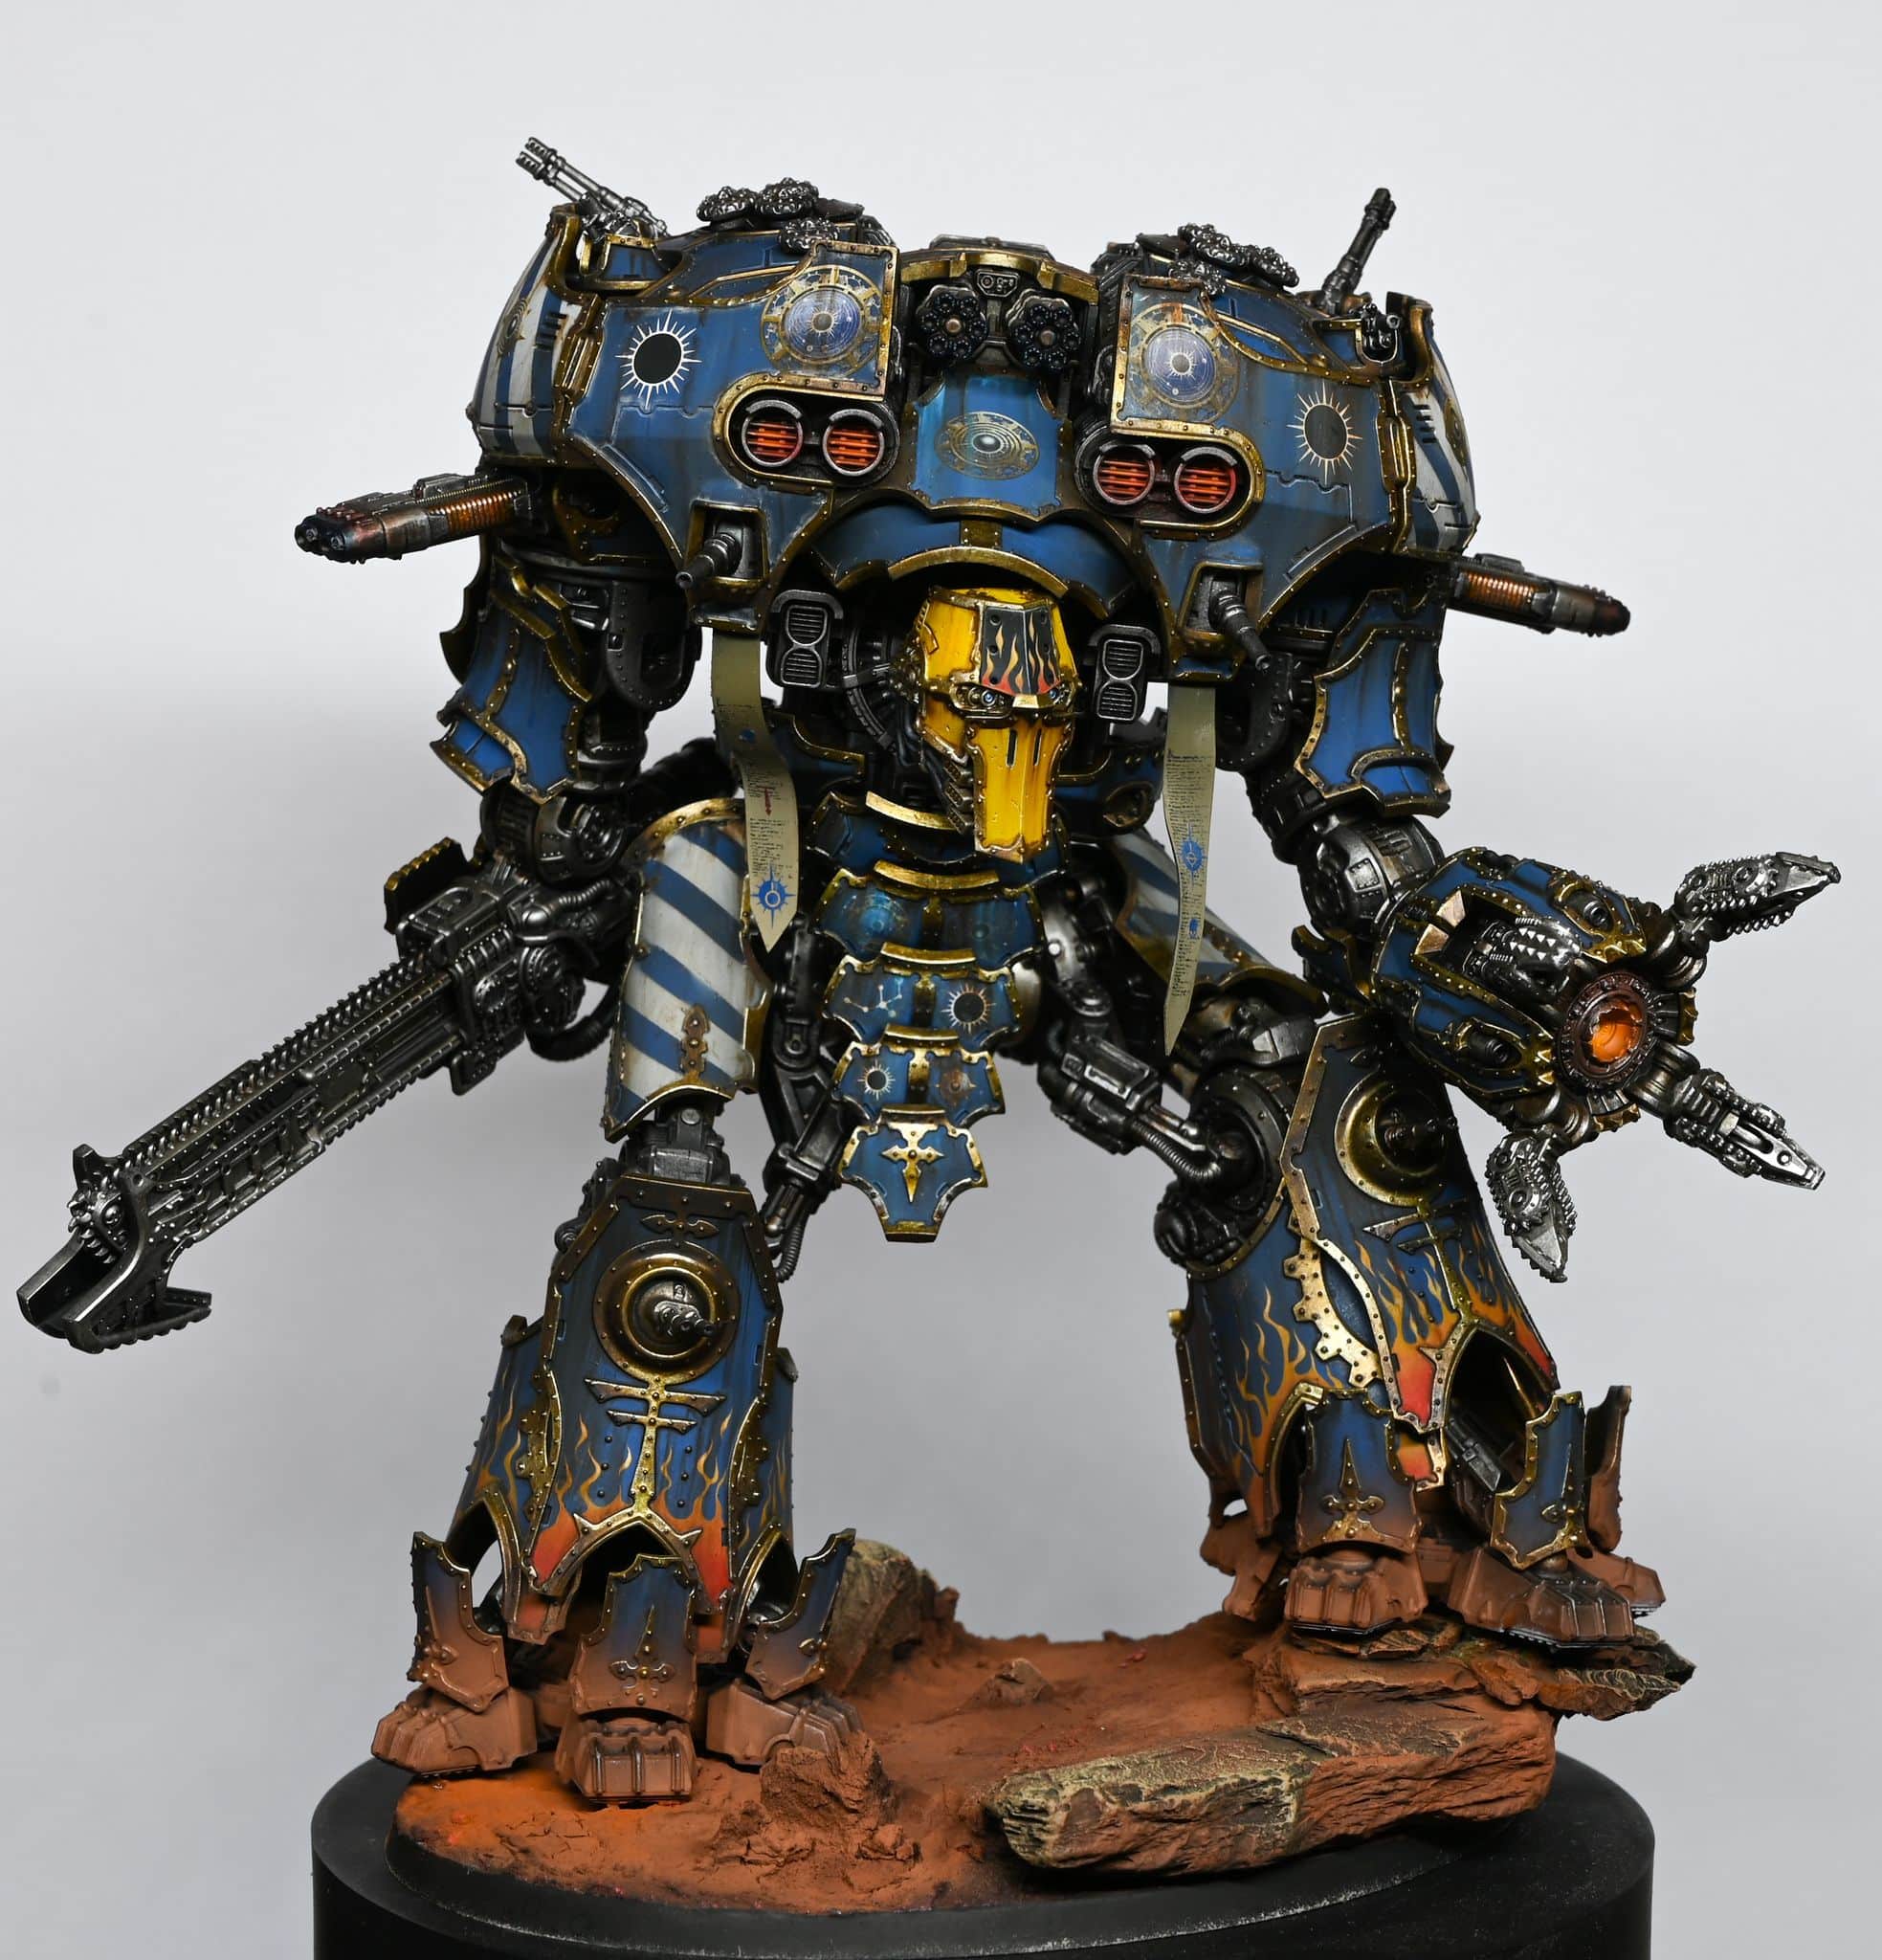
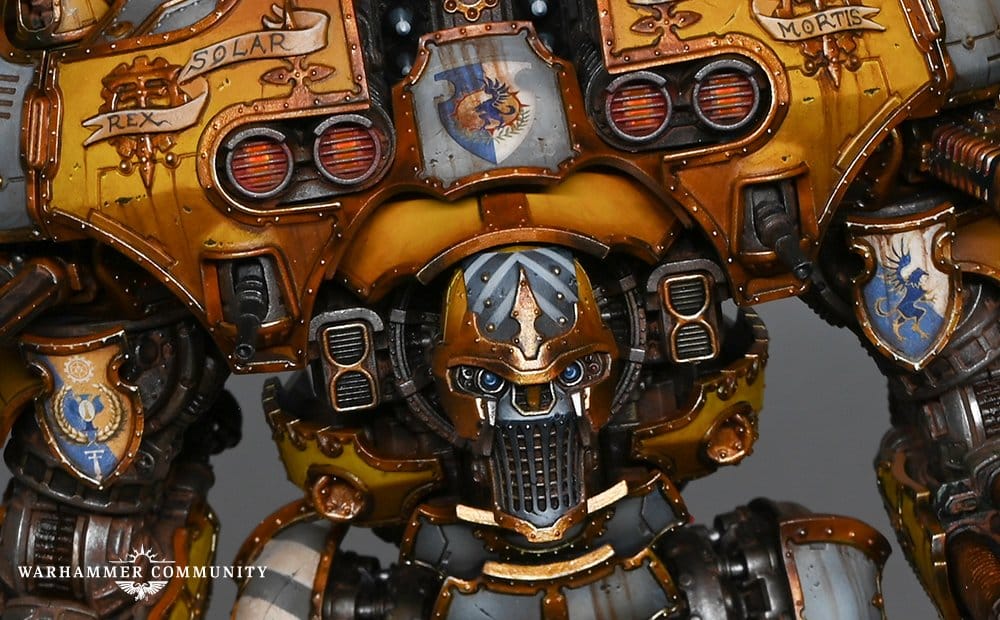
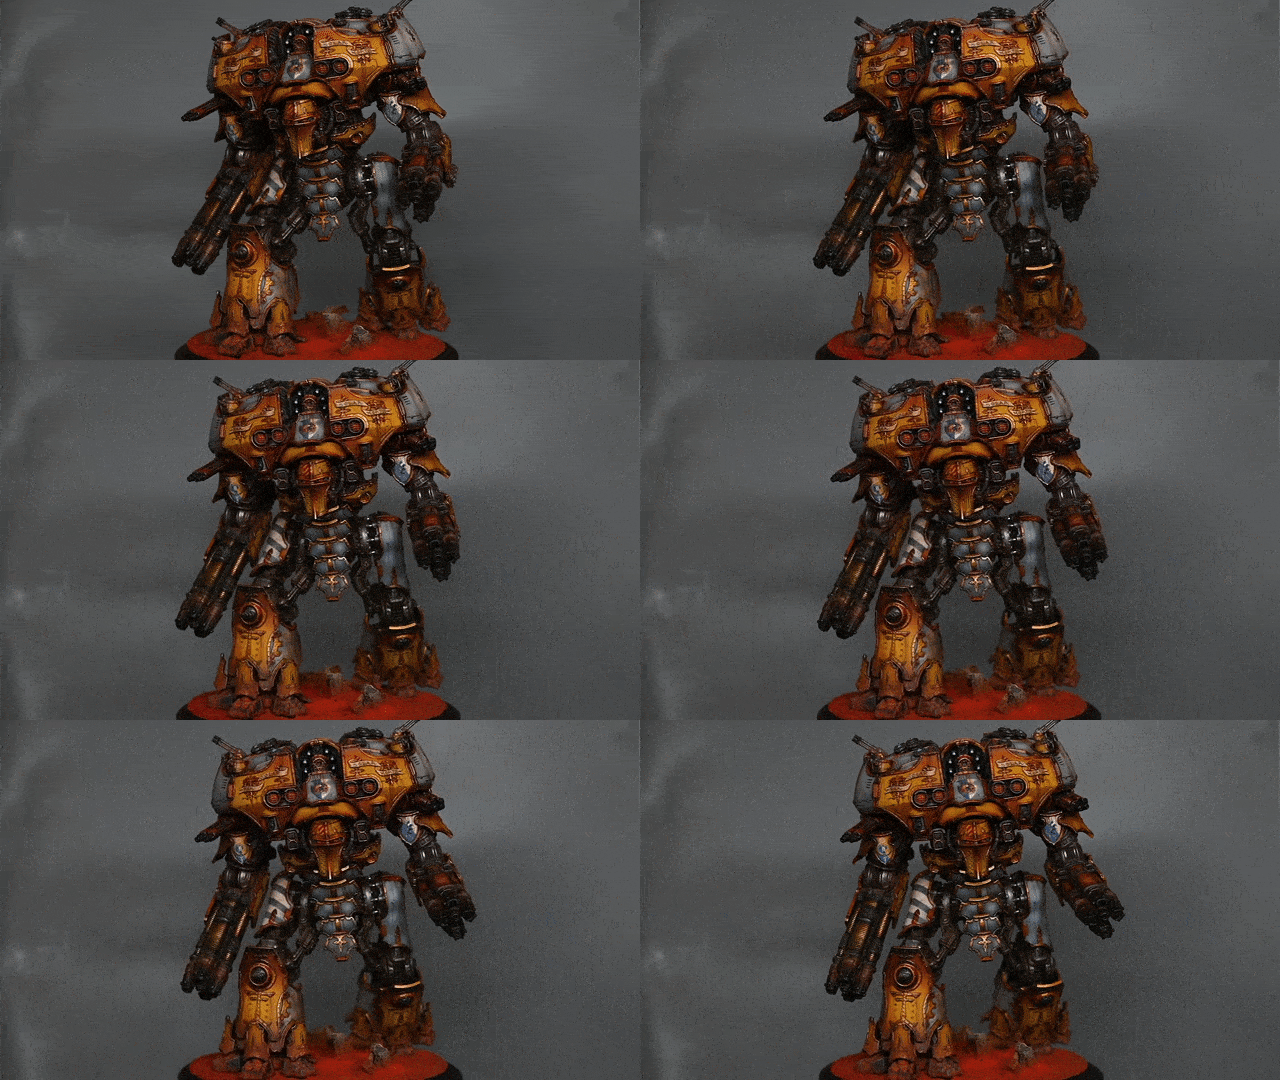
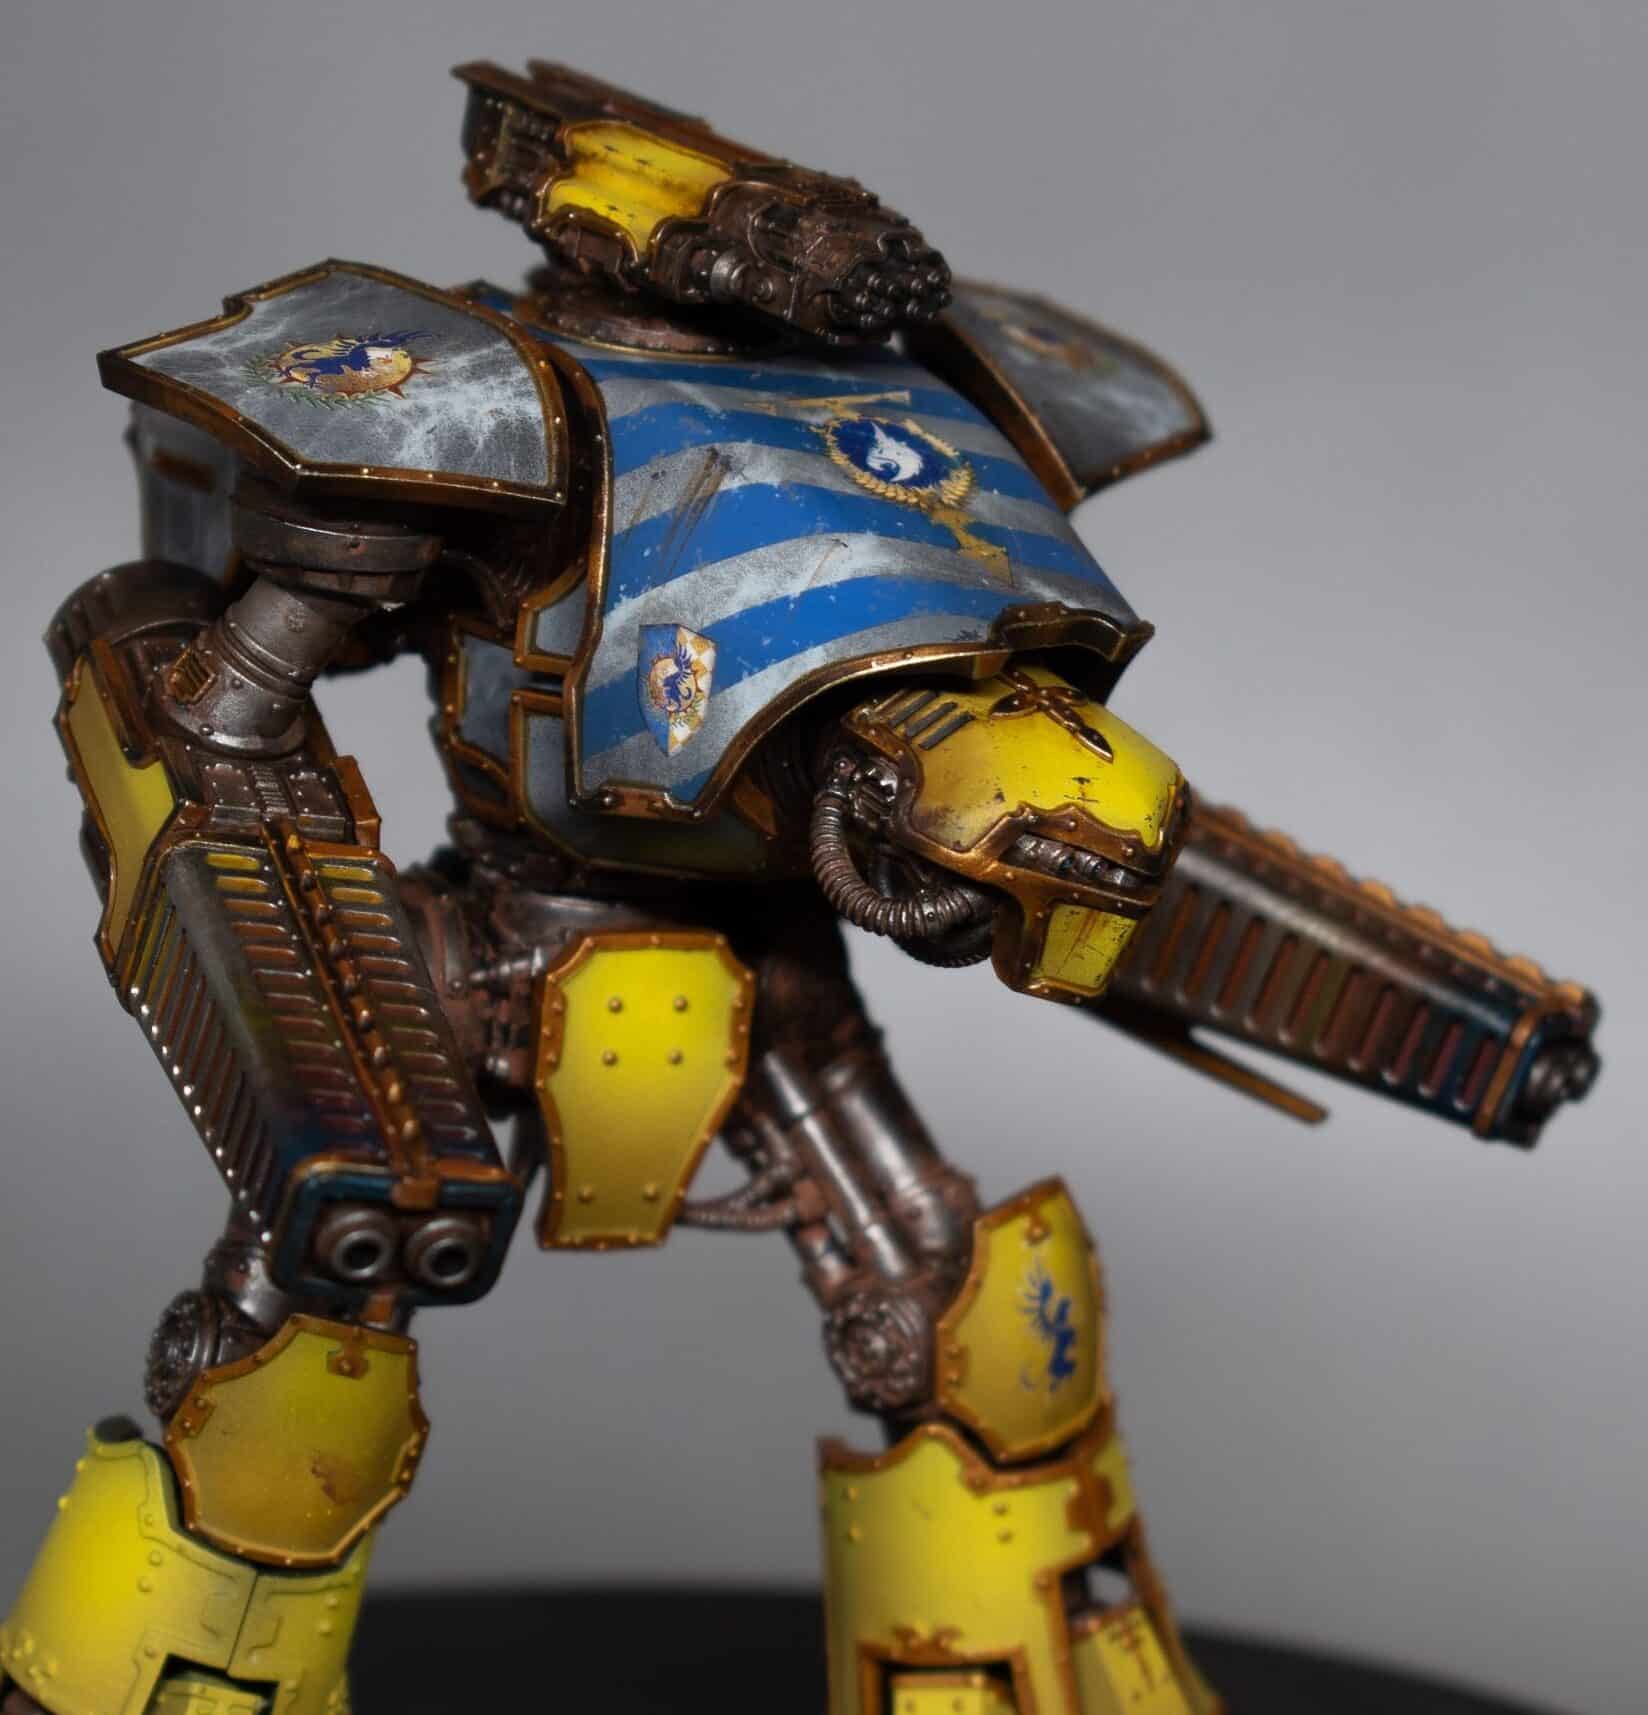
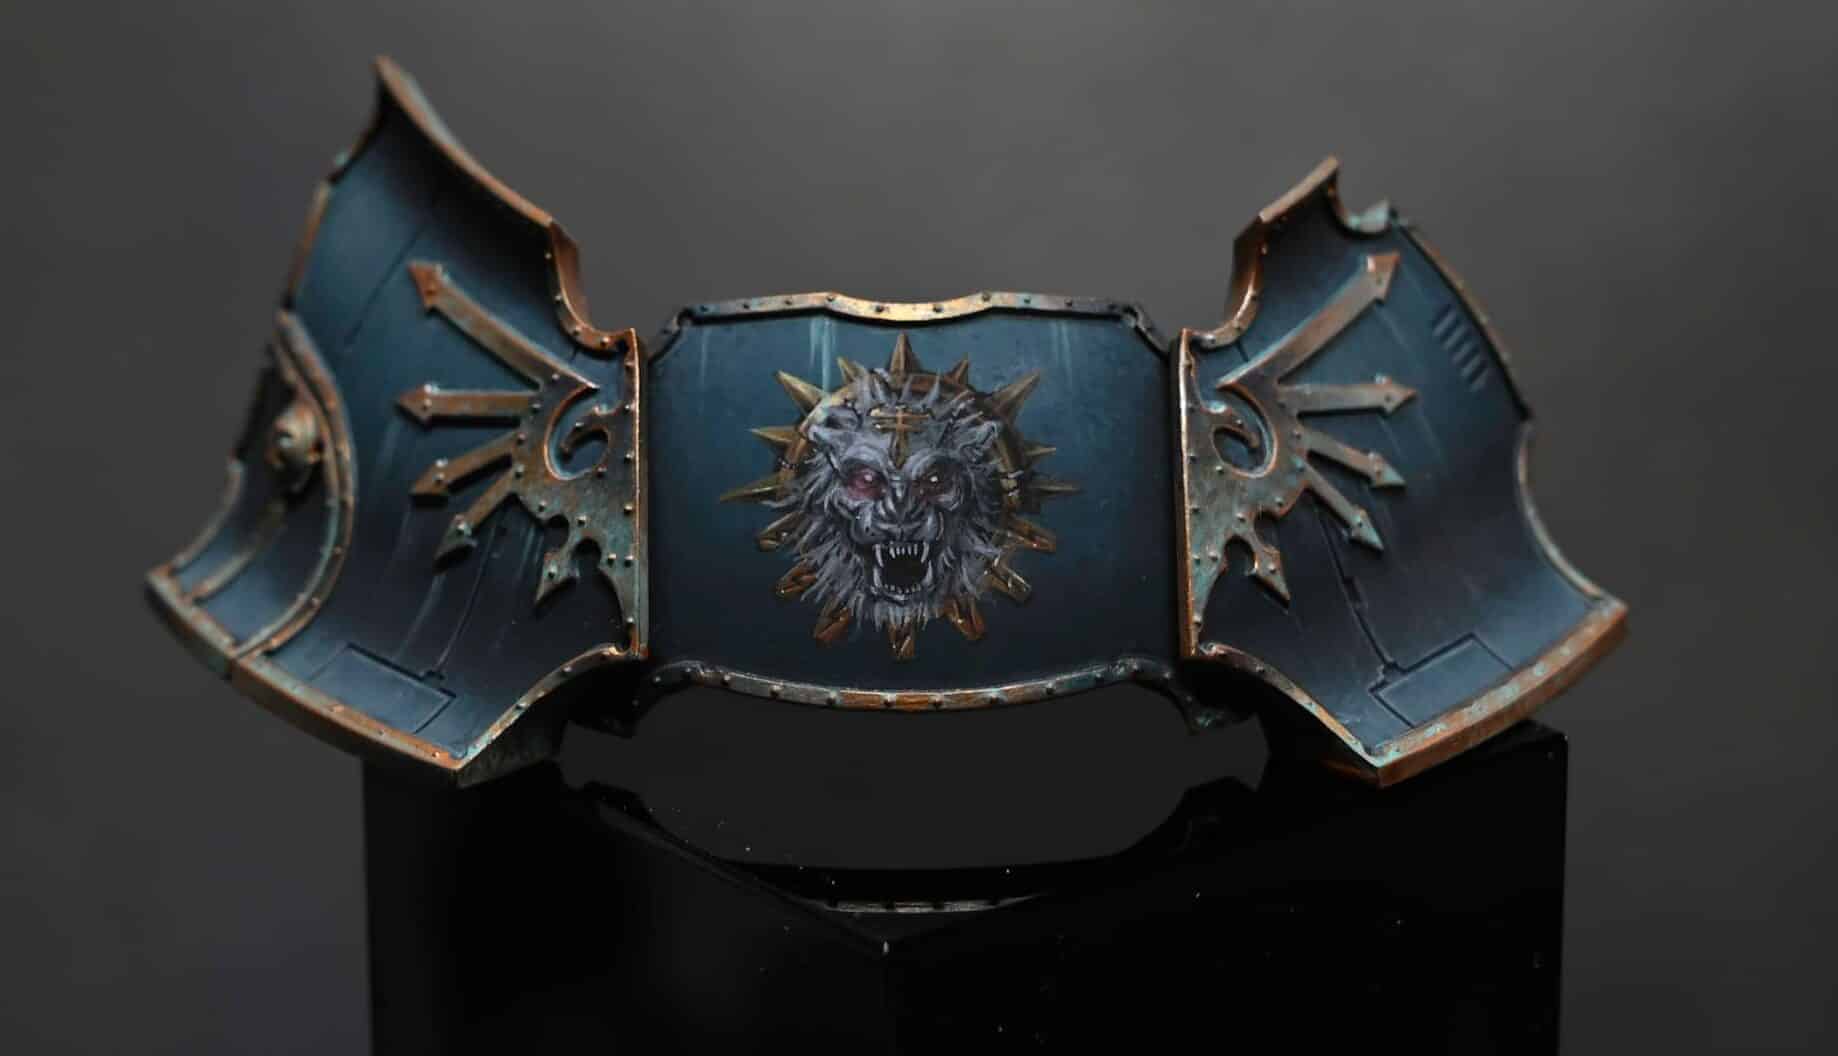
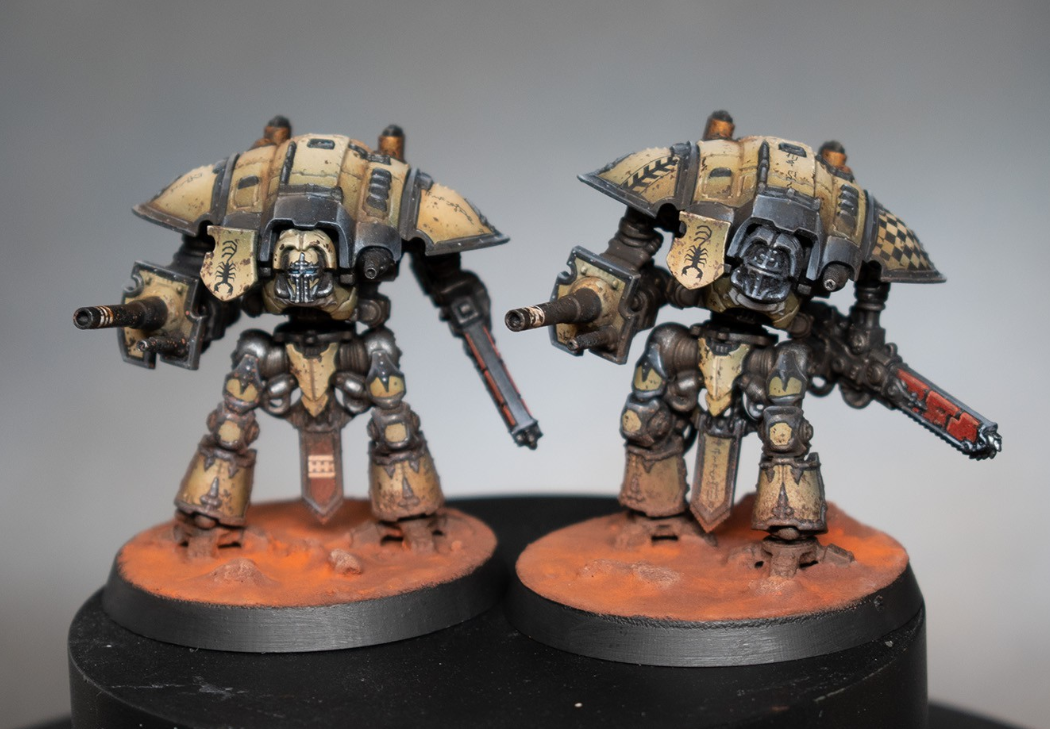
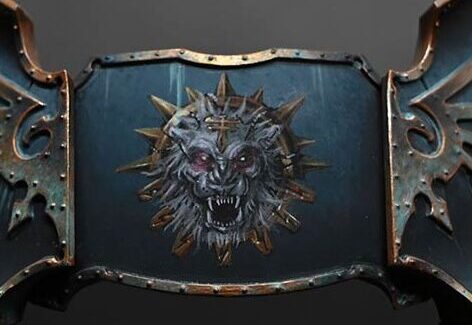
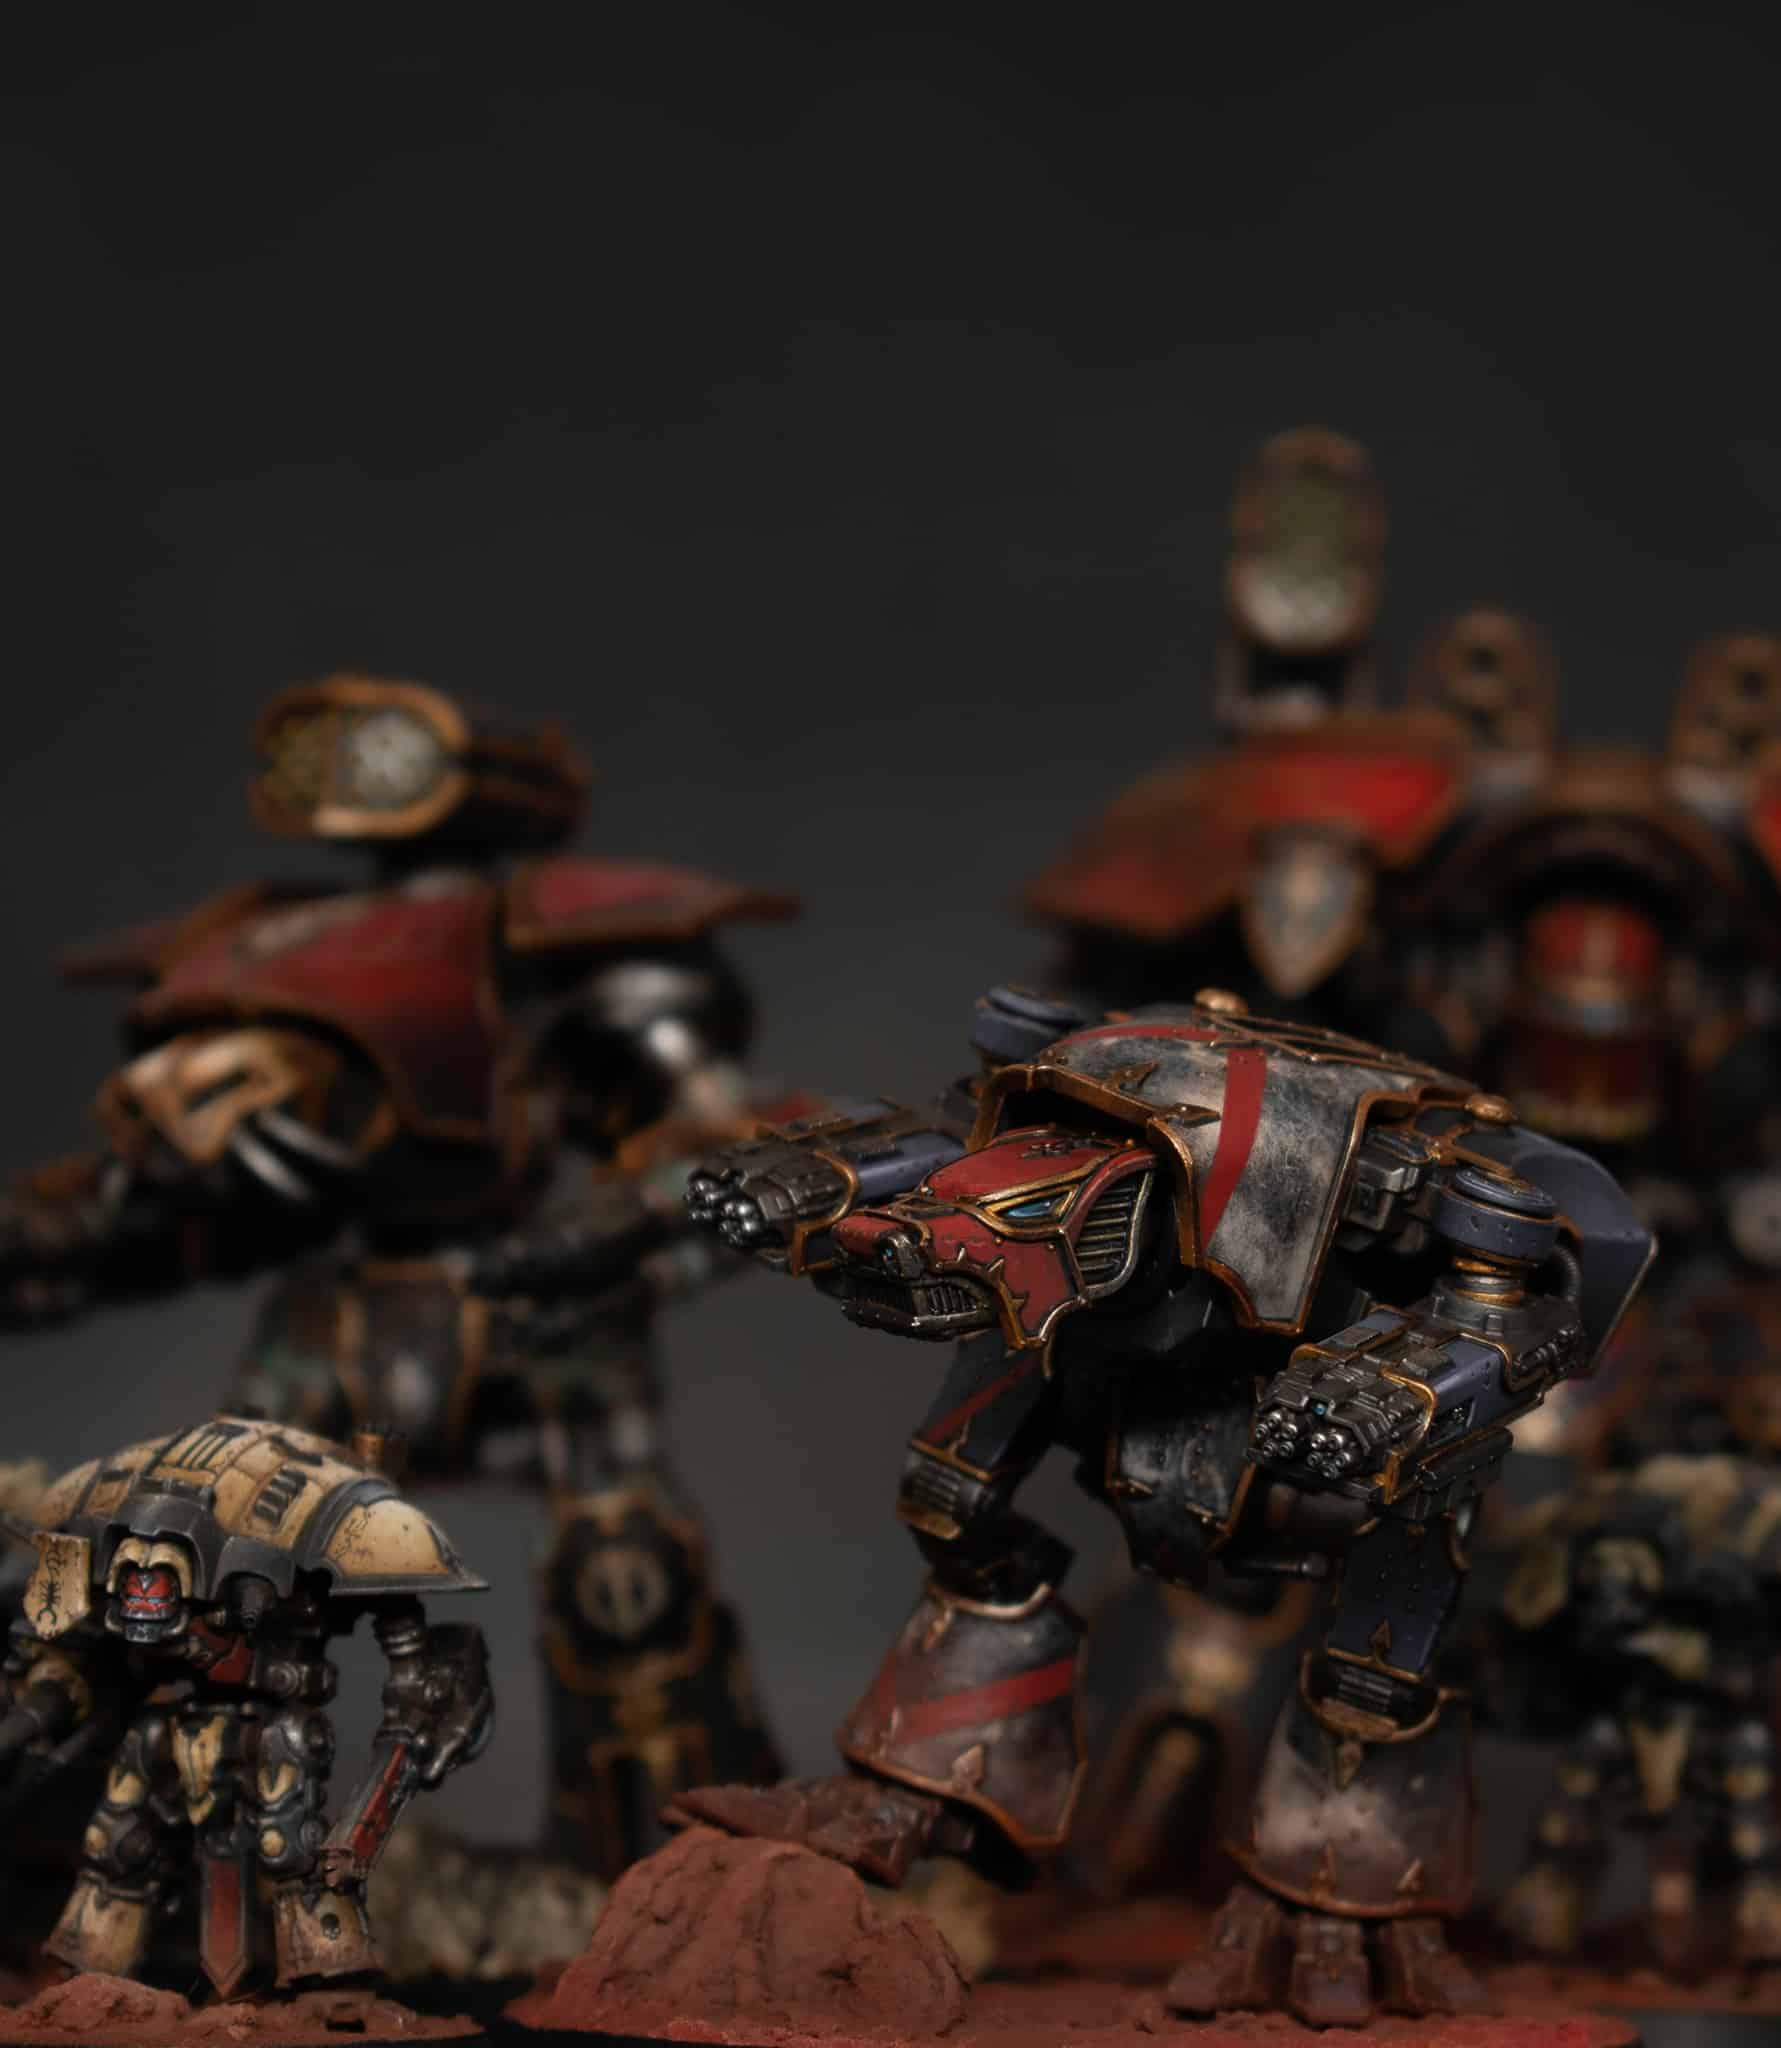
A series of quick videos on how to paint a War Griffons Warlord Adeptus Titanicus Titan to game standard. This included marble effects, stripes, weathering and decals and more!
Scroll down to explore the videos in order, or use the quick links below to jumps to a technique or part of the model in particular:
Video – How to Paint a War Griffons Warlord : Marble EffectMaterials List:Marble Armour Step-by-Step Guide:Video – How to Paint a War Griffons Warlord : The StripesMaterials Needed:The Stripes Step by Step:Additional Tips:Video – How to Paint a War Griffons Warlord : Weathering and DecalsMaterials Needed:Steps:Preparing the Surface:How to Apply the Forge World Decals:Sealing the Decal:Weathering the Decal and Armour:Additional Tips:Video – How to Paint a War Griffons Warlord : Heat Bloom on Melta CannonMaterials Needed:Melta Cannon Step-by-Step Guide:Video – How to Paint a War Griffons Warlord : Weathering and Metal PaintsStep by Step – Weathering and Metal on the War Griffons WarlordPreparing the Armour TrimEnhancing the TrimPainting the SkeletonDetailing Pistons and Metal AccentsFinishing TouchesTechniques and TipsMore Titan Tutorials!
Video – How to Paint a War Griffons Warlord : Marble Effect
All videos are recorded in HD 1080p or higher – use full screen for the full effect and let the video load completely.
Materials List:
Airbrush: Essential for applying smooth base coats and gradients.
Hand disinfectant wipes or baby wipes: Used to create the marble effect.
Paints:
Vallejo Pale Grey Blue: For the initial base coat.
Vallejo Neutral Grey: To begin creating the marble effect.
Vallejo Dark Grey (German Grey): For adding darker veins to the marble.
Vallejo Heavy Goldbrown: Base colour for yellow armour sections.
Games Workshop Phalanx Yellow: For highlighting yellow armour sections.
Marble Armour Step-by-Step Guide:
Base Coat:
Begin by airbrushing Vallejo Pale Grey Blue onto the carapace of the Titan. This may require a few coats to achieve a smooth finish. The paint can be thinned a bit, but not excessively, to ensure good coverage without too much speckling.
Preparing the Wipe:
Take a hand disinfectant wipe or baby wipe and stretch it out so it’s slightly spread and thin. This texture will be transferred to the armour to create the marble effect.
Applying the Wipe:
Lay the stretched wipe over the armour part you’ve just painted. Ensure it’s not too densely applied; the idea is to leave some areas exposed more than others for a varied marble effect.
Adding Darker Tones:
Airbrush Vallejo Neutral Grey over the wipe-covered armour. Keep the airbrush pressure low to avoid displacing the wipe. Focus more on the edges and less on the centre to mimic natural shading.
Without completely covering the previous layer, lightly apply Vallejo Dark Grey in a few select areas to create the appearance of darker veins within the marble.
Revealing the Effect:
Carefully remove the wipe to reveal the marble effect beneath. You’ll find areas of light and dark grey creating a naturalistic marble pattern.
Cleaning Up:
After removing the wipe, there may be strands left on the model. Take your time to clean these off to avoid them becoming permanently attached in later steps.
Painting Yellow Armour Sections:
For Legio Gryphonicus’s iconic grey and yellow scheme, base coat the relevant armour sections with Vallejo Heavy Goldbrown. Highlight these areas with Games Workshop Phalanx Yellow to achieve a vibrant, contrasting look against the grey marble.
Video – How to Paint a War Griffons Warlord : The Stripes
This guide will take you through the process of painting and weathering the stripes to achieve a battle-worn effect, ensuring your titan stands out on the tabletop.
Materials Needed:
Scale 75 Victorian Brass (For the trim)
Tamiya Masking Tape (3mm strips recommended for precision)
Games Workshop Kantor Blue (For the base stripe colour)
Vallejo Ultramarine Blue (For highlighting the stripes)
Vallejo Neutral Grey (For weathering)
Vallejo Pale Grey Blue (For weathering)
Airbrush and airbrush thinner (Vallejo Airbrush Thinner recommended)
Fine detail brush for weathering
The Stripes Step by Step:
Prepare the Trim:
Begin by painting the trim of the carapace using Scale 75 Victorian Brass. This step should ideally be done after painting the stripes to avoid overspray, but if you prefer to paint it first, be prepared to touch it up later.
Masking for Stripes:
Apply Tamiya masking tape to the carapace to create the desired pattern for your stripes. Ensure the tape is firmly pressed down, especially near the edges and armour trim, to prevent paint from bleeding underneath.
Base Colour for Stripes:
Airbrush Games Workshop Kantor Blue over the masked areas. The paint should be thinned appropriately and applied in even coats to achieve an opaque finish. Be mindful of overspray on the trim.
Highlighting Stripes:
After the base colour dries, apply Vallejo Ultramarine Blue as a highlight. Focus on the raised edges and ridges to create a gradient effect, ensuring some Kantor Blue remains visible for contrast.
Removing Masking Tape:
Carefully peel off the masking tape to reveal crisp, clean stripes. This step is highly satisfying and reveals the neat lines that define the pattern.
Weathering the Stripes:
Using a fine detail brush, apply Vallejo Neutral Grey and Pale Grey Blue to simulate chips and wear on the stripes. Focus on areas that would naturally see more wear and tear, breaking up the clean edges of the stripes to create a more realistic, battle-worn look. Use the colours that match the underlying marble effect for a cohesive appearance.
Finishing Touches:
Optionally, go back over the trim with Victorian Brass to clean up any overspray from painting the stripes. This will ensure a neat and polished look.
Additional Tips:
The choice of stripe colour can vary; red or hazard striping are also effective options.
The weathering step is crucial for adding realism. Smaller, more concentrated damage marks enhance the scale effect, making the titan appear as a massive war machine.
Keep the weathering consistent with the overall wear on the rest of the titan for a unified appearance.
Video – How to Paint a War Griffons Warlord : Weathering and Decals
This step-by-step guide, designed to be beginner-friendly, will walk you through applying decals, adding a gloss finish for protection, and executing weathering techniques to give your titan a battle-worn appearance.
Materials Needed:
Vallejo Gloss Varnish
Water for softening decals
Micro Sol and Micro Set for decal application
Tamiya 3mm Masking Tape or equivalent
Games Workshop Kantor Blue
Vallejo Neutral Grey, Ultramarine Blue, and Pale Grey Blue for weathering
Games Workshop Matte Varnish
Fine detail brushes
Airbrush (optional for varnishing)
Forge World Decals for Legio Gryphonicus
Steps:
Preparing the Surface:
Apply Gloss Varnish: Begin by applying Vallejo Gloss Varnish to the areas where decals will be applied. This creates a smooth surface, reducing air pockets and imperfections. You can apply the varnish with a brush or an airbrush. If brushing, slightly dilute the varnish with water for easier application.
How to Apply the Forge World Decals:
Soften Decals in Water: Cut out your chosen decals and soak them in water until they easily slide off the backing paper. This typically takes a few minutes.
Apply Micro Sol: Place a small amount of Micro Sol on the model where the decal will be applied. This softener helps the decal conform to the model’s surface.
Position the Decal: Carefully slide the decal from the paper to the model. Use a soft brush to adjust its position accurately.
Remove Excess Water: Gently dab a soft, dry brush or a paper towel to remove any excess water and air bubbles beneath the decal.
Apply Micro Set: Once the decal is in place, apply Micro Set over it. This solution helps soften the decal further, allowing it to snuggle down into the model’s details. Let it dry thoroughly, ideally overnight. Don’t worry if the decal looks wrinkled at this stage; it will smooth out as it dries.
Sealing the Decal:
Apply Additional Gloss Varnish: After the decal has dried, apply another layer of gloss varnish over it using an airbrush for an even coat. This step helps to seal the decal and even out the surface. If necessary, apply 2-3 coats, allowing each to dry thoroughly.
Matte Varnish Finish: Once the gloss varnish is completely dry, apply a matte varnish over the entire model to give it a uniform, non-glossy finish. This also helps to further blend the edges of the decal into the model.
Weathering the Decal and Armour:
Weathering with Paint: Use Vallejo Neutral Grey and Pale Grey Blue to add weathering around the decals and on the armour. Use a fine detail brush to apply small chips and scratches, focusing on edges and areas that would naturally see more wear. This adds realism and depth to your titan.
Additional Weathering Techniques: For further realism, you can add streaks and rust effects using diluted paint or weathering powders. Apply these sparingly in areas where water and dirt would naturally accumulate and streak down the model’s surface.
Additional Tips:
Take your time with each step, especially when applying and positioning the decals.
Always allow each layer of varnish and paint to dry completely before proceeding to the next step.
Practice weathering techniques on a spare piece before applying them to your model to get a feel for the effect.
Video – How to Paint a War Griffons Warlord : Heat Bloom on Melta Cannon
Materials Needed:
Airbrush and Thinner: For applying smooth gradients of colour.
Brushes: A fine detail brush for precise application and a dry brush for highlighting.
Paints:
Vallejo Metal Colour Magnesium (for the metallic base).
Vallejo Metal Colour Chrome (for highlighting metallic areas).
Scale 75 Victorian Brass (for trim detailing).
Games Workshop Contrast Paints: Iyanden Yellow, Magos Purple, Talassar Blue (for the heat effect).
Games Workshop Contrast Aggaros Dunes (for additional trim detailing).
Melta Cannon Step-by-Step Guide:
Base Coating the Weapon:
Begin by airbrushing the Melta weapon’s recesses with Averland Sunset, ensuring the weapon’s holes face directly towards the airbrush to prevent uneven shading. Don’t worry about overspray on the weapon casing; this will be covered later.
Adding Initial Heat Glow:
Switch to Troll Slayer Orange and apply over the Averland Sunset, creating a gradient effect from the weapon’s recesses outward. Ensure even coverage without tilting the airbrush to maintain consistency across the recesses.
Masking for Overspray:
To prevent overspray on adjacent yellow armour panels, use masking tape or modelling putty. This step is crucial for maintaining clean lines and avoiding accidental paint transfer.
Metallic Base Coat:
Paint the metallic parts of the weapon with Vallejo Metal Colour Magnesium, carefully avoiding the recesses to maintain the glow effect. This creates a solid base for subsequent detailing.
Trim Detailing:
Apply Scale 75 Victorian Brass to the weapon’s trim, followed by a coat of Games Workshop Contrast Aggaros Dunes to add depth and dimension to the detailing.
Heat Bloom Effect:
Begin the heat bloom effect by airbrushing Iyanden Yellow halfway along the Melta Cannon barrel, avoiding the recesses. Layer Magos Purple over the Iyanden Yellow, leaving some yellow visible for a blended effect. Finish with Talassar Blue, applying it over the Magos Purple but not covering all the previous layers, creating a transition from yellow to deep blue.
Highlighting and Finishing Touches:
Dry brush Vallejo Metal Colour Chrome on the non-painted metallic areas to enhance the metallic sheen. Carefully highlight the lower edges of the weapon with Chrome using a normal paintbrush, accentuating the heat bloom’s impact.
Final Assembly:
Once all painting is complete, remove any masking materials and assemble any remaining parts of the Titan, paying attention to aligning the heat bloom effects correctly.
Video – How to Paint a War Griffons Warlord : Weathering and Metal
Paints
Games Workshop:
Agrax Earthshade
Wyldwood (Contrast)
Contrast Aggaros Dunes
Forge World:
Aged Rust (Weathering Powder)
Vallejo Metal Colour (Airbrush Ready):
Victorian Brass (Scale 75 for an alternative base colour)
Magnesium
Gold
Chrome
Winsor & Newton:
Water Mixable Oil Colour Burnt Umber
Step by Step – Weathering and Metal on the War Griffons Warlord
Preparing the Armour Trim
Base Coat: Begin with a base coat of Scale 75 Victorian Brass over the trim. This provides a solid foundation for subsequent layers.
Initial Shading: Apply Contrast Aggaros Dunes over the Victorian Brass to introduce depth and shading to the trim. This step should have been completed in earlier stages of the model’s painting process.
Enhancing the Trim
Adding Depth: Use Games Workshop’s Wyldwood contrast paint to darken recesses and joints in the trim. The high contrast between the dark recesses and the metallic brass creates visual interest and depth. Apply the paint selectively to areas that would naturally accumulate shadow.
Highlighting: Vallejo Metal Colour Gold is used to highlight the edges of the trim. Due to its fluidity, it provides a smooth application but be mindful of its runniness. Lightly touch the edges with a fine brush to catch the raised areas.
Painting the Skeleton
Base Layer: Vallejo Metal Colour Magnesium serves as the base layer for the Titan’s skeletal structure. Its liquidity ensures it flows well into recesses but exercise caution to prevent pooling.
Weathering: Apply Forge World’s Aged Rust weathering powder mixed with water to the skeletal structure for a grimy, rusted effect. Focus on areas that would naturally collect dirt and rust, maintaining a balance to avoid obscuring details.
Sealing the Weathering: Once dry, seal the weathering with a mix of Agrax Earthshade. This reactivates and fixes the weathering powder, giving a durable and realistic rust effect.
Detailing Pistons and Metal Accents
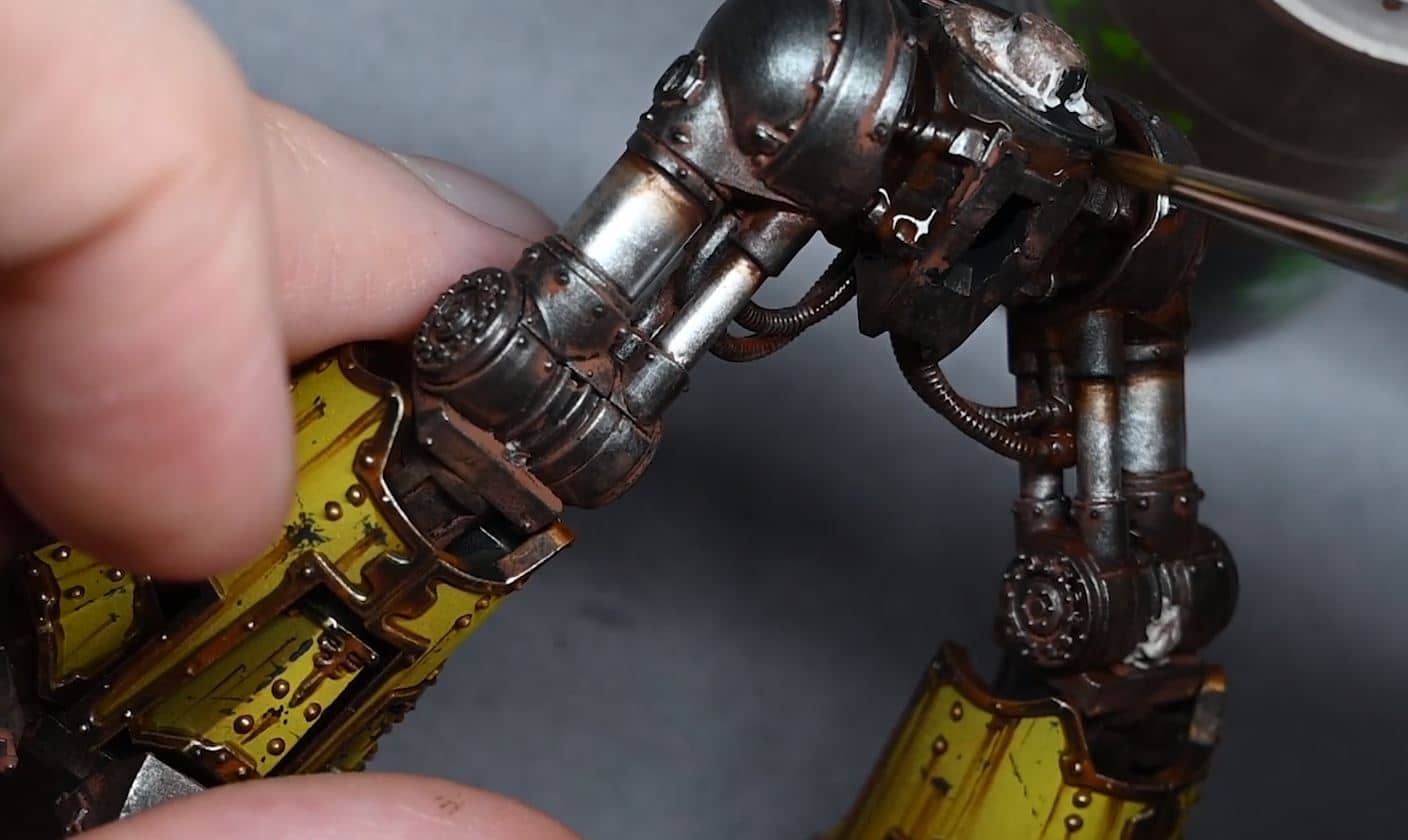
Chrome Pistons: Vallejo Metal Colour Chrome is applied to pistons for a bright, reflective finish. Multiple thin layers may be needed for uniform coverage.
Oily Effects: Windsor and Newton’s Water Mixable Oil Colour Burnt Umber is used to simulate oil and grime on pistons and mechanical parts. Dilute with water for a manageable consistency and apply at joints and moving parts for a realistic oily effect.
Finishing Touches
Reichland Fleshshade Glaze: Optional, but can be used to add warmth to metal parts, particularly useful on brass or gold trims to simulate reflected light or heat staining.
Highlighting and Cleaning Up: After applying weathering and shading, go back to highlight edges and clean up any overspill with your base metallic colours. This step sharpens details and enhances the overall contrast of the model.
Techniques and Tips
Trim Detailing: Use the fine detail brush with Vallejo Metal Colour Gold to highlight the edges of the trim, applying the paint carefully to avoid spillage onto other areas.
Skeleton Base Layer: Apply Vallejo Metal Colour Magnesium with a medium brush, ensuring even coverage and avoiding pooling in recesses.
Weathering Powder Application: Mix Aged Rust with water in the well palette and apply with a large brush, targeting recesses and areas where rust would naturally accumulate.
Chrome Pistons: Use Vallejo Metal Colour Chrome, applying multiple thin layers as needed for a smooth, reflective finish.
Oily Effects: Dilute Winsor & Newton Water Mixable Oil Colour Burnt Umber with water and apply at the tops of pistons and around mechanical parts to simulate oil and grime.
More Titan Tutorials!
If you don’t have an account, please sign up here! The website currently has over 350 video tutorials with steps and tips, plus a selection of PDFs. If you are not sure about joining, you can explore my free videos with a free membership, or take the plunge and become a full subscriber for full access.
If you’d prefer to support me on Patreon, please visit: https://www.patreon.com/RichardGray [...]


