


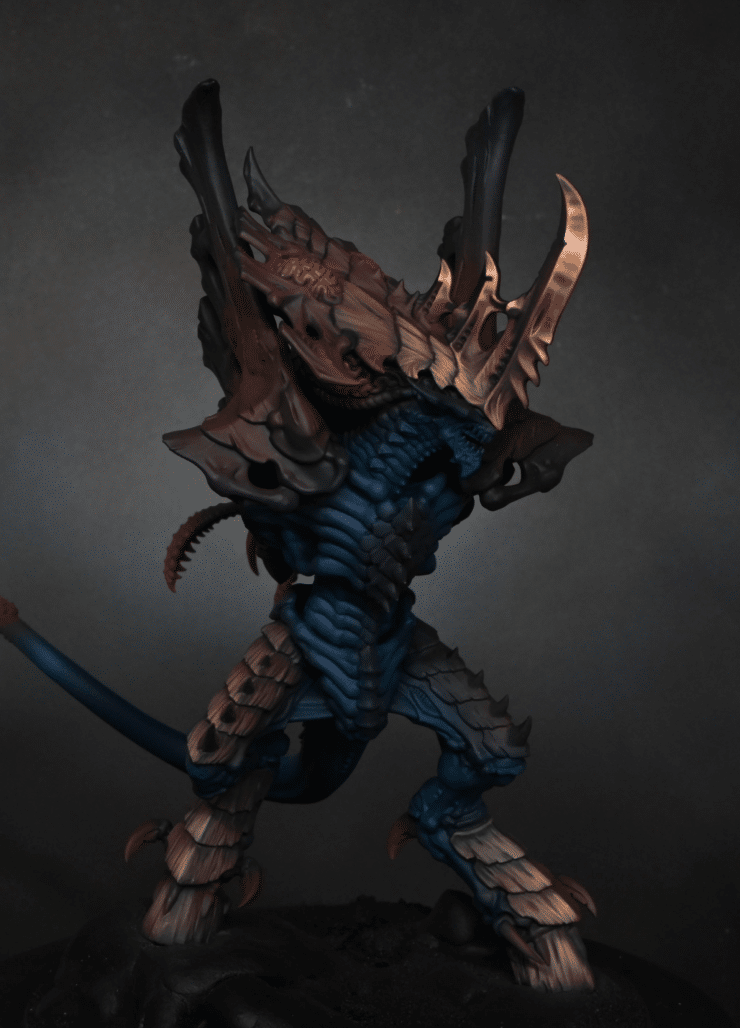
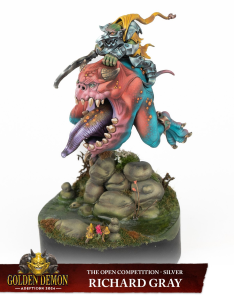
Videos on how to paint the Tyranid Norn Emissary, which Games Workshop sent me for review.
Video – How to Paint the Norn Emissary : Part One
The video looks at prepping the base colours with an airbrush and then painting texture detail on the chitin and painting a nmm style shine on the horn blade.
This video is currently hidden. To watch, please make sure that you are logged into the website.
Materials Needed
- Airbrush: Essential for applying the base coats.
- Airbrush Thinner: Vallejo airbrush thinner is recommended.
- Brushes:
- A larger brush (such as a size 2) for texture work on the armor plates.
- A smaller brush (such as size 00) for finer details and highlights.
- Wet Palette: Useful for mixing and thinning paints.
- Sandpaper or Seam Cleaner: For cleaning seam joints on the model.
Paints
- Games Workshop Paints:
- Night Lords Blue: Base coat for the model.
- Sotek Green: Second coat for base colouring.
- Xereus Purple: Used for the chitin armor base and mixed with other colours for various effects.
- Fire Dragon Bright: Mixed with Xereus Purple for chitin armor and used in other mixes.
- Wild Rider Red: Applied to brain-like textures.
- Pink Horror: Used over brain-like areas for a gradient effect.
- Mournfang Brown: Base colour for claws and talons.
- Other Paints:
- P3 Morrow White: Used for mixing highlights (any preferred white paint can be used).
Mixing and Application Notes
- Mix the paints with the airbrush thinner in a 50:50 ratio for airbrushing.
- Gradually add more of the lighter color to the mix for highlights and texture work.
- The use of a wet palette will aid in mixing and maintaining the consistency of the paints.
Step by Step Guide
Preparing the Model
- Assembly: Assemble the model in sub-builds (legs, body, head, arms) for easier painting. The legs are attached to the base in this case.
- Seam Cleaning: Clean up seam joints on the model for a smoother finish.
Base Colour with Airbrush
- Priming: Begin with airbrushing a base coat. Use Night Lords Blue (Games Workshop), thinned with Vallejo airbrush thinner (50:50 ratio) at about 30 PSI with a 0.4 needle.
- Second Coat: Apply Sotek Green with the same thinning ratio and airbrush settings.
- Chitin Armor Base: Mix Xereus Purple with Fire Dragon Bright (50:50 ratio) and apply to the chitin armor plates. Gradually add more Fire Dragon Bright to the mix for subsequent layers.
- Brain-Like Textures: Airbrush Wild Rider Red and Pink Horror over the brain-like areas, focusing on the centers for a gradual transition.
- Claws and Talons: Apply Mournfang Brown (50:50 with thinner) to claws and talons. Add a bit of Ushabti Bone to the mix for highlights.
Detailing with Brush
- Armor Plates: Use a larger brush for quick, effective texturing. Start with a mix of Xereus Purple and Fire Dragon Bright (50:50), gradually lightening the mix by adding more Fire Dragon Bright and a touch of white.
- Highlighting: With a size 2 brush, apply quick, vertical lines, increasing pressure lightly for broader marks. Use lighter mixes for higher highlights and finer, gentler strokes.
- Refining Highlights: Switch to a smaller brush (size 00) for final highlights, focusing on the light direction and maintaining an organic, uneven pattern.
- Non-Metallic Metal (NMM) Blade: For the horn blade, use the same color scheme but with a smoother blend and sharper highlights to mimic a metallic shine. Focus on a shine point, gradually building up highlights.
- Final Touches: Add edge highlights for additional realism and depth. Use the darker mixes to adjust or correct any overly bright areas.
Check out my latest video tutorials
Latest Video Tutorials
Today I’m going to focus on mastering the non-metallic metal (NMM) effect on the necklace portion of the WIlderfiend using both Games Workshop and AMMO paints. Read on to get started with a detailed video tutorial, paints list and step-by-step tips and guide. [...]
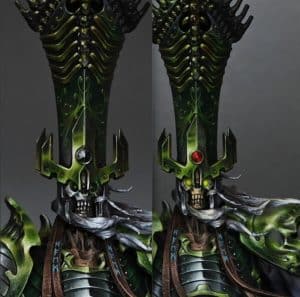
This is the first in a new series of videos for the Nagash repaint to get him suitable to be a Golden Demon entry. I’m not sure if he’ll end up as a diorama orContinue reading [...]
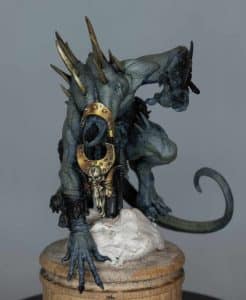
This is part 1 in a series for how to paint the Wilderfiend from the Darkoath army, which Games Workshop sent me. The first video looks at the skin, lips, teeth, eyes and horns. We’ll focus on creating a heavily textured look! [...]
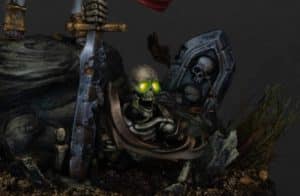
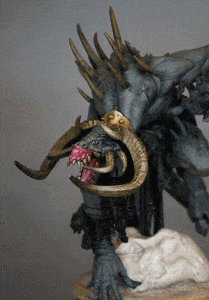
This is another video looking at Sekhar the vampire, this time focusing on how to paint a skeleton with glowing eyes for the model on her base. This video looks at the skeleton, how toContinue reading [...]
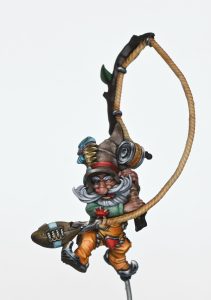
A small series on how to paint Rodney Roachbait, the new Blood Bowl star player for their Gnome team! In these videos we will explore lots of different textures and techniques a lot different toContinue reading [...]
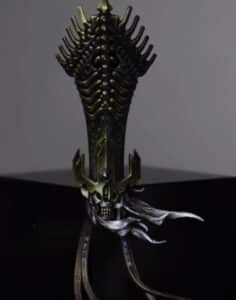
My detailed how to paint the Nagash helmet tutorials, with videos plus step by step guide and tips with full paints used. [...]
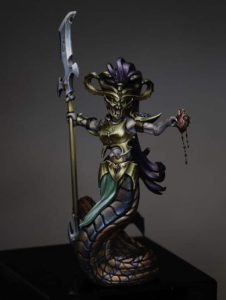
Melusaine Blood Sister from Age of Sigmar Daughters of Khaine tutorials. [...]
These videos show how I painted my 2024 Golden Demon winning little Loonboss Knight, with tips on NMM armour, woodgrain, banners and freehand and more. [...]
Creating a Non-Metallic Metal (NMM) texture on a sword for a miniature model requires patience, precision, and a good understanding of light and shadow. This guide is designed to walk you through the process of painting the weapon blade of Sekhar The Vampire, focusing on achieving a weathered, high-contrast, NMM effect. [...]
If you don’t have an account, please sign up here! The website currently has over 350 video tutorials with steps and tips, plus a selection of PDFs. If you are not sure about joining, you can explore my free videos with a free “freebies” membership, or take the plunge and become a full subscriber for full access.


If you’d prefer to support me on Patreon, please visit: https://www.patreon.com/RichardGray