


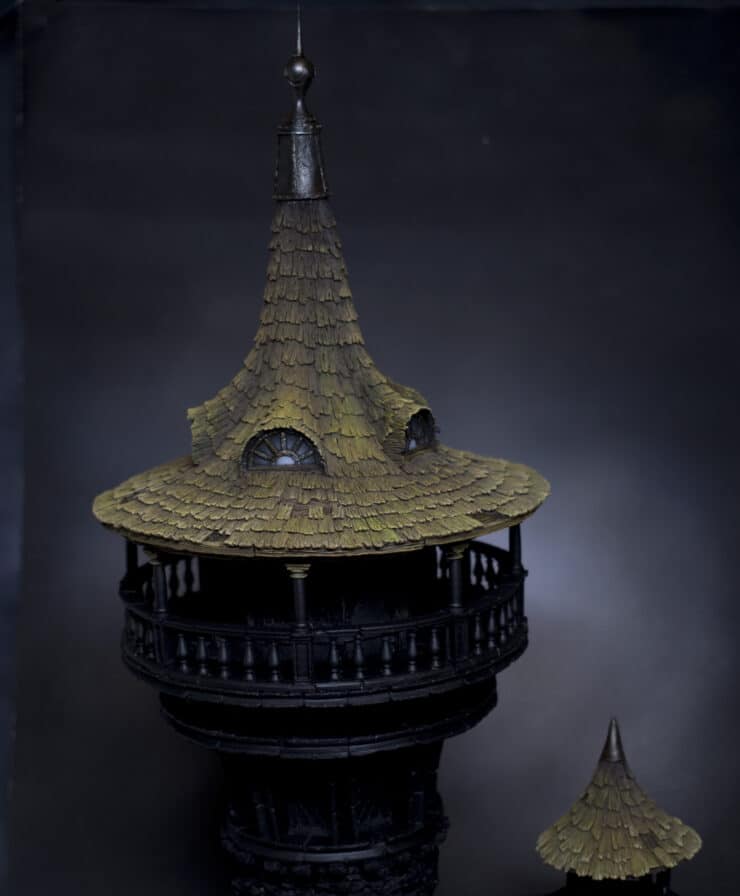
Now for something a little different – a tutorial on How to Paint a Wizard Tower by the folks at Tabletop World, including windows, drybrushing tips, wood texture and mossy tiles.
Video: How to Paint a Wizard Tower
Materials and Tools:
- Airbrush: A gravity-fed, double-action airbrush is recommended. The model used in the tutorial is a Harder and Steenbeck Infinity CR+, but any decent airbrush will suffice.
- Paints: Tamiya Flat Black, Flat White, Flat Brown, Light Gray, IJN Gray, and X20A paint thinner; Scale 75 Brown Leather, Arabic Shadow, Sherwood Green; Games Workshop Balor Brown, Ushabti Bone, and Nuln Oil (mistakenly referred to as Agrax Earthshade in the video); Vallejo Gun Metal Air; Winsor and Newton Artisan Water Mixable Oil Colour Burnt Umber.
- Brushes: A makeup blusher brush for dry brushing large areas, and a Series 7 size 2 “miniature” brush (though size 1 is mentioned in the video, a size 2 is used for detailed work).
Steps:
Airbrush Base Coating: Mix Tamiya Flat Brown with X20A thinner at a 50/50 ratio and airbrush the roof, focusing on the edges and areas where tiles are missing to create depth. Avoid complete coverage to allow for natural wood texture.
Use Tamiya Light Gray and IJN Gray to paint the windows, starting with black for the frames, then grey for the glass, progressing from dark to light to mimic glass reflections.
Dry Brushing: Use a makeup blusher brush to dry brush the roof with Scale 75 Arabic Shadow to highlight the wood texture and details.
Apply Scale 75 Brown Leather to the window frames and any overspray areas to integrate them into the woodwork.
Highlight metallic parts with Vallejo Gun Metal Air using a dry brush technique to create a natural metal finish.
Detailing and Weathering: Use Games Workshop Balor Brown and Ushabti Bone to further highlight the wood and metallic parts, focusing on edges and raised details to enhance the model’s texture.
Apply Scale 75 Sherwood Green diluted with water to parts of the roof to simulate moss and ageing, focusing on areas that would naturally gather moisture.
Wash metallic areas with Nuln Oil to add depth and contrast, ensuring the wash settles into recesses.
Final Touches: Detail the nails and other small metallic parts with Vallejo Gun Metal Air, followed by a wash of Winsor and Newton Burnt Umber to simulate rust and weathering.
Adjust any overly green areas with Arabic Shadow if necessary to tone down the brightness and integrate the moss effect more naturally into the woodwork.
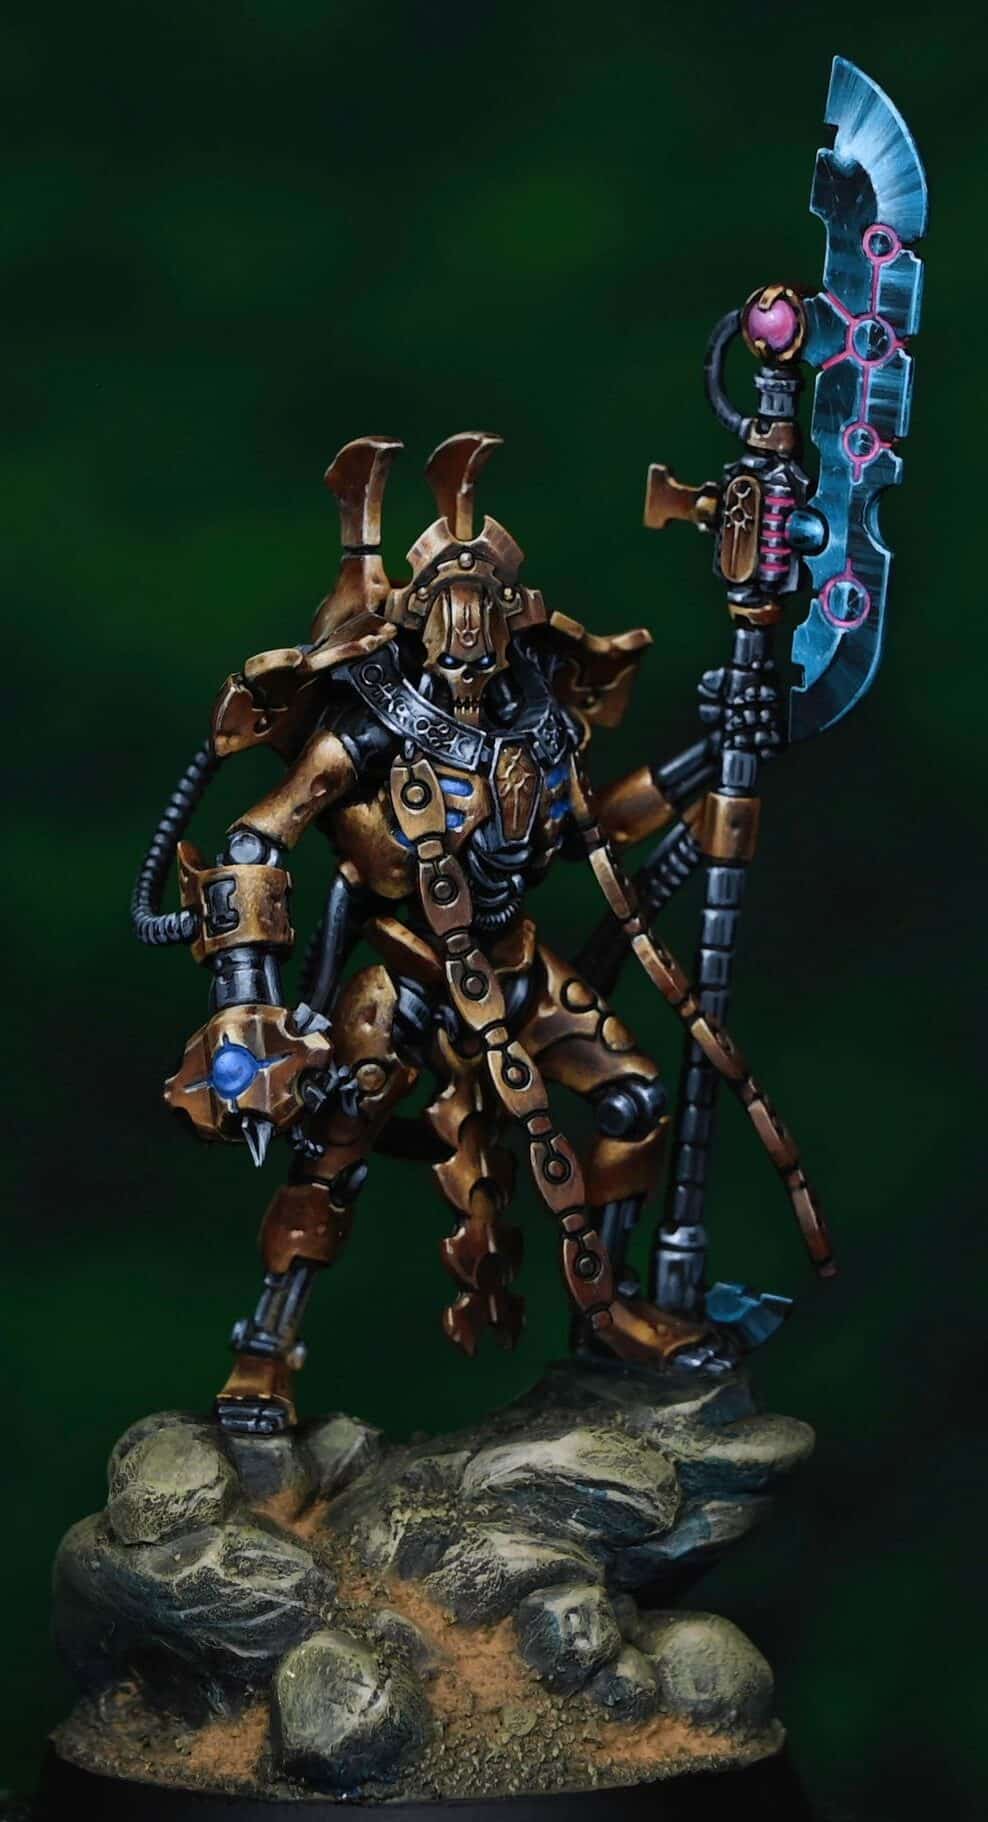
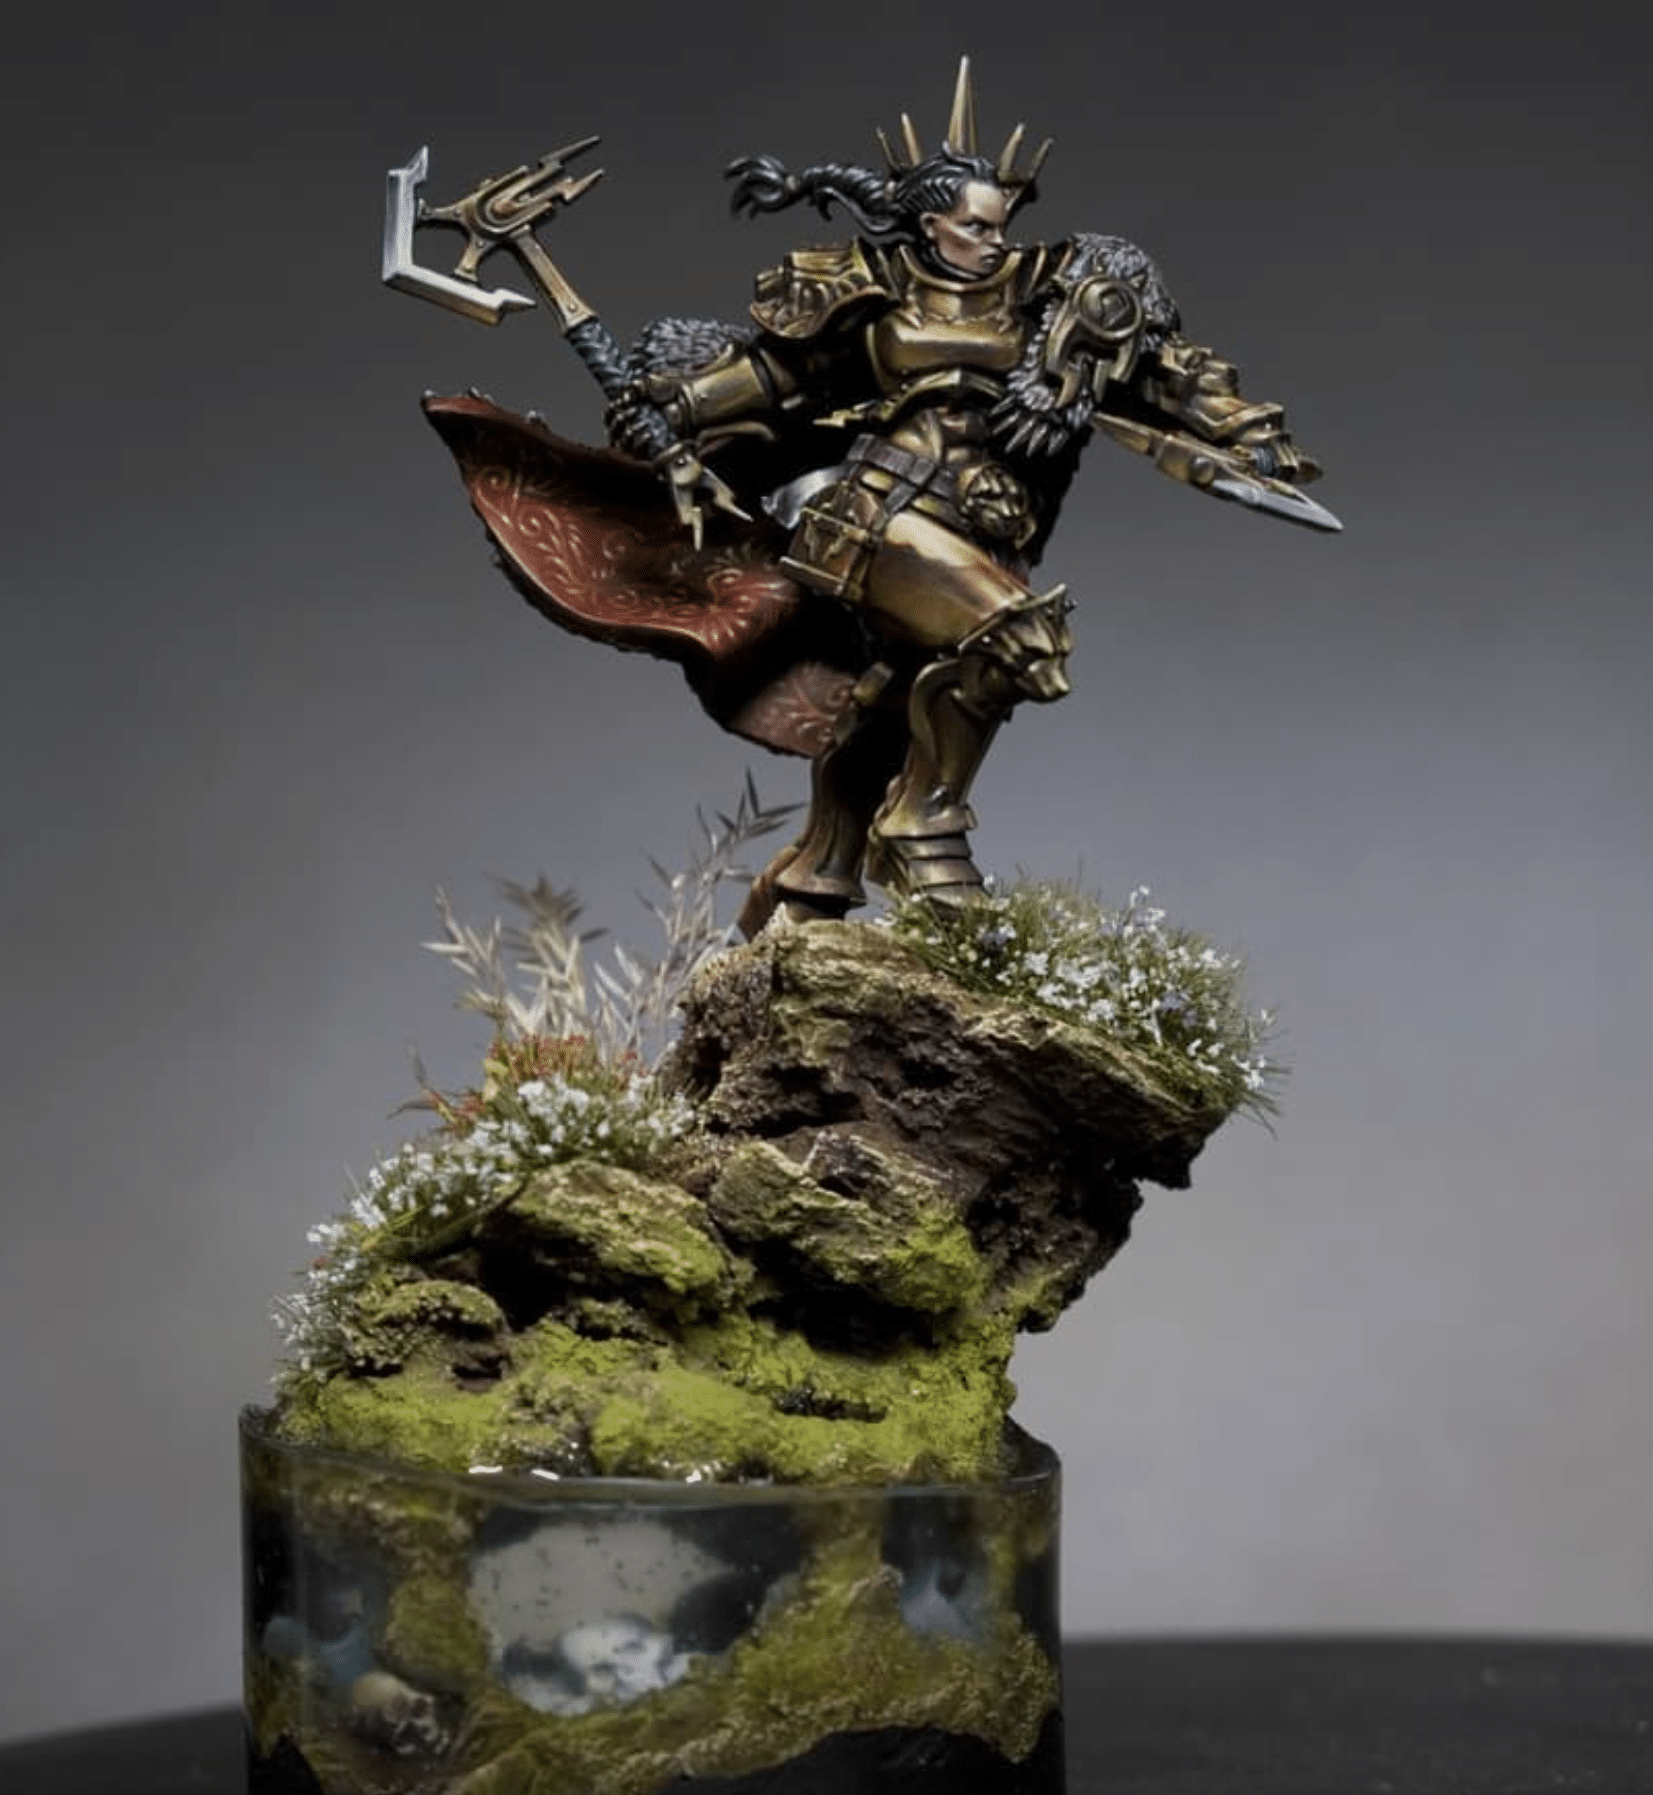
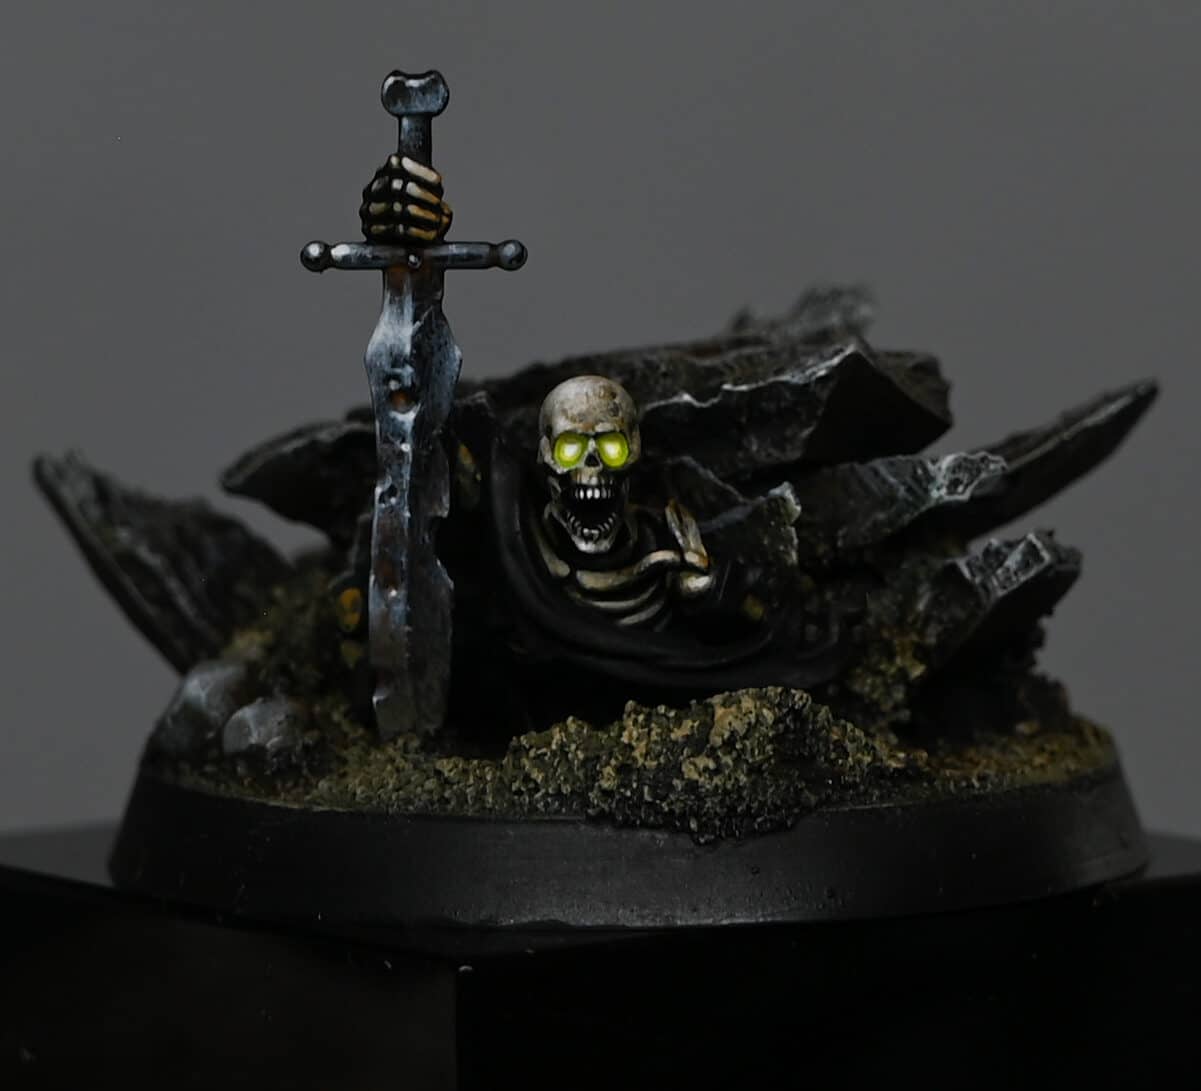
More bases, houses and terrain:


If you don’t have an account, please sign up here! The website currently has over 350 video tutorials with steps and tips, plus a selection of PDFs. If you are not sure about joining, you can explore my free videos with a free membership, or take the plunge and become a full subscriber for full access.


If you’d prefer to support me on Patreon, please visit: https://www.patreon.com/RichardGray