


This guide will walk you how to create a boulder base with realistic large rocks utilising Milliput for the sculpting part and a selection of Games Workshop paints for painting.
Materials Needed
- Milliput (Super Fine White preferred, but any type will do)
- Sculpting tools and a scalpel
- Water or a lubricant like Vaseline for smoothing Milliput
- PVA glue and fine grain sand for texture
- Paints: Vallejo Model Color Black, Games Workshop Deathworld Forest, Ogryn Camo, Morghast Bone, Ushabti Bone, and Kantor Blue
- Weathering pigment (e.g., Forge World Dark Sand)
- Brushes, including a small Artist Opus dry brush
- Matte varnish for sealing
Step-by-Step Guide: How to Create a Base
Sculpting the Base
- Mixing Milliput: Take equal parts of Milliput’s two components and knead until uniformly beige. It might initially be flaky; continue until smooth.
- Forming the Terrain: Roll the mixed Milliput into a ball and press onto the base. Begin sculpting the rough shape of the terrain using sculpting tools, dipped in water or lubricant to prevent sticking.
- Adding Details: Once you have a basic shape, use tools and a scalpel to carve more detailed rock formations. Ensure the terrain is level where the model will stand.
- Creating Smaller Rocks: Take excess Milliput, form small balls, and press onto the base to simulate smaller rocks, blending them into the larger mass.
- Smoothing and Refining: Continue to refine the shapes, adding crevices and smoothing surfaces. Allow the Milliput to partially dry for easier handling.
Painting the Base
- Base Coat: Once the Milliput is dry, apply a thin base coat of Vallejo Model Color Black. Ensure it’s watered down to cover quickly without obscuring details.
- Adding Sand: Apply PVA glue to the base and sprinkle fine grain sand over it for additional texture. Allow to dry.
- Applying Weathering Pigment: Use a dark sand weathering pigment, pushing it into crevices and blowing away the excess.
- Washing: Create a wash with Deathworld Forest (5 parts water to 1 part paint) and cover the entire base. This will spread the pigment and add depth.
- Dry Brushing: Once dry, dry brush the base with Deathworld Forest, followed by Ogryn Camo, focusing on top-down strokes to highlight edges and textures.
- Detailing: Use Morghast Bone and Ushabti Bone to pick out individual rocks and edges for added contrast and detail.
- Adding Shadows: Water down Kantor Blue and apply it to the undersides of rocks and in shadowed areas to simulate ambient occlusion and enhance depth.
Finishing Touches
- Sealing: Once fully painted and dry, apply a matte varnish to seal the weathering pigment and paint, protecting your work.
- Base Rim: Tidy up the base’s rim with Vallejo Model Color Black for a neat finish.
Tips
- Work in stages, allowing materials to dry fully between steps.
- Be creative with your rock shapes but ensure the model will stand level on the finished base.
- Use a variety of brush sizes for dry brushing to reach different areas without disturbing the painted model.
- Test fit your model frequently on the base during the sculpting process to ensure a good fit
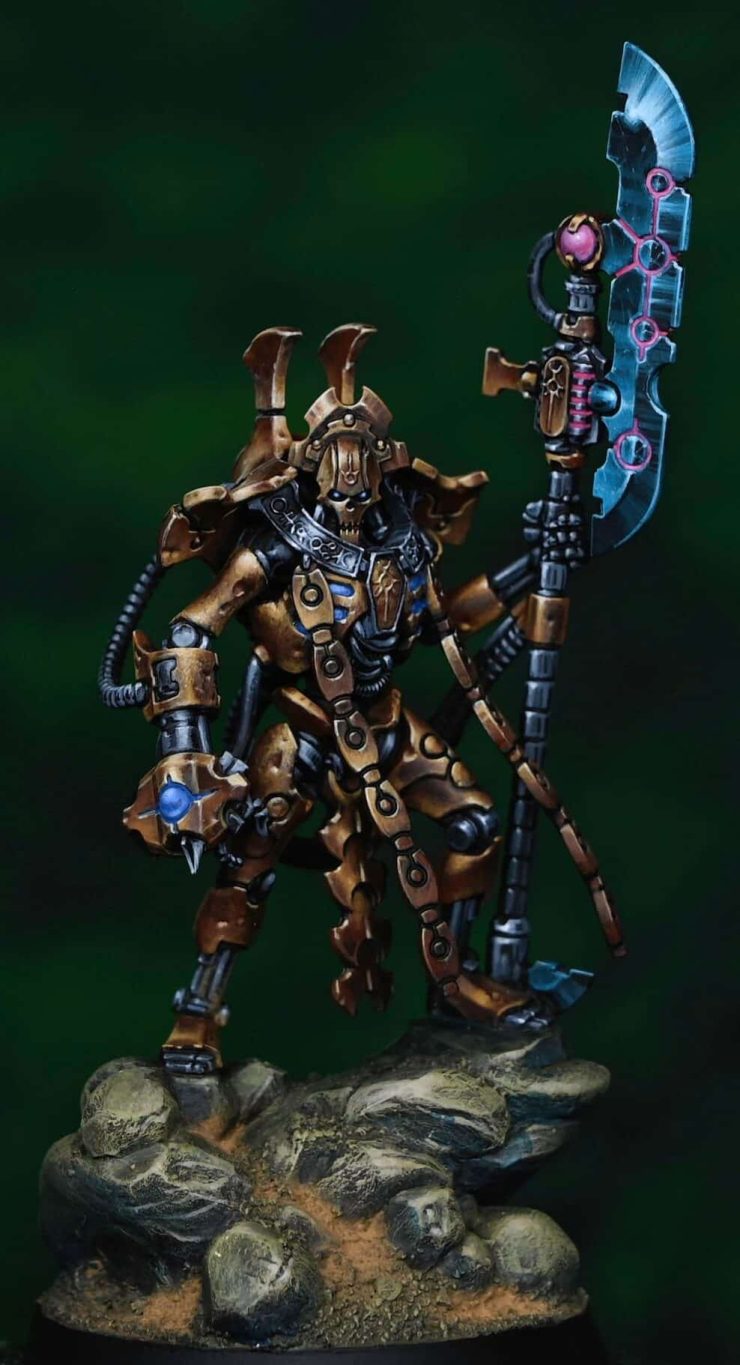
How to Paint a Gold Necron Overlord
Keen to learn how to paint the model standing on this base? Go here:
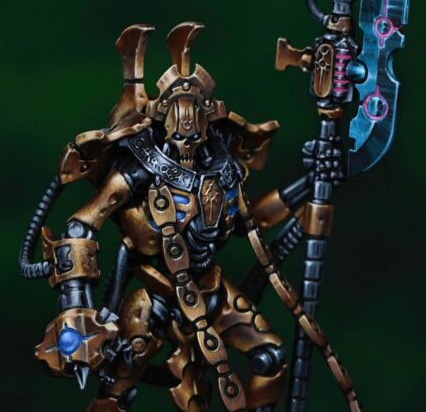
Necron Overlord NMM Gold
A series of video tutorials on how I painted this Necro Overlord, with gold non metallic metals and a guide to how to paint his glowing weapons. Plus, a guide on creating his base.
If you don’t have an account, please sign up here! The website currently has over 350 video tutorials with steps and tips, plus a selection of PDFs. If you are not sure about joining, you can explore my free videos with a free membership, or take the plunge and become a full subscriber for full access.


If you’d prefer to support me on Patreon, please visit: https://www.patreon.com/RichardGray