


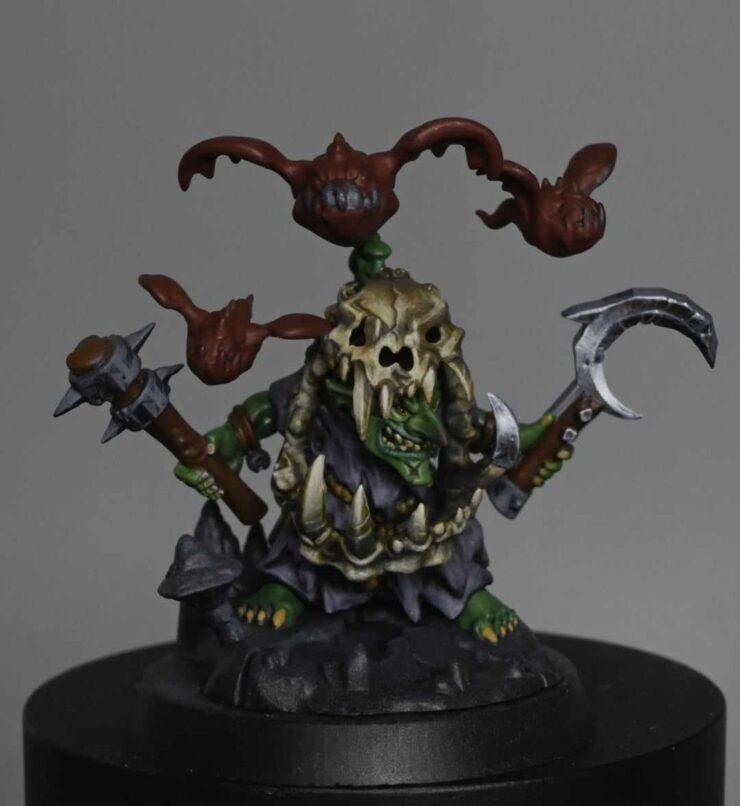
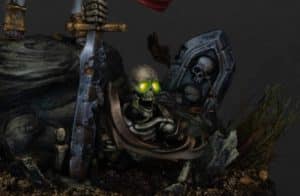
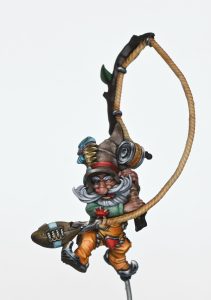
This video shows the early stages how to paint the new Rabble Rowza Gloomspite Gitz goblin that Games Workshop sent me as an early review copy. This video will look at the underlying base painting and some of the pitfalls when painting the model!
Video Tutorial – Rabble Rowza Part One
Materials Used:
- P3 Paints: Iosen Green, Morrow White
- Games Workshop Paints: Orruk Flesh, Skarsnik Green, Balor Brown, Morghast Bone, Screaming Skull, Skeleton Horde (Contrast), Sotek Green, Khorne Red, Doombull Brown, Skavenblight Dinge, Daemonette Hide
- Vallejo: Neutral Grey
Step 1: Priming and Initial Coat
- Prime the model black.
- Apply a quick coat of Vallejo Neutral Grey using an airbrush to slightly dust the model.
Step 2: Base Colors
- Use P3 Iosen Green for the skin, applying with a size 2 artist Opus brush for a smooth finish.
- Paint the robes with Daemonette Hide, using the same size 2 brush.
- Apply Balor Brown to bone parts, teeth, eyes, and rope.
- Use Doombull Brown for wooden parts like weapon handles.
Step 3: Contrasting and Highlighting
- Apply a coat of GW Skeleton Horde contrast paint, especially on bone areas. This may darken the model, so adjust accordingly.
- Use Neutral Grey for metallic parts like the sickle, creating a non-metallic metal effect with scratchy marks.
- Highlight the bone parts, starting with Morghast Bone, progressing to Screaming Skull, and then white for the brightest highlights.
- Add texture and details to the metallic parts using a mixture of Neutral Grey and white.
Step 4: Detailing
- Paint the eyes with a base of Balor Brown, followed by a black circle and a small white dot for the pupil.
- Highlight the teeth, starting with Morghast Bone and progressing to white on the tips.
- For the skin, use a mixture of GW Orruk Flesh and Skarsnik Green, with added white for bright highlights.
- Apply red detailing, like Khorne Red, on the flying squigs and other accent areas.
- Highlight the green skin further using GW Orruk Flesh mixed with Skarsnik Green and white for higher contrast.
- Add touches of red on scars and the tip of the nose for character.
Step 5: Finishing Touches
- To reduce shininess and prepare for further detailing, apply a coat of matte varnish.
- In the next painting session, we will focus on adding more detailed textures and highlights to enhance the character of the model.
Check out my latest tutorial videos:
If you don’t have an account, please sign up here! The website currently has over 350 video tutorials with steps and tips, plus a selection of PDFs. If you are not sure about joining, you can explore my free videos with a free membership, or take the plunge and become a full subscriber for full access.


If you’d prefer to support me on Patreon, please visit: https://www.patreon.com/RichardGray