


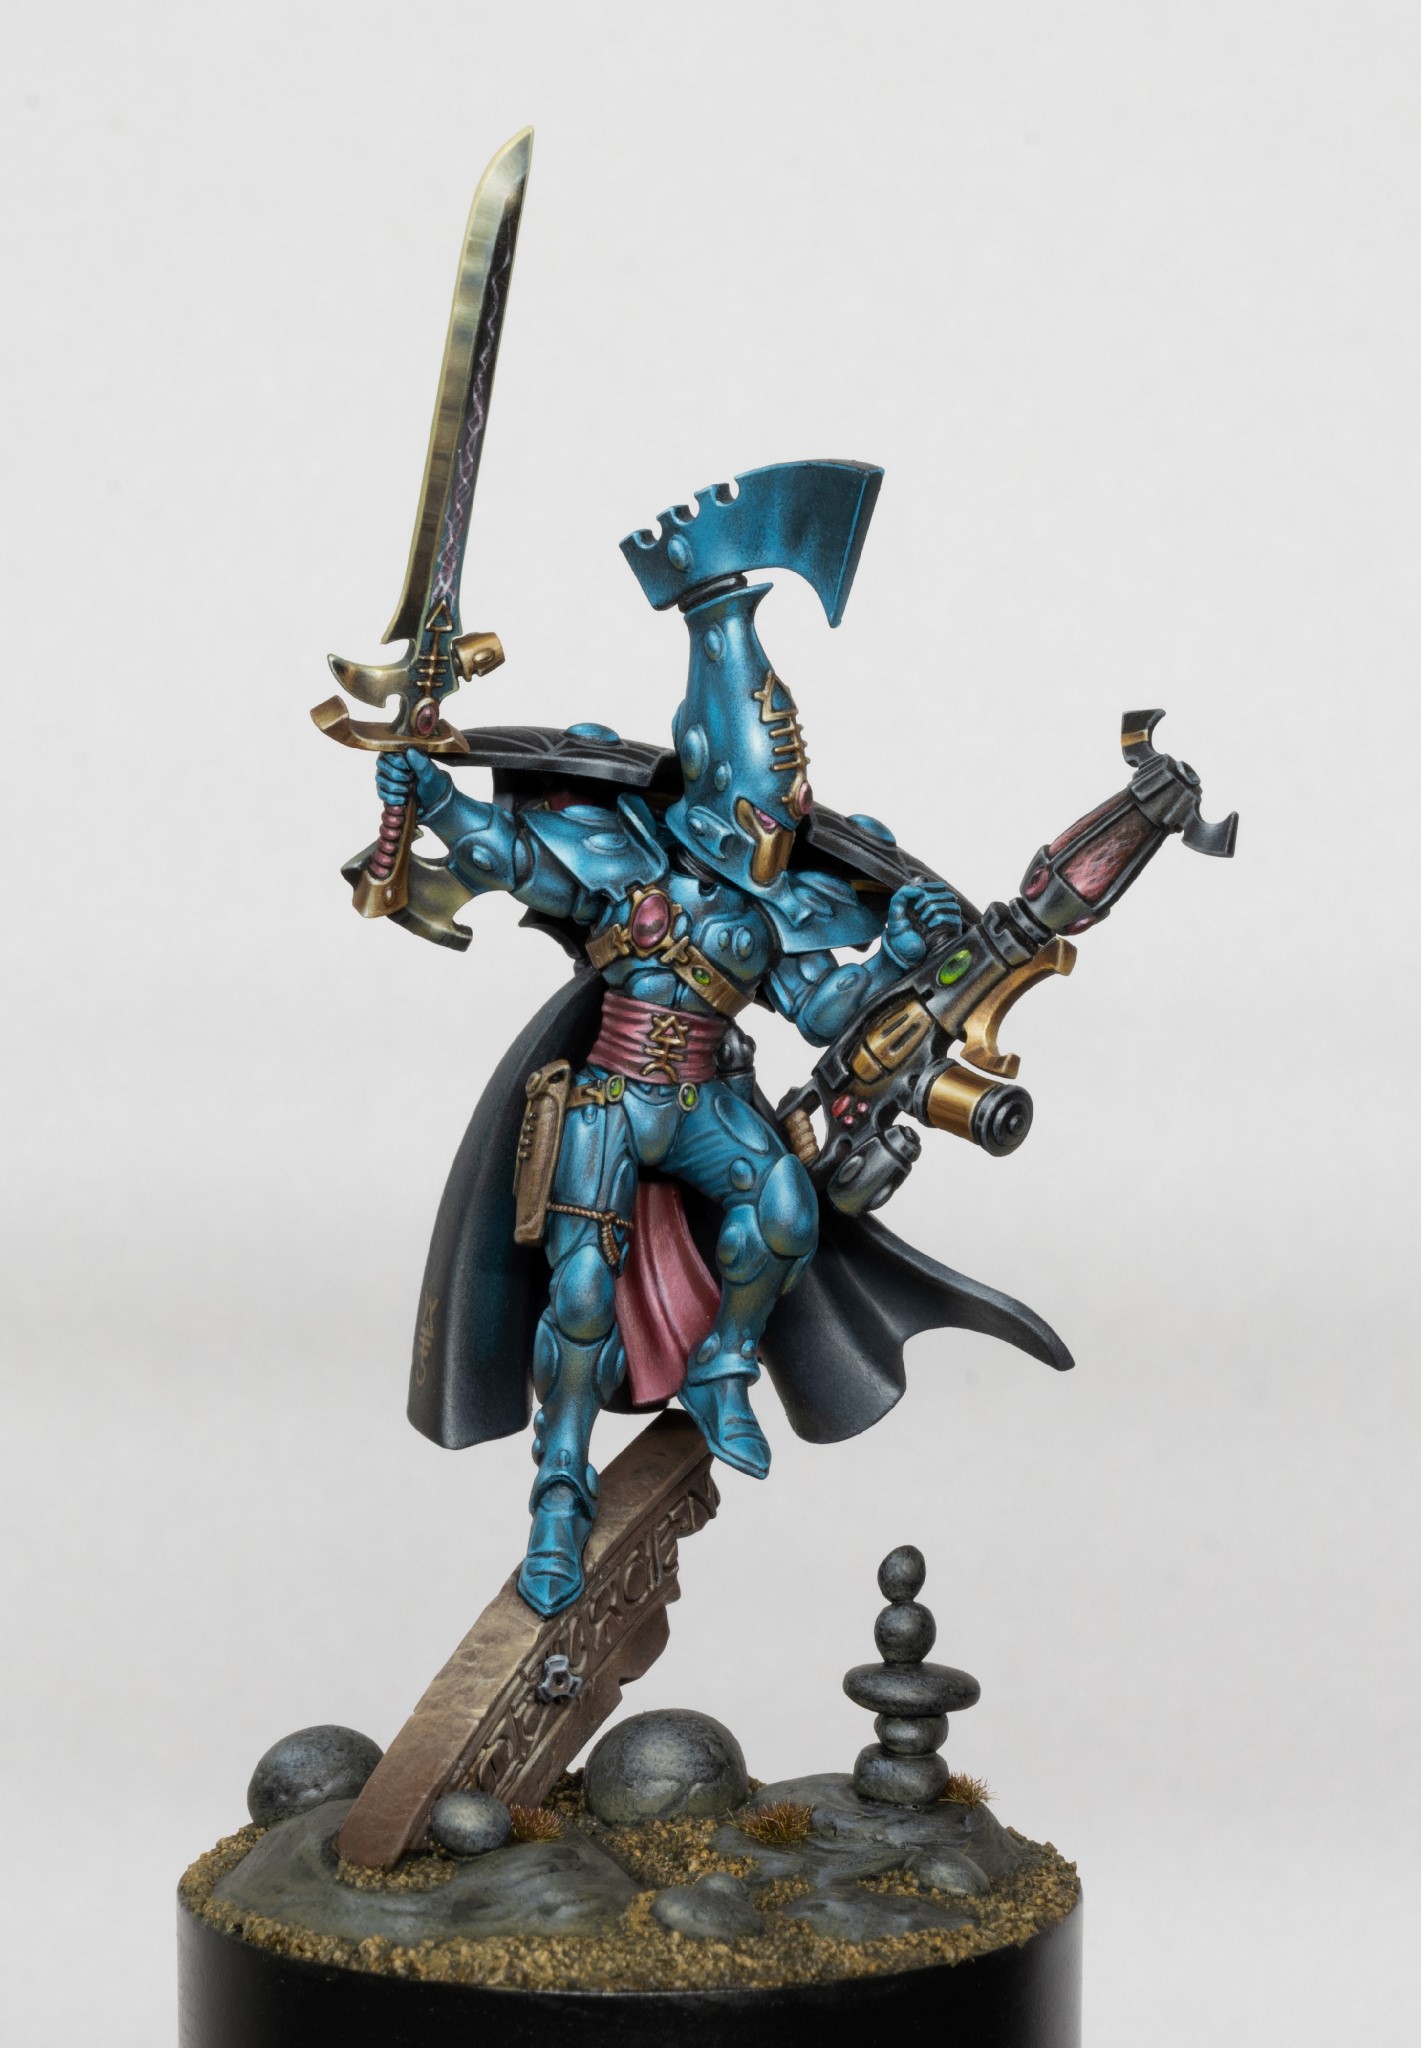
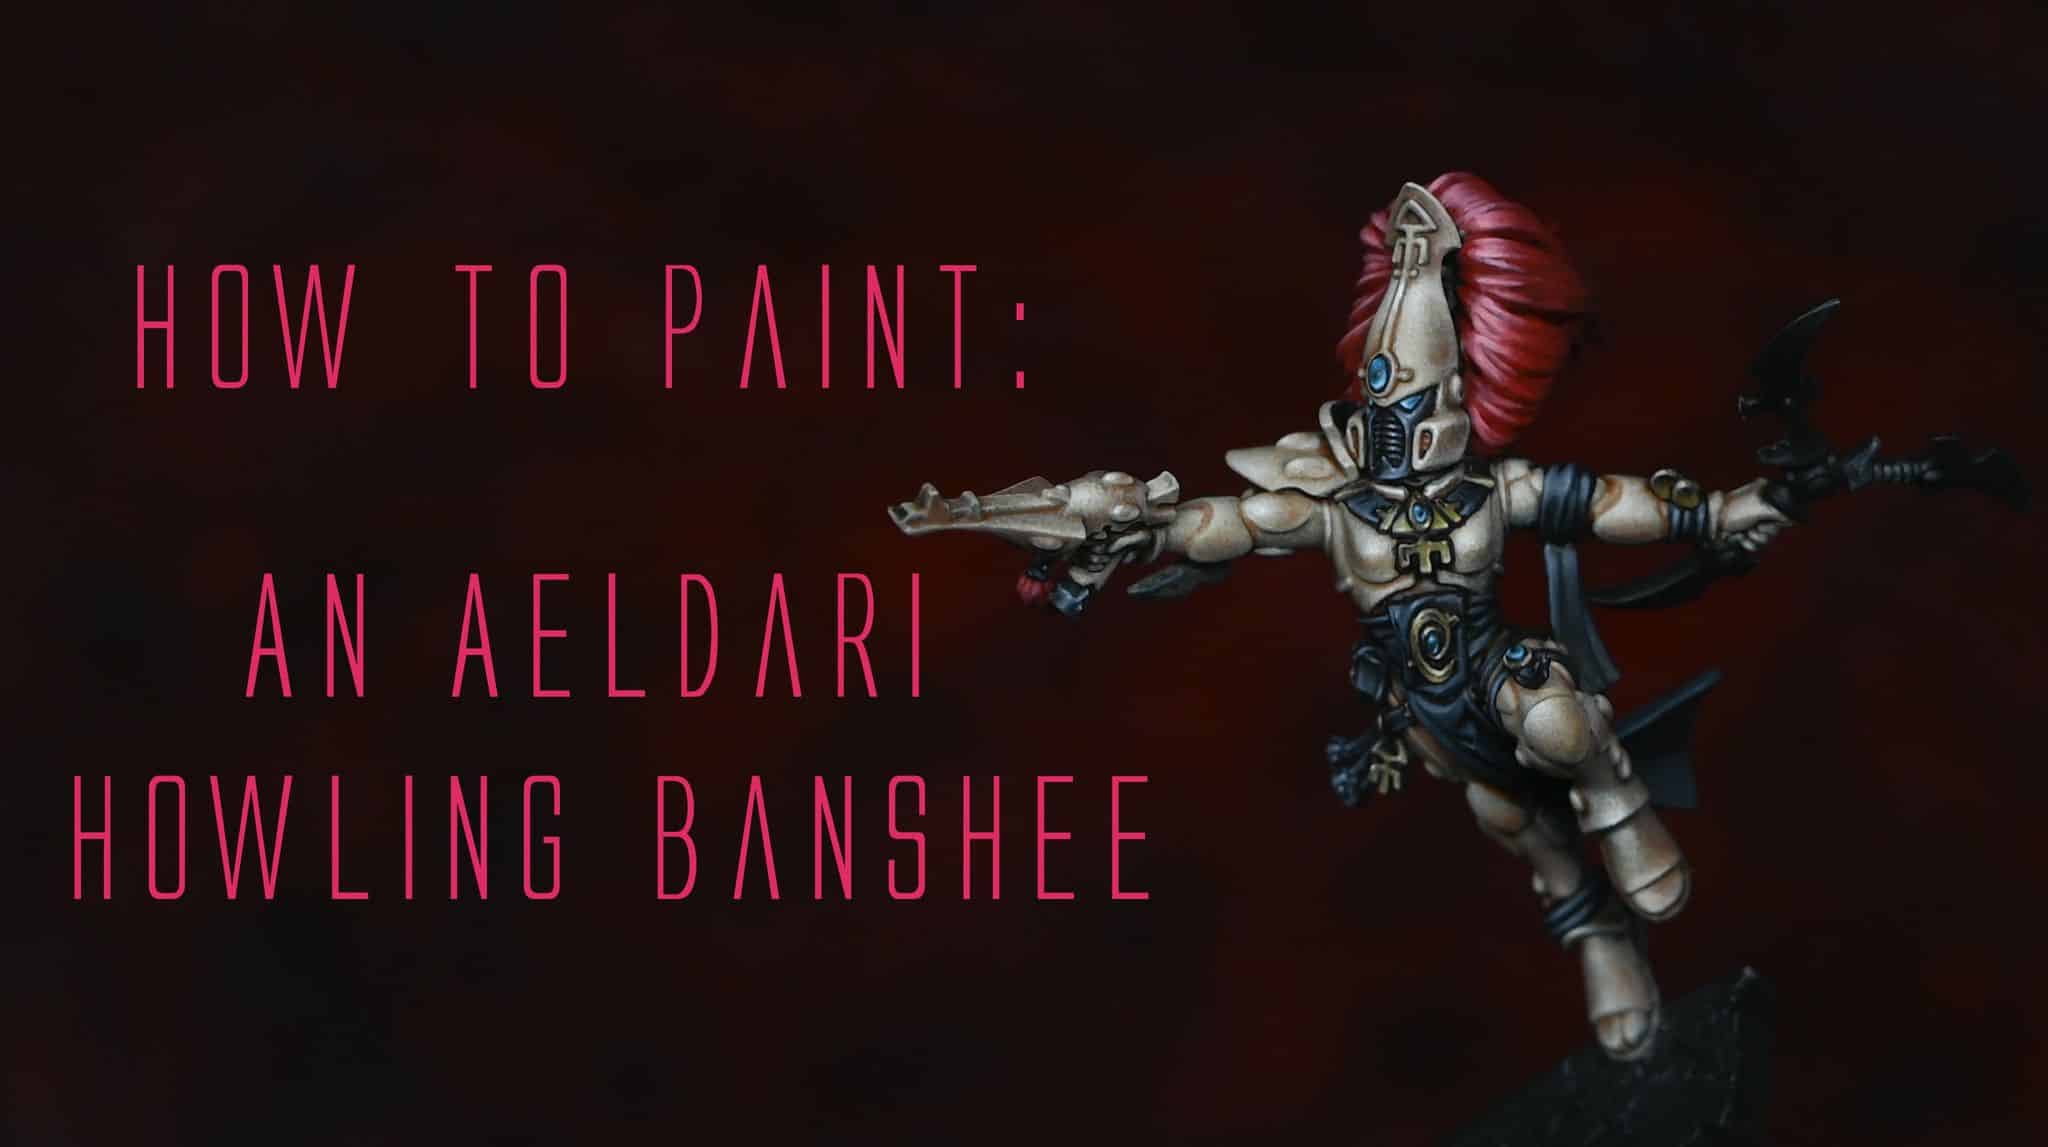
Welcome to my comprehensive painting guide for Aeldari Dark Reapers. Whether you’re looking to master freehand techniques or refine your display-standard painting skills, these tutorials have you covered.
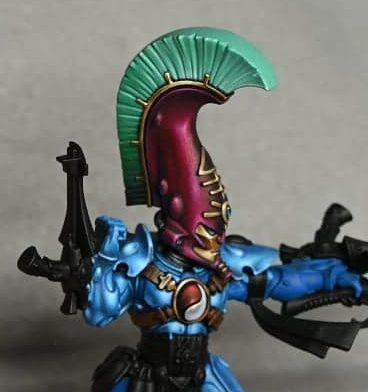
In the first tutorial, I’ll guide you through painting a freehand skull on a Dark Reaper helmet. This step-by-step process is perfect for intermediate to advanced painters who want to add atmospheric, lore-inspired details to their models.
In the second tutorial, I’ll show you how to paint the armour, hair, and non-metallic gold (NMM) details on a Dark Reaper. With tips for correcting mistakes, smooth blending, and achieving a striking finish, this guide is ideal for anyone seeking to elevate their models to display standard.
Together, these tutorials provide everything you need to create a visually stunning Dark Reaper unit with plenty of character and finesse. Let’s get started!
How to Paint a Freehand Skull on an Aeldari Dark Reaper Helmet
In this guide, I’ll walk you through the entire process of painting a freehand skull on an Aeldari Dark Reaper helmet.
Video: How to Paint a Freehand Skull on an Aeldari Dark Reaper Helmet
Materials Needed
- Paints:
- Games Workshop: Rhinox Hide, XV-88, Morghast Bone, Sotek Green
- P3: Morrow White (or any white paint)
- Vallejo: Model Colour Black
- Other Supplies:
- Sculpting putty (for filling face details)
- Tamia Extra Thin Cement (optional, for smoothing putty edges)
- Sharp scalpel for scraping
- Wet palette for paint mixing
Step 1: Prepare the Surface
- Fill in Sculpted Details: To ensure a smooth surface for the skull, use sculpting putty to fill in the nose and teeth details on the face. Apply a generous amount to cover gaps.
- Let it Dry Fully: Allow the putty to dry overnight. Scrape any excess with a scalpel for a smooth finish, avoiding key areas like the chin and brow to retain sharpness.
Step 2: Prime the Model
- Apply Primer: Prime the model with black primer to enhance contrast and set the base for painting.
- Use Pins for Easy Handling: Attach pins to the model’s head and limbs to make it easier to handle and reposition during the painting process.
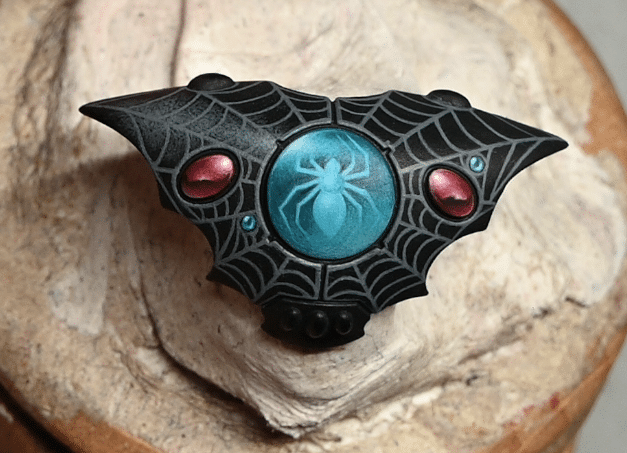
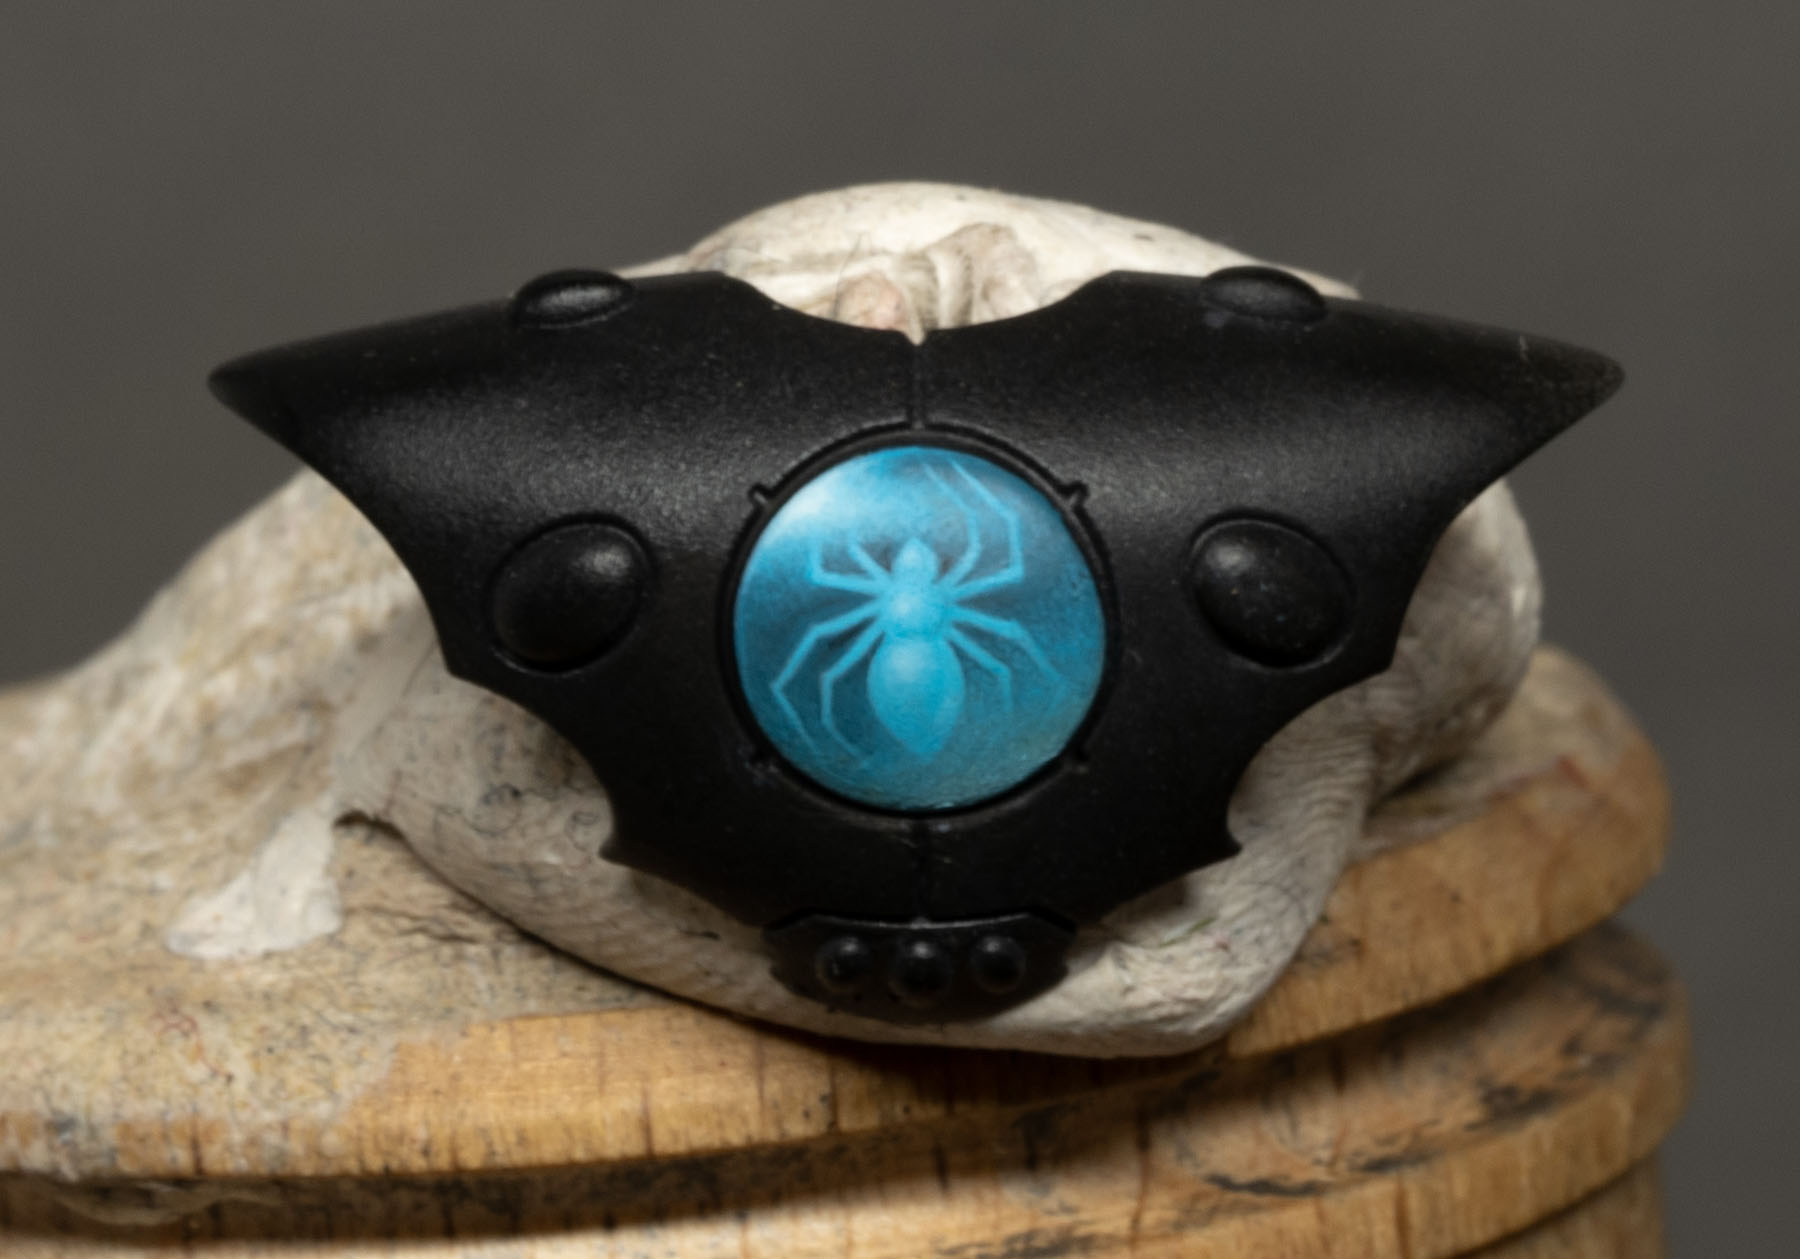
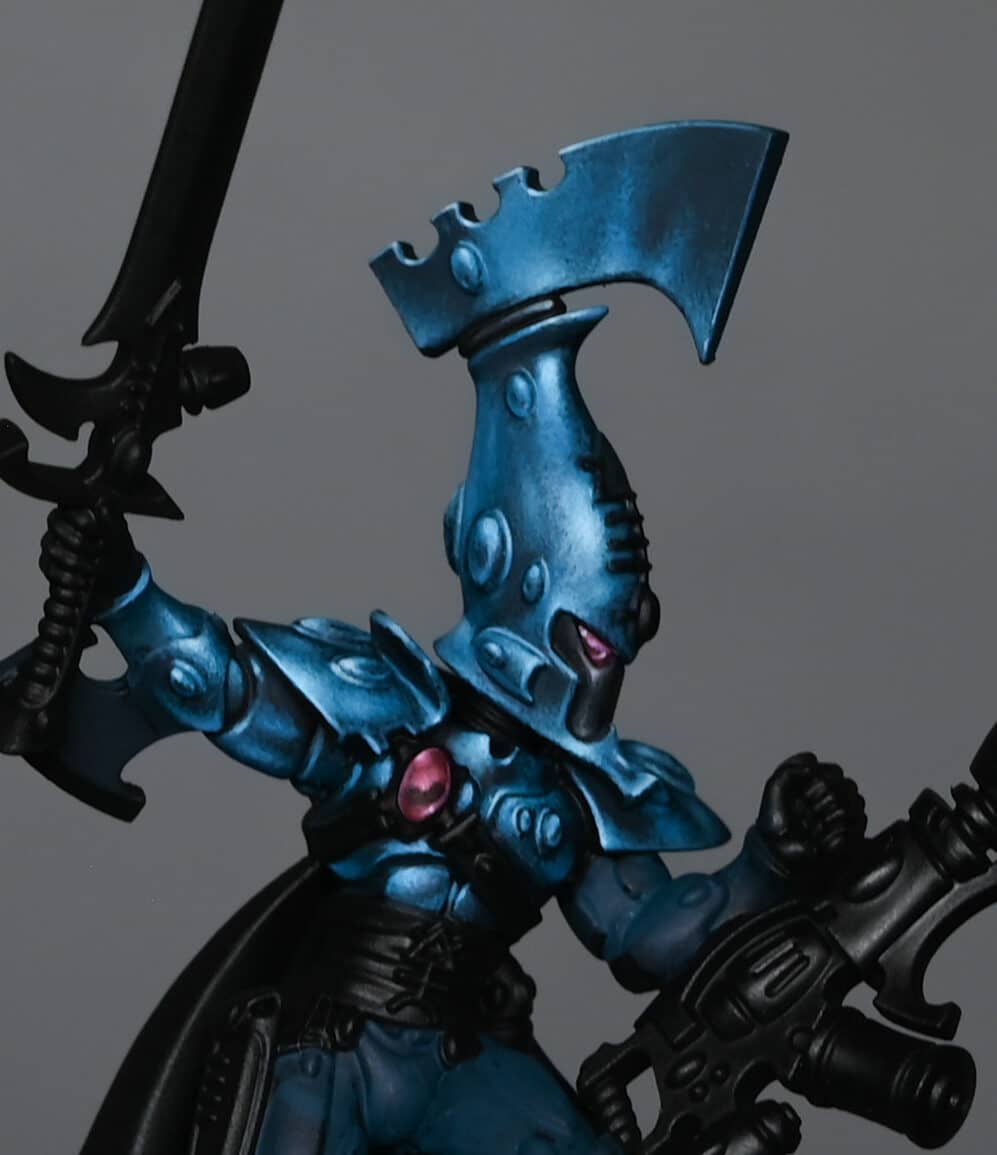
Step 3: Painting the Eyes
- Base Colour: Start with Sotek Green as the base for the eye lenses.
- Layering Highlights: Gradually add white to Sotek Green for each successive layer, creating depth in the eye lenses. Focus highlights on the bottom edge of the lenses, where light naturally hits.
- Add Depth with Shadows: If desired, darken the top corner of each lens to achieve a soulless, reflective look. This effect is achieved by carefully adding black to the darkest areas, giving the eyes a sharp, eerie quality.
Step 4: Begin the Skull Outline
- Base Colour with XV-88: Use XV-88 to outline the skull shape across the helmet’s face. This will act as the base colour for the skull, creating a solid foundation for further detail.
- Shadow Layer with Rhinox Hide: Mix XV-88 with Rhinox Hide to deepen shadows in certain areas, like the cheekbones and under the brow ridge.
Step 5: Adding Skull Highlights
- Transition Layer with Morghast Bone: After blocking out the skull shape with XV-88, begin adding highlights with Morghast Bone. Apply this colour around the raised areas, like the forehead, cheekbones, and jaw.
- Create Smooth Transitions: Mix XV-88 and Morghast Bone to bridge the tones, softening transitions between shadows and highlights.
- Stippling for Texture: For a realistic bone texture, stipple Morghast Bone across the forehead and cheekbones. This adds a slight roughness, giving the impression of natural bone.
Step 6: Fine Details and Teeth
- Teeth Outline: Using Morghast Bone, paint the teeth by creating slightly exaggerated outlines. This allows for sharper definition when refining with black later.
- Refining with Vallejo Black: Use Vallejo Black to cut into the teeth and refine their shape, narrowing them where necessary for a natural look. Vallejo Black’s smooth flow makes it ideal for creating crisp lines.
- Emphasising Depth: Rhinox Hide can be used as a softer alternative to pure black for adding shadows around the teeth and along cheekbone lines, giving a more subtle definition.
Step 7: Highlighting and Final Refinements
- Add Bright Highlights: Mix Morghast Bone with Morrow White for the final highlights, concentrating on high points like the brow, the tip of the nose, and the edges of the cheekbones.
- Focus on Forehead Shine: For an extra focal point, add a slightly larger bright highlight to the forehead’s centre to mimic natural light reflection.
- Tweak Subtle Details: Adjust any final areas as necessary, ensuring the highlights and shadows balance well across the skull. This can be done by adding small touches of colour or blending transitions further.
Step 8: Optional Final Touches
If you wish to increase contrast, especially under high display lighting, revisit the forehead and cheekbone highlights, pushing the lighter areas with a touch more Morrow White.
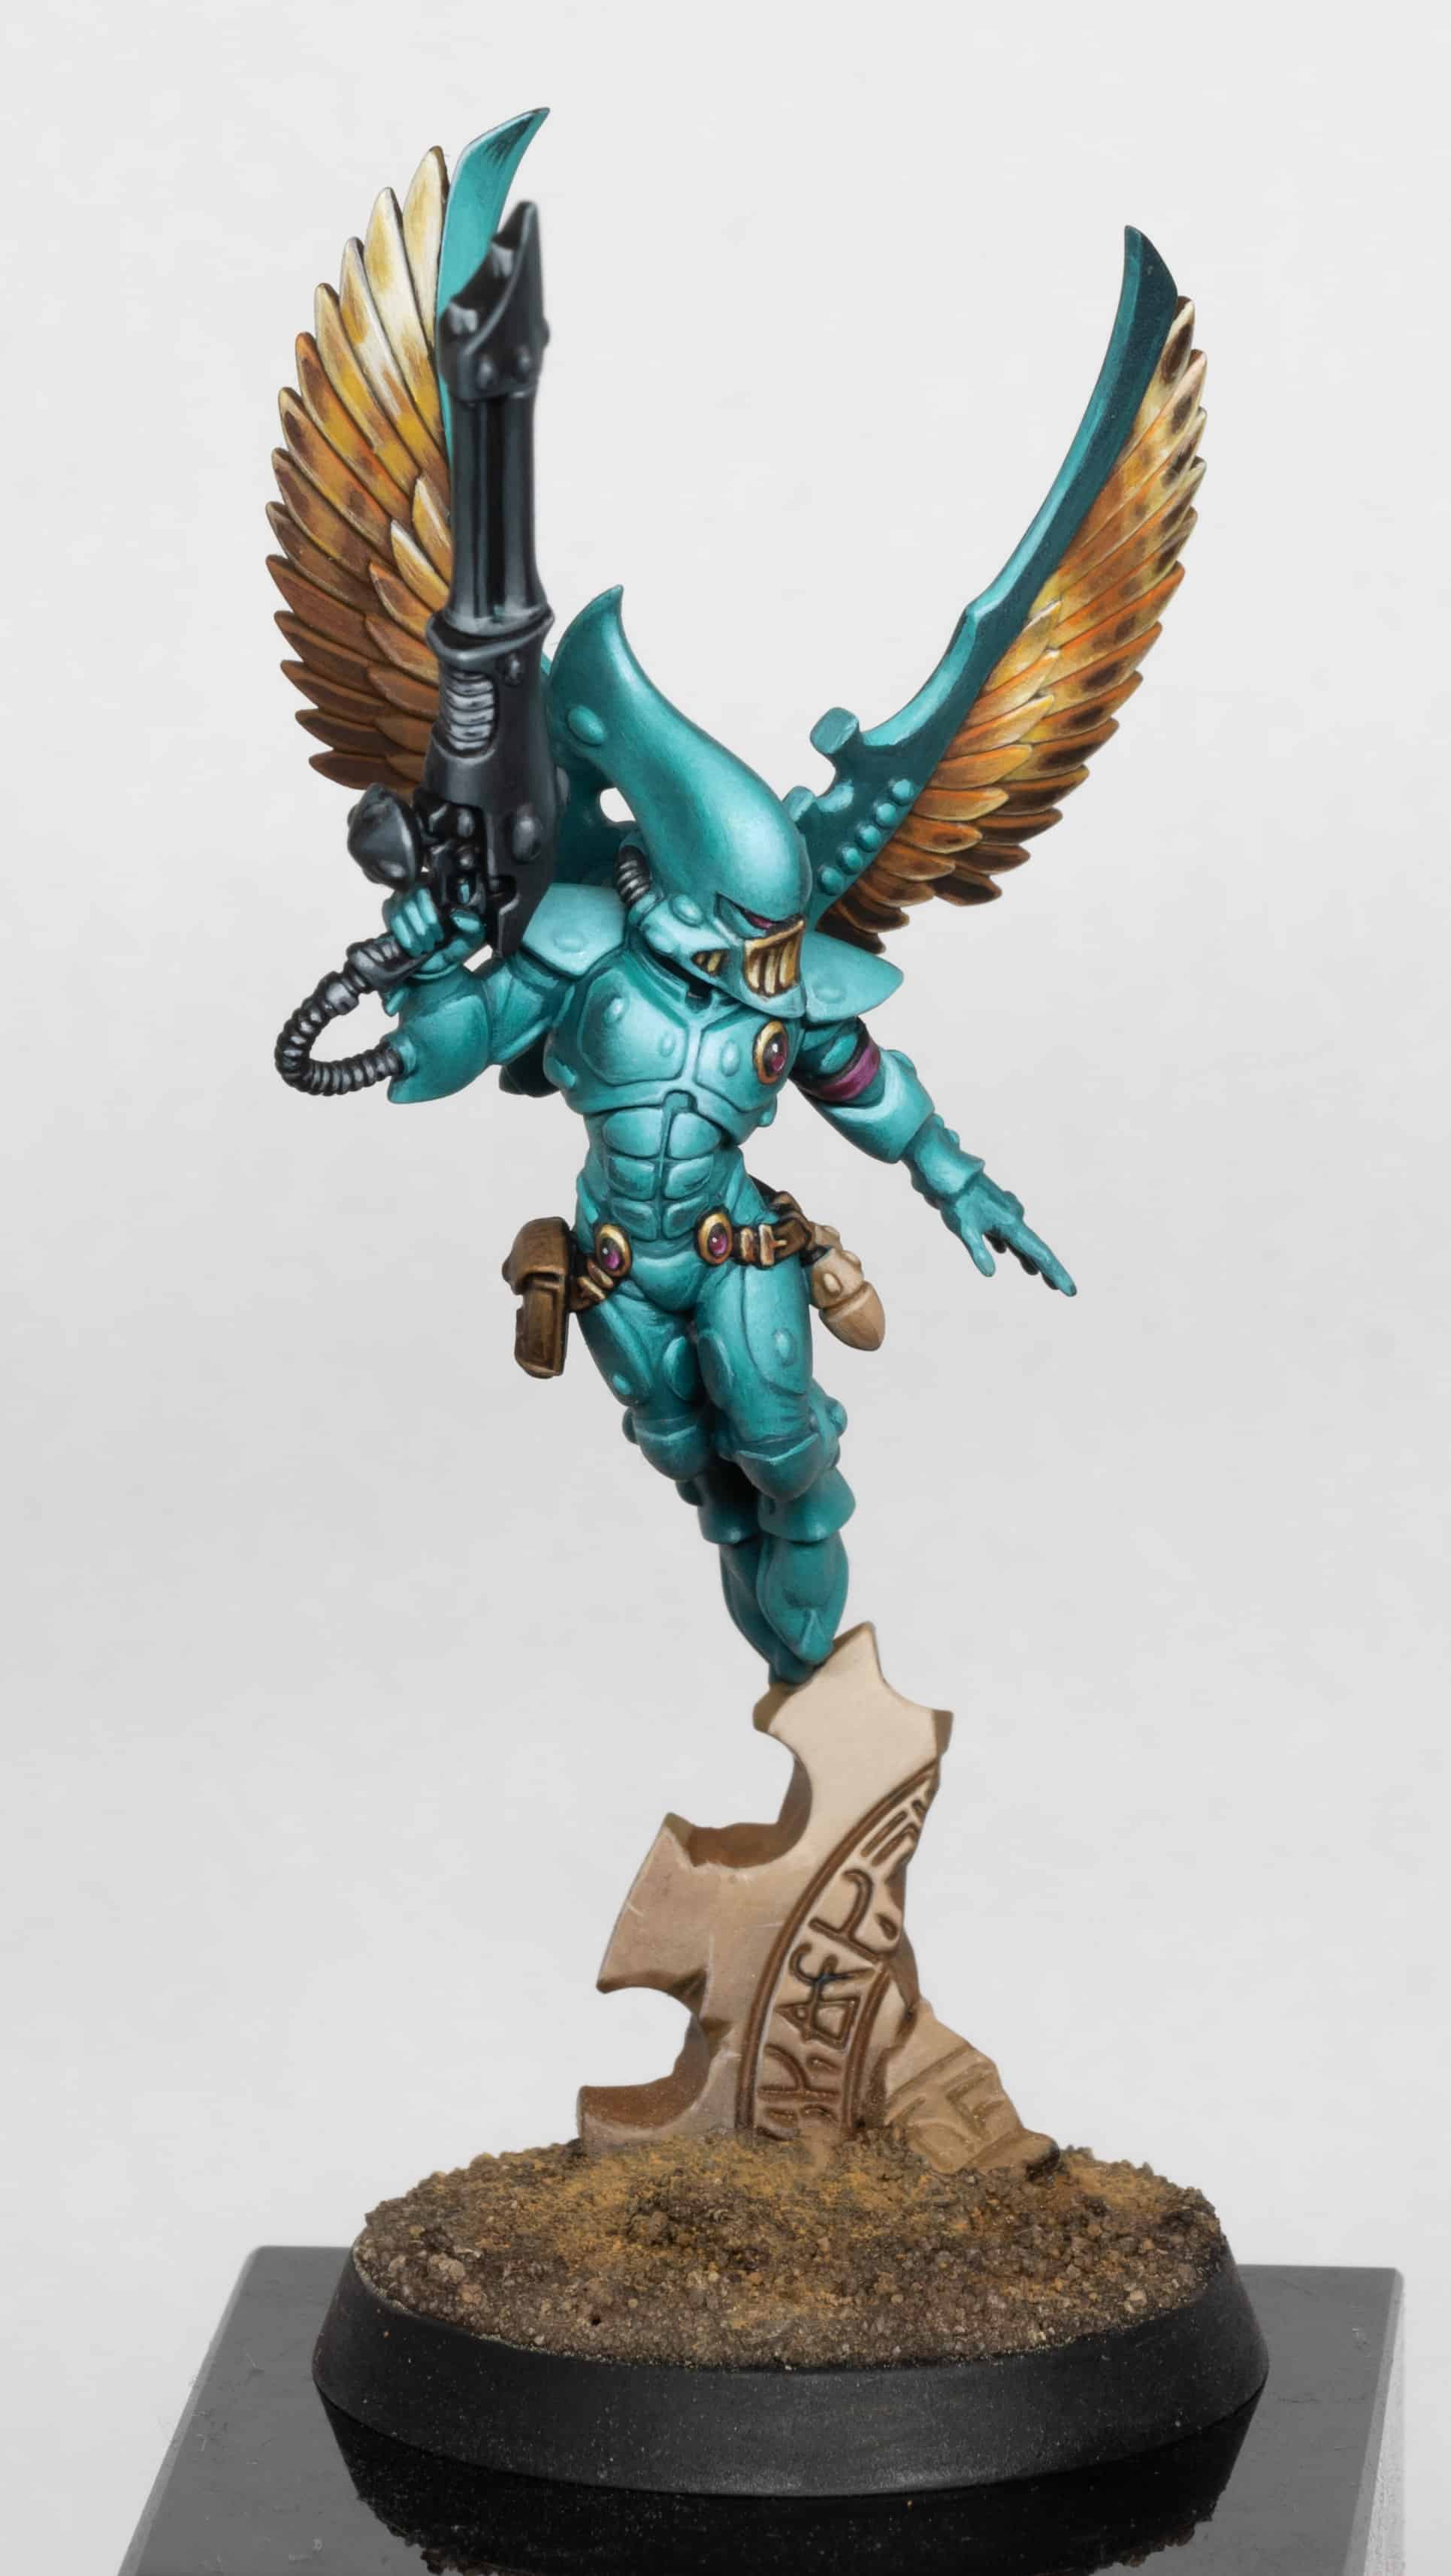
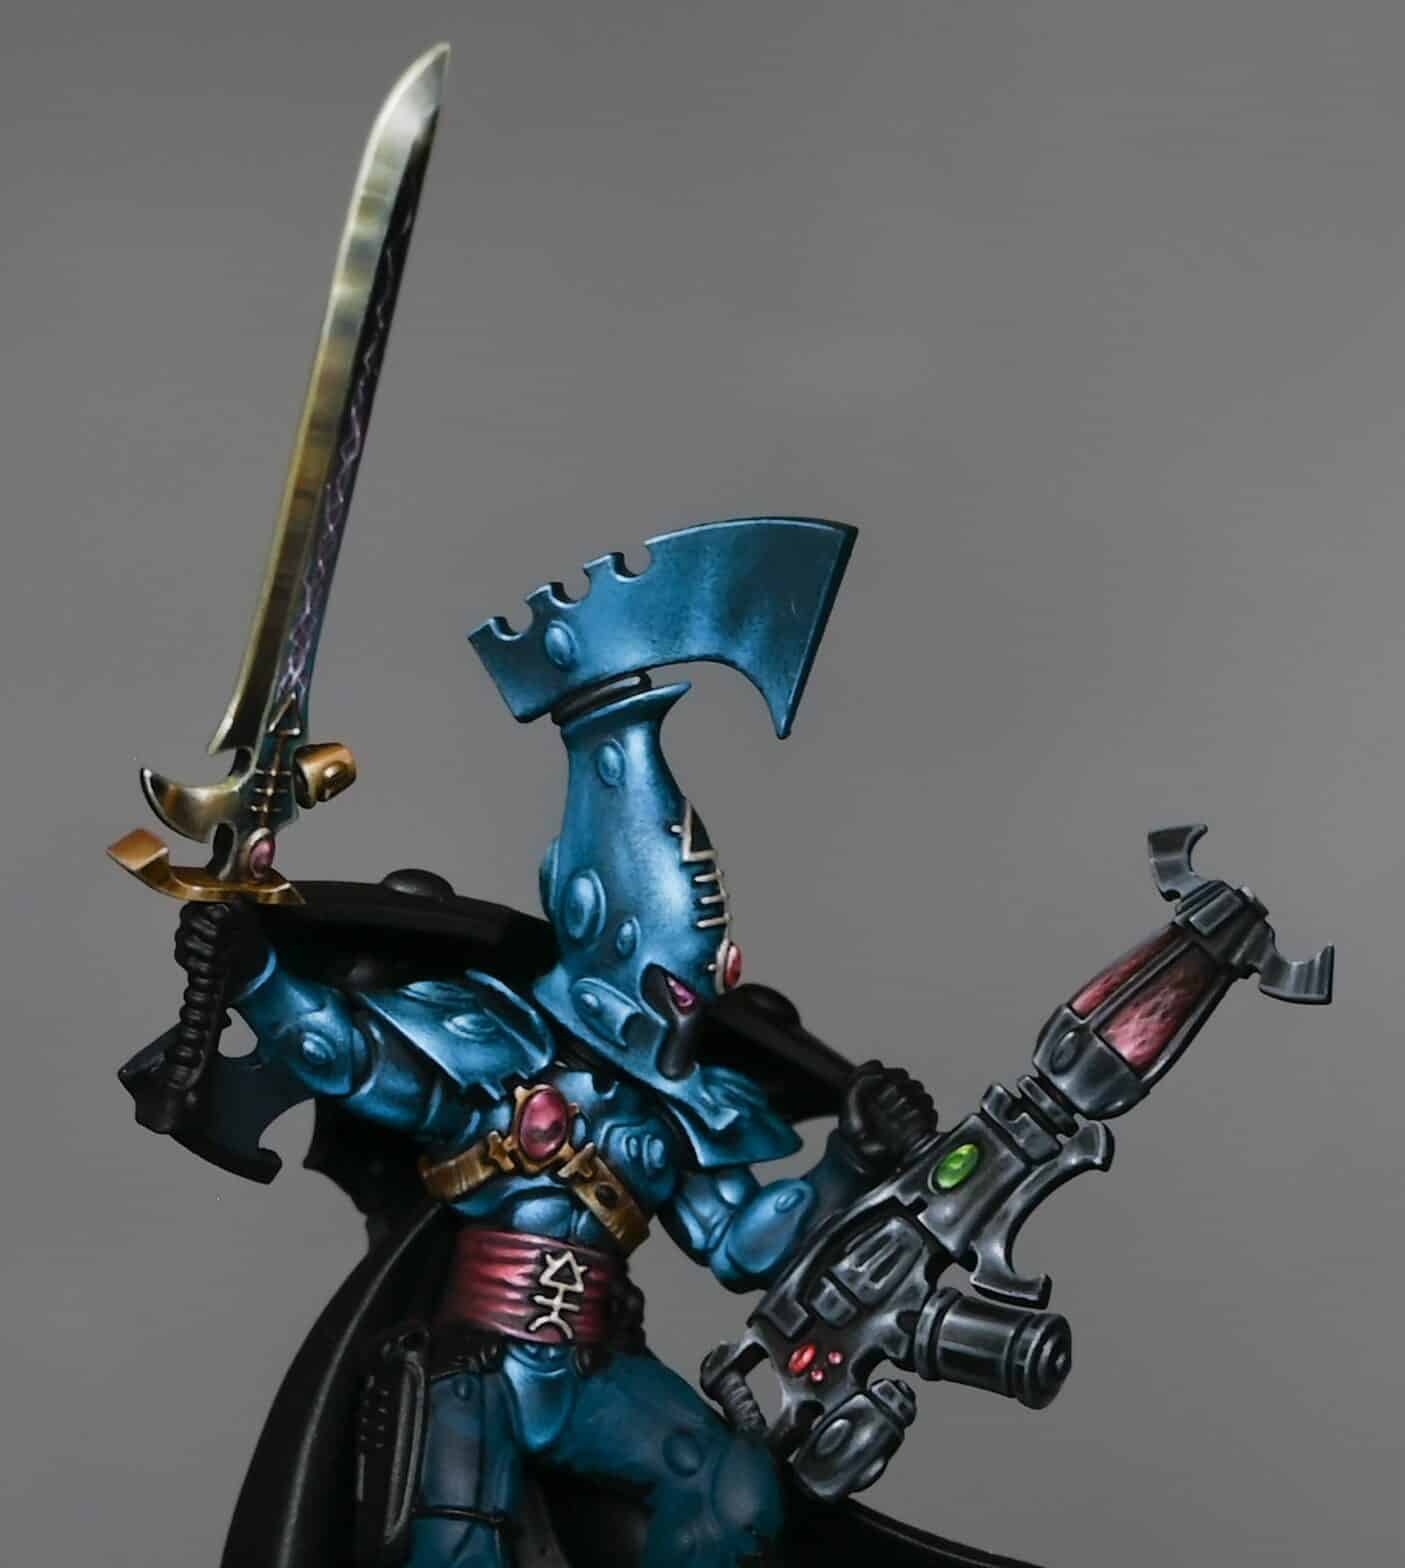
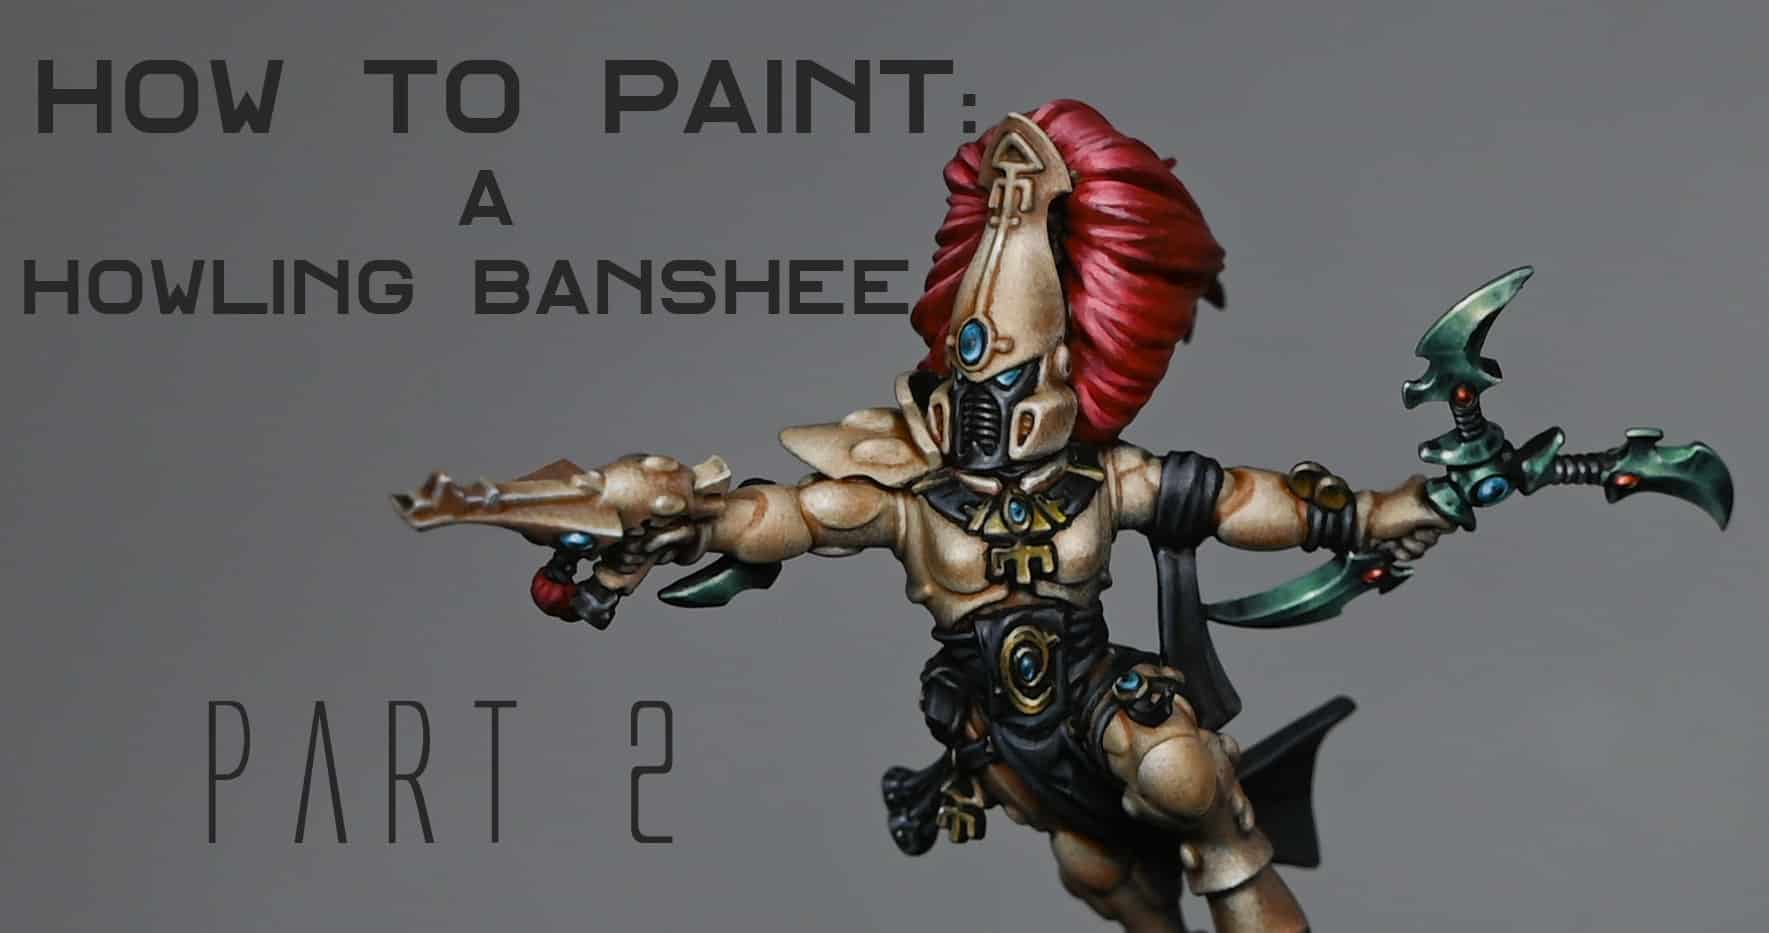
How to Paint an Aeldari Dark Reaper Part Two – Body, Gold and Hair
This guide outlines how to paint the armour, hair, and NMM (non-metallic metal) gold details of a Dark Reaper model to display standard. This step-by-step process follows the techniques, corrections, and insights shared in the video below!
Video: How to Paint an Aeldari Dark Reaper Part Two – Body, Gold and Hair
Painting Guide: Dark Reaper – Armour, Hair, and NMM Gold
Materials List:
Brushes
- Artis Opus Series S:
- Size 0 for precise edge highlighting and small details.
- Size 1 for general layering and blending.
- Microfiber Cloth: For cleaning and removing excess moisture from brushes (preferred over kitchen roll to avoid fibres contaminating paint).
Paints
Armour Colours
- AK Interactive:
- Violet Red (primary armour colour)
- Black (base and shadow colour)
- Ice Yellow (for highlights and NMM gold)
- Optional Armour Colour:
- Red Wine (alternative base colour, mixed with Black for shading)
Gold (NMM) Colours
- Games Workshop:
- Mournfang Brown (base for gold)
- Rhinox Hide (shadow glaze for deeper contrast)
- AK Interactive:
- Golden Brown (first highlight for gold)
- Ice Yellow (bright highlights and shine spots)
Hair Colours
- AK Interactive:
- Deep Blue (base and midtones, replacing Night Lords Blue)
- P3:
- Morrow White (for mixing and highlights)
Other Paints (Optional)
- Two Thin Coats:
- Dark Sun Yellow (alternative warm yellow for gold, used sparingly due to grainy texture)
Primers
- AK Interactive: Black primer (matte finish for excellent paint adherence).
Armour
Step 1: Basecoat
- Colours: AK Violet Red for the final armour; AK Red Wine (mixed with black for shading) if attempting the alternative colour.
- Prime the model with a matte black primer (AK Black recommended for a more consistent finish).
- Cover the armour with AK Violet Red, leaving recesses darker.
- Optional: Start with AK Red Wine for a redder tone but mix with a touch of black to desaturate it.
Step 2: Highlights
- Mixes:
- Violet Red + White for progressive highlights.
- Build highlights gradually using thin layers.
- Edge highlight all raised edges with a finer mix of Violet Red + more White.
Step 3: Shading
- Colours: Black or Violet Red mixed with black.
- Deepen recesses by glazing with a mix of Violet Red and black.
- Use a controlled glazing technique for smooth transitions between shadows and highlights.
Step 4: Refinement
- Use stippling to smooth transitions if needed.
- Create a final glaze using Violet Red diluted with water (4:1 ratio) to unify tones and enhance saturation.
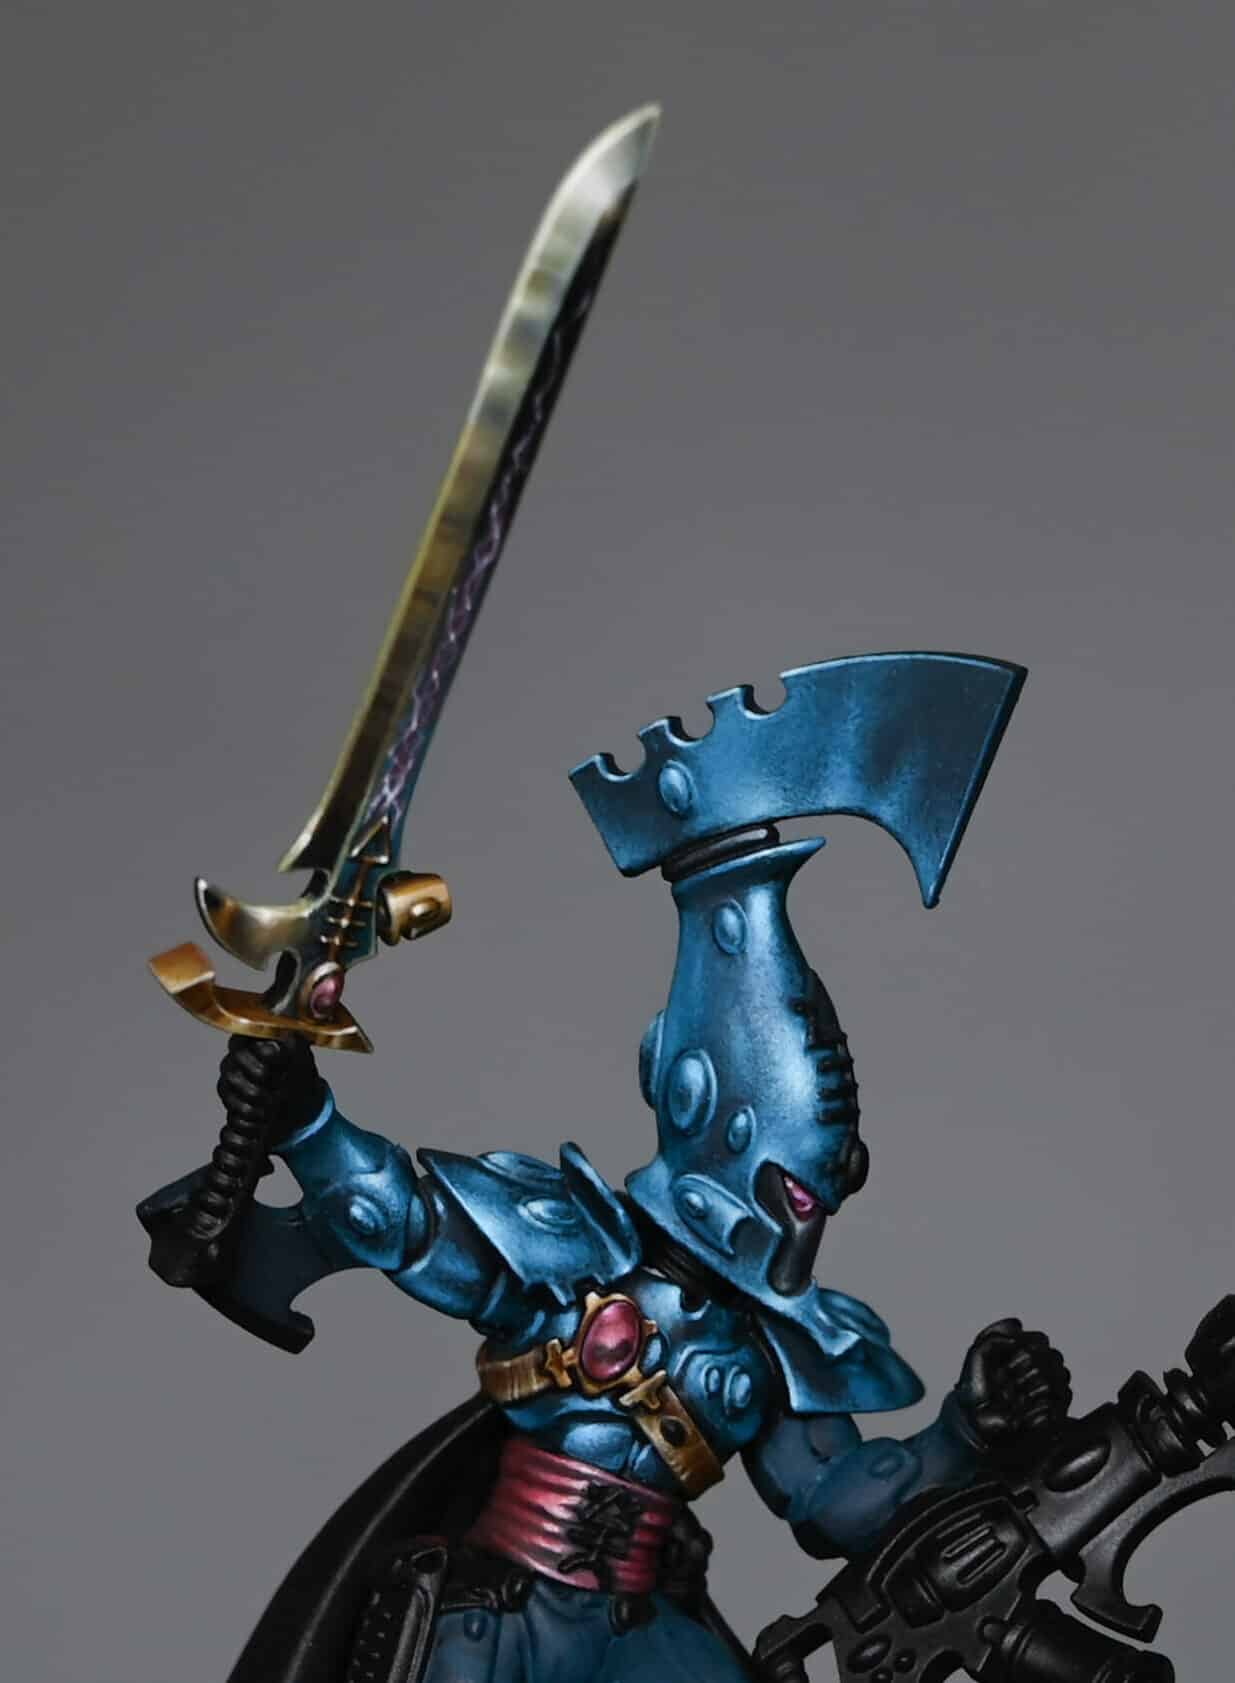
Hair
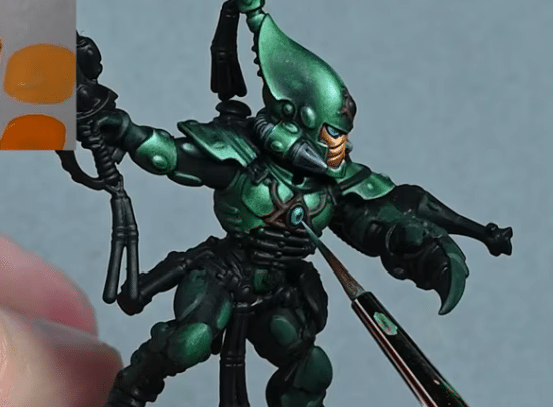
Step 1: Basecoat
- Colours: AK Deep Blue (alternative to Games Workshop Night Lords Blue).
- Repaint any old colours (e.g., green) with a clean black basecoat.
- Apply AK Deep Blue as the primary hair colour.
Step 2: Highlights
- Mixes: Deep Blue + White for lighter tones.
- Highlight raised areas and strands using thin lines to mimic shine.
- Focus on areas where curves catch light, like the top of the topknot and edges of strands.
Step 3: Refinement
- Glaze over highlights with diluted Deep Blue to maintain a rich, dark tone.
- Aim for smooth transitions and avoid stark contrasts.
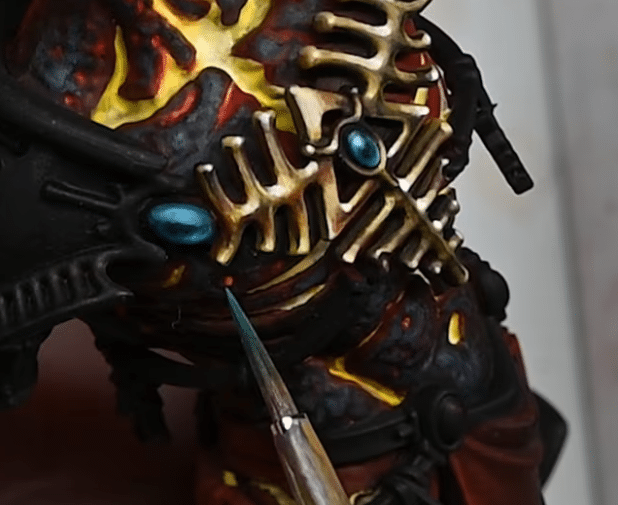
Non-Metallic Gold Details
Step 1: Basecoat
- Colours: Games Workshop Mournfang Brown.
- Block in gold areas, such as rib details on the chest and other decorative elements.
Step 2: Highlights
- Mixes:
- Mournfang Brown + AK Golden Brown.
- Golden Brown + AK Ice Yellow for brighter highlights.
- Pure Ice Yellow or Ice Yellow + White for extreme highlights.
- Begin highlighting raised areas and edges, keeping transitions tight.
- Focus brightest highlights on upper-facing sections, such as the chest.
Step 3: Shading
- Colours: Rhinox Hide.
- Glaze Rhinox Hide into shadows to deepen contrast and create tonal variation.
Step 4: Finishing Touches
- Add a final glaze of Golden Brown mixed with a hint of Ice Yellow to blend transitions.
- Ensure each rib section has its own highlights to avoid uniformity, simulating light catching at different angles.
Correcting Mistakes
- If paint spills onto finished areas, quickly clean with a damp brush before it sets.
- For set paint, carefully repaint with basecoat colours, blending as needed.
Final Touches
- Armour: Reassess highlight placement. Ensure light volumes are consistent and focused on areas like the chest and thighs.
- Hair: Keep highlights smaller to maintain the deep blue richness.
- Gold: Add micro highlights with Ice Yellow or pure White for an extra reflective effect.
Pro Tips
- Use a wet palette to manage paint mixes and prevent drying.
- Employ glazing for smooth transitions and tonal adjustments.
- Keep the model under a consistent light source for accurate highlight placement.
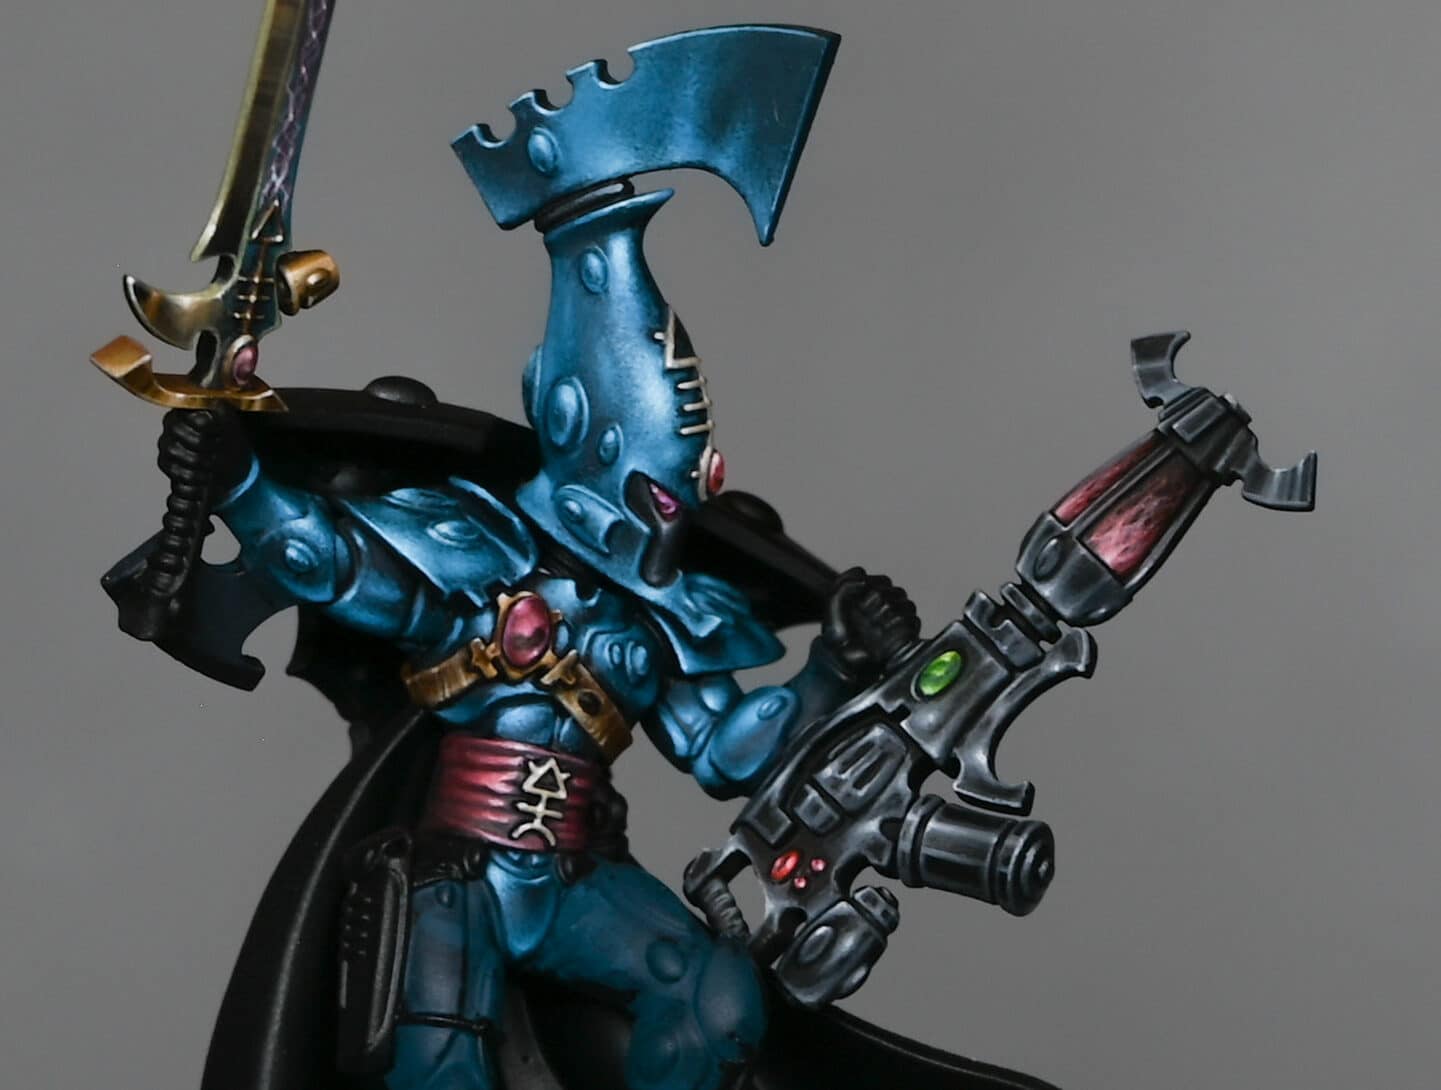
Video – How to Paint the Reaper Launcher for a Dark Reaper
Paints Used
- AK: Black, White, Neutral Grey, Ice Yellow, Sand Yellow
- Games Workshop: Rhinox Hide, Mournfang Brown, Balor Brown
- Two Thin Coats: Dark Sun Yellow
Step by Step – How to Paint the Reaper Launcher for a Dark Reaper
Preparing the Model
- Ensure the Reaper Launcher is mounted separately to allow access to all areas.
- Prime the model black, focusing on even coverage.
Basecoating the Gold Tip
- Use Mournfang Brown as the base for the NMM gold tip.
- Start by covering the entire tip with a larger brush for efficiency.
- Apply two thin coats for smooth, even coverage.
- Avoid painting the gemstones on the launcher—leave them black for now.
Blocking in Black Highlights
- Prepare your wet palette with the following:
- AK Black on the far left.
- Gradually mix AK White into the black, creating incremental shades of grey.
- Optionally, use Neutral Grey as a mid-tone.
- Begin by blocking in highlights on the black sections of the launcher.
- Use the darkest grey (black + a small amount of white) to map out the key highlight areas.
- Apply thin layers, leaving some of the black basecoat visible for contrast.
Refining Black Highlights
- Gradually add more AK White to your grey mix, creating lighter shades for successive highlights.
- Layer these on top of your initial highlights, leaving edges of the previous layer visible.
- Use a stippling technique for softer transitions.
- To create a high-gloss effect:
- Focus on tight, sharp highlights in key areas, blending smoothly into surrounding darker tones.
- Use a thin glaze of Neutral Grey to blend transitions and refine shapes.
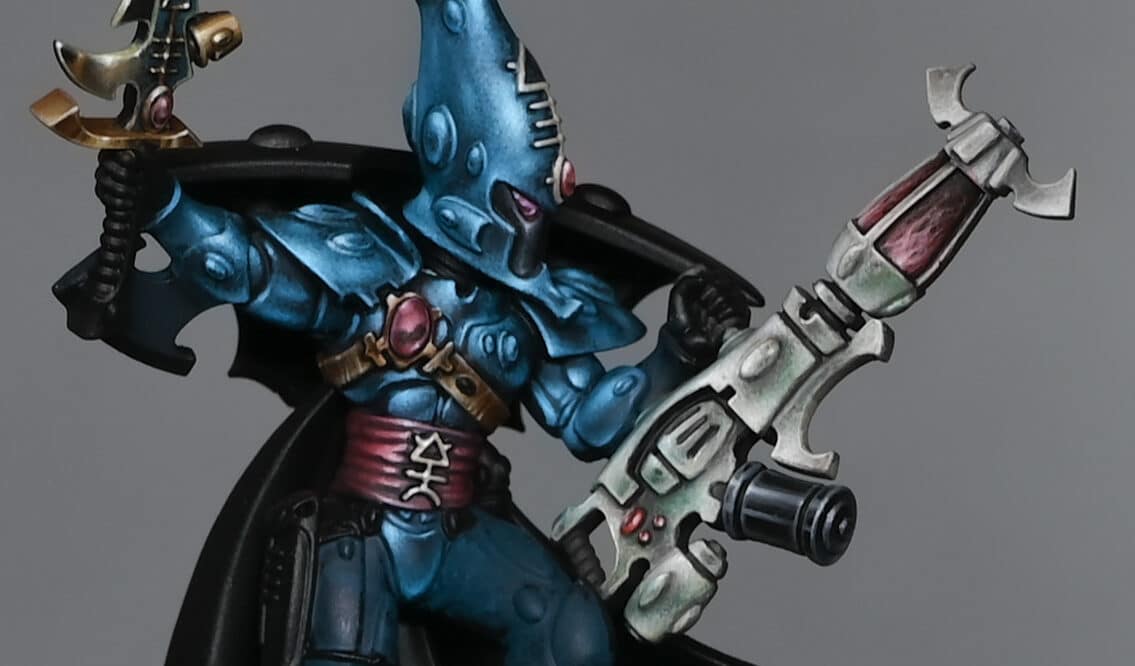
Painting the Non-Metallic Gold Tip
- Establish the gradient:
- Start with Mournfang Brown.
- Mix Dark Sun Yellow into Mournfang Brown for the next layer, applying it to the midsections.
- Add Ice Yellow to your Dark Sun Yellow mix for brighter highlights.
- Finish with pure Ice Yellow and small touches of White for the brightest spots.
- Focus on the light direction:
- Paint a strong horizontal highlight across the centre of the tip, following the light source.
- Add bounce highlights to the underside for added realism, but ensure these are subtle.
- Correct imperfections:
- Use Balor Brown to glaze over transitions and smooth out uneven areas.
- Incorporate Rhinox Hide for deeper shadows near recesses and edges.
Final Touches on the Launcher
- Refine the highlight placement on the black body of the gun.
- Ensure light volumes correspond to the weapon’s position and orientation on the model.
- Adjust shapes to follow the cylindrical and spherical surfaces accurately.
- Add edge highlights:
- Use a bright grey (Neutral Grey + White) to pick out sharp edges for a crisp finish.
- Adjust shadows for maximum contrast:
- Apply a glaze of Black (or Abaddon Black) to deepen the darkest areas.
Optional: Glazing for Smooth Finishes
- Create a glaze using your chosen colour diluted 5:1 with water.
- Apply thin, even layers over transitions, allowing each layer to dry before adding the next.
- Use a larger brush for glazing to avoid streaky finishes.
- For the NMM gold, glaze Mournfang Brown into midtones for a richer appearance.
Evaluate and Adjust
- Attach the launcher to the model and check the highlights’ alignment with the overall light source.
- Make any necessary corrections to ensure consistency and cohesion across the model.
Pro Tips
Reference Objects: Use real-world cylindrical or spherical objects to study light behaviour.
Avoid Overworking: If an area isn’t working, don’t hesitate to paint over it and start fresh.
Test Glazes: Always test glaze consistency on a palette before applying it to the model.
- Ensure the Reaper Launcher is mounted separately to facilitate access to all areas.
- Prime the model black, focusing on even coverage.
More Aeldari videos below!

Videos Not Showing?
To view any of my paid tutorials, you need to be a member of the website – please click below to log in or join the site.


Not sure about joining just yet? Check out my Youtube for all my free tutorials or sign up as a free “friend” member on this site and visit the free videos page!
If you’d prefer to support me on Patreon, please visit: https://www.patreon.com/RichardGray