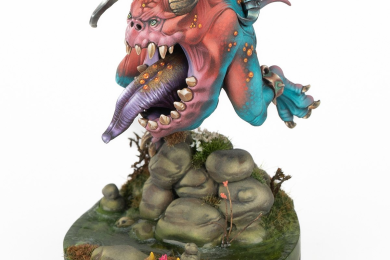
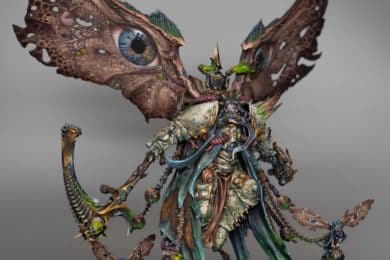
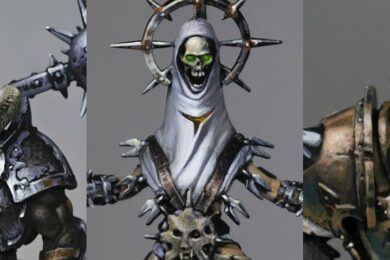
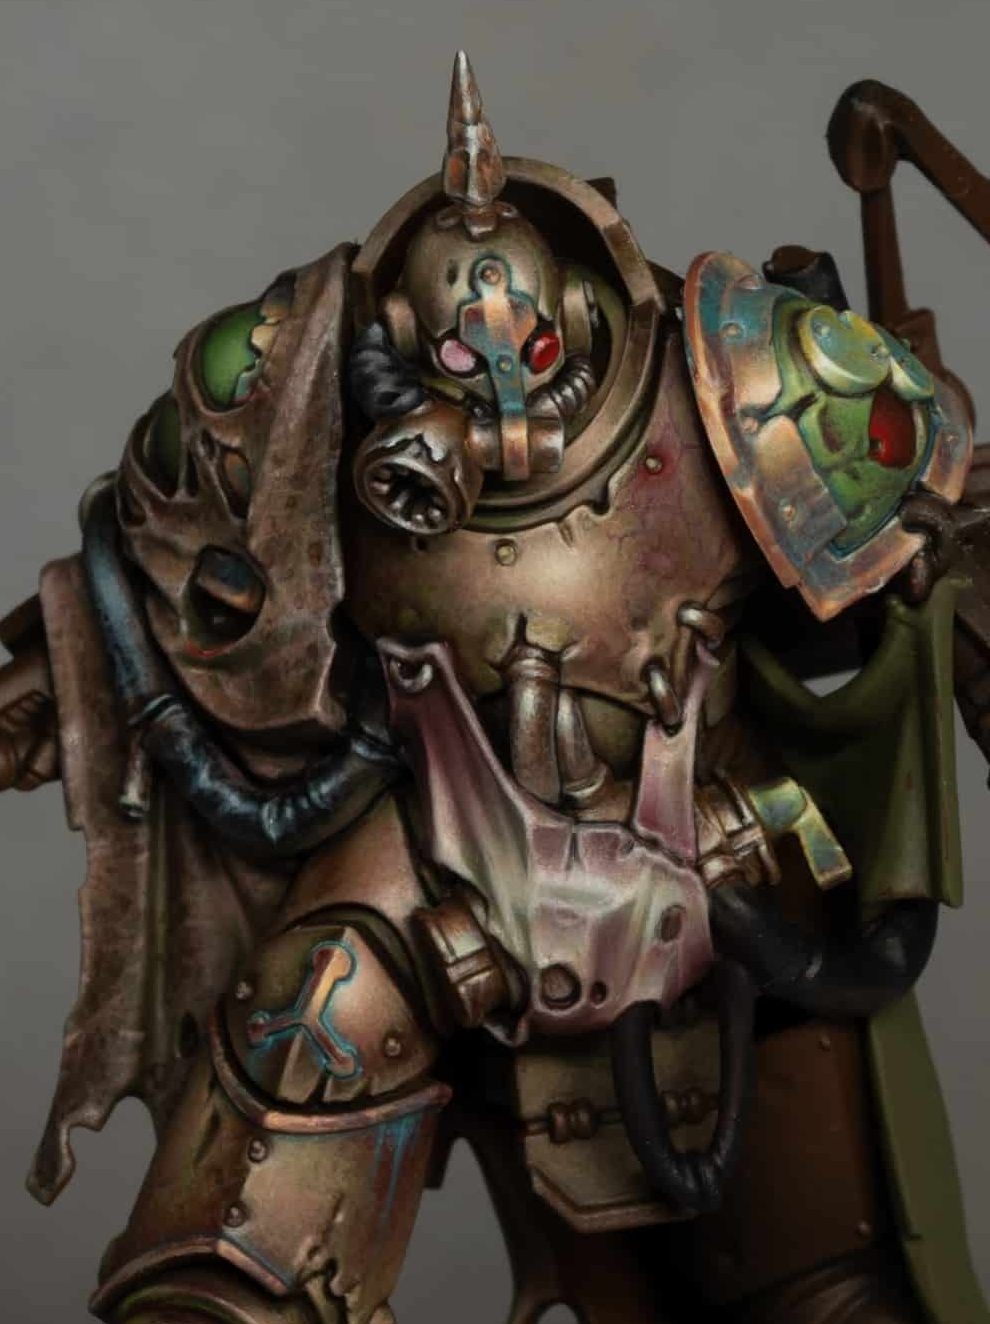
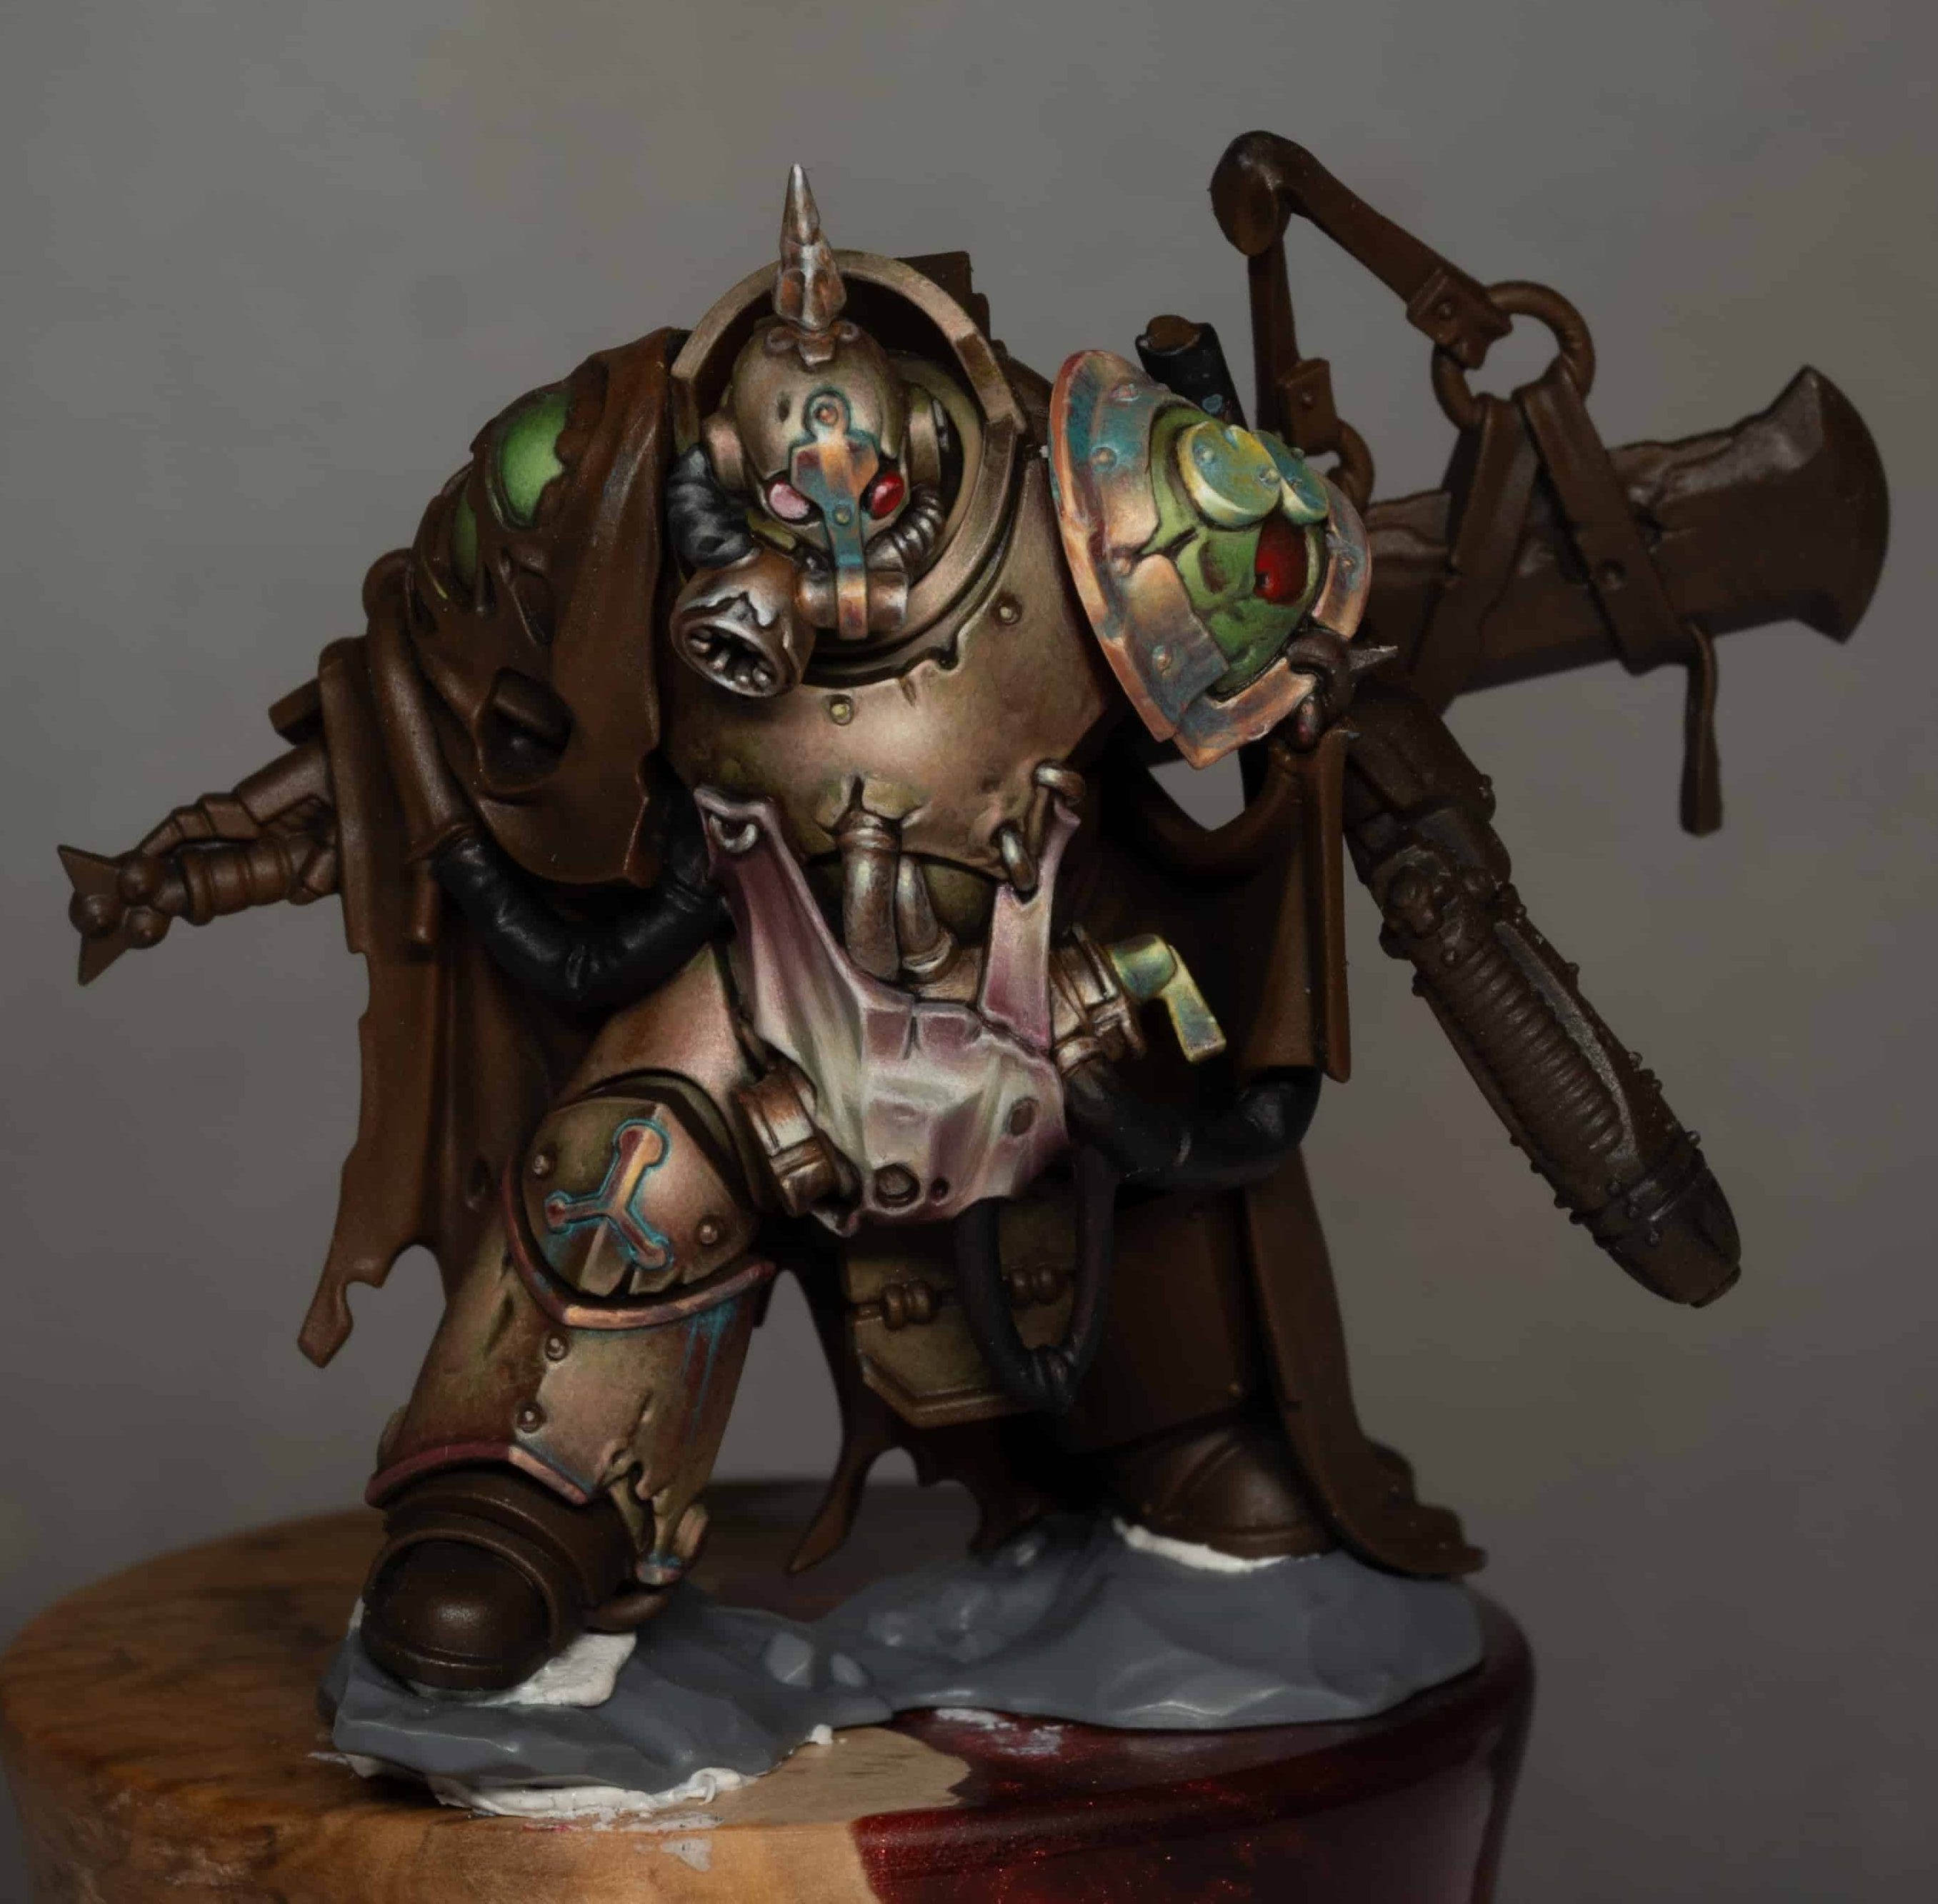
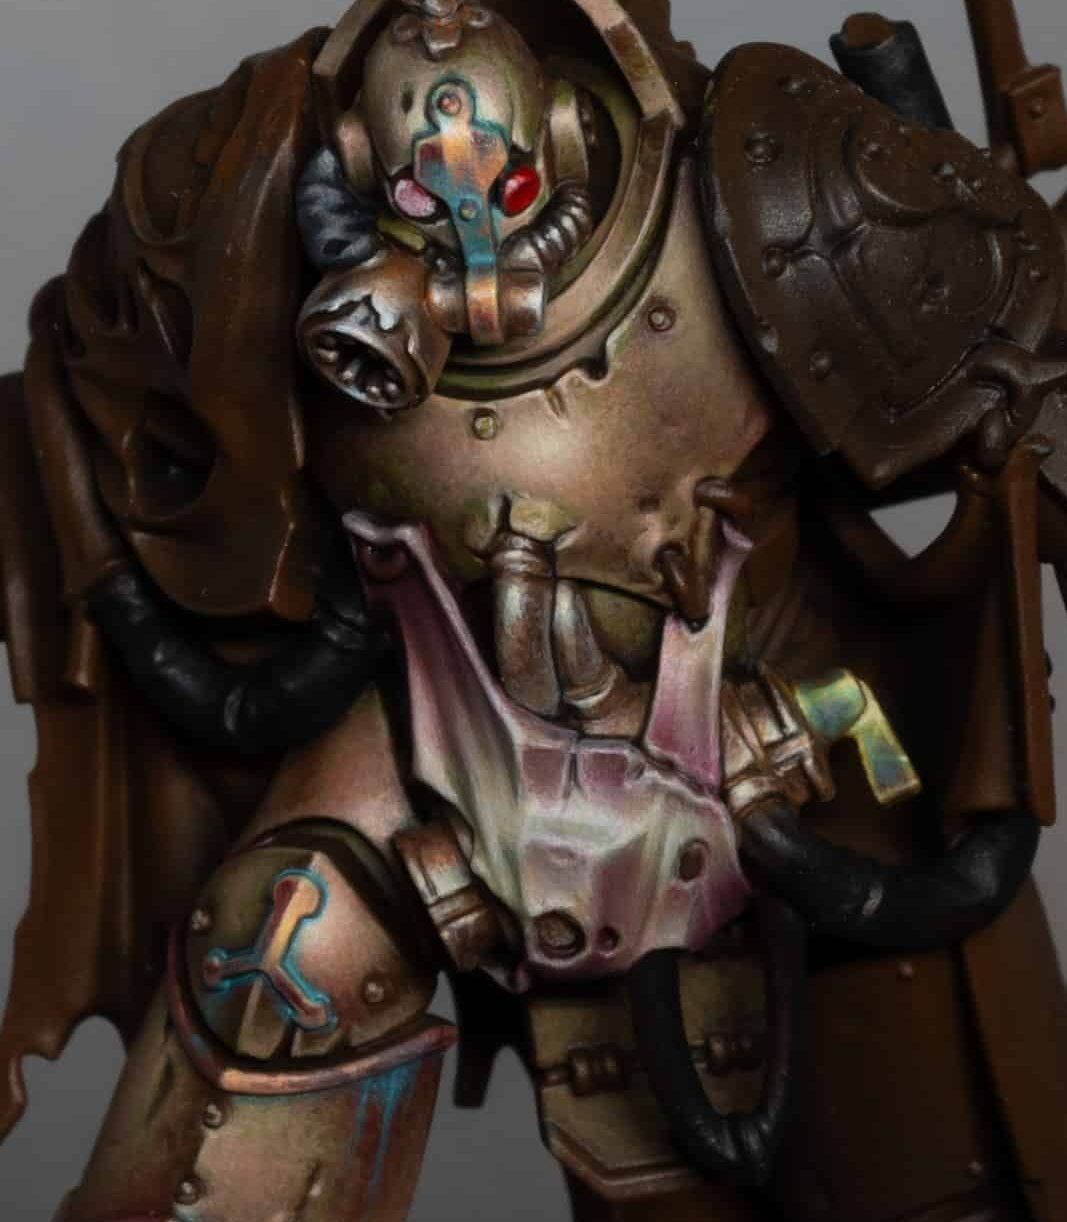
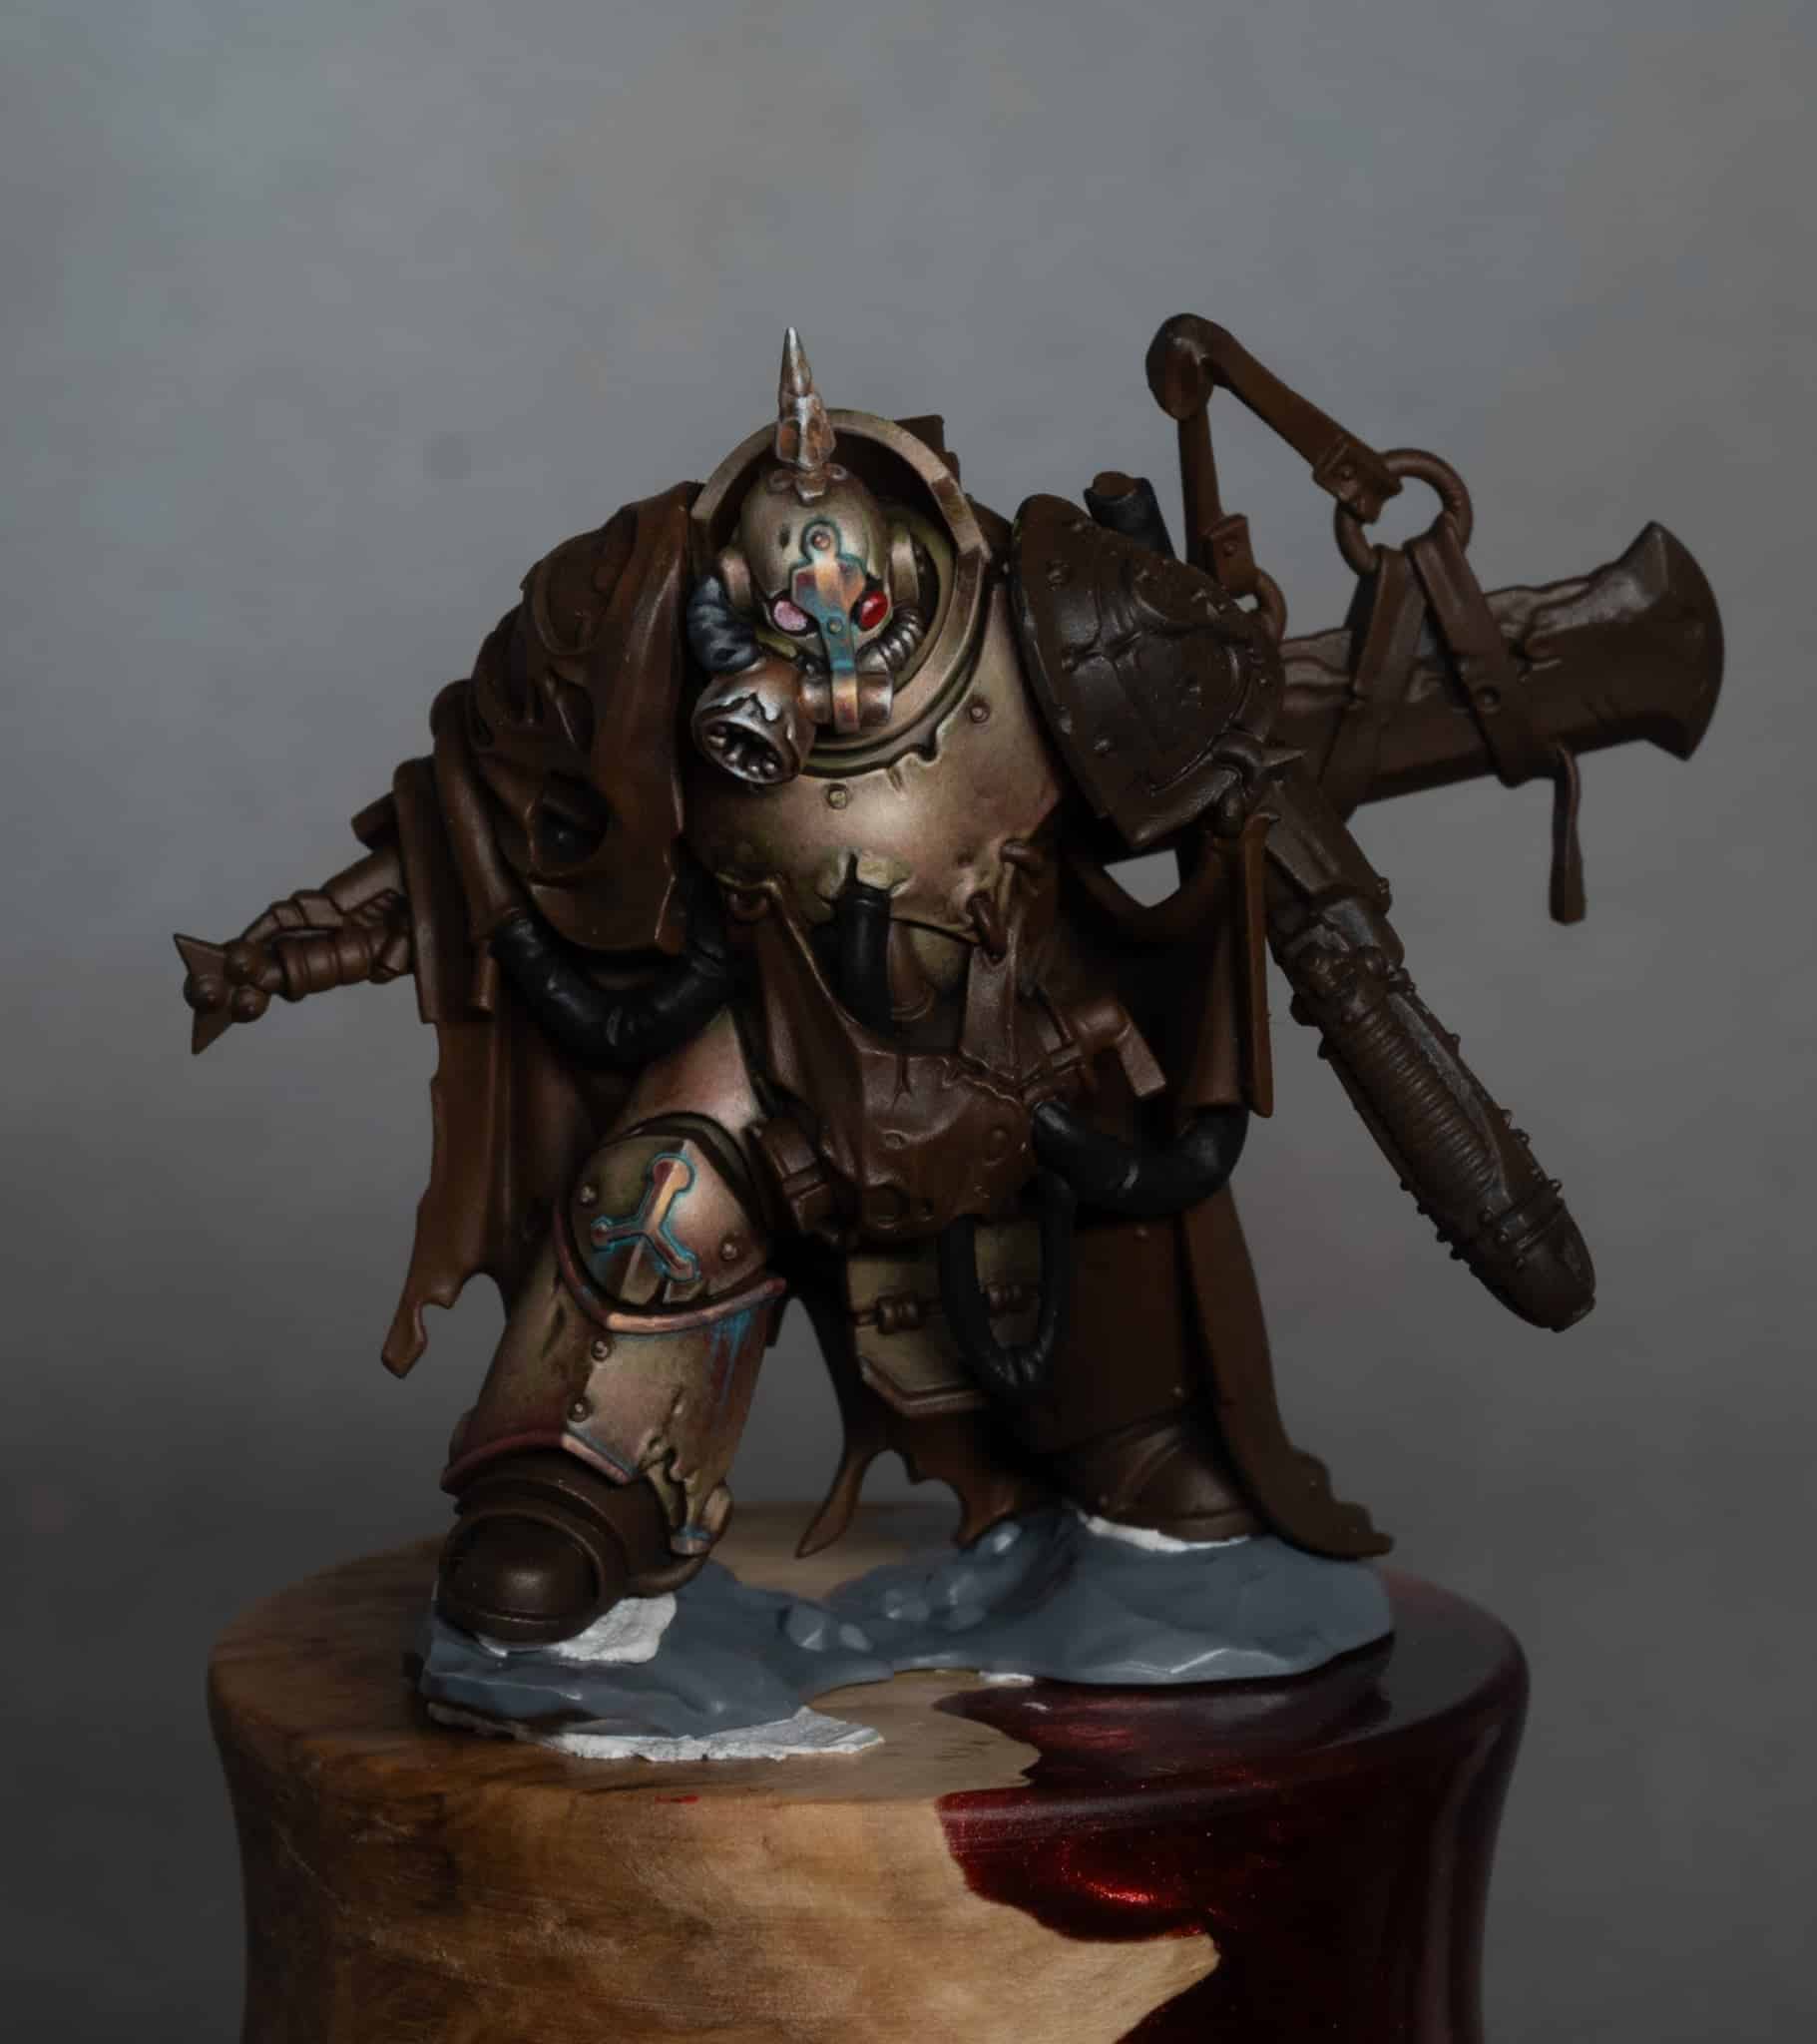
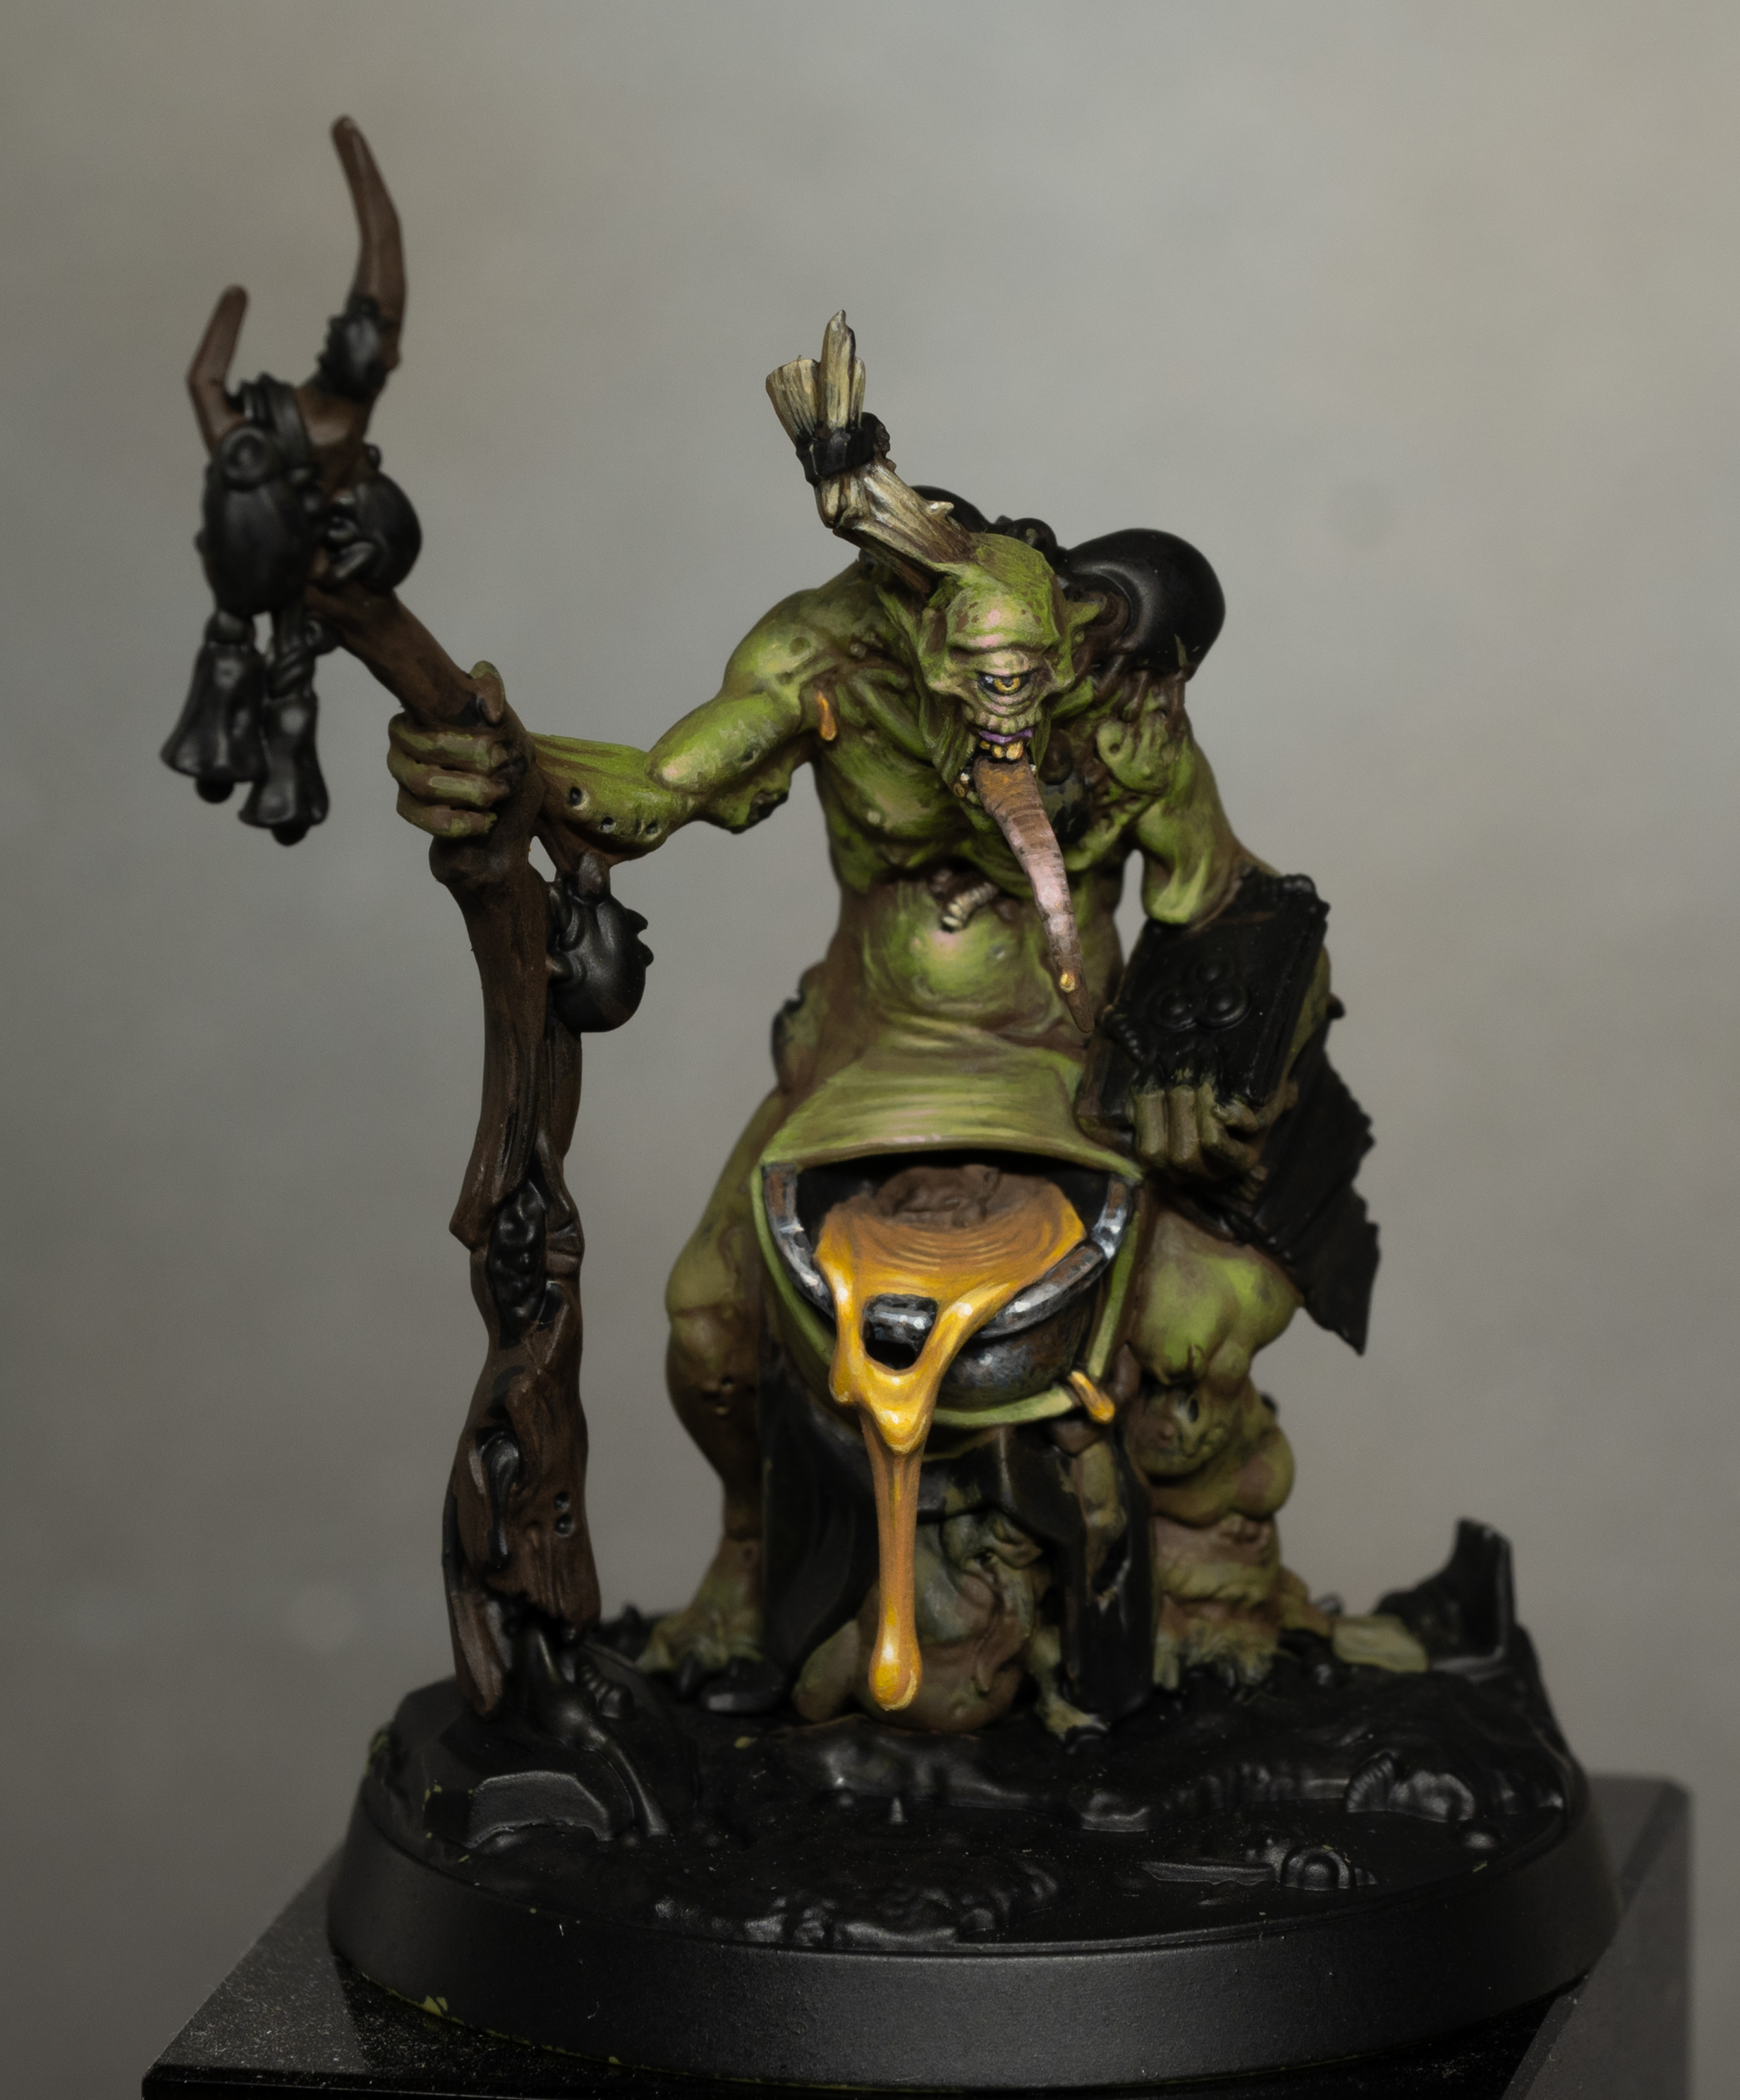
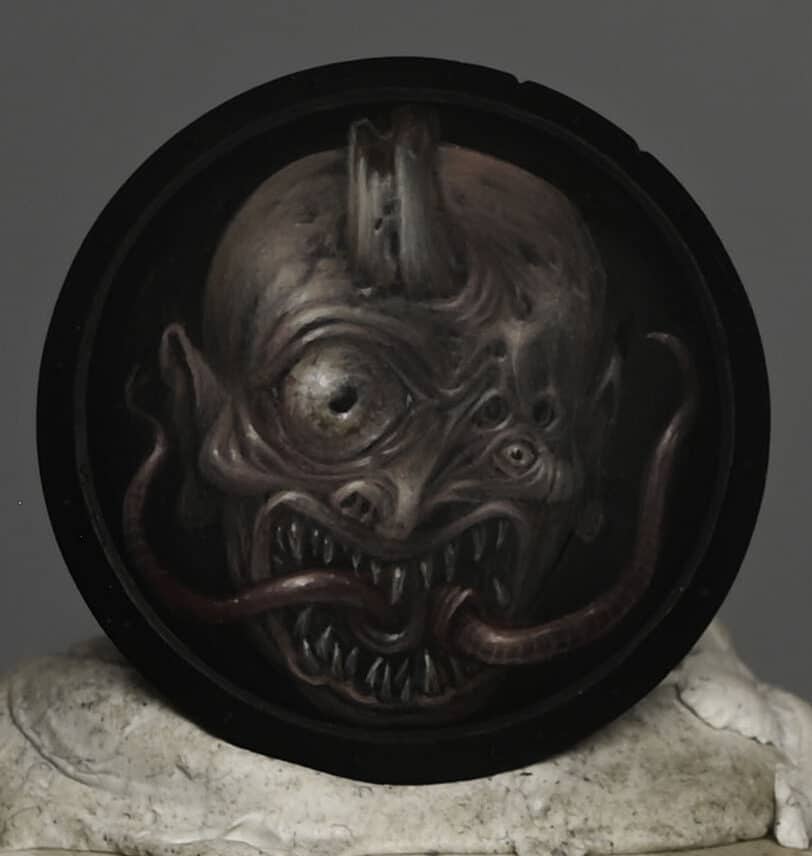
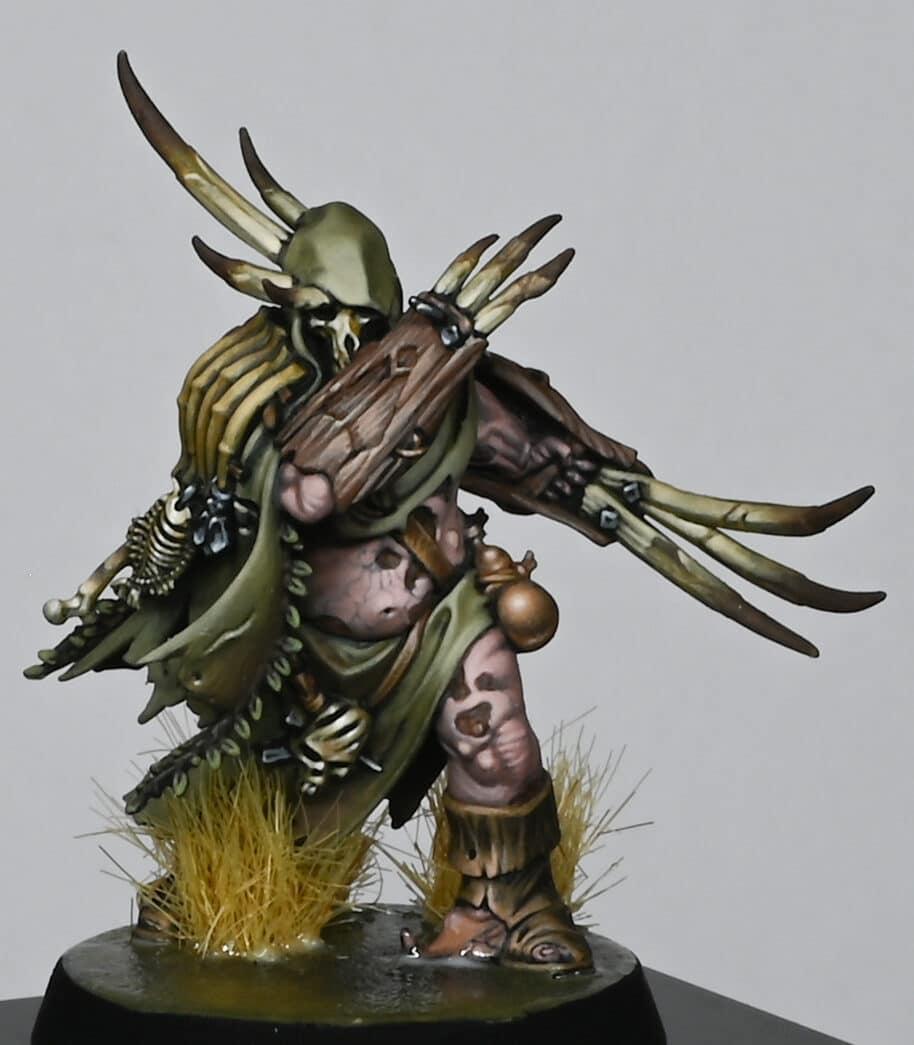
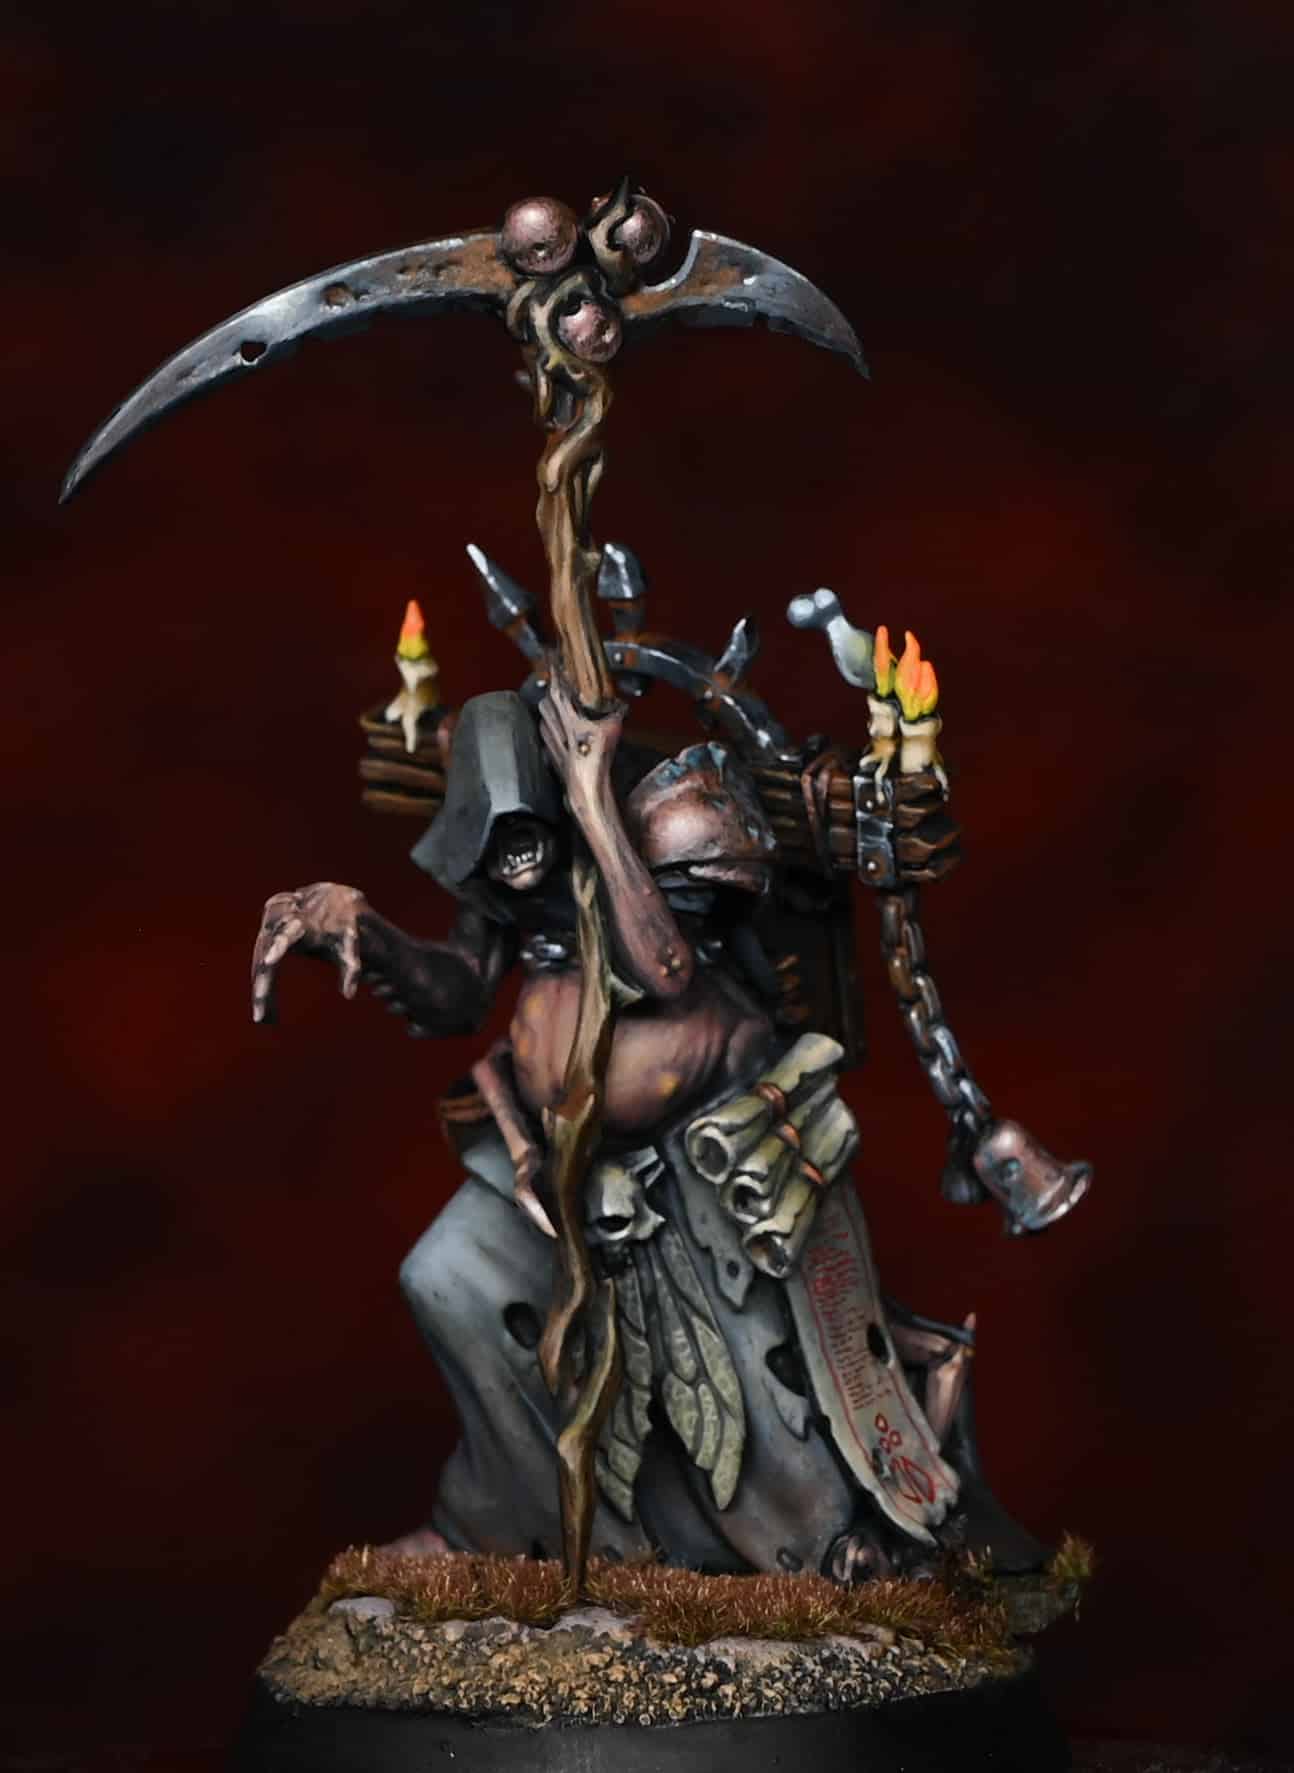
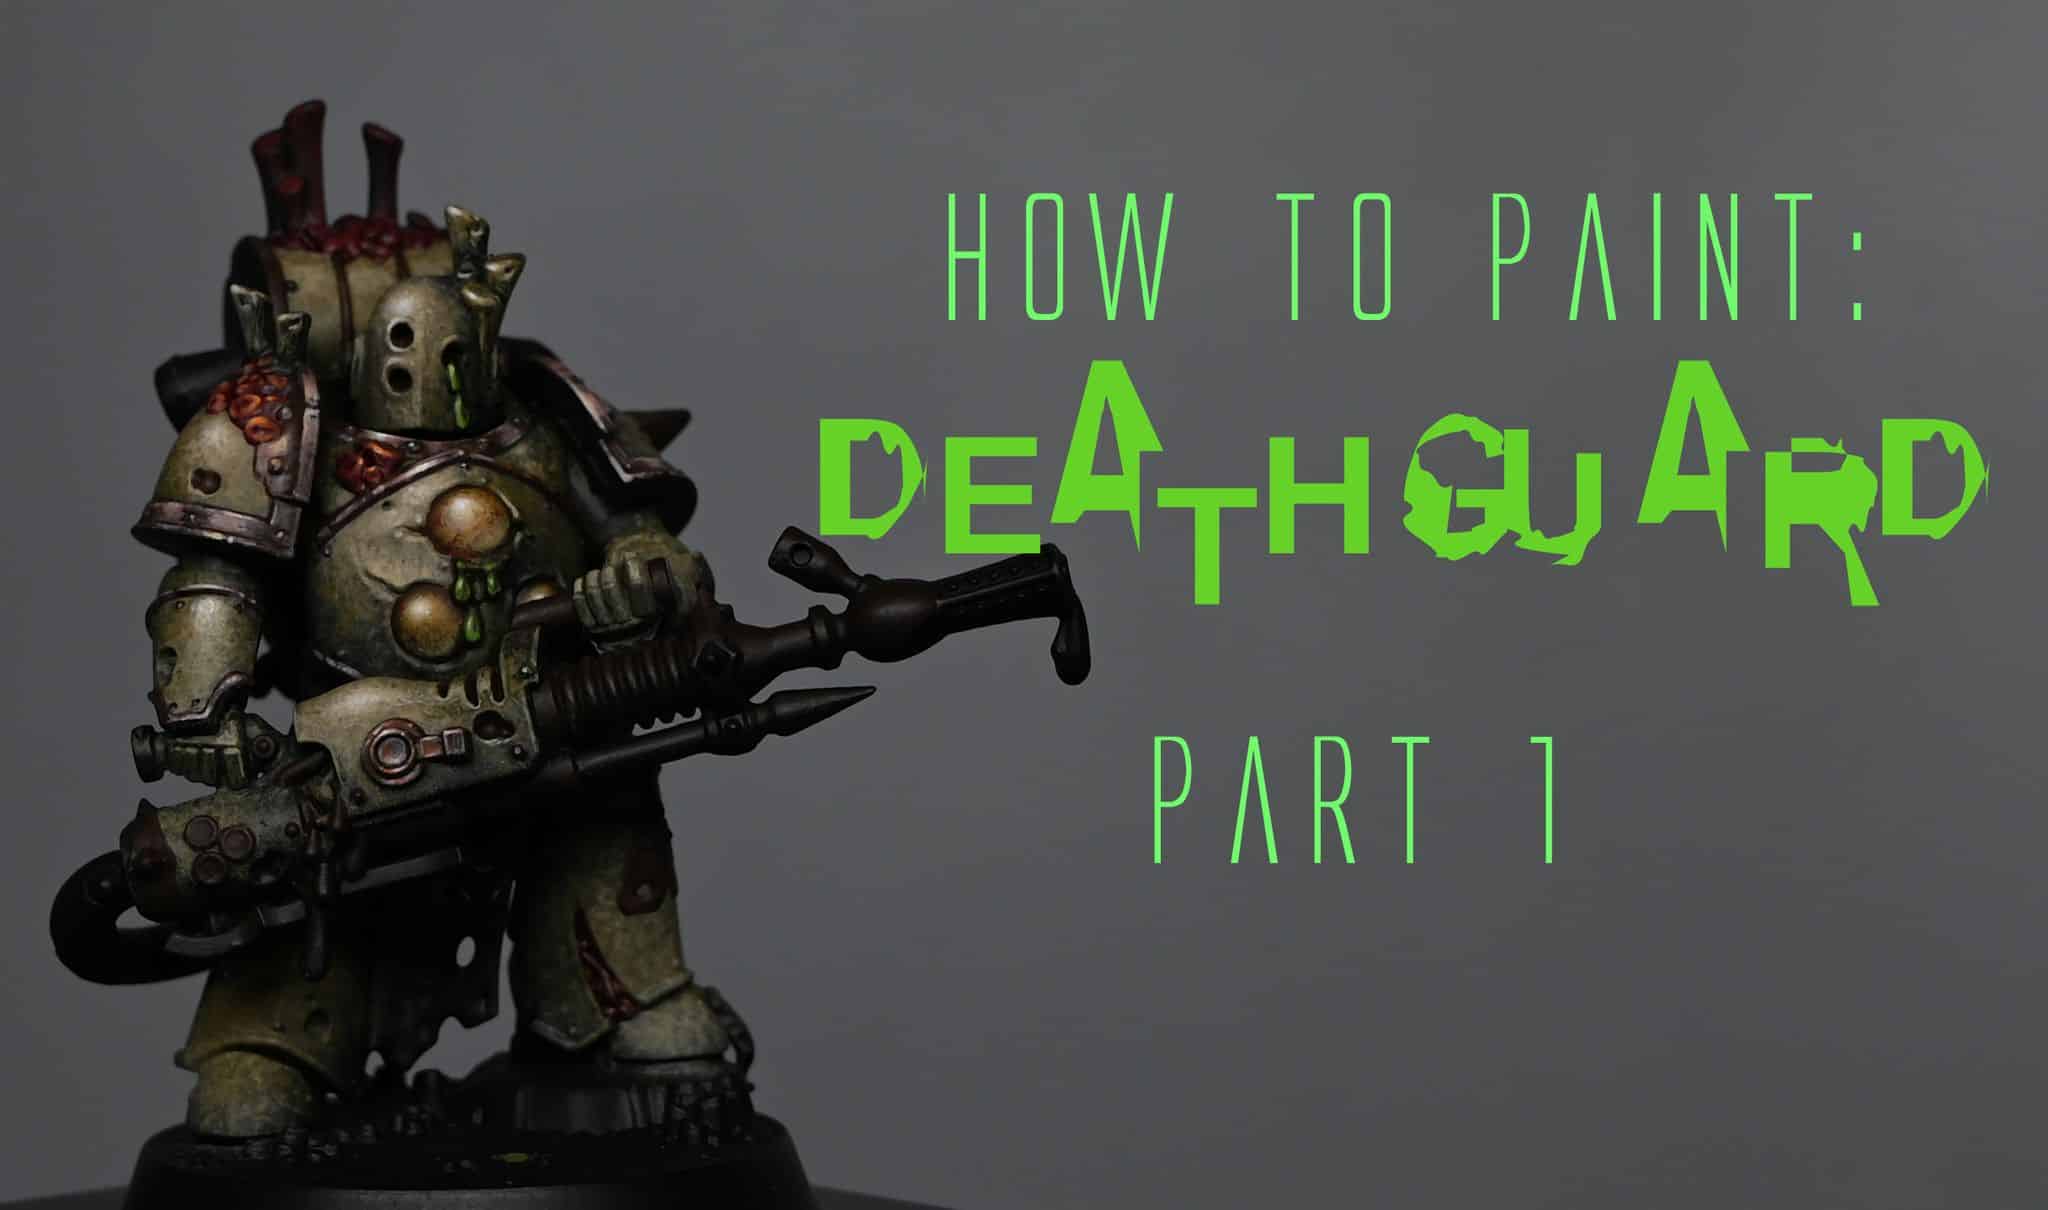
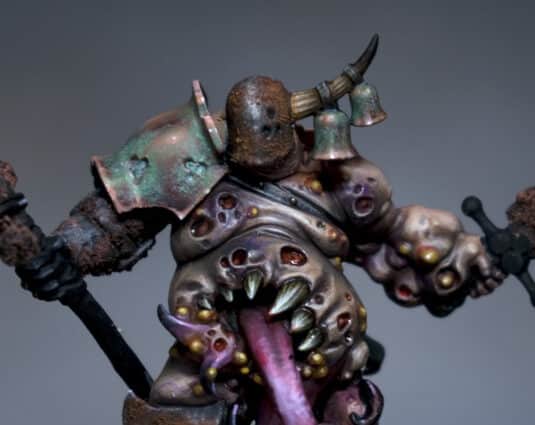
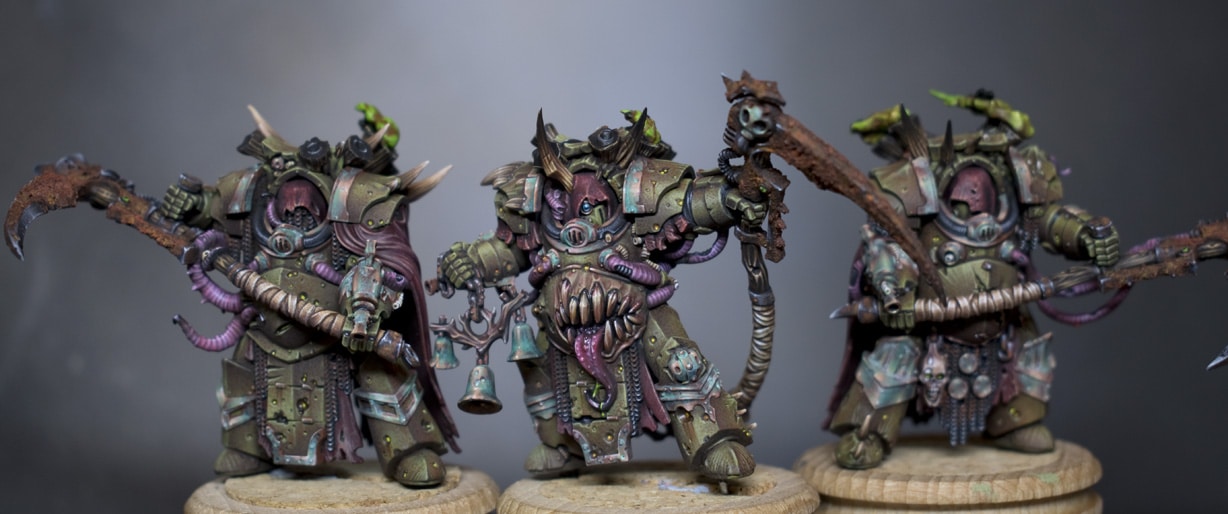
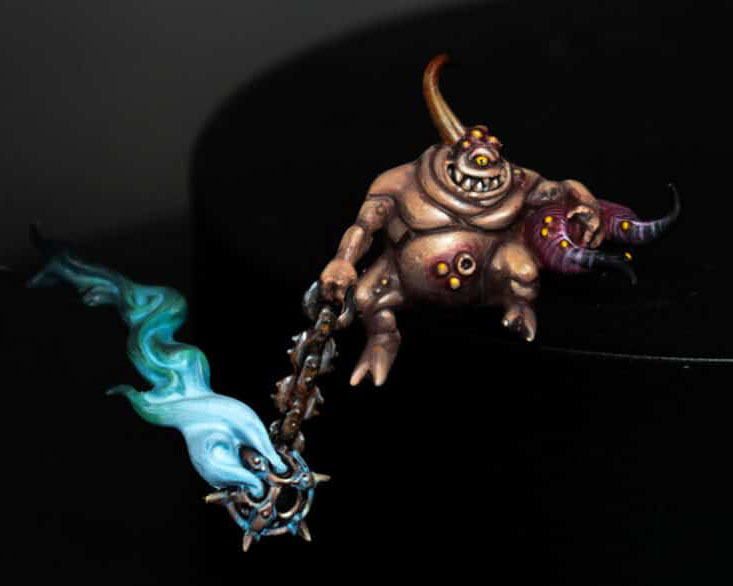
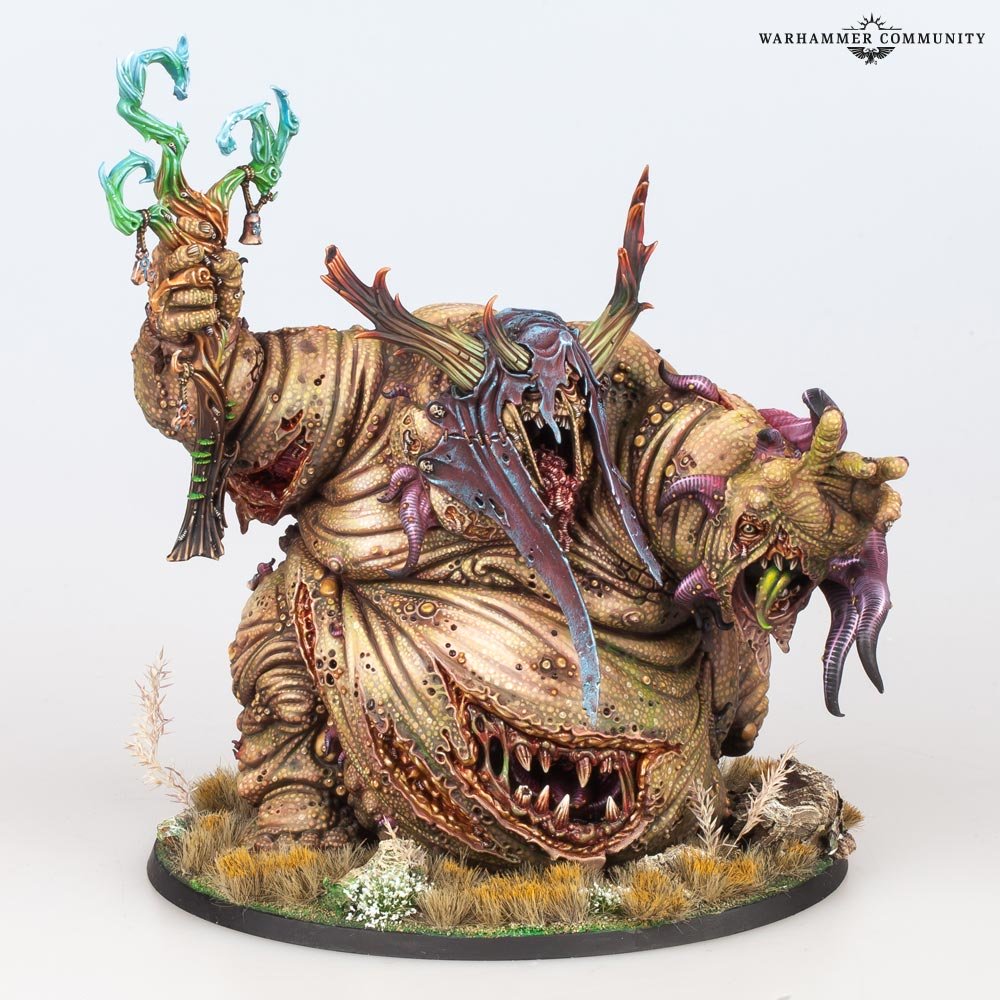
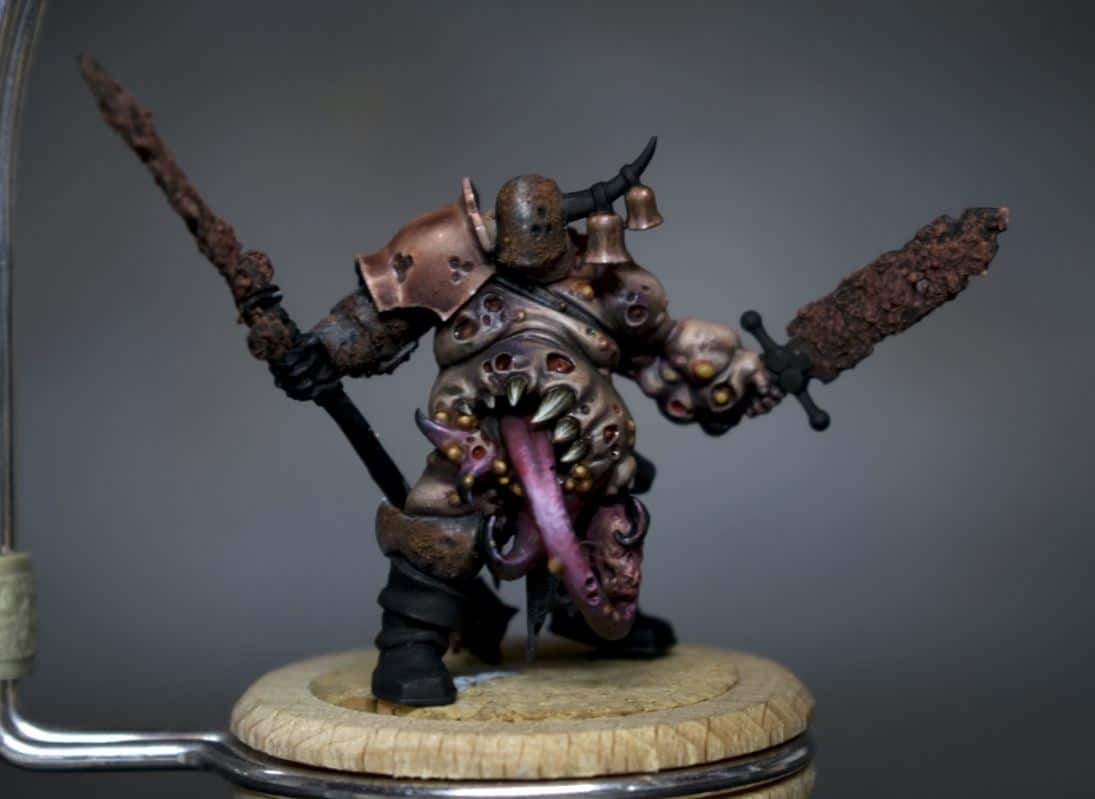
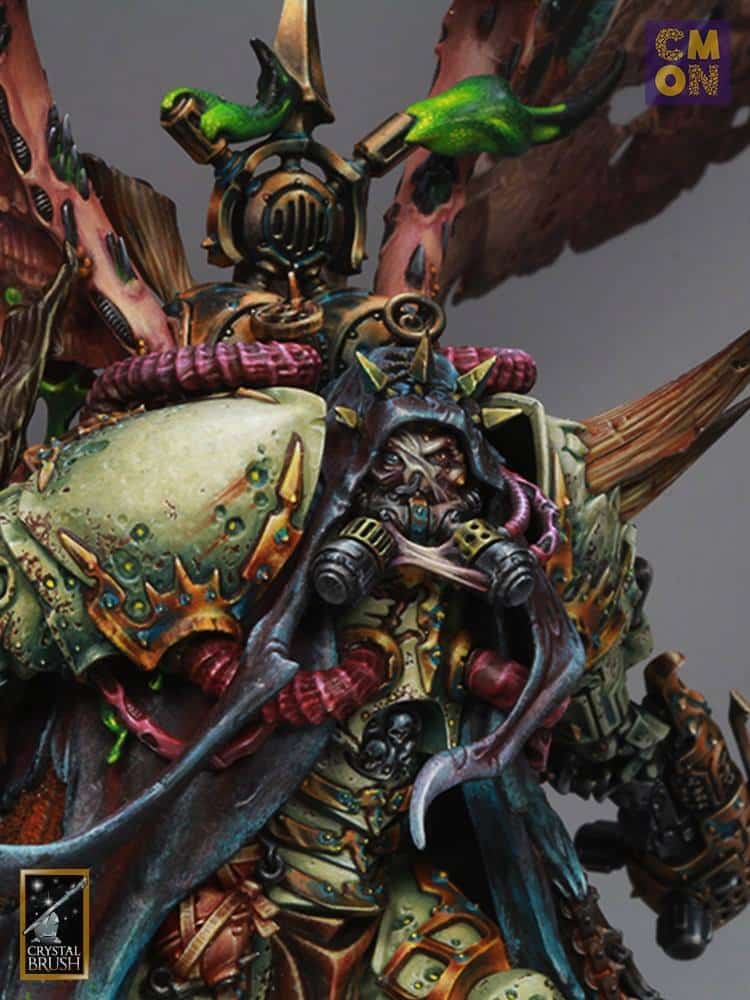
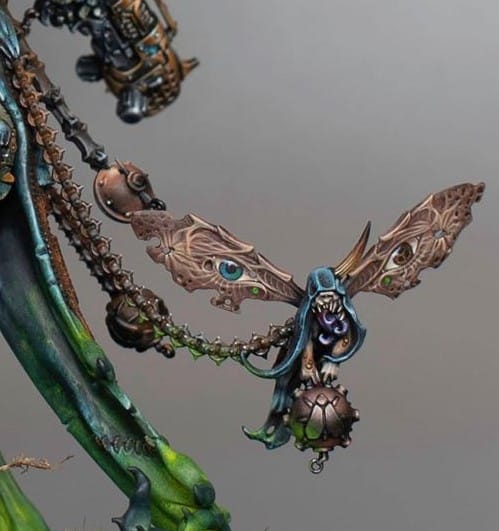
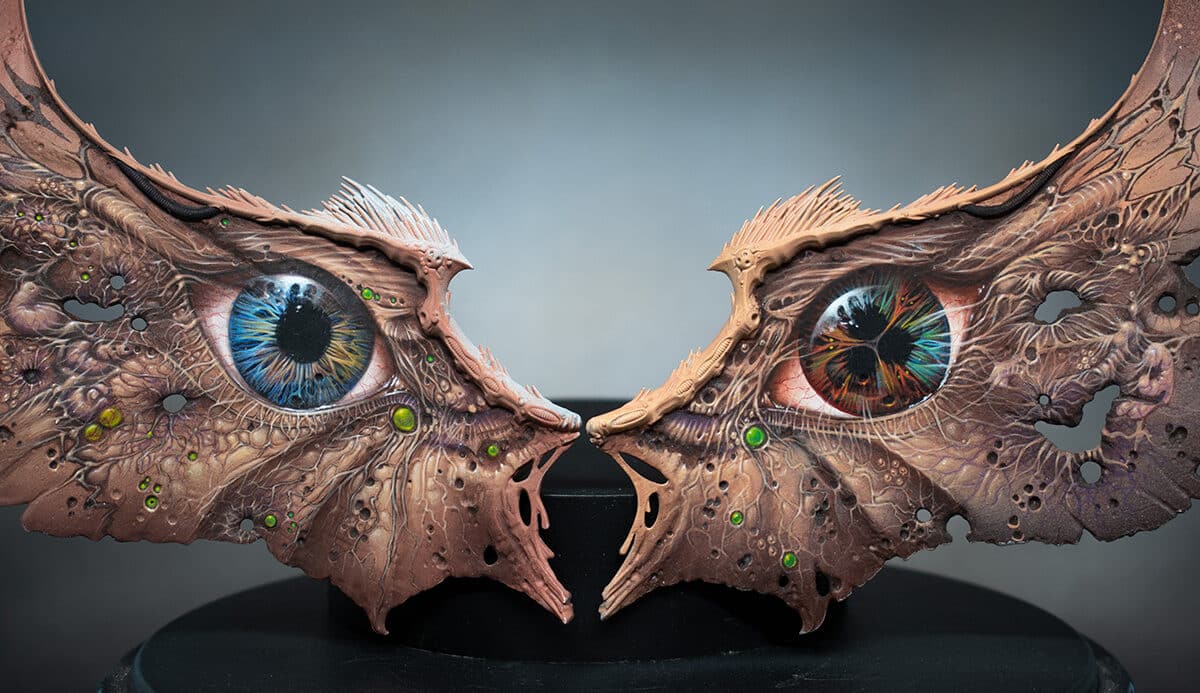
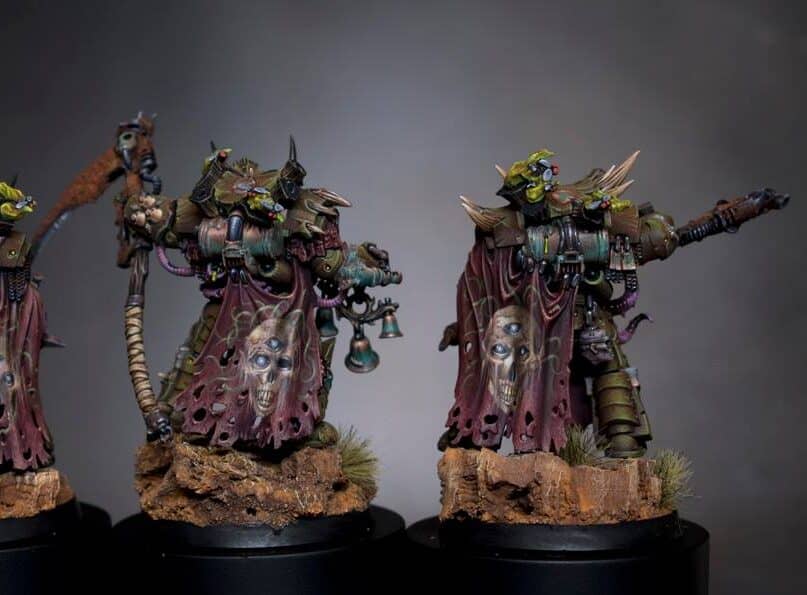
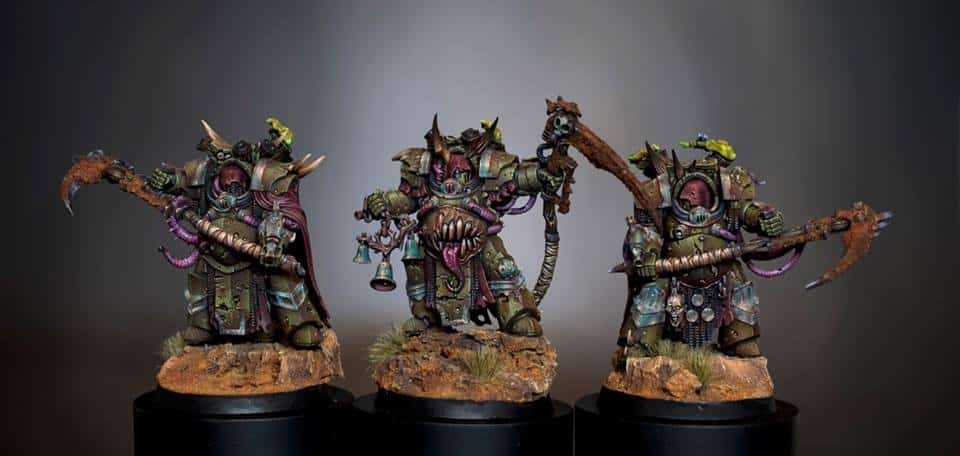
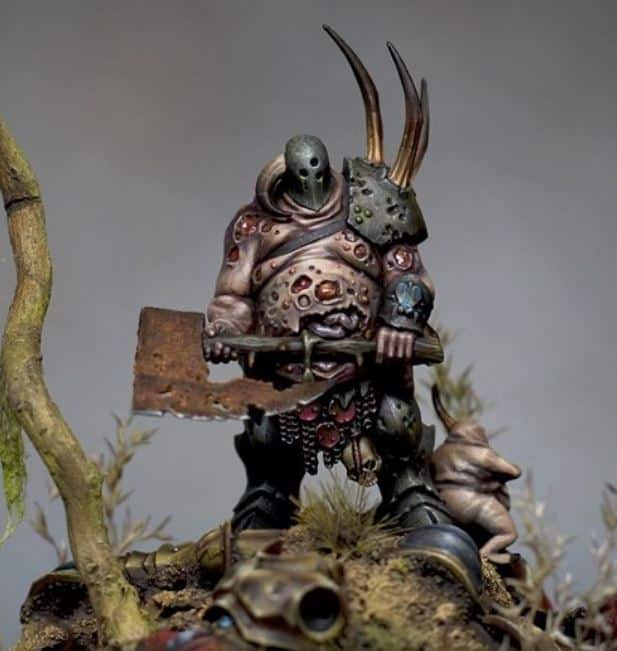
A guide on creating a series of effects on the Plague God’s chosen servants, the Maggotkin of Nurgle, with rusty weapons, grimy copper armour and general Nurgle weathering techniques!
Keep scrolling to explore the tutorials in order, or click on one of the links below to quickly jump to an a specific effect!
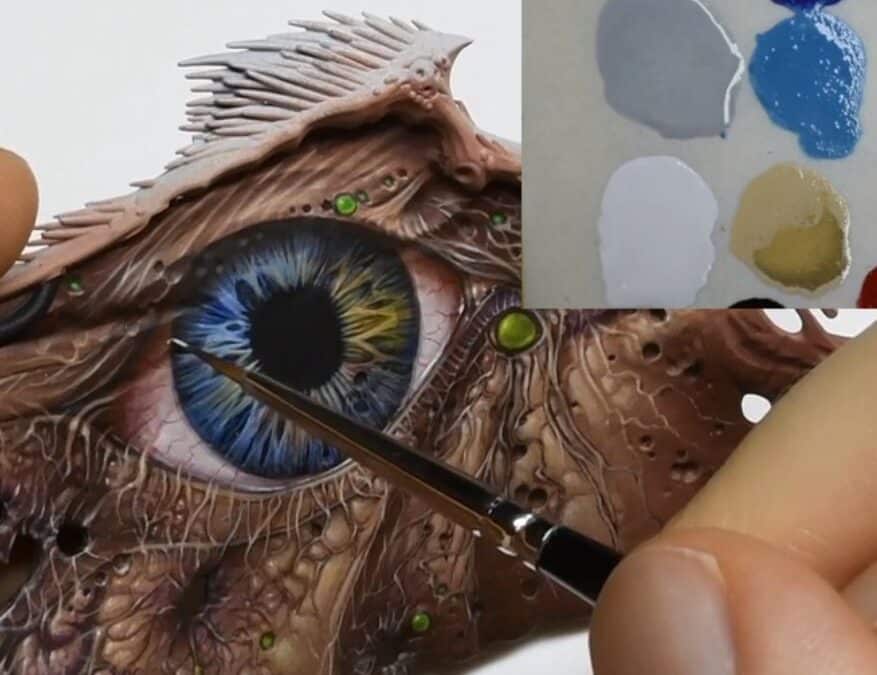
Video – Maggotkin of Nurgle Diseased Skin Part One
Paints Used
- Games Workshop ‘Cadian Fleshtone’: For the base coat and blending.
- Scale 75 ‘Black Leather’: Used for initial detailing and creating depth in the skin.
- Games Workshop ‘Pallid Wych Flesh’: Mixed with Cadian Fleshtone for highlights.
- Games Workshop ‘Rhinox Hide’: Diluted for defining skin defects and recesses.
Step by Step Guide
- Base Coat: Begin by applying a base coat of Games Workshop’s ‘Cadian Fleshtone’ to your model. Make sure this coat is even and covers any black primer fully.
- Adding Detail: Next, use Scale 75 ‘Black Leather’ for initial detailing. This paint has a softer finish, ideal for skin textures. Apply it more like a wash, targeting recessed areas to create depth. The goal here is to start developing a diseased skin look.
- Blending Techniques: While the ‘Black Leather’ is still wet, blend in additional ‘Cadian Fleshtone’. This stage can be a bit messy; the aim is to create a base for further refinement, not perfection.
- Highlight Focal Points: Consider where you want to draw the eye. Focus on areas like the centre of the chest and the top of the belly, which naturally lead the viewer’s gaze towards the head.
- Wet Blending: Continue mixing ‘Cadian Fleshtone’ with ‘Black Leather’ directly on the model. This wet blending creates a smoother transition between light and dark areas.
- Highlighting: Mix ‘Cadian Fleshtone’ with varying levels of ‘Pallid Wych Flesh’ on your palette. Use this mixture to introduce lighter colours for highlighting, enhancing the diseased skin effect.
- Detailing Shadows and Highlights: Focus on skin creases and folds, adding highlights to create an illusion of shadow. At this stage, precise brushwork isn’t crucial.
- Skin Defects: For holes in the skin, use a watered-down ‘Rhinox Hide’. It dries lighter than it appears when wet, perfect for defining recesses.
- Overall Balance: Regularly step back to view the whole model, ensuring a balanced look. Work on the entire model rather than focusing on individual sections.
- Refining Colours: Keep refining by alternating between shadows and highlights. Adjust as needed for the desired effect.
- Final Highlights: For the final touches, use ‘Pallid Wych Flesh’ to highlight key areas and make them stand out.
- Model Handling: Use a model holder to prevent oils from your skin affecting the paint job. I use Rathcore model holders.
Video – Maggotkin of Nurgle Diseased Skin Part Two
Paints and Materials Used
- Games Workshop Paints:
- ‘Cadian Fleshtone’: Used for base coating and blending.
- ‘Rhinox Hide’: Applied for deeper shading and detailing.
- ‘Pallid Wych Flesh’: Utilised for highlighting.
- ‘Skavenblight Dinge’: Employed for glazing and desaturating the skin tone.
- ‘Balor Brown’: Added for warmth in certain areas, enhancing the diseased look.
- ‘Evil Sunz Scarlet’: Used after initial issues with red tones, particularly for open sores.
- Scale 75 Paints:
- ‘Eldandil Violet’: Mentioned for specific details and effects.
Step by Step Guide
- Setting the Scene: To begin with, I’ve already completed some preliminary work on the model. This includes filling in the teeth and tongue, which helps define the overall look. It’s important to get your contrasts right from the start.
- Introducing Additional Colours: In this session, I’m introducing a few extra colours compared to the previous video. I’ve got a purple for bruising and decay around wounds. This adds depth and a sense of realism to the skin.
- Consistency Check: A quick note on the consistency of the paints – it’s crucial for the glazes. You’ll notice I’m using Games Workshop paints like ‘Cadian Fleshtone’, ‘Rhinox Hide’, and ‘Pallid Wych Flesh’, as well as ‘Skavenblight Dinge’ and ‘Balor Brown’. I’ve also got Scale 75 ‘Eldandil Violet’ for some specific detailing.
- The Painting Process: The techniques I’m employing here are very similar to what I’ve done in the past – lots of layers, plenty of back-and-forth with highlighting, adding and taking away paint to blend it all seamlessly. It’s a slow process, but it yields great results.
- Focus on Glazing: A key aspect of this session is glazing. I’m using ‘Skavenblight Dinge’ quite a bit. It’s excellent on skin, helping to blend colours together and desaturate the skin tone, giving it a slightly dead look, fitting for a Nurgle warrior.
- Applying Highlights: When painting the highlights, especially as they get brighter, it’s important to focus on the model’s focal points. For this model, the focal points are the top of the belly and the middle of the chest, directing the viewer’s eyes towards the head.
- Addressing the Red Tones: I initially had some trouble with the red paint for the open sores, which turned out almost orange and then pink. After some trial and error, I switched to Games Workshop ‘Evil Sunz Scarlet’, which provided the consistency and colour I was looking for.
- Creating Contrast with Gloss: To enhance the contrast between the skin and wounds, I’m going to apply a gloss varnish over the red areas. This not only enriches the colour but also differentiates the wounds from the matte finish of the skin.
- Additional Skin Techniques: While focusing on the skin, it’s a good practice to work on other areas of the model too. This helps to show off the skin more effectively in context.
- Next Steps: In the coming parts, I’ll be working on more specific areas like the custom shoulder pad and weapons. I’m planning to paint these in a rust effect for a cohesive look.
Video – Maggotkin of Nurgle Diseased Skin Part Three
Paints and Materials Used
- Games Workshop Paints:
- ‘Cadian Fleshtone’: Used for base layers and blending.
- ‘Pallid Wych Flesh’: Applied for fine highlighting.
- ‘Rhinox Hide’: Utilised for deeper shadows and details.
- ‘Mournfang Brown’: Employed for additional detailing and shading.
- ‘Skavenblight Dinge’: Used for desaturating and blending.
- ‘Balor Brown’: Mixed for glazing and adding warmth.
- Scale 75 Paint:
- ‘Eldandil Violet’: Used for specific detailing and effects.
Step by Step Guide
- Palette Setup: We’re continuing with the same colours as before. The skin tones are a mix of Games Workshop’s ‘Cadian Fleshtone’ and ‘Pallid Wych Flesh’. The top colour is pure ‘Cadian Fleshtone’, and the bottom is pure ‘Pallid Wych Flesh’. The middle two are various mixtures to create smooth transitions.
- Consistency and Control: For shadows and details, I’m using ‘Rhinox Hide’ and ‘Mournfang Brown’, slightly thicker than usual to make positive marks quickly. I also have Scale 75’s ‘Eldandil Violet’ for specific details.
- Glazing Techniques: The glazes are made with ‘Cadian Fleshtone’ and ‘Balor Brown’. When turning ‘Cadian Fleshtone’ into a glaze, be aware the pigment separates, appearing yellow. This separation is essential to understand when glazing, as it affects how the colour appears on the model.
- Desaturation with ‘Skavenblight Dinge’: To tone down the vibrancy of ‘Cadian Fleshtone’ in areas, I’m using ‘Skavenblight Dinge’. This creates a contrast between rotten and healthy-looking skin, allowing for more controlled desaturation.
- Refinement through Minimal Paint: The focus here is on making tiny, precise marks. I’m using very little paint on the brush, ensuring smooth, controlled application. It’s a time-consuming process, but necessary for display-level quality.
- Highlighting with ‘Pallid Wych Flesh’: Use this sparingly for the highest points of highlight. Too much can overwhelm the subtlety of the transitions. It’s almost like adding glimmers of light without using pure white.
- Brush Selection: For the finer details on the belly, I’ve switched to a size 0 Broken Toad brush, allowing for even smaller, more precise marks.
- Creating Shadows and Depth: I’m using ‘Rhinox Hide’ to accentuate shadows, especially in areas like the folds of flesh. This helps separate shapes and adds depth to the skin.
- Balancing Colour and Contrast: I’m continually adjusting the balance between the healthy and necrotic flesh. This involves layering ‘Cadian Fleshtone’ over darker areas to create a striking contrast.
- Vein Detailing: For the veins, I’m using a purple paint, thinned down for precision. This is applied over the flesh and then glazed over to create the illusion of veins beneath the skin.
- Final Touches: I’m adding small details and refining the transitions. This includes highlighting around wounds and pustules to make them stand out and add to the overall diseased appearance.
- Finishing the Skin: The final step involves going over the skin one last time, ensuring every detail is as sharp and refined as possible. This is crucial for achieving a high-quality finish suitable for display or competition.
Video: How to Create a Nurgle Rusty Sword
Materials Needed:
- Baking Soda
- Matte Varnish
- Old brushes
- Orange Paint (For this example, we’ll use Scale 75 Kalahari Orange, but any solid orange paint will do)
Step-by-Step Guide:
- Mixing the Rust Effect:
- Begin by creating your rust mixture. You’ll need to combine baking soda, matte varnish, and orange paint. The exact colour of the orange paint isn’t crucial, but a solid orange like Scale 75 Kalahari Orange is recommended for authenticity.
- Mix these ingredients together. You don’t need any specialised tools for mixing; anything you have to hand will suffice.
- Adjusting Consistency:
- The mixture might appear a bit dry initially. If it’s too clumpy, thin it down with more varnish. Remember, the more varnish you add, the stronger and more hard-wearing the mixture becomes. This also helps to seal the baking soda against any acidic elements.
- Aim for an intense, well-bound mixture. It should dry lighter in colour, so don’t be alarmed by the initial appearance.
- Application on the Model:
- Use an old brush for application; this mixture isn’t kind to brushes. An older, slightly worn brush is ideal.
- Apply the mixture to the desired areas of your model. It’s a somewhat passive process; you don’t have to be overly precise. The mixture will be akin to a psyche in gel, so aim for an uneven surface. Too thin an application will just look like spread-out grains.
- Focus on clumping the mixture slightly for a more realistic rust effect. If applied too thinly, it won’t have the desired impact.
- Creating Texture:
- After applying, use a stippling technique with your brush to spread out the grains at the edges. This helps to soften the transition from the rusted areas to the clean areas of the model.
- Continue dabbing at the mixture to spread it and create a texture that resembles rust accumulating on the blade or other parts of the model.
- Final Touches:
- Once applied, the mixture might look a bit smooth, but don’t worry. As it dries, it will gain a more defined, grainy rust-like texture.
- To enhance the effect, you can apply a very watered-down coat of a darker paint, like Rhinox Hide, after the rust mixture has dried.
- Finishing Up:
- Allow your model to dry completely. Once dry, you should see a realistic rust effect, adding depth and character to your piece.
How to Paint NMM Copper
Paints and Materials
Brush Size and Type:
Don’t use a tiny detail brush for the entire process. Instead, a slightly larger, older brush is preferred. My older brush has a worn tip, which is thicker than a new brush and allows for better paint control and blending.
An old, well-used brush is good for this type of painting. The worn tip of an older brush can make blending easier.
Paints Used
- Games Workshop: Doombull Brown, Golden Yellow (old colour; find a modern equivalent if needed)
- Scale 75: Ice Yellow, Salmon Pink, Black Red
- Black and White paint (any preferred brand)
Step-by-Step Guide
- Understanding Copper NMM:
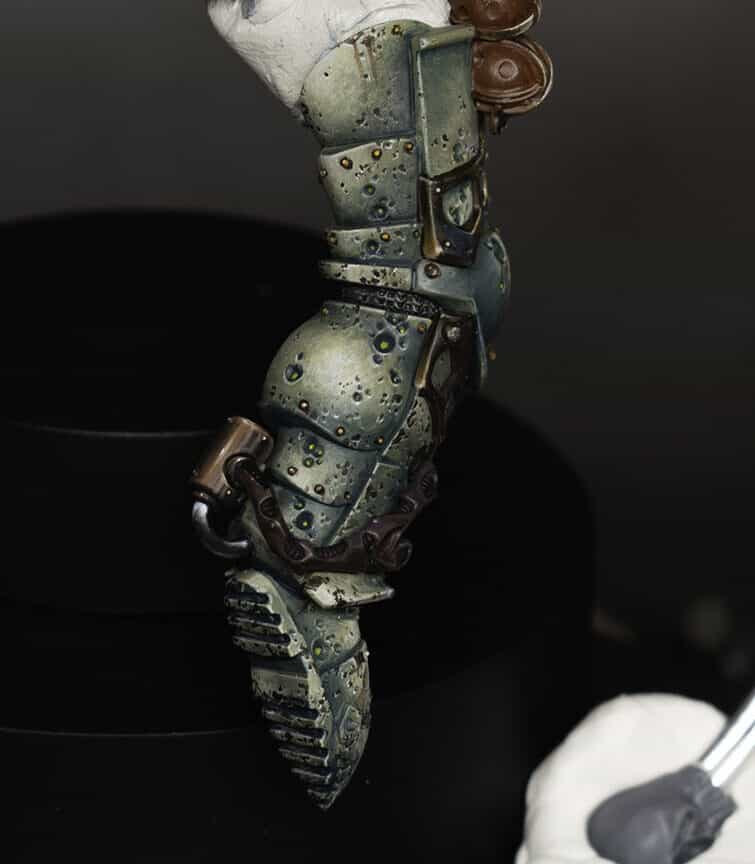
- Remember, copper NMM aims to create a metallic effect without using metallic paints. Copper is essentially pink in hue, similar to skin tones, with brown for shadows and a hint of sand yellow.
- Preparation of Palette:
- On your wet palette, blend all the colours together into one smear. This is because copper has a lot of subtleties in colouring. Start with Doombull Brown and mix in Black Red from Scale 75. If you don’t have Black Red, mix black and red to achieve a dark, reddish brown.
- Creating the Base Colour:
- For the darker areas of copper, you want something a bit more red. Along your paint smear on the palette, integrate colours that become more yellow and orange. Use Golden Yellow and Ice Yellow for this purpose. Add Salmon Pink at the very end for highlights.
- Applying the Base Layer:
- Before starting the video, paint the whole model (or the part you’re working on) with Doombull Brown. This creates an easier starting point for the copper effect.
- Mixing on the Model:
- You’ll be mixing the paint directly on the model, working quickly. This method is different but effective for creating copper NMM. Apply the colours and quickly determine where the highlights will be. The idea is to get lighter colours down first as a base to work from.
- Developing the Effect:
- Start blending in reflections and refining the look. Add lighter colours and work on creating smooth transitions and contrast. Remember, smooth transitions and good contrast are key in NMM painting.
- Refining the Details:
- As you progress, you’ll refine the copper effect by using thinner paint and increasing contrast. Use Salmon Pink for the higher highlights and blend it in for a smooth transition.
- Final Touches:
- Towards the end, focus on refining the paint with continual glazes until it looks smooth and metallic. You might need to make slight adjustments to the highlights and shadows. Add black, turned into a glaze, at the bottom of the shoulder pad to increase contrast.
- Final Overview:
- The final piece should showcase a refined copper NMM effect with smooth transitions, proper contrasts, and a realistic metallic look.
How to Paint NMM Copper Greeny Verdigris Effect
Paints and Materials
- Games Workshop Sybarite Green
- P3 Morrow White (or your preferred white paint)
Step-by-Step Guide
- Understanding Verdigris:
- Verdigris is a patina that forms on copper, brass, or bronze when exposed to air or seawater over time. This guide aims to create a more realistic effect, where verdigris covers larger areas rather than just around rivets and crevices.
- Creating Verdigris Tones:
- You will mix Sybarite Green with Morrow White to create three stages of verdigris tones:
- First Stage: Pure Sybarite Green.
- Second Stage: A mix of half Sybarite Green and half Morrow White.
- Third Stage: Mostly Morrow White with a tint of Sybarite Green.
- You will mix Sybarite Green with Morrow White to create three stages of verdigris tones:
- Applying the First Layer:
- Start with the pure Sybarite Green. Apply it by gently dabbing it onto the model. The goal is to create a patchy texture rather than smooth streaks.
- This layer should cover most of the area, but try to maintain the shades and shine of the underlying metallic paint.
- Mid-tone Application:
- Next, apply the second stage mix (half Sybarite Green, half Morrow White). This should be used more sparingly than the first layer.
- Focus on applying this mix to darker areas and recesses. You want to maintain visibility of the copper NMM base, so apply it carefully and artistically.
- Adding Highlights:
- For the final layer, use the lightest mix (mostly Morrow White with a hint of Sybarite Green). This is like a reverse highlight, working best in shadows to create contrast.
- Apply this very selectively, as it can quickly cover the base layers. It should go into the deepest recesses and lower curved areas where verdigris would naturally accumulate.
- Final Touches:
- Remember, verdigris should have an uneven, patchy appearance. It should not be smooth or uniformly applied like rust.
- Check your work against reference images to ensure a natural look.
- Finishing Up:
- After applying all three stages, your model should exhibit a realistic verdigris effect over the copper. The underlying NMM copper should still be visible, contributing to the overall realism.
More Nurgle Tutorials!
If you don’t have an account, please sign up here! The website currently has over 350 video tutorials with steps and tips, plus a selection of PDFs. If you are not sure about joining, you can explore my free videos with a free membership, or take the plunge and become a full subscriber for full access.
If you’d prefer to support me on Patreon, please visit: https://www.patreon.com/RichardGray
