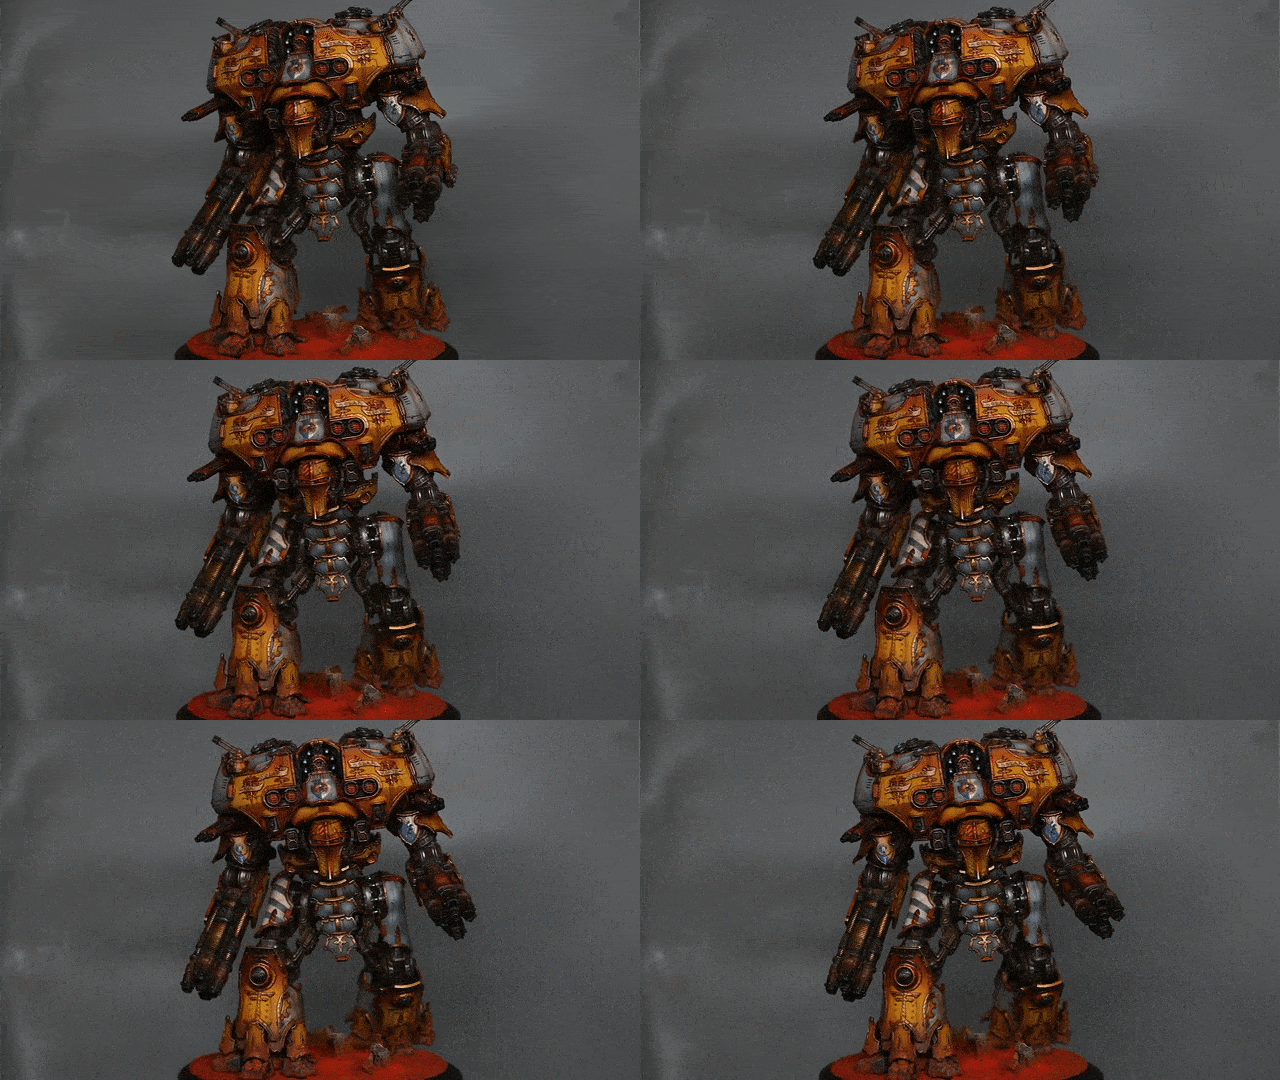
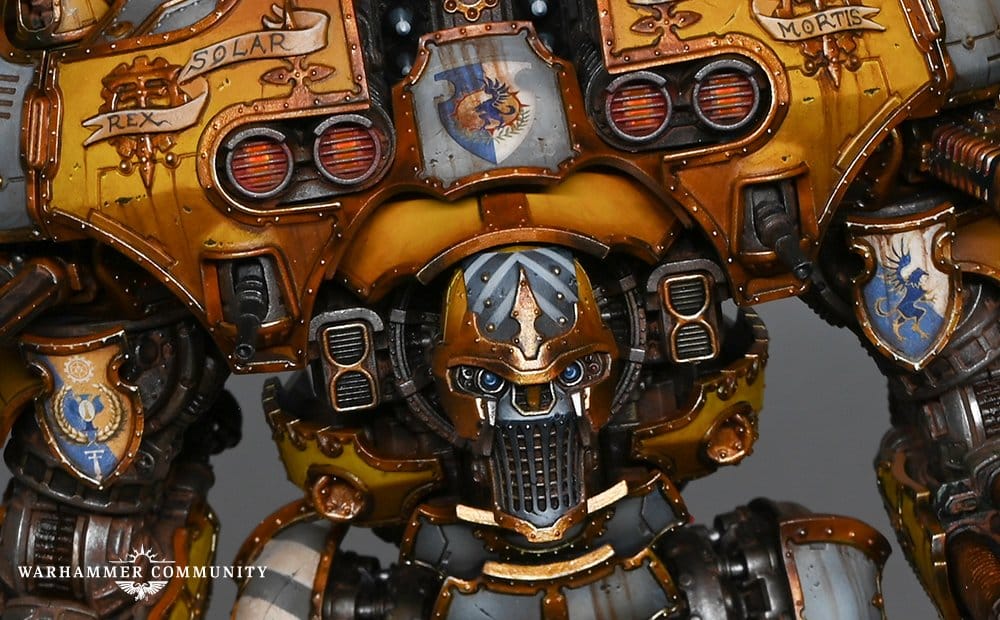
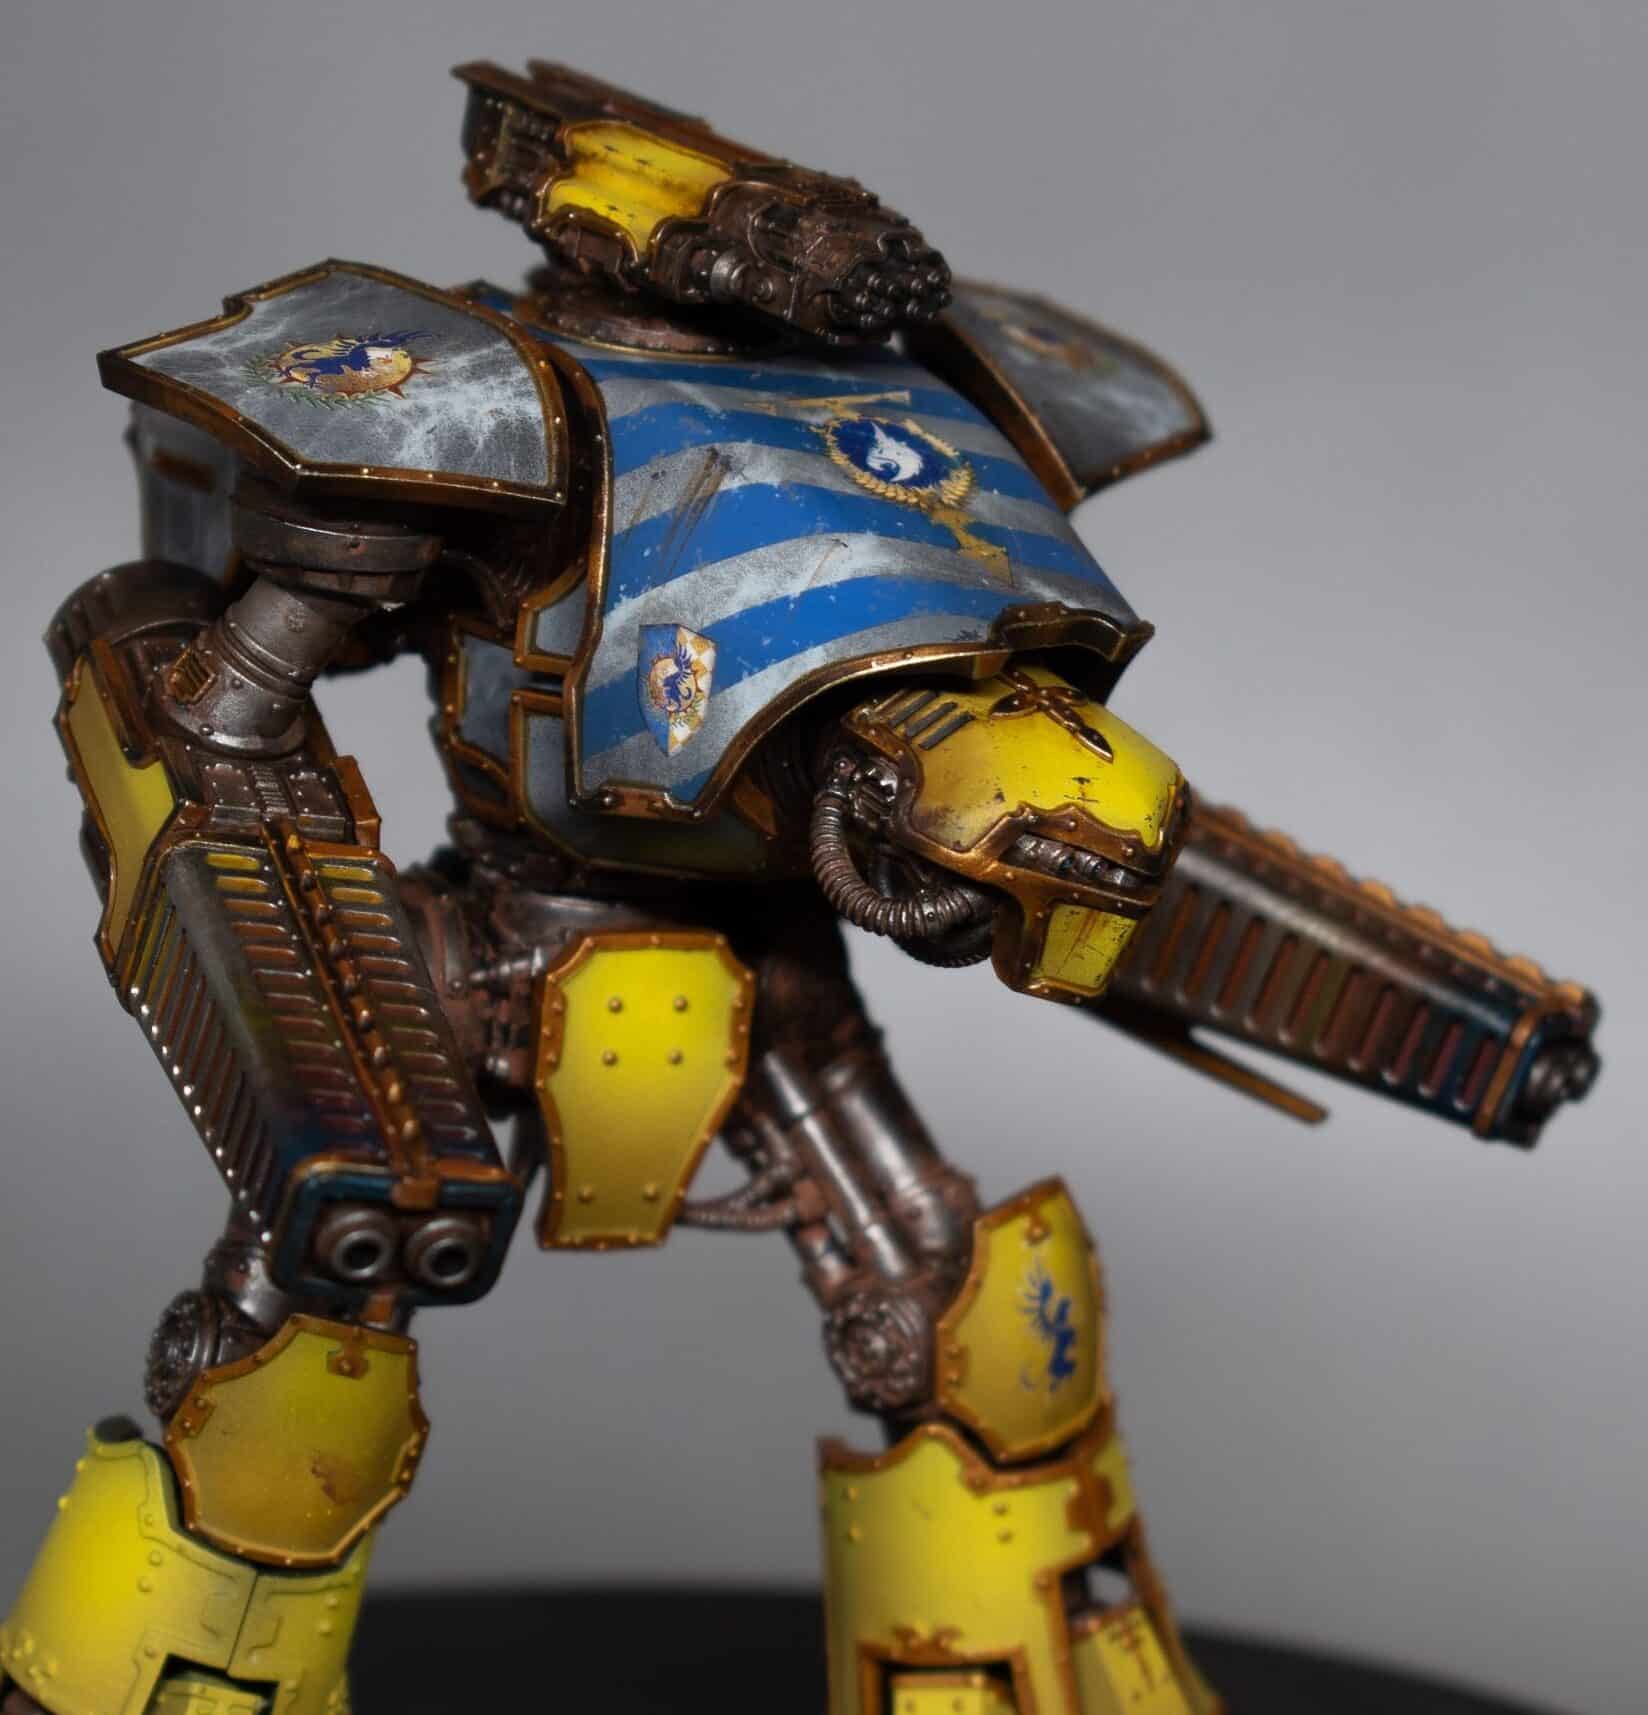
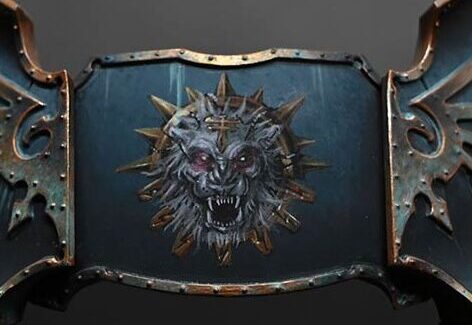
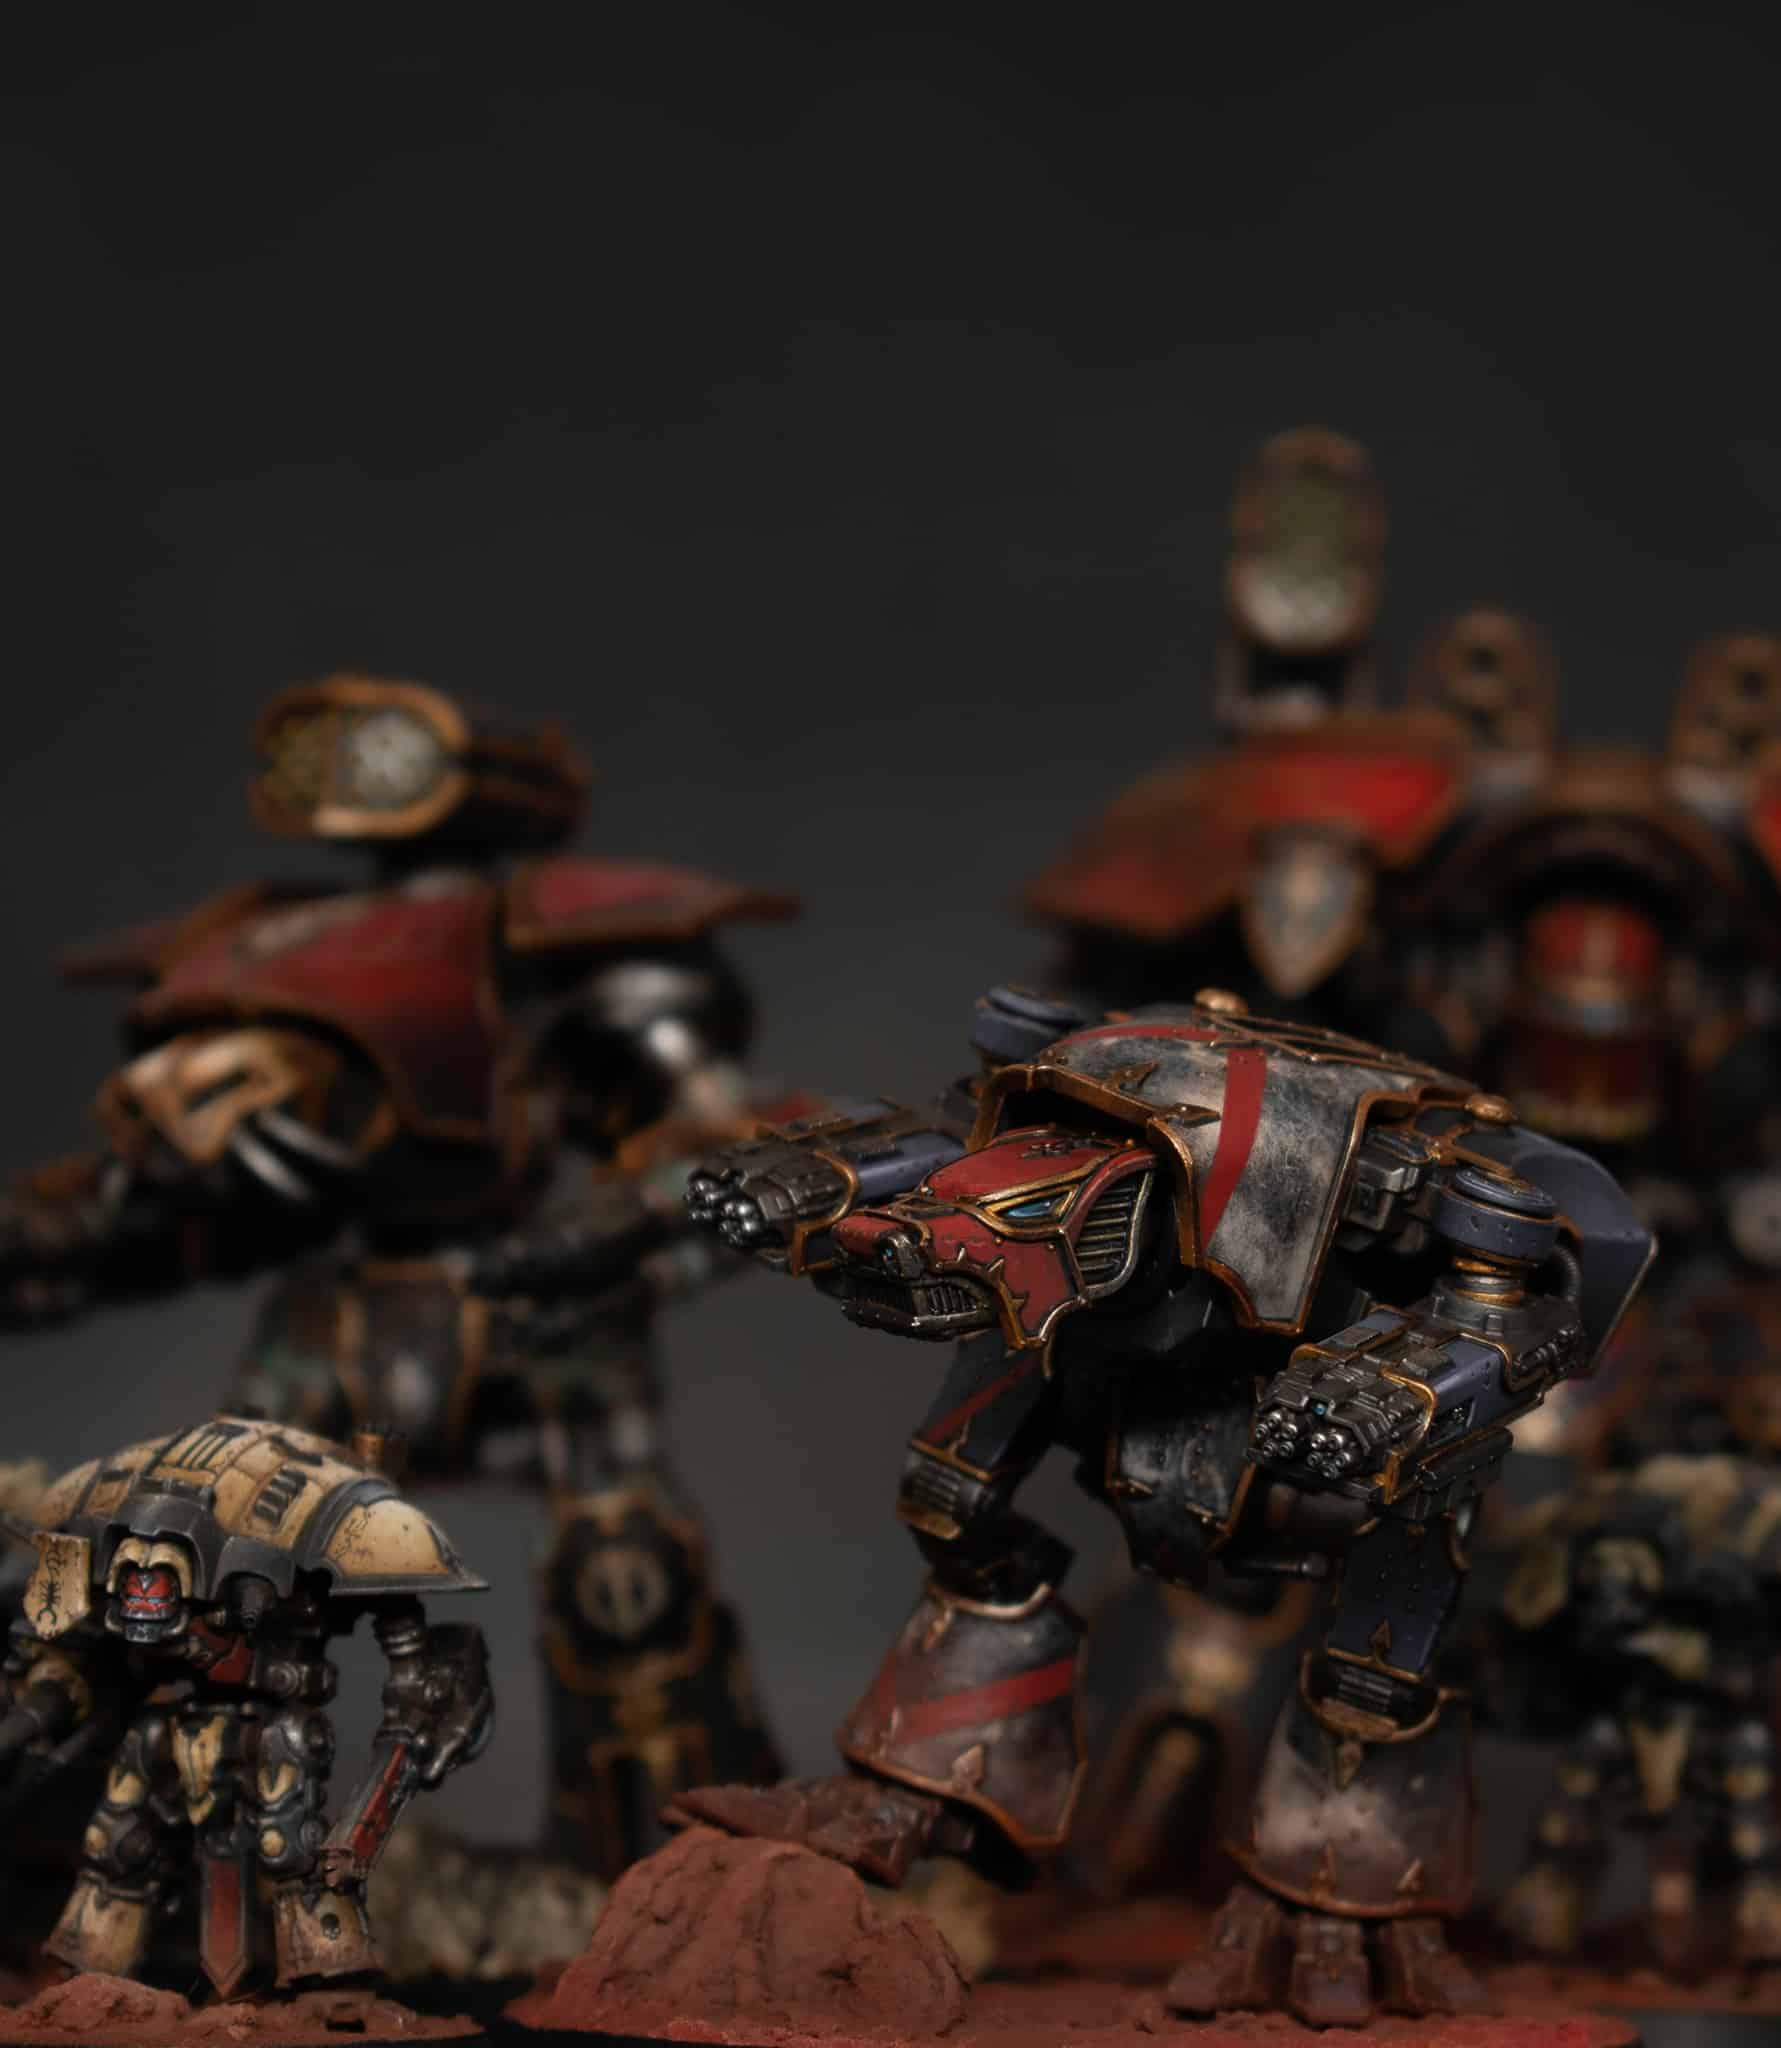
I’ve been going mad painting trim for days! I was fortunate to be sent a pre-release version of the new Warmaster, so here it is in War Griffons colours, along with two long How to Paint an Adeptus Titanicus Warmaster videos, if you’d like to give some of the techniques a go!
The magnets needed for the arms are 6mm x 2mm
How to Paint an Adeptus Titanicus Warmaster : Part One
All videos are recorded in HD 1080p or higher – use full screen for the full effect and let the video load completely.
For part one, the following paints were used:
Vallejo: Neutral Grey, Pale Grey Blue, Heavy Gold Brown, German Grey, Metal Colour Gold, Metal Colour Burnt Iron, Chrome
Games Workshop: Balor Brown, Phalanx Yellow, Mephiston Red, Fire Dragon Bright, Mournfang Brown, Athonian Camoshade, Contrast Black Templas,
Contrast Snakebite Leather, Contrast Guilliman Flesh
P3: Morrow White Winsor And Newton: Burnt Umber Water Mixable Oil Colour
Scale 75: Victorian Brass, Dwarven Gold Micro Set Gloss and Matte Varnish
Top Tips: How to Paint an Adeptus Titanicus Warmaster
Start with a clean model:
Remove mould lines and prepare the model for painting.
Choose the right primer:
Use a durable black primer, such as Badger Ultimate Primer Black.
Dry brushing for a worn look:
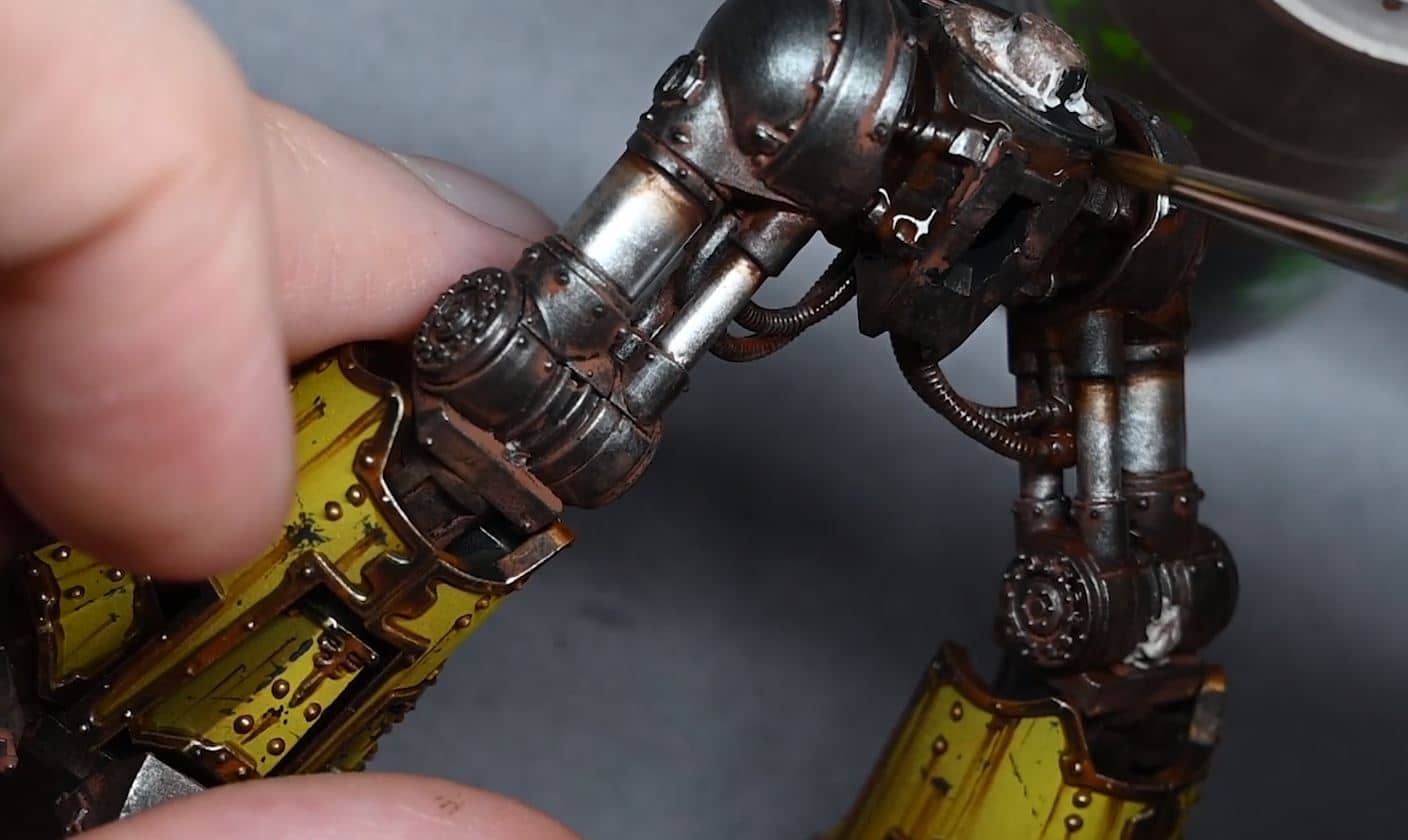
Dry brush the model with Vallejo Burnt Iron Metallic paint using a large, soft brush in circular motions.
Achieve a grainy, worn appearance that highlights raised areas.
Add weathering powder for a grimy effect:
Mix aged rust Forge World weathering powder with water and apply to the model.
Dry brush over it to create a metallic and grimy look, enhancing the weathering effect.
Apply a wash for depth:
Use a large brush to apply a wash like Athonian Camoshade or Agrax Earthshade to add depth to the model.
Separate panels before applying wash for efficiency, especially if using an airbrush.
Painting the trim:
Paint the trim with Scale 75 Victorian Brass and give it a wash for added detail.
Use Contrast Paint (Snakebite Leather) in the recesses to make the trim stand out.
Shade the trim for realism:
Choose a shade like Contrast Guilliman Flesh to shade the trim for a realistic effect.
Consider using Contrast Snakebite Leather for a quicker alternative.
Optional edge highlighting for shine:
Optionally, use a lighter colour like Dwarven Gold for edge highlighting to add shine to the model.
Weathering scratches:
Paint weathering scratches using streaking techniques and consider variations in opacity.
Drag thick streaks down and manipulate them with a damp brush for a natural look.
Gloss varnish for a final touch:
Apply gloss varnish by hand for a shinier finish, especially around the rim where transfers meet the armour panel.
Glossier finishes enhance the overall weathered appearance.
Weathering with oil wash:
Apply a weathering wash using Heavy Gold Brown by Vallejo.
Be mindful of visible circles around decals, as the pigment settles in those areas during the weathering process.
Other tips:
Save time by being a bit more sloppy with the initial wash before painting the yellow sections.
Consider airbrushing the metallics to achieve a consistent look across the model.
How to Paint an Adeptus Titanicus Warmaster : Part Two
For part 2, the following paints were used:
Vallejo: Neutral Grey, Pale Grey Blue, Heavy Gold Brown, German Grey, Metal Colour Gold, Metal Colour Burnt Iron, Chrome
Games Workshop: Balor Brown, Phalanx Yellow, Mephiston Red, Fire Dragon Bright, Mournfang Brown, Athonian Camoshade,
Contrast Black Templas, Contrast Snakebite Leather, Contrast Guilliman Flesh
P3: Morrow White Winsor And Newton: Burnt Umber Water Mixable Oil Colour
Scale 75: Victorian Brass, Dwarven Gold Micro Set Gloss and Matte Varnish
Top Tips for Part 2:
Snakebite Leather Contrast Paint:
Time to define that armour trim. Grab your Snakebite Leather and carefully trace around the trim. Keep it tidy, but don’t stress—messiness is part of the charm.
Victorian Brass (Scale 75):
Now, let’s make that trim stand out. Spend some extra time if you fancy making it posh, but for a gaming piece, a wash or contrast colour works a treat.
Dry Brushing the Bodywork:
Grab a dry brush and add shadows to those curves. Imperfections? Embrace them—it adds character!
Gun Barrel Detailing:
Be gentle as you dry brush the gun barrel with Age Rust and Screaming Skull. Keep it realistic in scale, avoiding excessive height.
Rust Effects:
Use German Grey or Dark Grey for the darker areas. Add rust effects using Void World Weathering Powders—both orange and age rust. Keep it real, considering the scale you’re working in.
Banner Strip:
This is the intricate part. Thin your paint, use German Grey or Dark Grey, and take your time. If freehanding text feels daunting, decals are a viable option. Legibility is key—fancy text is cool, but make sure it’s readable.
Fixing Mistakes:
Don’t panic if you mess up the lettering. You can fix it with the base colours on your wet palette. Cut into it with base colours for cleaner edges.
More Adeptus Titanicus and Titan Videos can be watched by clicking the thumbnails below!
If you don’t have an account, please sign up here! The website currently has over 350 video tutorials, plus step by step guides and PDFs. You can explore my free videos with a free “friend” membership, or take the plunge and become a full subscriber for full access.
If you’d prefer to support me on Patreon, please visit: https://www.patreon.com/RichardGray








Wonderful work. What airbrush are you using?
Hi James, thank you for your kind comment! I use the Cult of Paint Infinity airbrush
( https://elementgames.co.uk/paints-hobby-and-scenery/airbrushes-accessories/harder-and-steenbeck/cult-of-paint/cult-of-paint-infinity?d=10373 )
Beautiful work, Richard. I’m just getting into Adeptus Titanicus, so I’m scouring the internet for great tutorials. Can I ask, do/would you use the same burnt umber colour to weather your Mortis engines, or do you need lighter colours over the red and black panels?
Your Legio Fureans video was amazing. It helped convince me to have them be my Legio for AT. Thanks to you I’ve discovered the joy of freehanding those flames on my own collection! Definitely glad I did, my warhounds look amazing!
Thanks, Mykel! I’m glad to hear it.