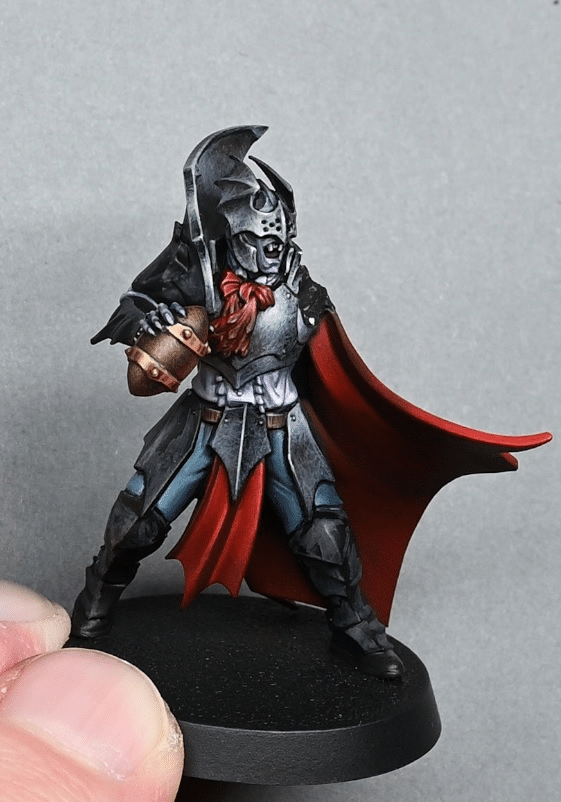
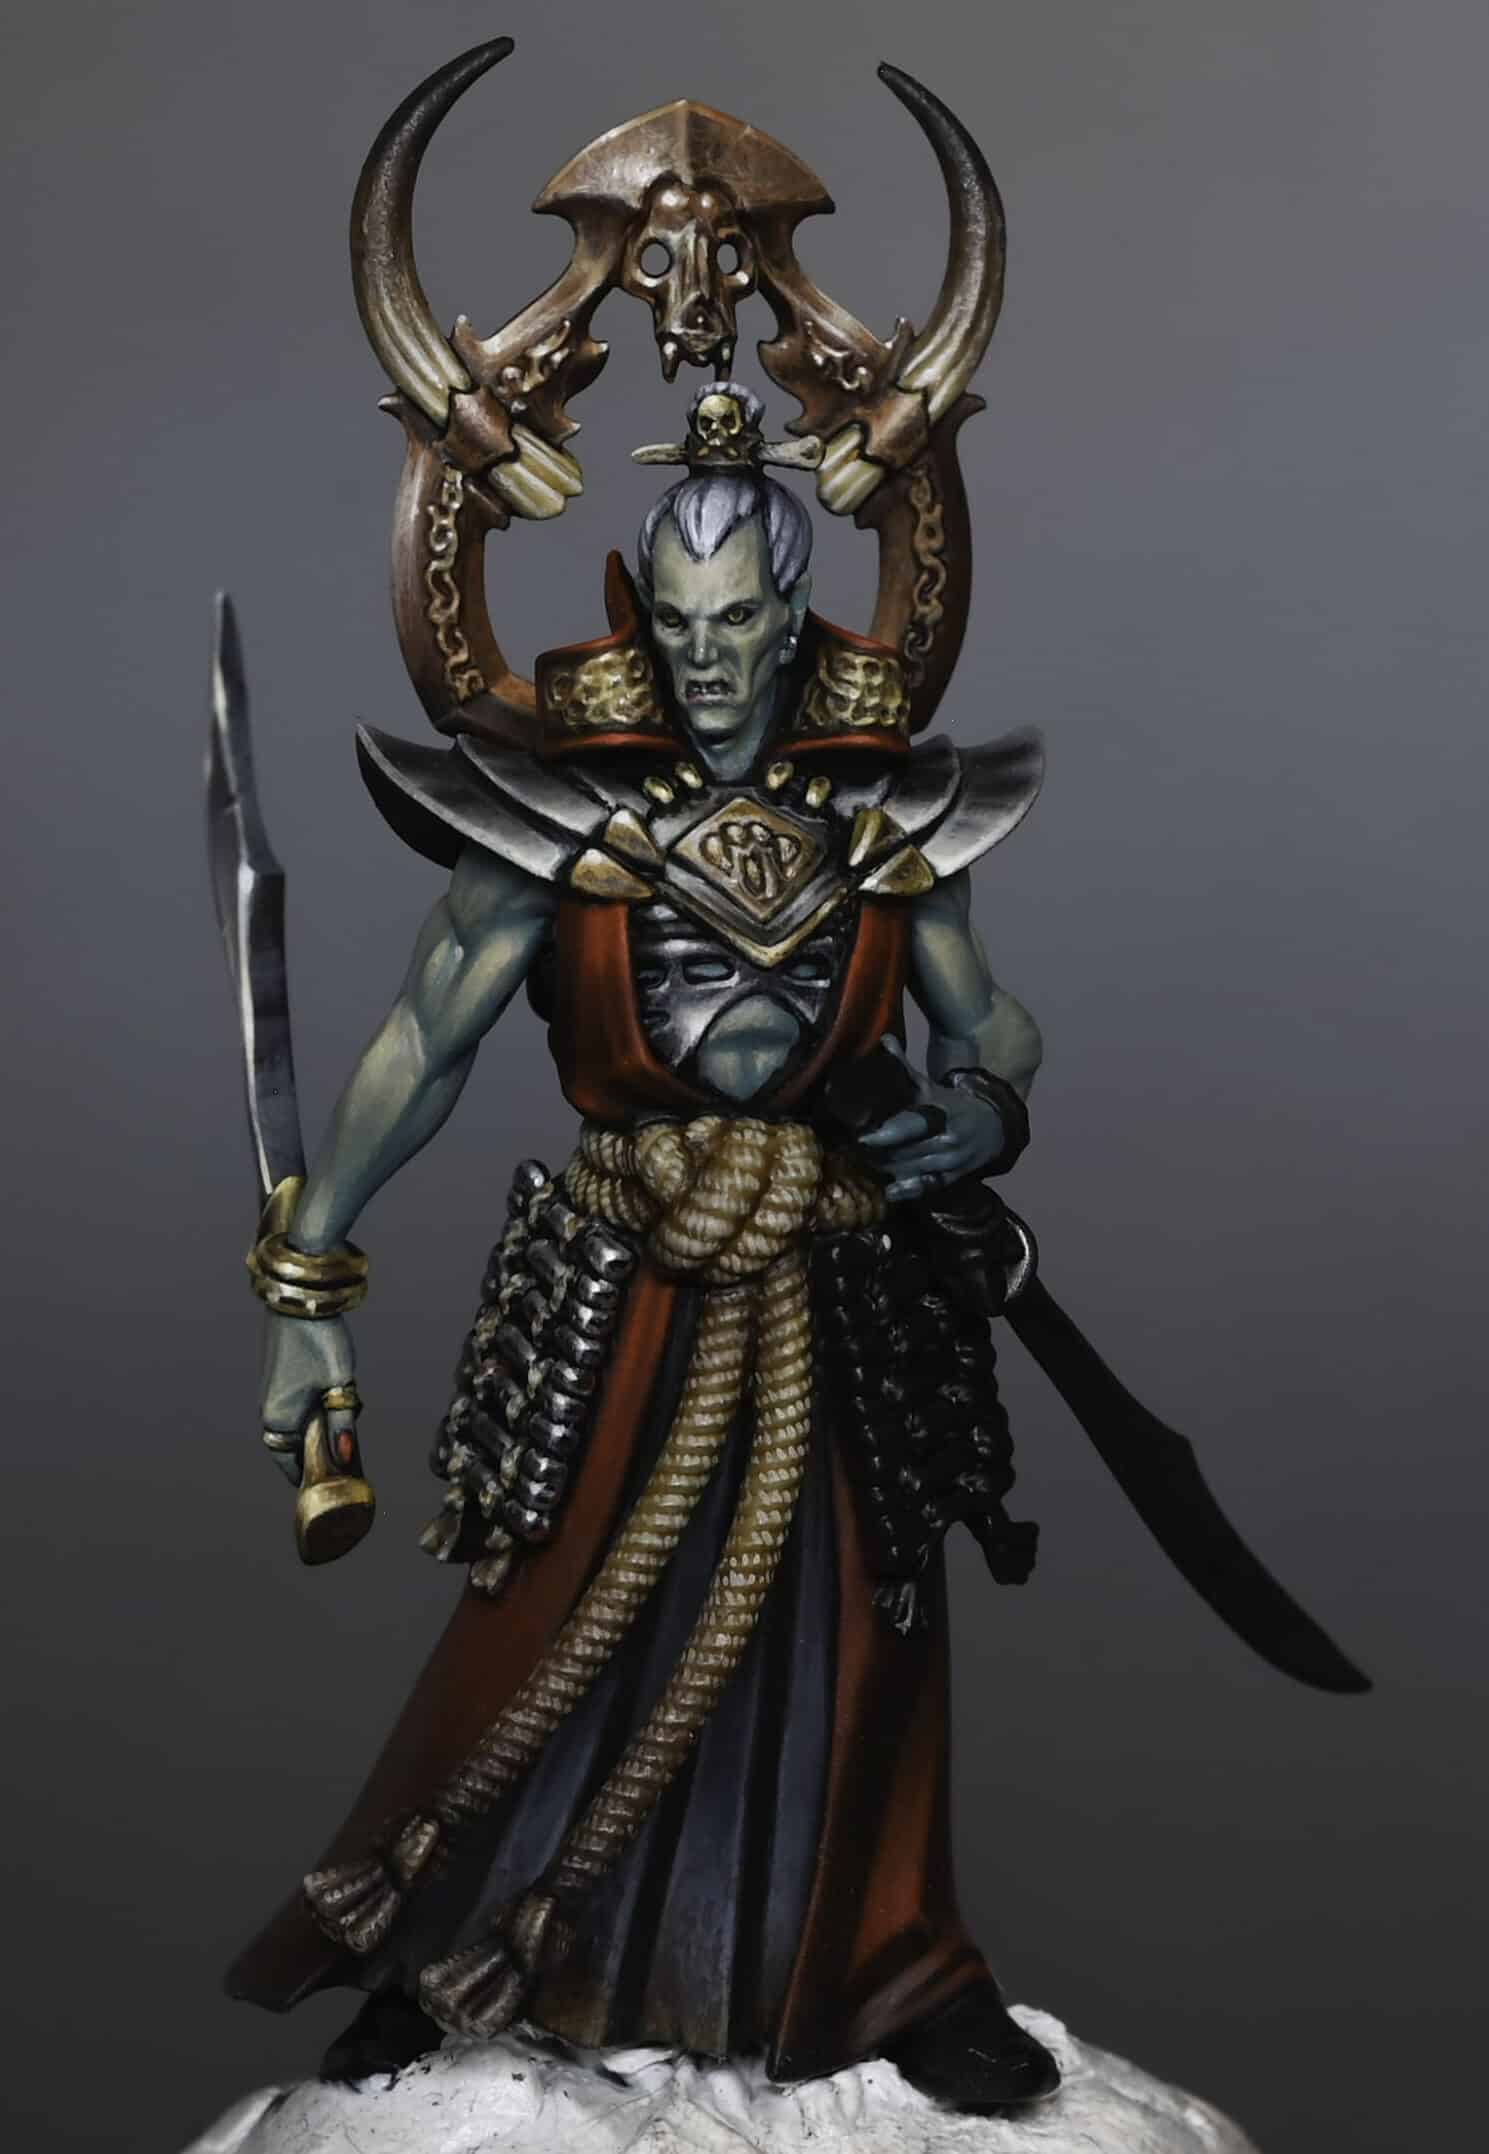
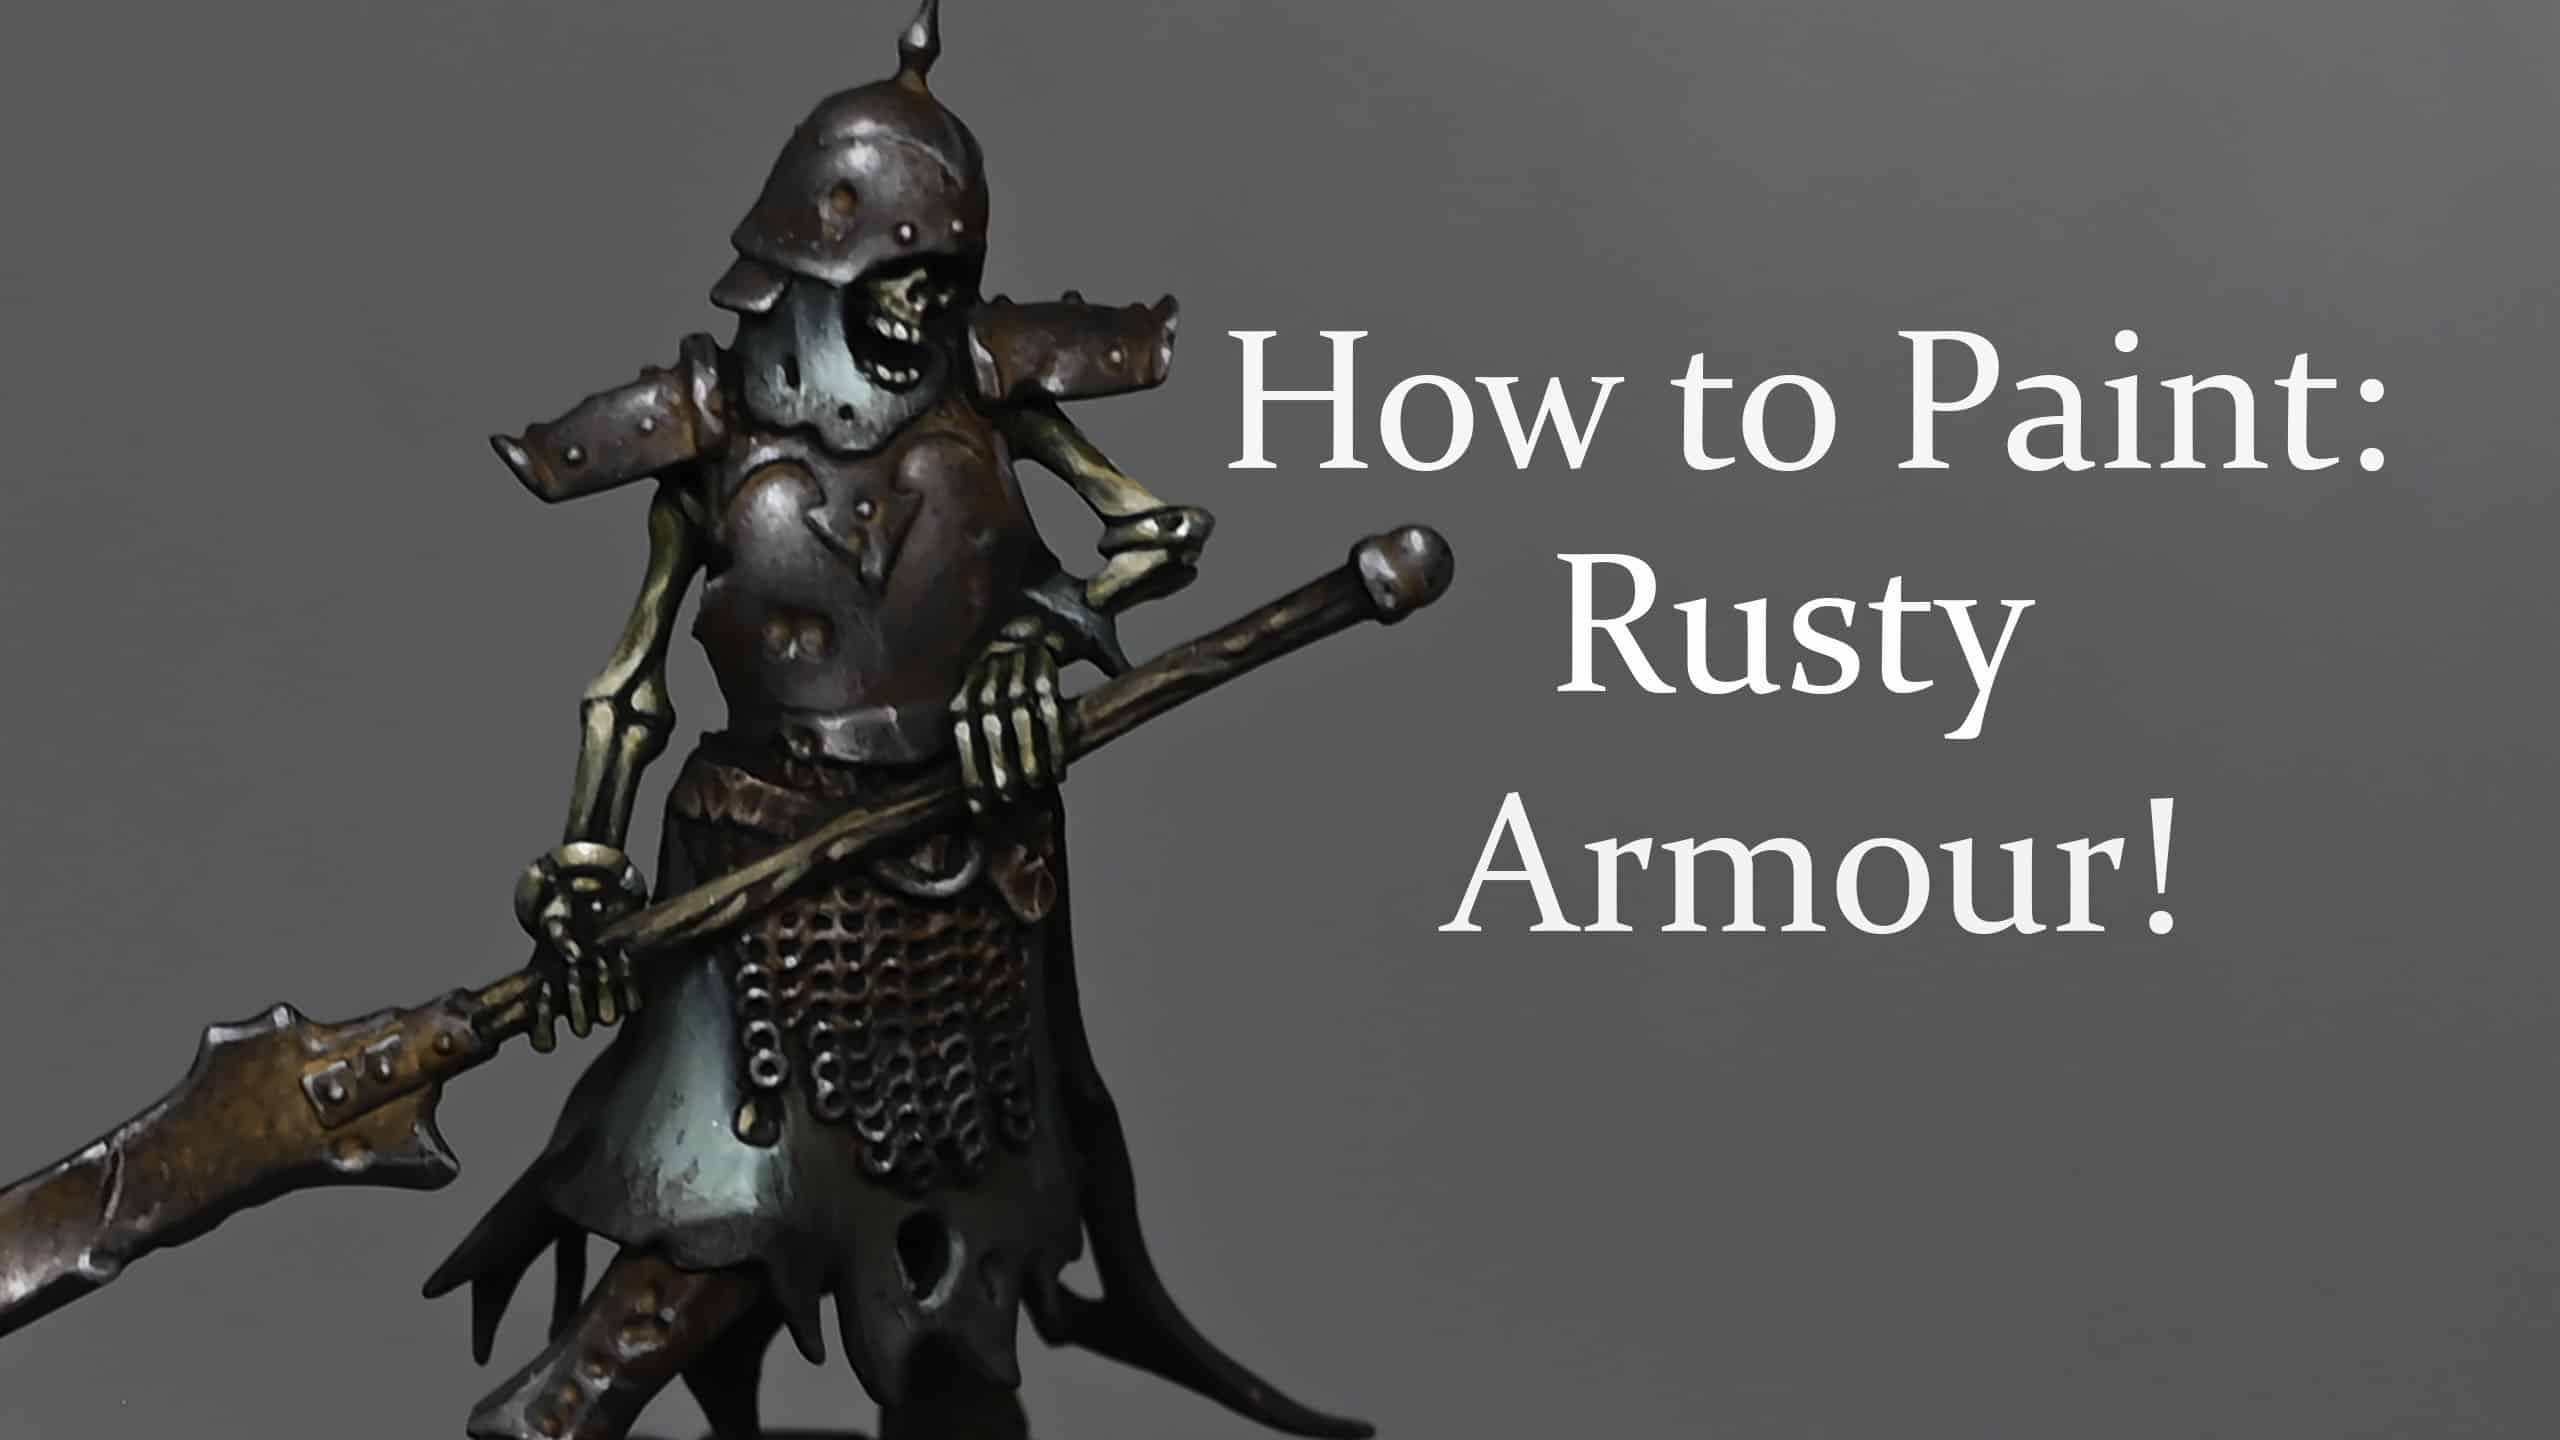
Welcome to this detailed guide for how to paint a Sepulchral Guard Warden from Warhammer Underworlds: Shadespire. In this tutorial, we will cover the key steps and techniques, along with specific paints used to create a gritty, worn look for this undead warrior.
How to Paint a Sepulchral Guard Part One: NMM Bronze on the Sepulchral Guard
The focus of this guide will be on painting the armour and cloak, with some weathering techniques to bring out the character of the miniature.
Materials and Paints
Priming:
- Vallejo Surface Primer (Black) – the model is primed in black, left to dry overnight before painting.
Base Colours:
- Bugman’s Glow (Citadel) – base colour for the armour.
- Ratskin Flesh (Citadel) – to layer and highlight the bronze armour.
- Mournfang Brown (Citadel) – used to darken the shadows and add depth.
- Sotek Green (Citadel) – for verdigris effects.
- Death Guard Green (Citadel) – for glazing over the cloak.
- Rhinox Hide (Citadel) – for deepening shadows on the armour.
- Ice Yellow (Vallejo) – for highlighting bronze and final touches on the armour.
- Neutral Grey (Vallejo) – for base layers on the cloak.
- German Grey (Vallejo) – for shadowing areas of the cloak.
- Cold Grey (Vallejo) – for brightening the final highlights on the cloak.
- Ceramite White (Citadel) – for extreme highlights on the edges of the model.
Step 1: Priming the Model
Begin by priming the Warden using Vallejo Surface Primer (Black). This is key for ensuring smooth paint application and helping the darker tones blend seamlessly. Leave it to dry overnight to ensure the primer is fully cured.
Step 2: Painting the Armour
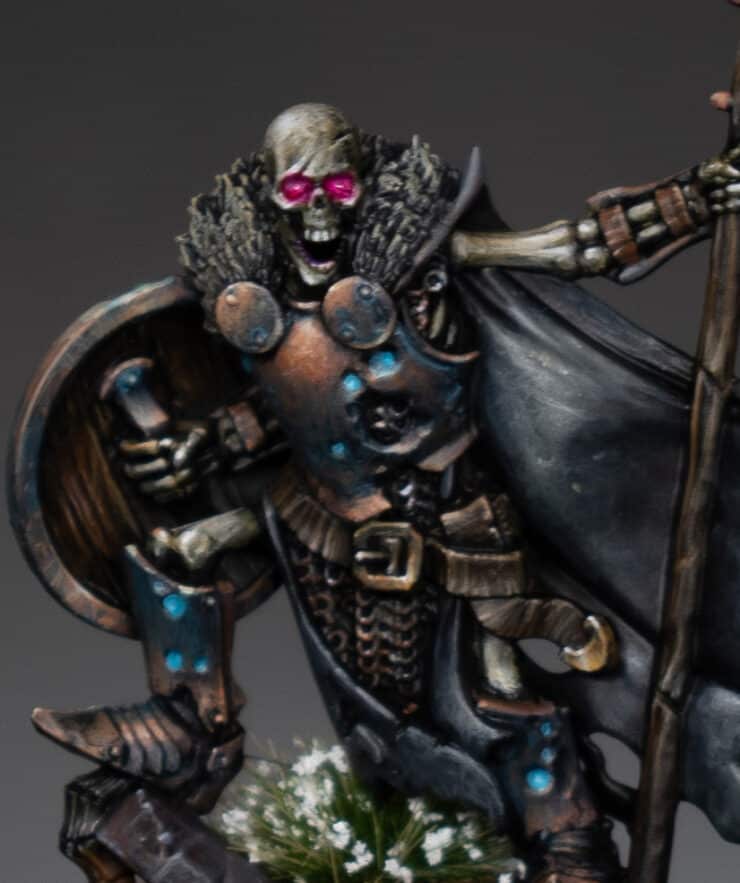
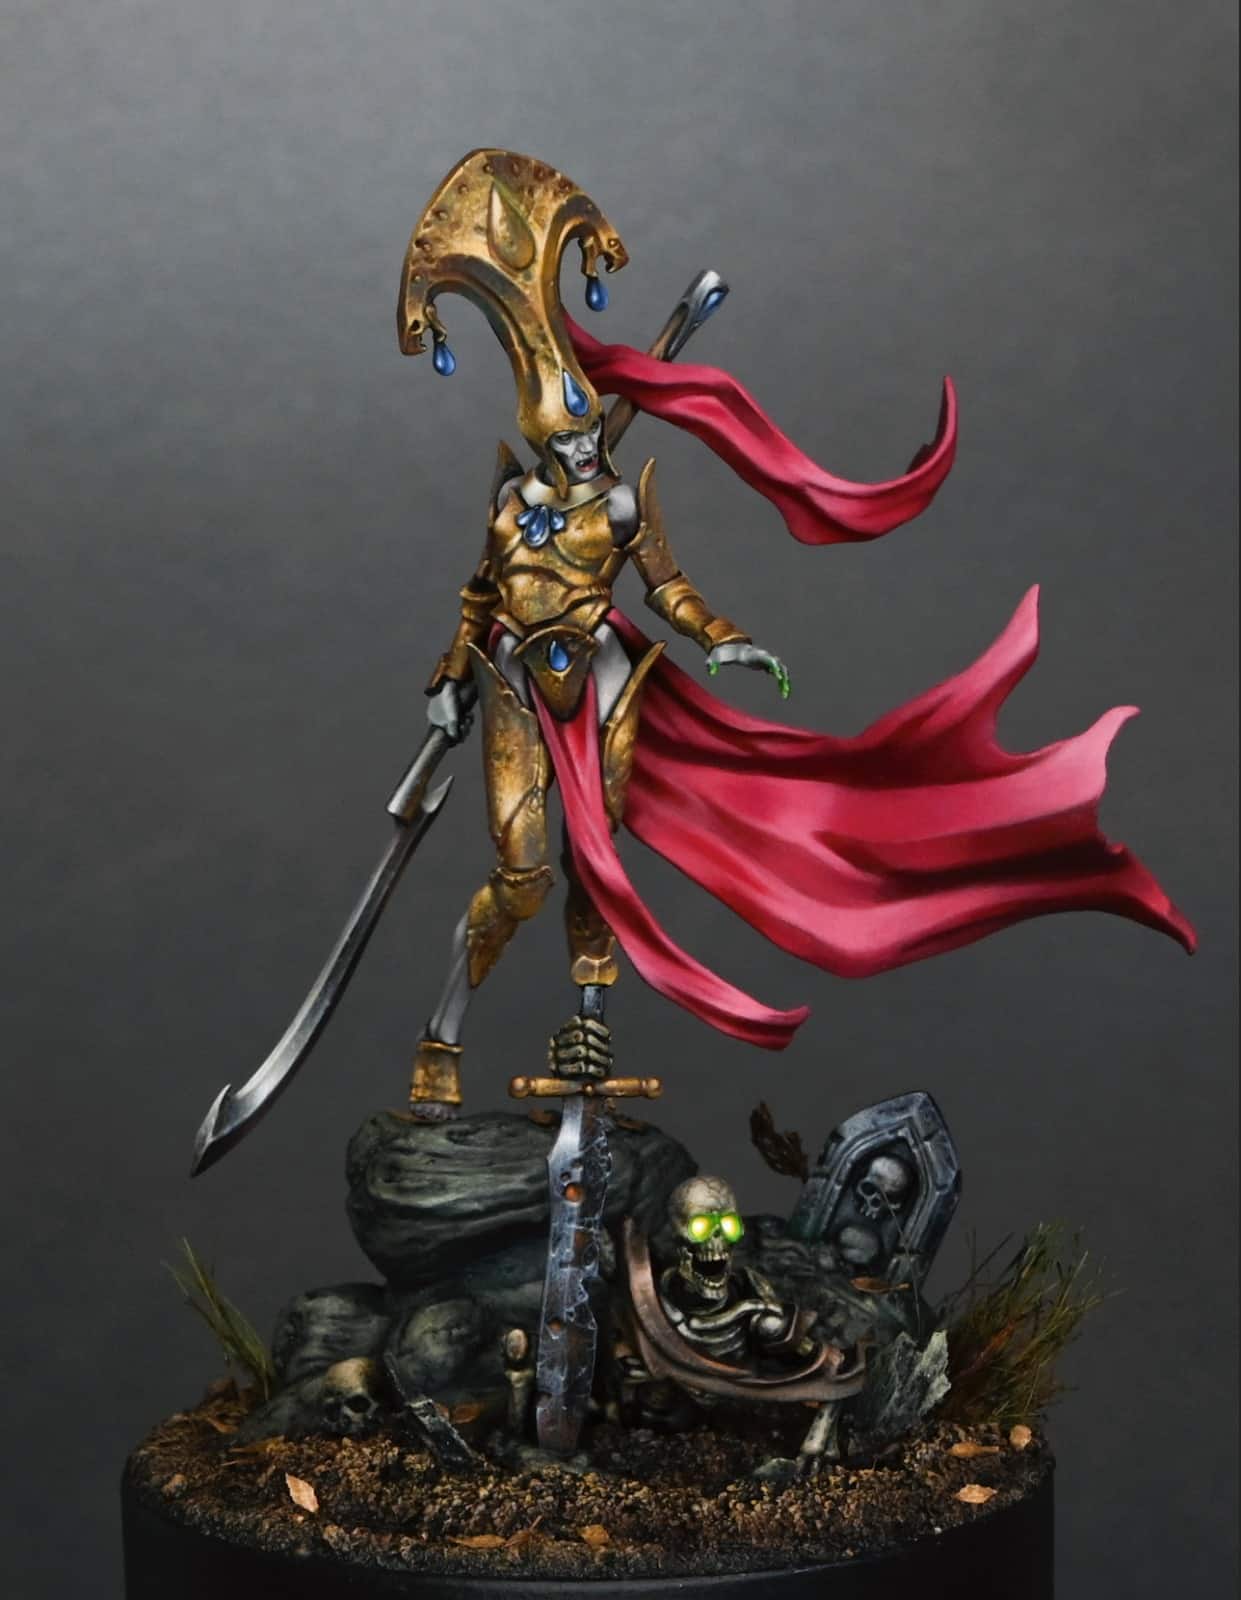
The Warden’s armour will have a worn bronze effect, using Bugman’s Glow as the primary tone.
- Basecoat:
Apply Bugman’s Glow over the entire armour area. Don’t worry about being overly smooth here—rough, uneven strokes will help enhance the worn, battered look. Focus on leaving some of the black primer showing through in the deeper recesses to create shadow. - Layering & Highlights:
Start applying Ratskin Flesh to the more prominent areas of the armour, such as the chest and shin, focusing on the raised areas. To achieve a rough transition, use stippling (small, dotted applications of paint) or rough brushing to let the previous layer show through. This creates a textured effect. - Shadows & Depth:
To deepen the shadows and enhance contrast, mix Mournfang Brown into the recesses of the armour, especially around the chest and near the joints. You can add Rhinox Hide into the deepest shadows if needed. - Final Highlights:
For final highlights, mix Ratskin Flesh with Ice Yellow (50:50 mix) and apply to the very edges of the armour plates, focusing on the highest points where light would naturally hit. Add a few pure Ice Yellow touches for maximum contrast on the highest edges.
Step 3: Adding Verdigris to the Armour
To add verdigris, which simulates the natural oxidation of bronze, use Sotek Green.
- Application:
Thin the paint into a glaze consistency (approximately 1 part paint to 5-7 parts water). Apply this to the recesses of the armour, focusing on areas where water and air would naturally collect, such as cracks, around rivets, and inside dents. - Multiple Layers:
Build up layers gradually to create a soft, weathered effect. Be careful not to overdo it—apply just enough to make the armour look aged, without obscuring the bronze underneath.
Step 4: Painting the Cloak
The cloak will have a textured, worn fabric effect, using shades of grey and green.
- Basecoat:
Start with Neutral Grey as the base layer for the entire cloak. This provides a mid-tone that the highlights and shadows will work off. - Shading the Cloak:
Using German Grey, apply shadows into the folds and recesses of the cloak. Use a scrubbing motion with an older brush, as this helps to create a rough, textured appearance that suits the worn look of the fabric. - Highlighting:
Apply Cold Grey to the raised areas of the cloak, using a rough, dry brushing technique. This creates strong contrasts and enhances the sculpted folds. Focus on making the brush strokes large and sweeping, as this cloak should look like it’s been through many battles. - Glazing:
After the highlighting, apply a Death Guard Green glaze over the entire cloak. This softens the stark contrasts and adds a slight green hue to the fabric, making it look aged and weathered. You can mix this glaze to your desired consistency (5-7 parts water to 1 part paint is a good starting point).
Step 5: Final Touches and Highlights
- Extreme Highlights:
With Ceramite White, carefully pick out the most extreme edges of the armour and cloak, especially where the light would hit the most. Use sparingly, as this is meant to be the final touch to bring out contrast and make the model pop. - Refining Details:
If any parts of the model, such as straps or weapons, were painted the wrong colour during earlier steps (like the straps on the forearms), now is the time to correct them. For example, change metallic straps to leather using Mournfang Brown for a more realistic look.
Final Notes
- Texture Creation:
Throughout the painting process, particularly on the cloak and armour, using older brushes with worn tips will help you create natural texture. The rough application of paint aids in the overall weathered look of the model. - Blend Transitions:
Don’t be afraid to work back and forth between colours. For example, use Ratskin Flesh to soften Ice Yellow highlights if they appear too stark. This will ensure smooth transitions between shadows and highlights.
How to paint the Sepulchral Guard Part Two
In this part, we will cover how to paint the remaining details on the model, including the skeletal bones, the shield, leather details, and the glowing eyes. Let’s dive into the steps to bring your model to life with a gritty, worn look.
All videos are recorded in HD 1080p or higher – use full screen for the full effect and let the video load completely.
Materials and Paints
Skeleton and Bone:
- Balor Brown (Citadel)
- Ushabti Bone (Citadel)
- Screaming Skull (Citadel)
- Ceramite White (Citadel)
Leather and Wood Details:
- Rhinox Hide (Citadel)
- XV-88 (Citadel)
- Mournfang Brown (Citadel)
Eyes and Glowing Effects:
- Vallejo Magenta Fluorescent
- Arias Purple (Vallejo)
Weathering and Cloak:
- Death Guard Green (Citadel)
- Abaddon Black (Citadel)
Step 1: Painting the Skeleton
The Warden’s bones are a key feature of the model, and we’ll give them a worn, aged appearance using several layers of progressively lighter tones.
- Basecoat:
Start by applying Balor Brown over all the bone areas, such as the skull, ribs, arms, and legs. Apply the paint in a rough, dry-brush-like manner, focusing on creating texture rather than smooth coverage. Allow some of the black primer to show through, especially in the recesses. - First Highlight:
Once the basecoat is dry, apply Ushabti Bone to the raised areas of the bone. Use a small amount of paint on the tip of the brush and work in light strokes. Focus on areas like the forehead, cheekbones, and ribs, but ensure the texture from the previous layer is still visible. - Second Highlight:
Using Screaming Skull, further highlight the most prominent areas of the bones. Concentrate on details such as the edges of the eye sockets, teeth, and knuckles. This will make the bones stand out while retaining the worn, aged look. - Final Highlight:
With Ceramite White, apply small, precise highlights to the sharpest points of the skeleton, like the teeth and the highest points on the skull. This should be done sparingly to create strong contrast and make the bones pop.
Step 2: Painting the Leather Straps and Belt
The model has leather details, such as straps around the arms and a belt. These will be painted to look worn and textured.
- Basecoat:
Apply Rhinox Hide to the leather straps and belt. Use thin layers to ensure even coverage while leaving some of the black primer in the recesses. - First Highlight:
Use XV-88 to apply vertical texture lines on the leather straps and belt. This gives the impression of worn, creased leather. Be sure to add slightly thicker lines on the upper sections of the belt to show light catching the curve. - Final Highlight:
Mix Ushabti Bone with a small amount of XV-88 to apply final highlights to the edges of the leather straps and belt. Focus on picking out the very top edges where light would naturally hit.
Step 3: Painting the Wooden Shaft and Shield
The Warden’s shield and spear shaft have wooden details, which we will paint with a worn, aged effect.
- Basecoat:
Paint the wooden areas of the shield’s inside and spear shaft with Rhinox Hide. Keep your brush strokes vertical to mimic wood grain, especially on the shield. - Highlighting the Wood Grain:
Apply Mournfang Brown to highlight the wood grain. Use small, vertical strokes along the length of the spear and shield, following the natural direction of the sculpted texture. - Refining the Grain:
Add Ushabti Bone to the Mournfang Brown and paint finer lines along the wood grain for a final highlight. Concentrate this on areas where the wood is more exposed to light, such as the top sections of the spear and shield.
Step 4: Painting the Chainmail and Metal Details
The chainmail will be painted to appear aged and slightly rusted to match the model’s overall worn aesthetic.
- Basecoat:
Start with Abaddon Black as a base for the chainmail. This will serve as a shadow base for the upcoming metallic layers. - Highlighting the Chainmail:
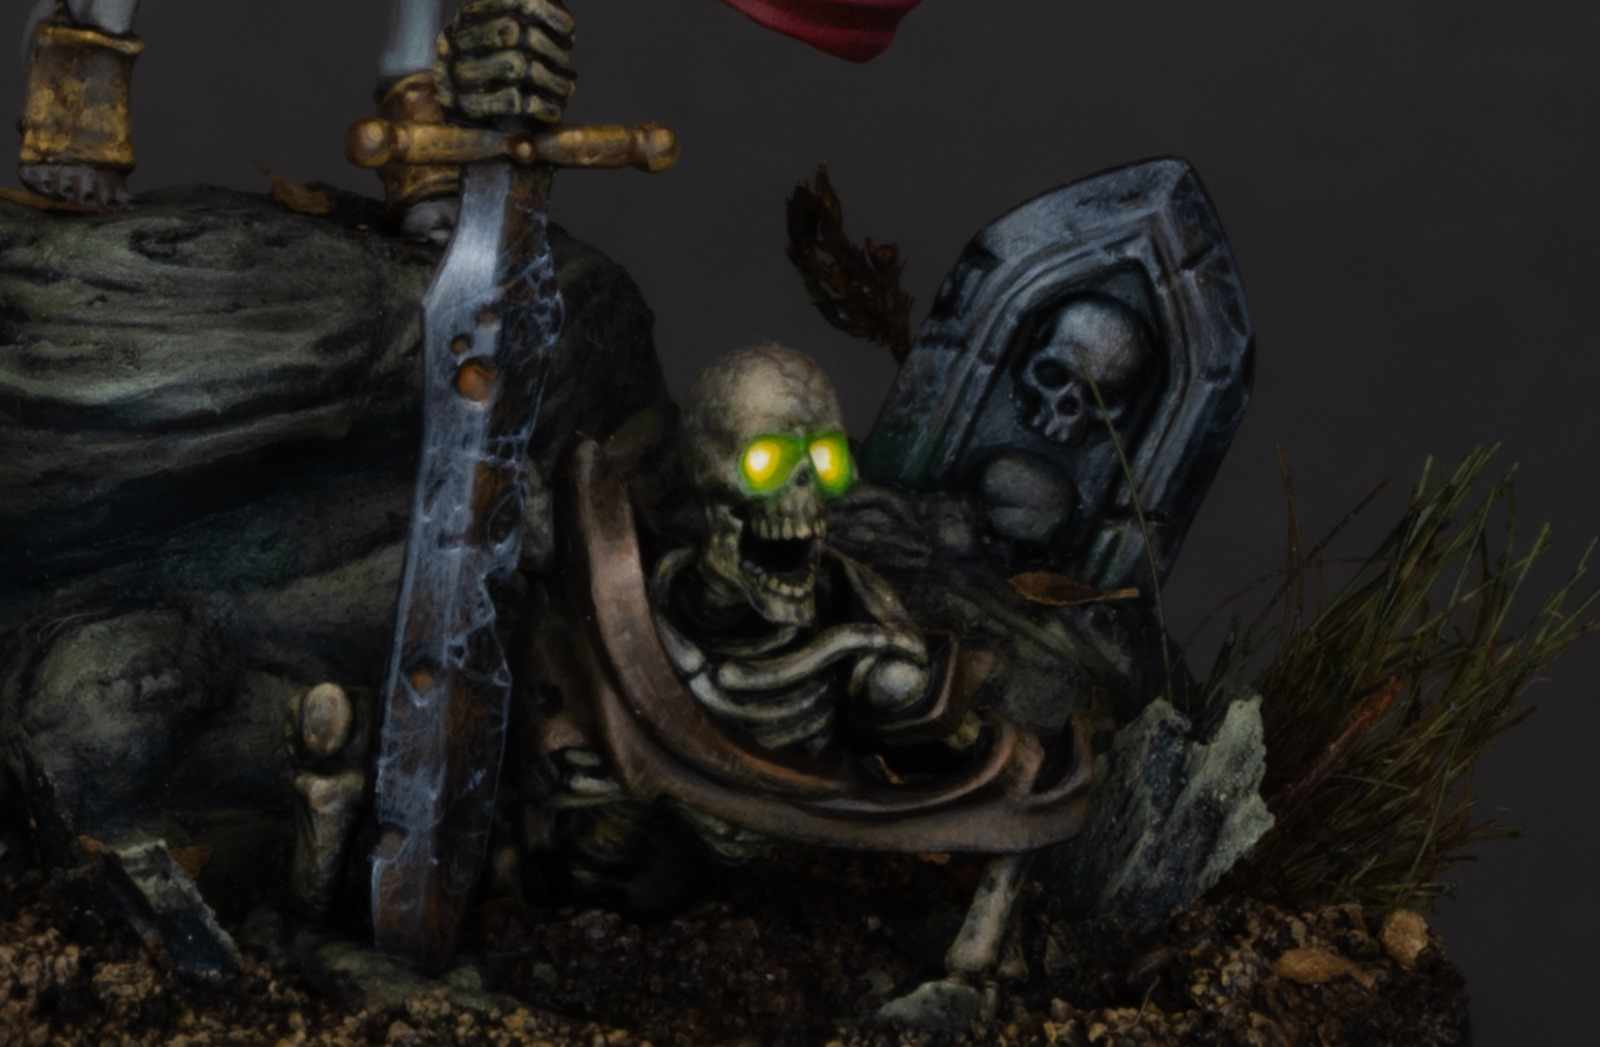
Use Cold Grey to lightly dry brush over the chainmail, picking out the raised areas while leaving the deeper recesses dark. This rough technique helps the chainmail look aged and worn. - Rust Effect:
Apply a thin layer of Mournfang Brown to add a rusty, aged look to the chainmail. Focus on downward strokes to simulate the natural collection of rust and grime in the crevices.
Step 5: Painting the Glowing Eyes
The Warden’s eyes will be painted to give a glowing, undead effect, which will serve as the focal point of the model.
- Base Colour:
Apply Arias Purple to the eye sockets. This will act as the base for the glow effect, providing a dark, rich undertone. - Main Glow Colour:
Use Vallejo Magenta Fluorescent for the main glow effect. Carefully paint the centre of the eye sockets, keeping the paint thin to allow for several layers. This bright, fluorescent colour gives the impression of a magical, eerie glow. - Final Highlight:
Mix a small amount of Ceramite White with the Magenta Fluorescent to create a lighter highlight. Apply this to the centre of the eyes to intensify the glow and give it a radiant appearance.
Step 6: Painting the Fur Collar
The fur collar will be painted to match the aged, worn aesthetic of the model, with an additional glaze to tie it all together.
- Basecoat:
Dry brush Abaddon Black over the fur collar, following the direction of the sculpted texture. This rough technique helps to create a base layer of texture without obscuring the details. - First Highlight:
Apply a lighter dry brush of Death Guard Green over the fur. This adds a subtle green tint to the fur, making it look aged and worn. Focus on the raised edges of the fur to enhance the texture. - Final Glaze:
Use Death Guard Green mixed with water (approximately 5-7 parts water to 1 part paint) and apply a glaze over the entire fur area. This will blend the highlights and add a dirty, aged effect. Be sure to let each layer dry before applying the next to avoid pooling.
Final Notes
- Texture Creation:
Remember to use older brushes for the dry brushing and rough painting techniques. The rougher texture complements the worn, grimy feel of the Warden. - Blending Glazes:
When using glazes, ensure thin, controlled layers to gradually build up the effect. This is especially important on the fur and verdigris areas to avoid overpowering the previous layers.
Who are the Sepulchral Guard?
The Deathrattle of Shadespire are quite unlike the typical charnel slaves raised by minor necromancers and practitioners of fell magic. Their soul animus remains trapped within their decayed forms as a result of the curse of Nagash, and thus they retain a fragmented memory of their past lives long after their flesh has rotted away. Over time, many of these unfortunates have sworn themselves to the God of Death’s service, praying that by petitioning Nagash for forgiveness they may be freed from the agony of their existence. Greatest amongst the faithful is the Sepulchral Guard, the former Lord Marshal of Shadespire. Such is his devotion to Nagash that this enigmatic creature has been gifted with the power to inspire frenzied devotion in his subjects, and he directs them against all who would challenge the Great Necromancer’s will!
Want more Undead? Check out the videos below:
If you don’t have an account, please sign up here! The website currently has over 350 video tutorials with steps and tips, plus a selection of PDFs. If you are not sure about joining, you can explore my free videos with a free membership, or take the plunge and become a full subscriber for full access.
If you’d prefer to support me on Patreon, please visit: https://www.patreon.com/RichardGray





Watching this, it seems achieveable for a newish to medium skilled painter, but i’m hesitant to pick up this model and try it out myself. Would you sat that this scheme requires a lot of skill to pull off, and if so, where would you start with building up skills for this?
Hi Alexander, pay attention to how light falls on your models and think about your highlights – that’s always a really good place to start. Think about getting high contrast on what you paint, so metals look shiny.
Thank you for responding. Im motivated to pick up the underworlds box, and try out myself. Its looks so fun to paint, and i wish to become a better painter. Your style is right up my alley, and i hope to become a fraction of the painter you are.