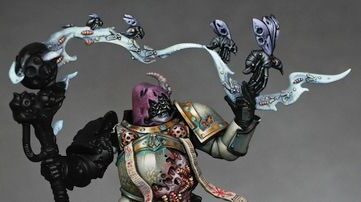
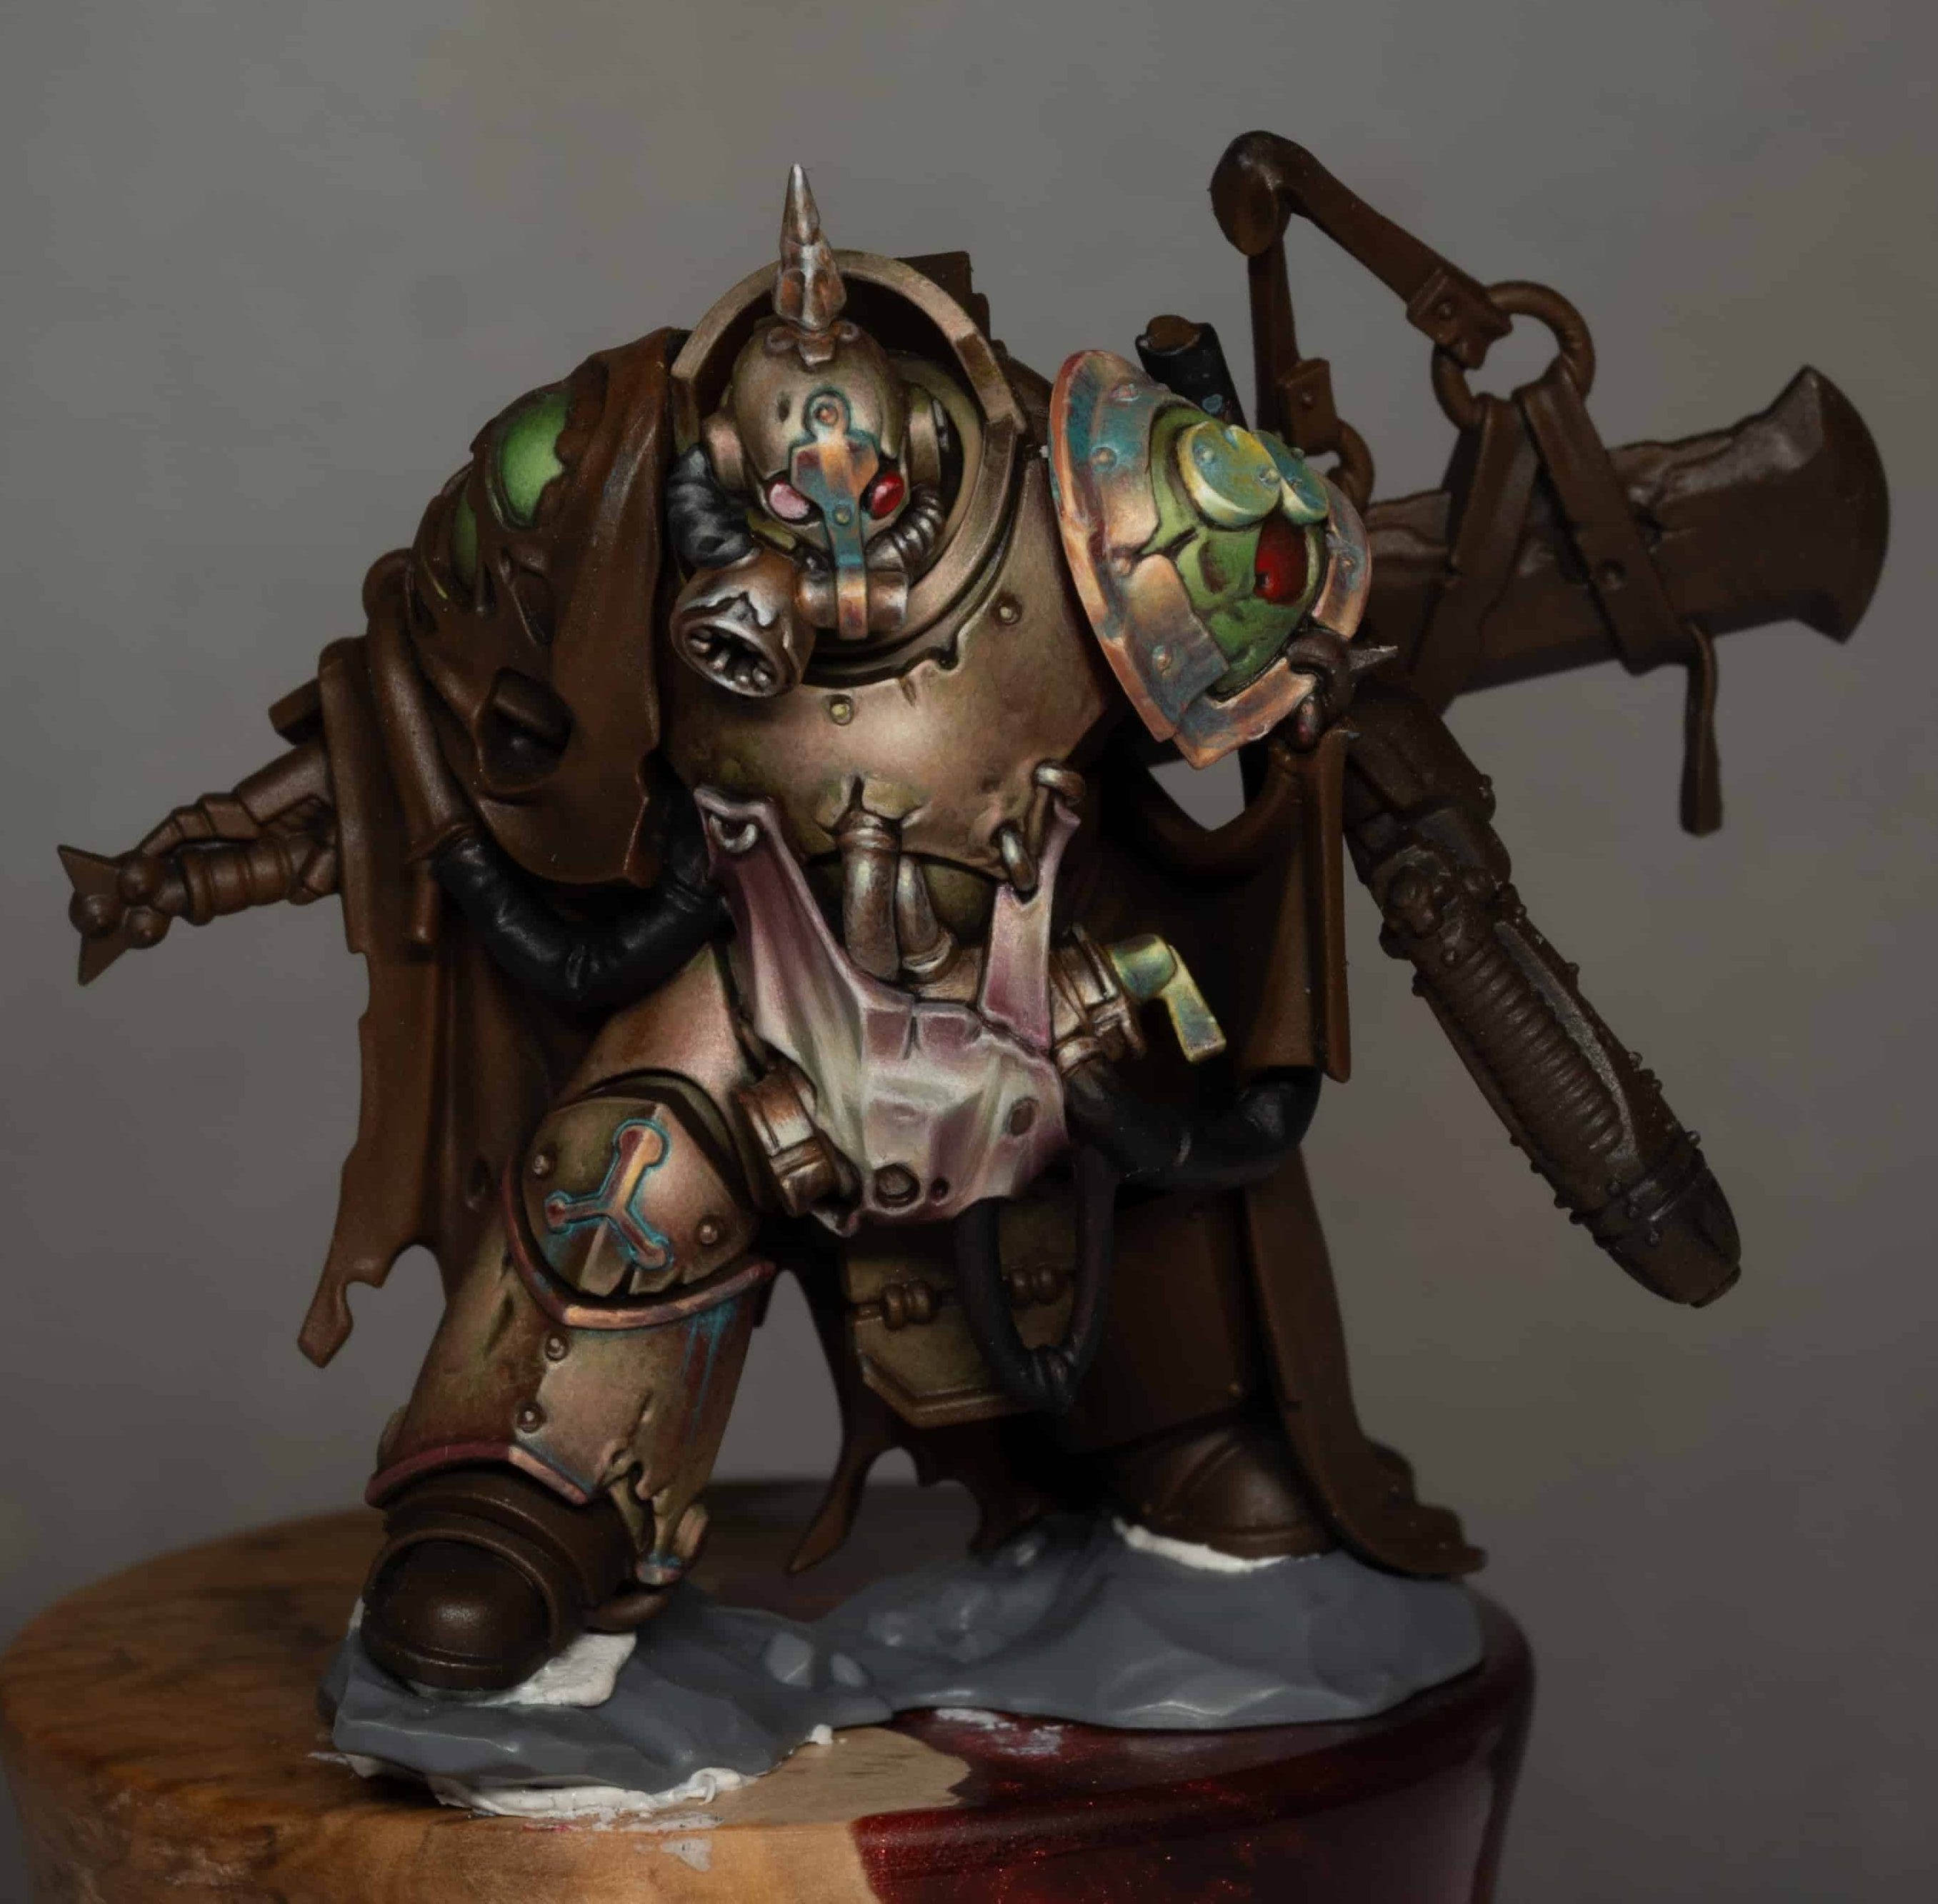
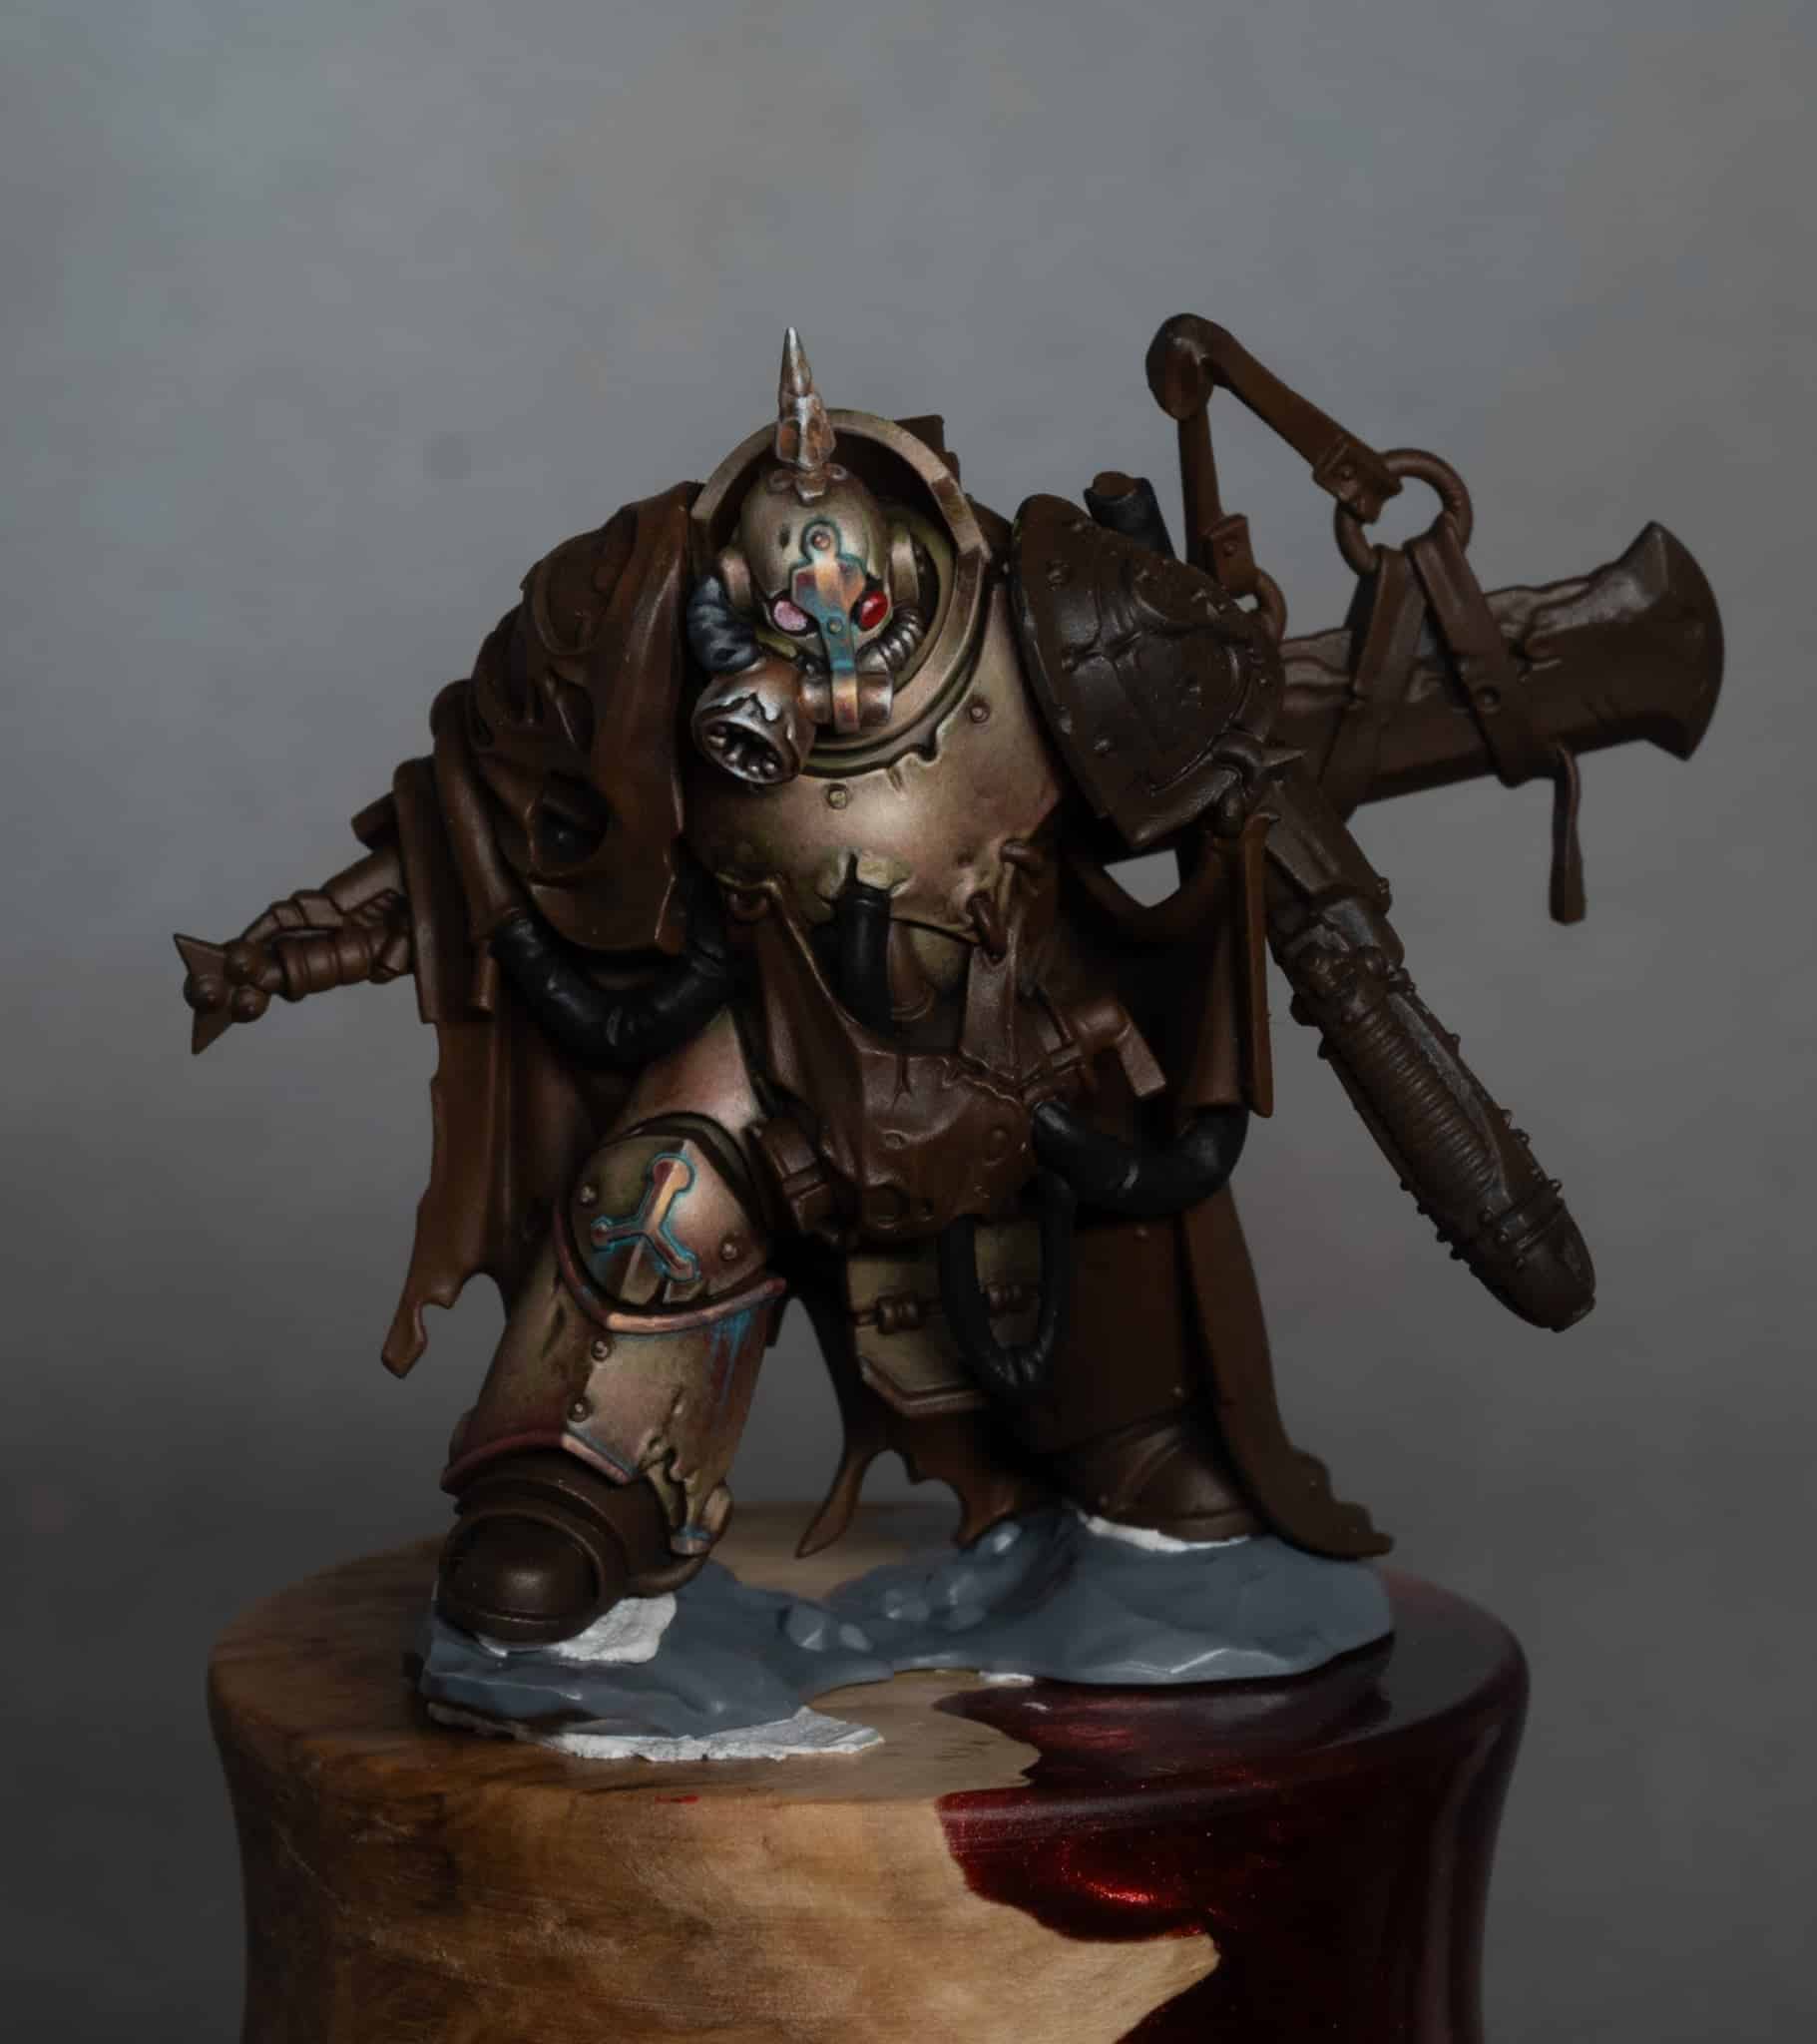
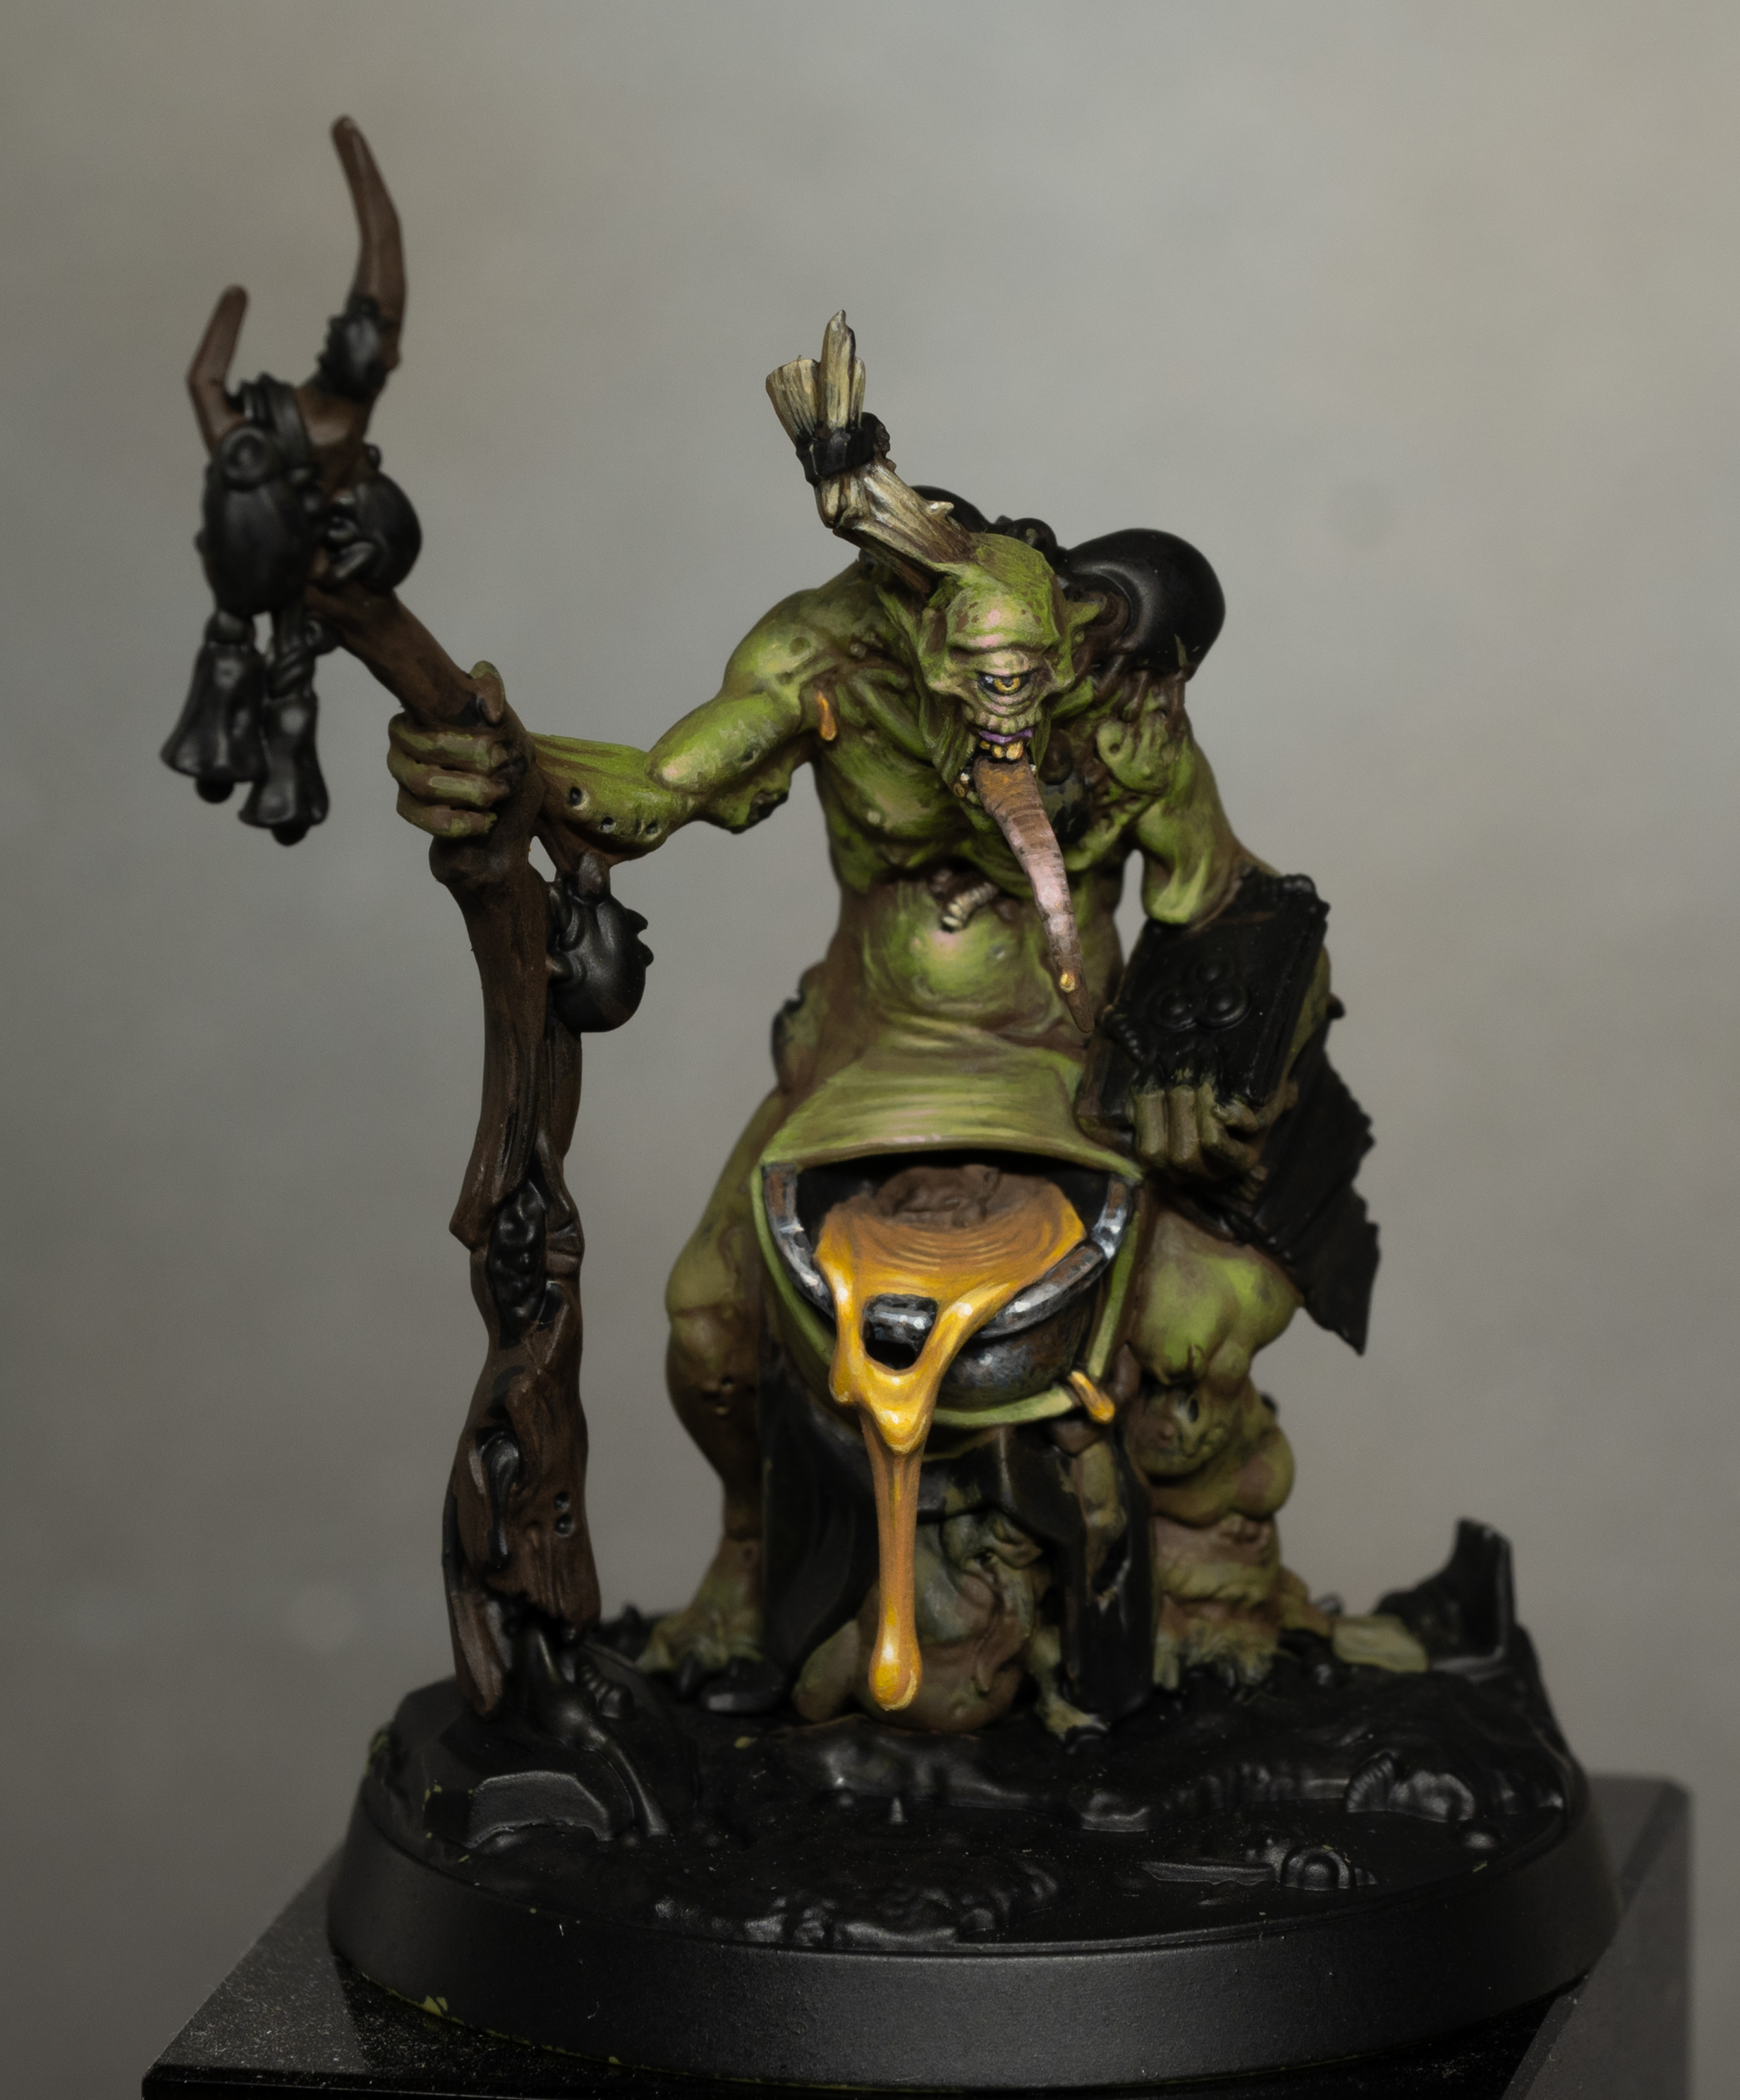
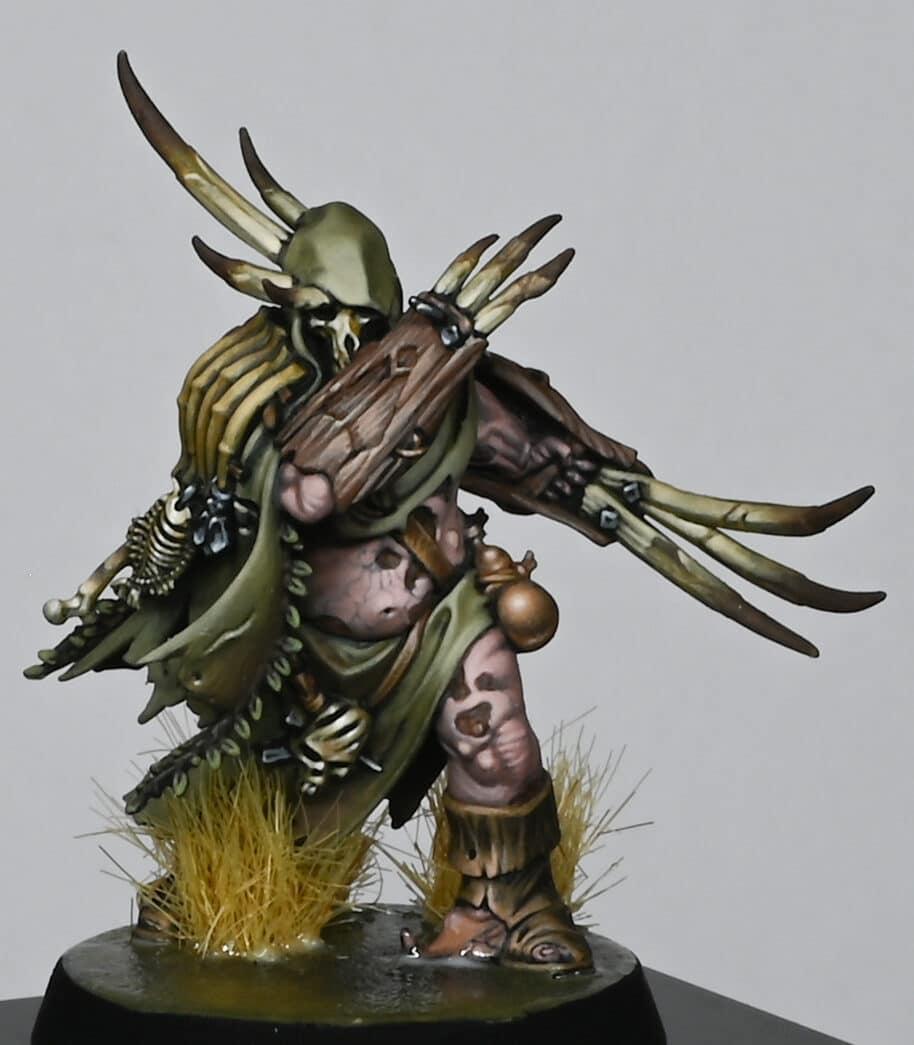
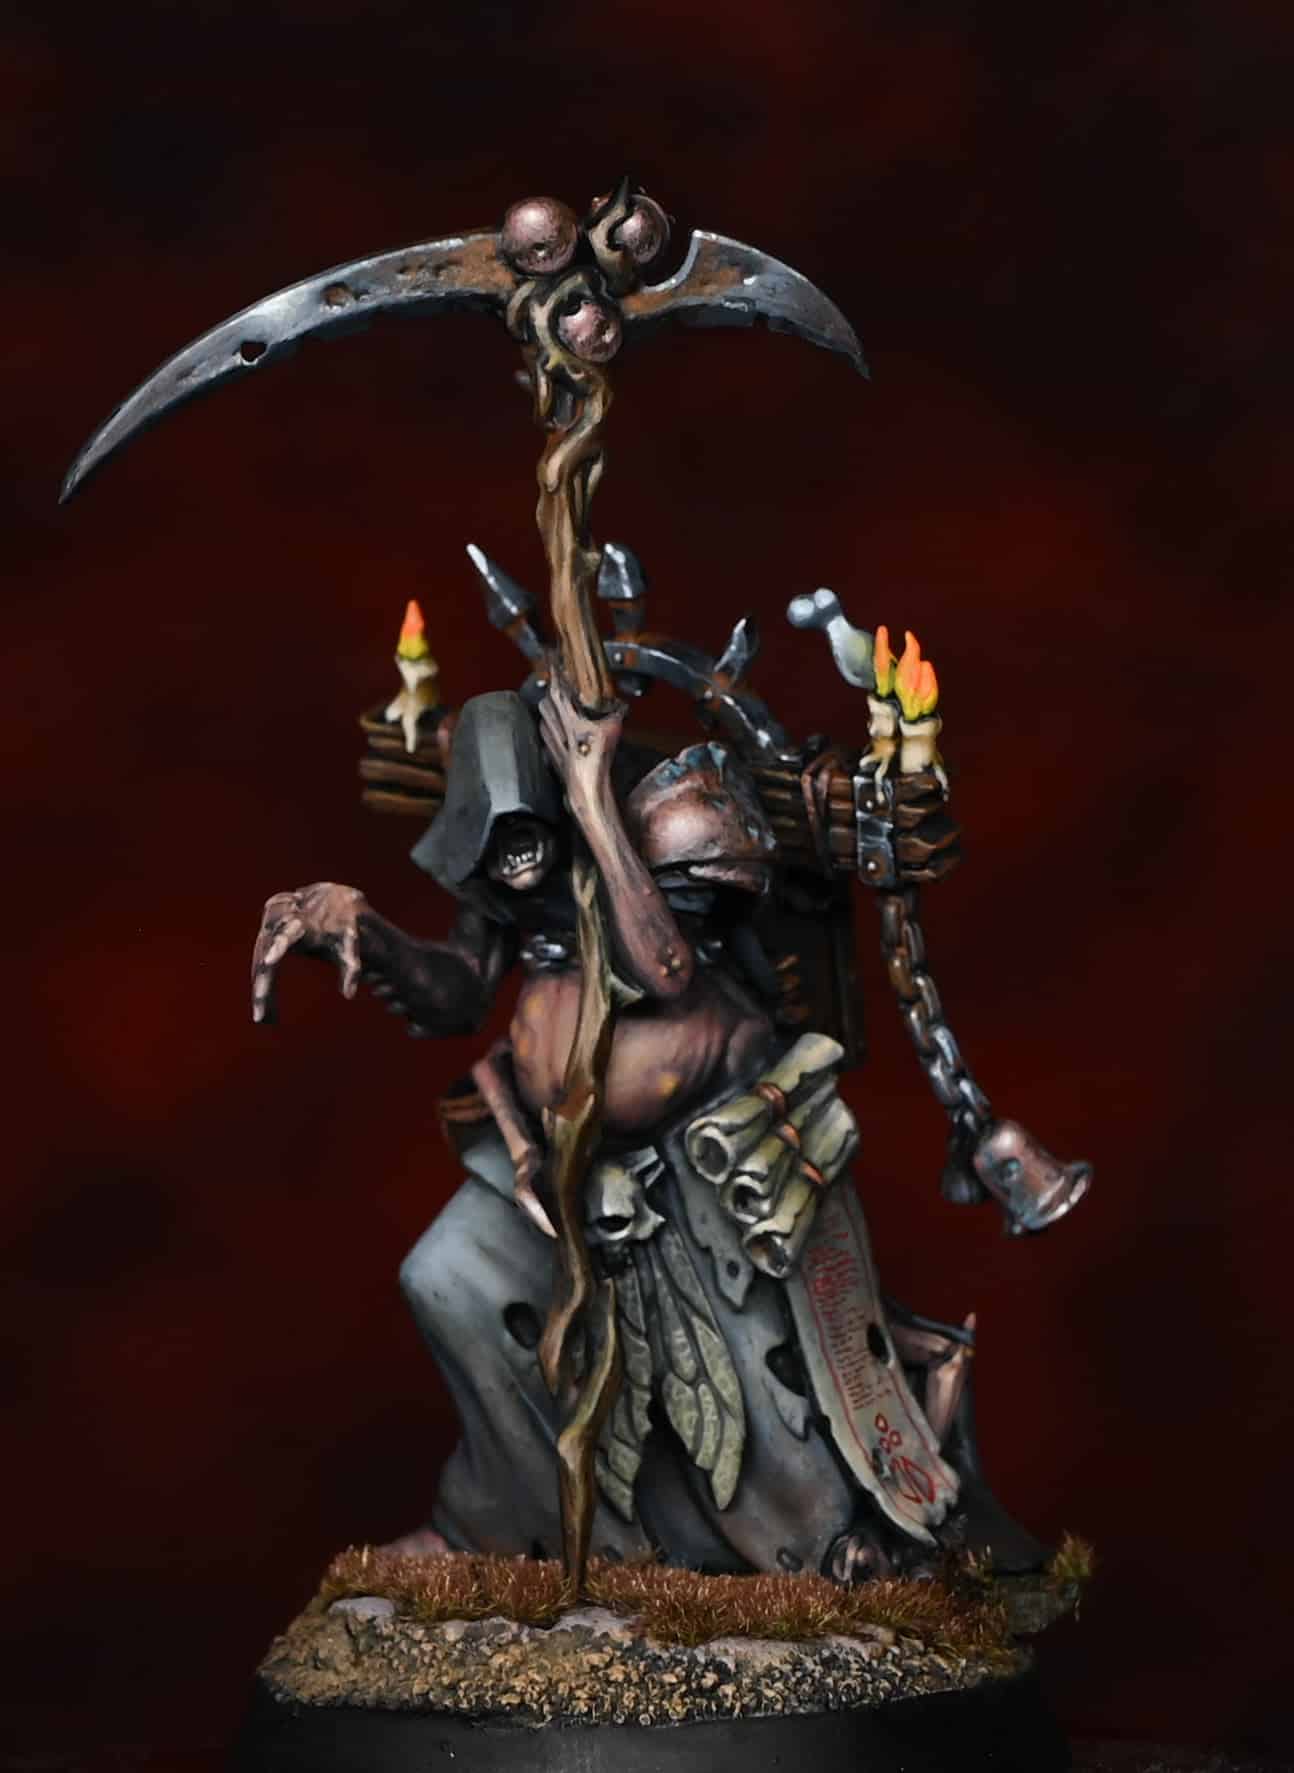
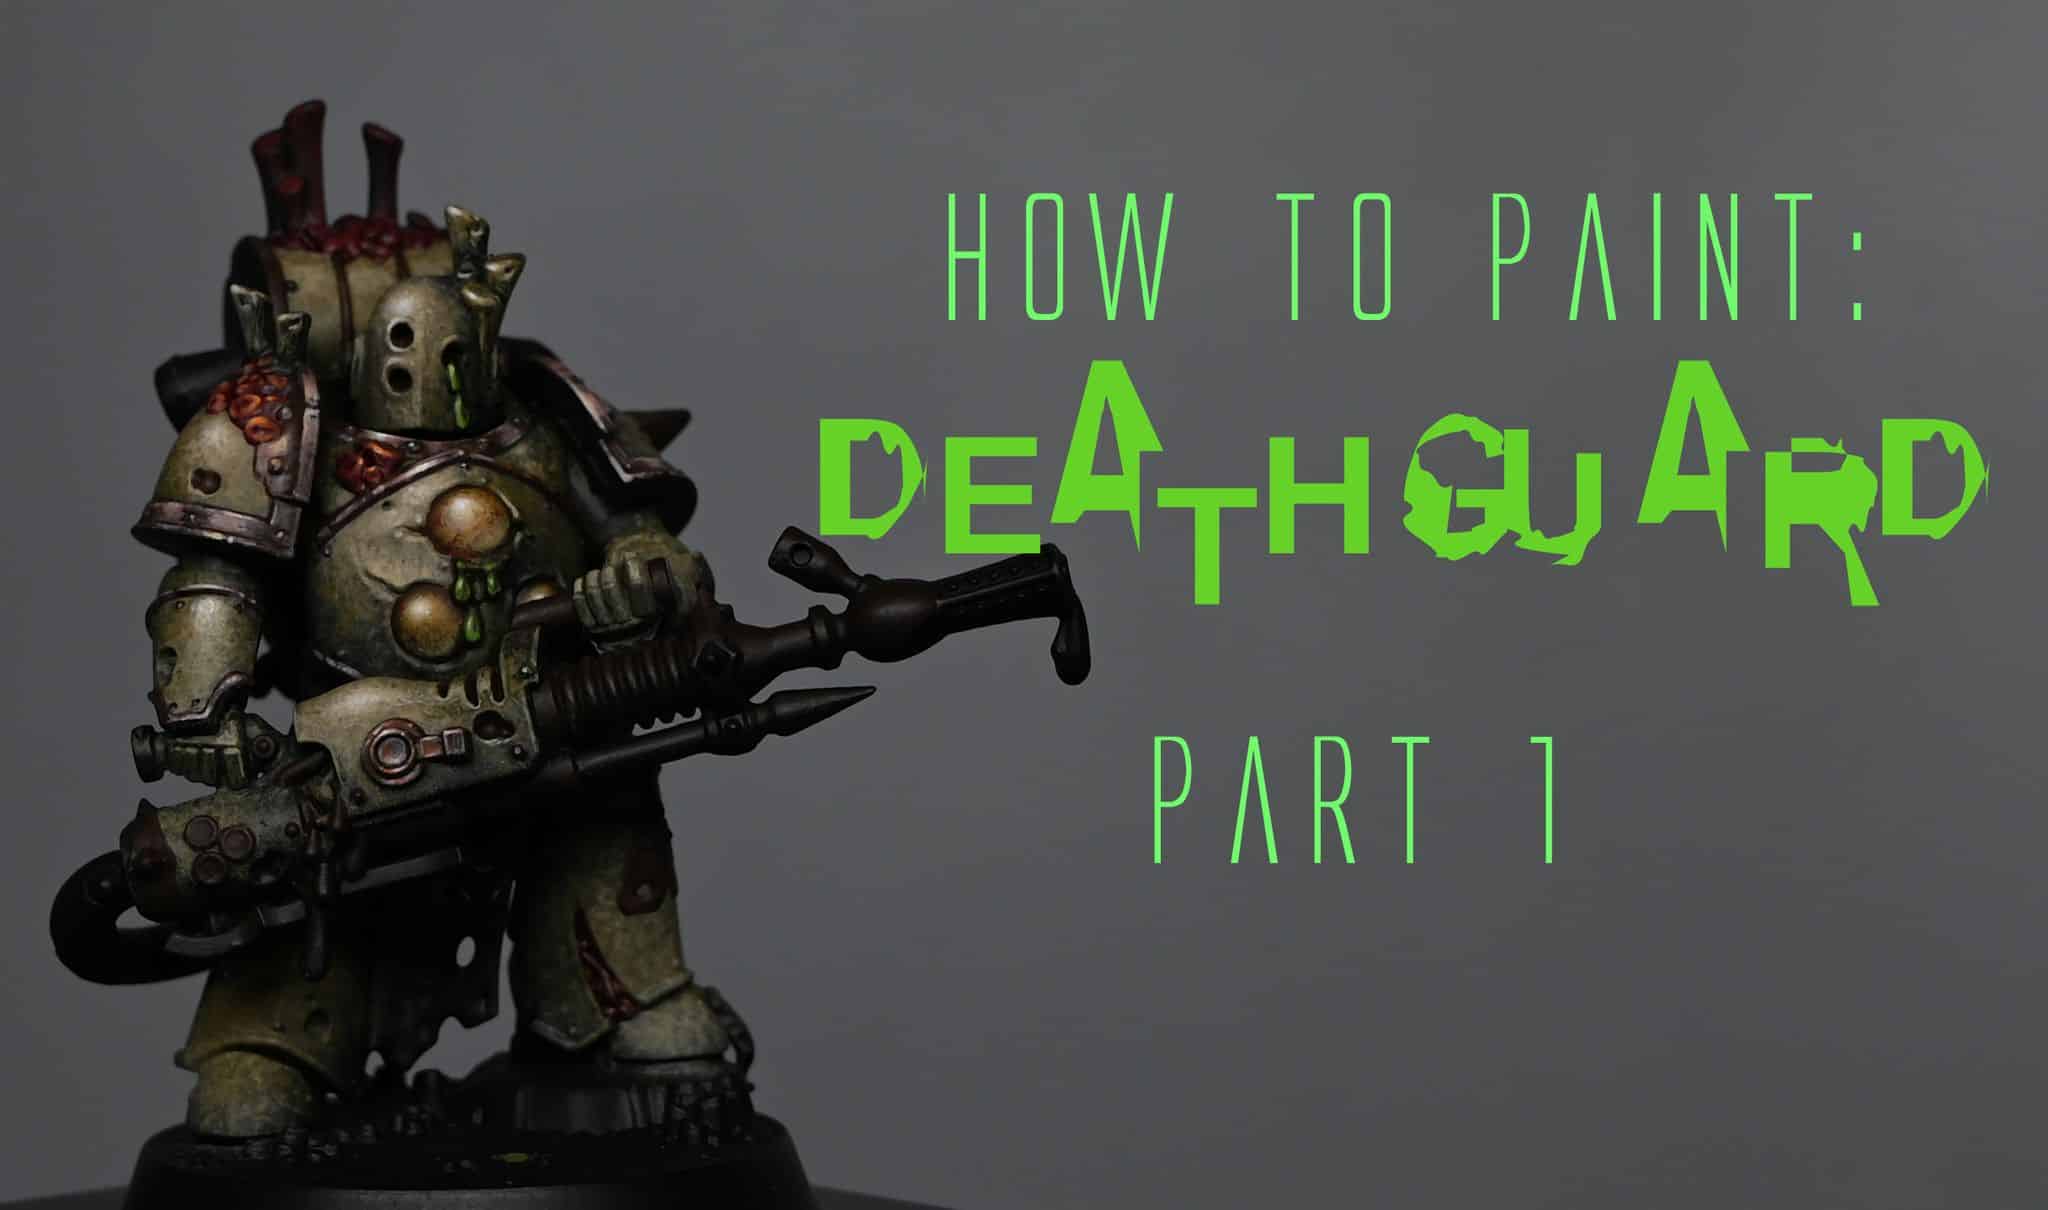
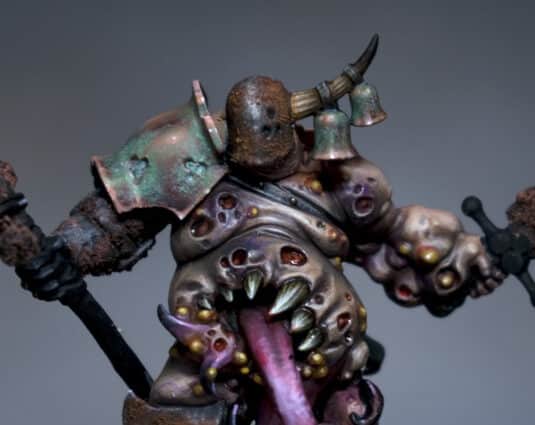
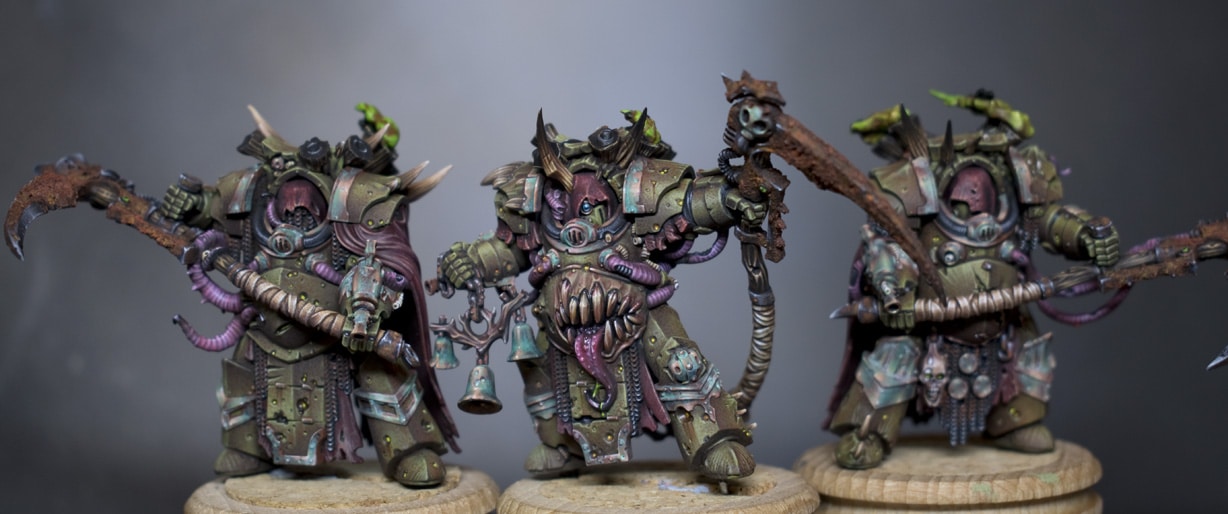
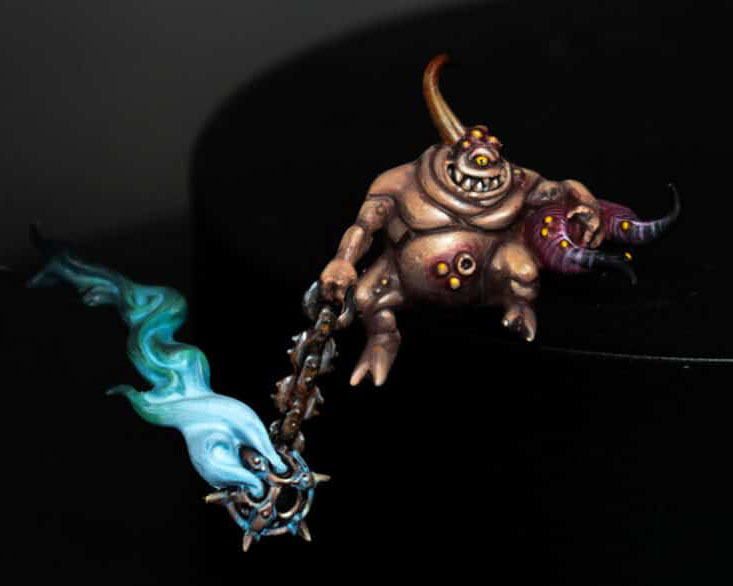
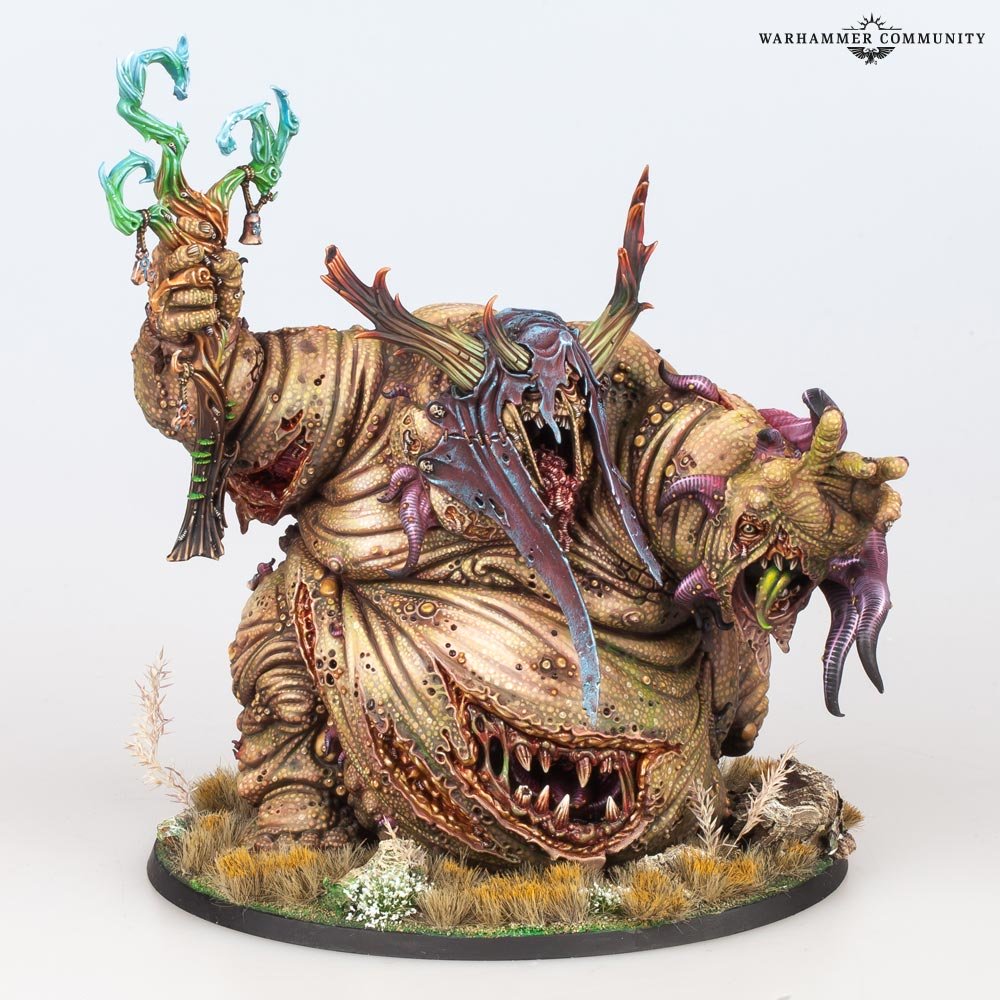
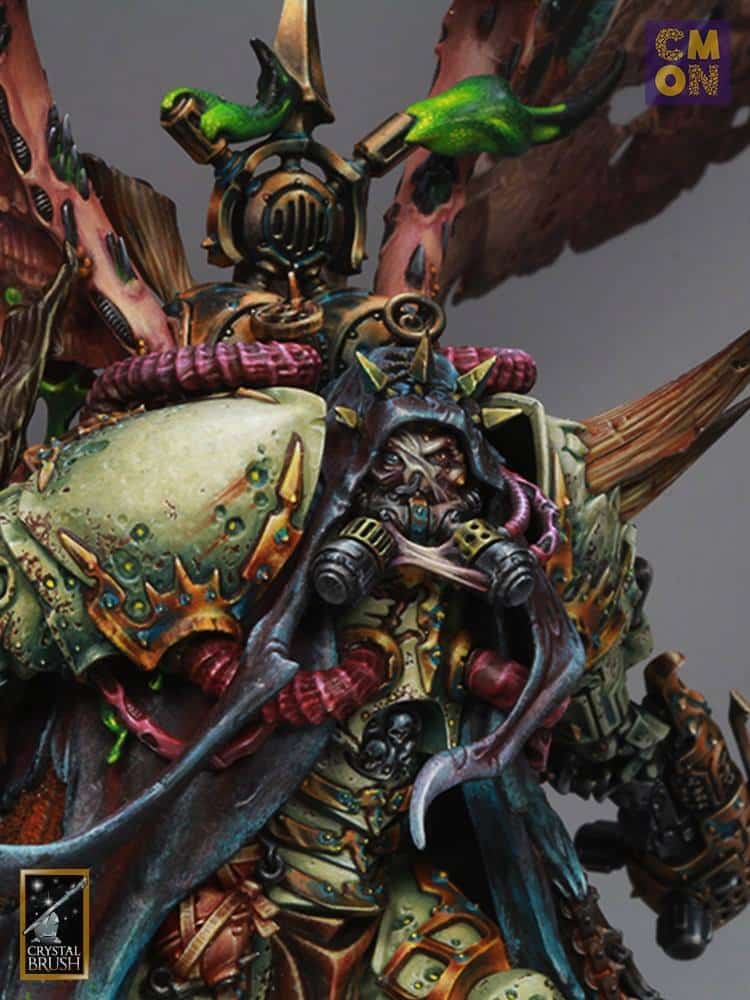
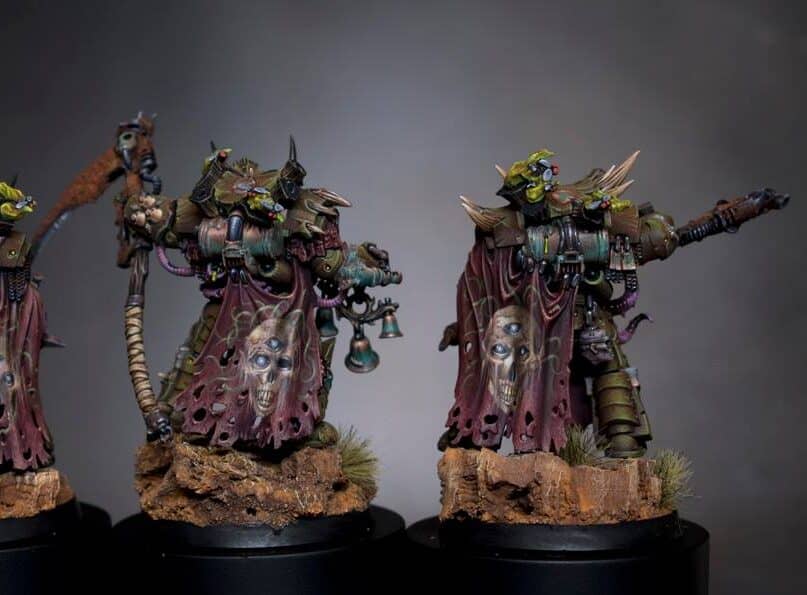
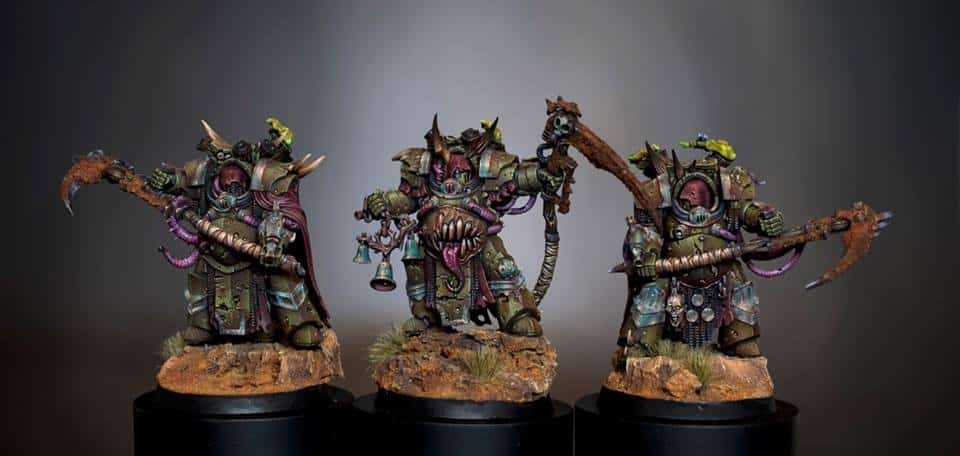
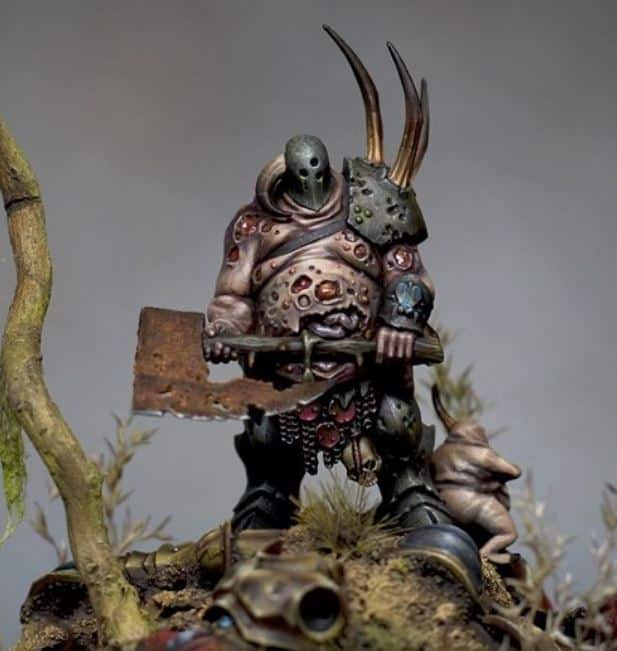
A series on how to paint a Nurgle Sorcerer from the Death Guard. It will be painted in preparation for Golden Demon!
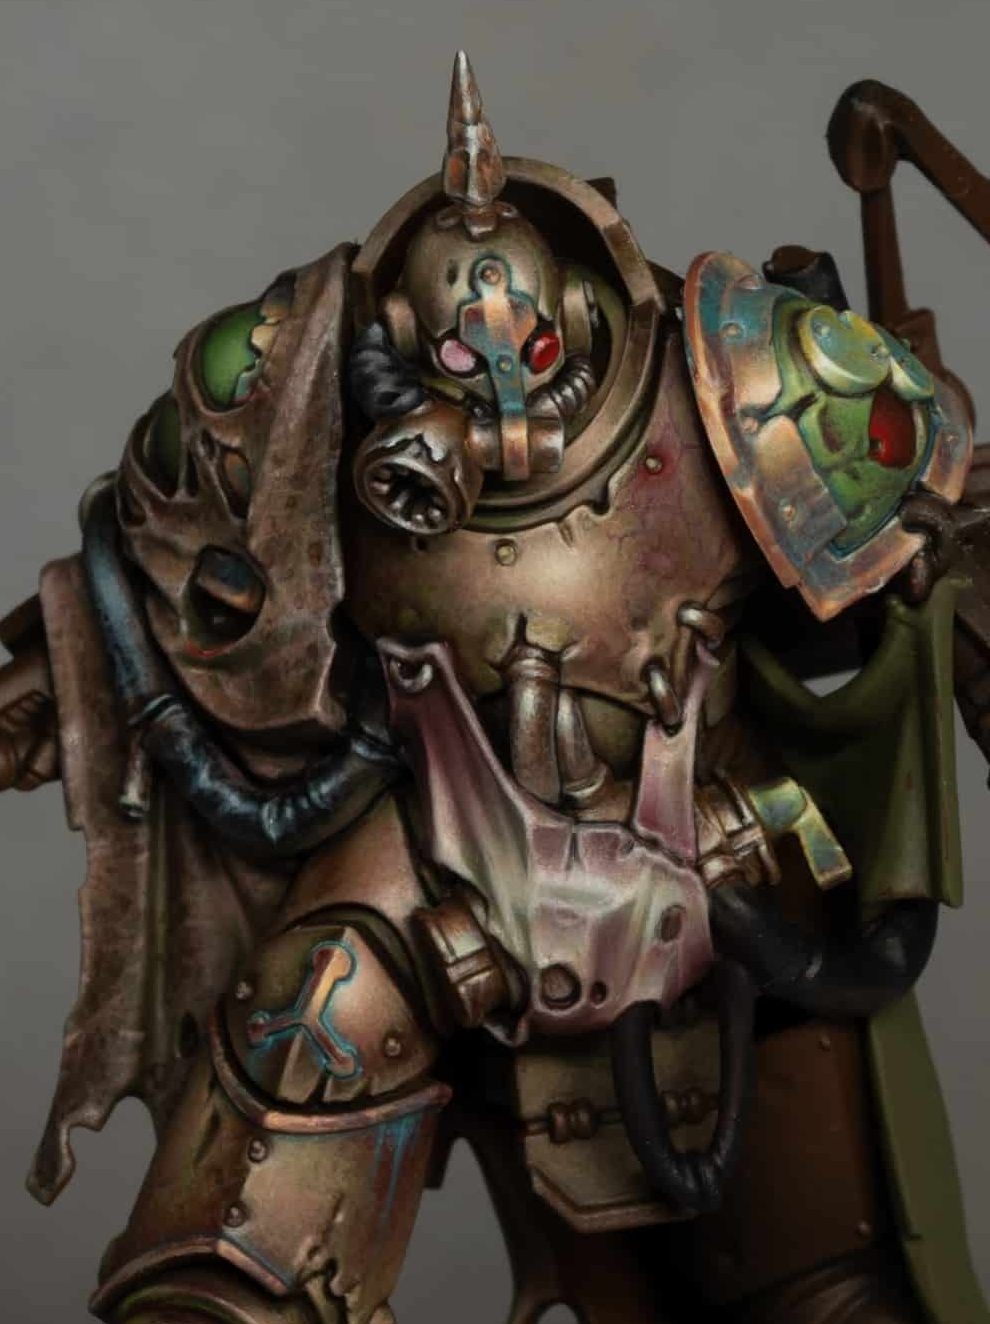
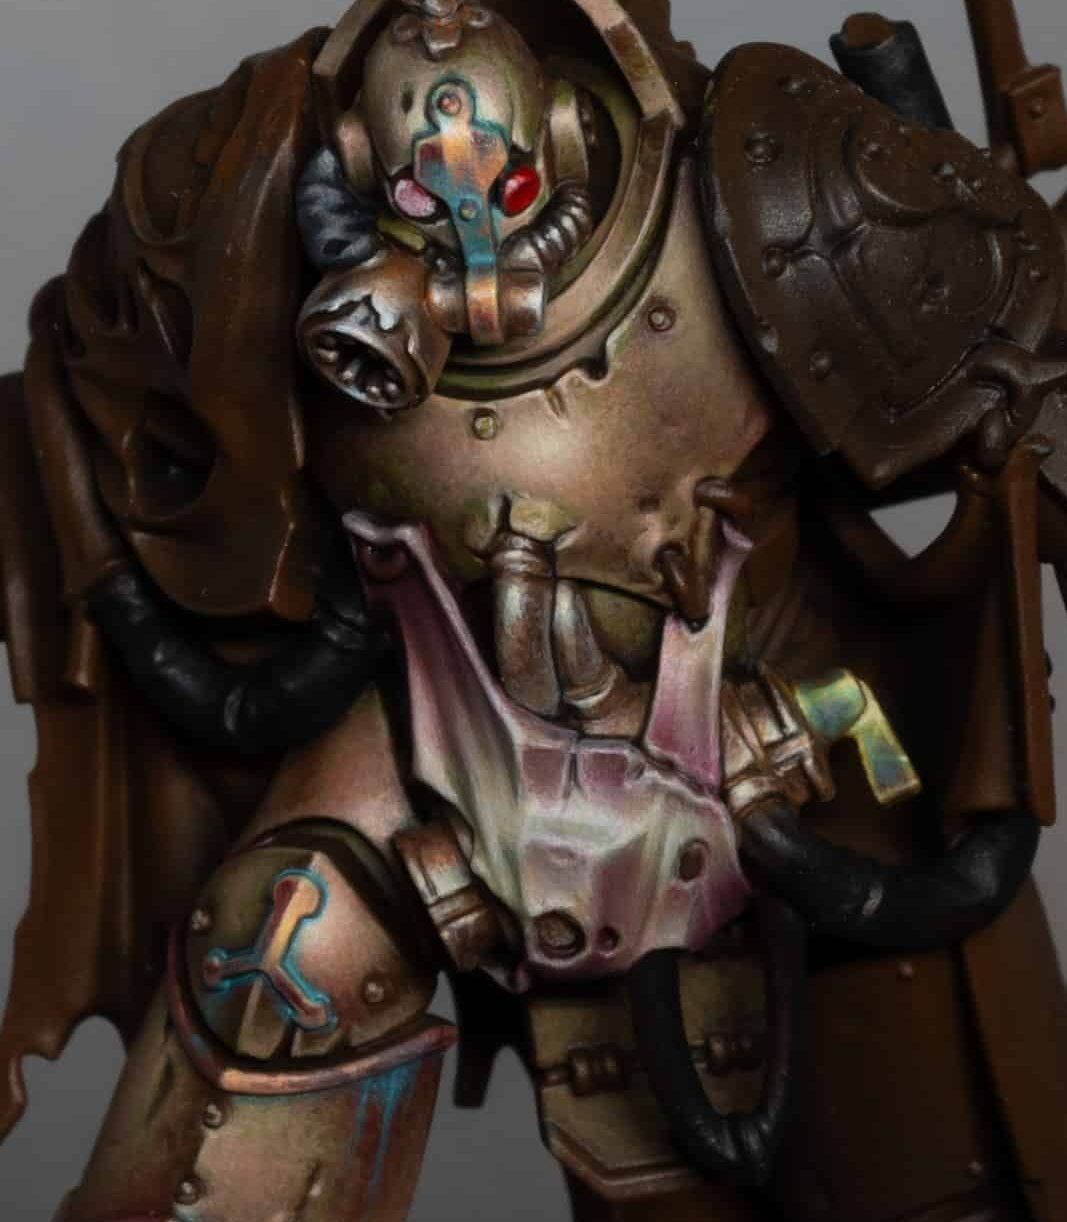
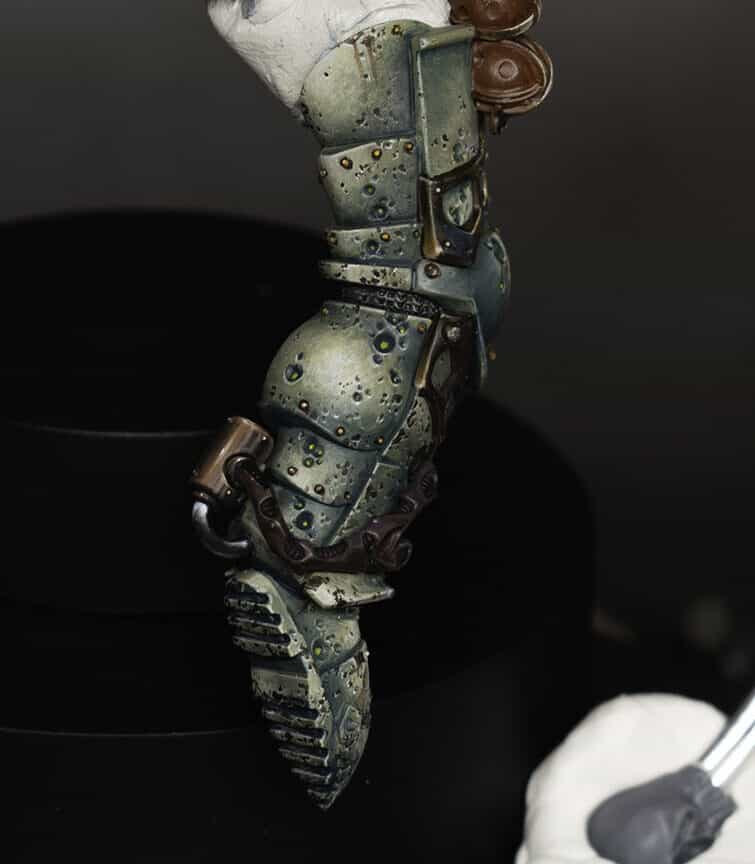
How to Paint a Nurgle Sorcerer: Part One – Belly Plate
In this video you will learn how to paint the belly plate with texture and corruption.
Materials Needed:
- Nurgle Sorcerer Miniature from the Spaceman Hero Set
- Brushes: Various sizes, including a size two for broad strokes and size zero zero for details
- Paints (Games Workshop): Death Guard Green, Balor Brown, Morghast Bone, Ushabti Bone, Screaming Skull, Dark Reaper, Mournfang Brown
- Paint (P3): Morrow White
Step 1: Base Coating
- Start by applying a base coat of Death Guard Green, thinned with about one and a half parts water to one part paint, using a size two brush for a smooth, thin layer.
- Add warmth to the colour with a layer of Balor Brown, applying it in a similar manner to maintain texture.
Step 2: Building Texture
- Gradually build up the texture using Morghast Bone. Focus on creating a stippling effect, allowing the green to show through. This creates a transition and adds depth to the plate.
- Continue to refine the texture, making the marks finer as you move towards the front of the belly plate, where the light would be strongest.
Step 3: Shadow and Highlight
- Paint a distinct line of Dark Reaper down the middle of the belly plate, creating a shadow effect. This divides the plate visually, with a lighter left side and a darker right side.
- Progressively lighten the left side of the belly plate, moving up through Ushabti Bone to Screaming Skull, and finally to Morrow White for the brightest highlights.
Step 4: Detailing and Corruption
- Using Dark Reaper, begin to add corruption effects. Look for shapes in the texture and expand them into blob-like, corrupt markings.
- Over these Dark Reaper blobs, lightly stipple with Morghast Bone to create a sense of corruption protruding from the armour.
- For areas that require softer transitions or less intensity, mix Death Guard Green with Morghast Bone for a subtler effect.
Step 5: Refinement and Contrast
- Continuously refine the texture and highlights, ensuring the lightest points are at the front of the belly plate.
- Add Mephiston Red, thinned heavily, around the edges of the belly plate for a corrupted, wound-like appearance. Blend this in carefully to maintain the integrity of the armour texture.
Step 6: Final Touches
- Add finishing touches, such as more precise highlights using Morrow White, especially along the top edges and where the light would naturally be strongest.
- Adjust the texture and shading as needed to create a balanced, cohesive look that conveys both corruption and the Nurgle aesthetic.
How to Paint a Nurgle Sorcerer: Part Two – NMM Bronze Trim with Verdigris
The video focuses on the bronze NMM trim and verdigris weathering.
Materials Needed:
- Paints:
- Games Workshop: Mournfang Brown, Rhinox Hide, XV-88, Balor Brown, Sotek Green, Sybarite Green
- Vallejo: Ice Yellow
- P3: Morrow White
- Brushes: Fine detail brushes (sizes 00 and 2 recommended)
Steps:
1. Base Layer
- Paint: Mournfang Brown
- Application: Apply a base layer of Mournfang Brown over the areas you want to paint the bronze trim. This layer doesn’t have to be perfectly even; it serves as a foundation.
2. First Highlights
- Paint: XV-88
- Application: Start applying XV-88 to highlight the raised areas. These highlights should be broad at this stage, as we’ll refine them later.
3. Second Highlights
- Paint: Balor Brown
- Application: Now, apply Balor Brown to enhance the highlights. Focus on the top edges and areas where light naturally hits.
4. Mixed Highlights
- Paint: Mix of Balor Brown and Ice Yellow
- Application: Mix Balor Brown with a small amount of Ice Yellow to create a lighter shade. Apply this to the highest points of the highlighted areas for a more intense shine.
5. Brightest Highlights
- Paint: P3 Morrow White
- Application: Using Morrow White, apply the brightest highlights. These should be on the most raised edges where the light would be strongest.
6. Shading
- Paints: Mournfang Brown, Rhinox Hide
- Application: Use Mournfang Brown and Rhinox Hide to add shadows and depth. Focus on recessed areas and where the trim meets other parts of the model.
7. Verdigris Effect Base
- Paint: Mix of Sybarite Green and a tiny bit of Sotek Green
- Application: Thin this mix with water (approx. 2:1 ratio of water to paint) and apply it selectively in recesses and crevices for a weathered look.
8. Lighter Verdigris
- Paint: Sybarite Green mixed with a bit of white
- Application: Lighten the verdigris effect in some areas for variation. Remember, less is more – don’t cover all the verdigris base layer.
9. Final Adjustments
- Technique: Glazing and Smoothing
- Application: If necessary, use a glazing technique with the lighter colours to smooth out transitions and add final touches to the highlights.
10. Clean Up
- Action: Tidy any overspill or mistakes with appropriate base colours.
Tips:
- Consistency: Keep your paint at the right consistency. For NMM, a slightly thicker mix is preferred for stronger colours, but ensure it’s still flowable.
- Lighting: Pay attention to the overall lighting of your model. Highlights should be consistent with the light source.
- Brush Care: Be mindful of your brushes. Use a separate brush for mixing paints to preserve the tips of your detail brushes.
- Patience: Take your time with each step, and let layers dry before applying the next.
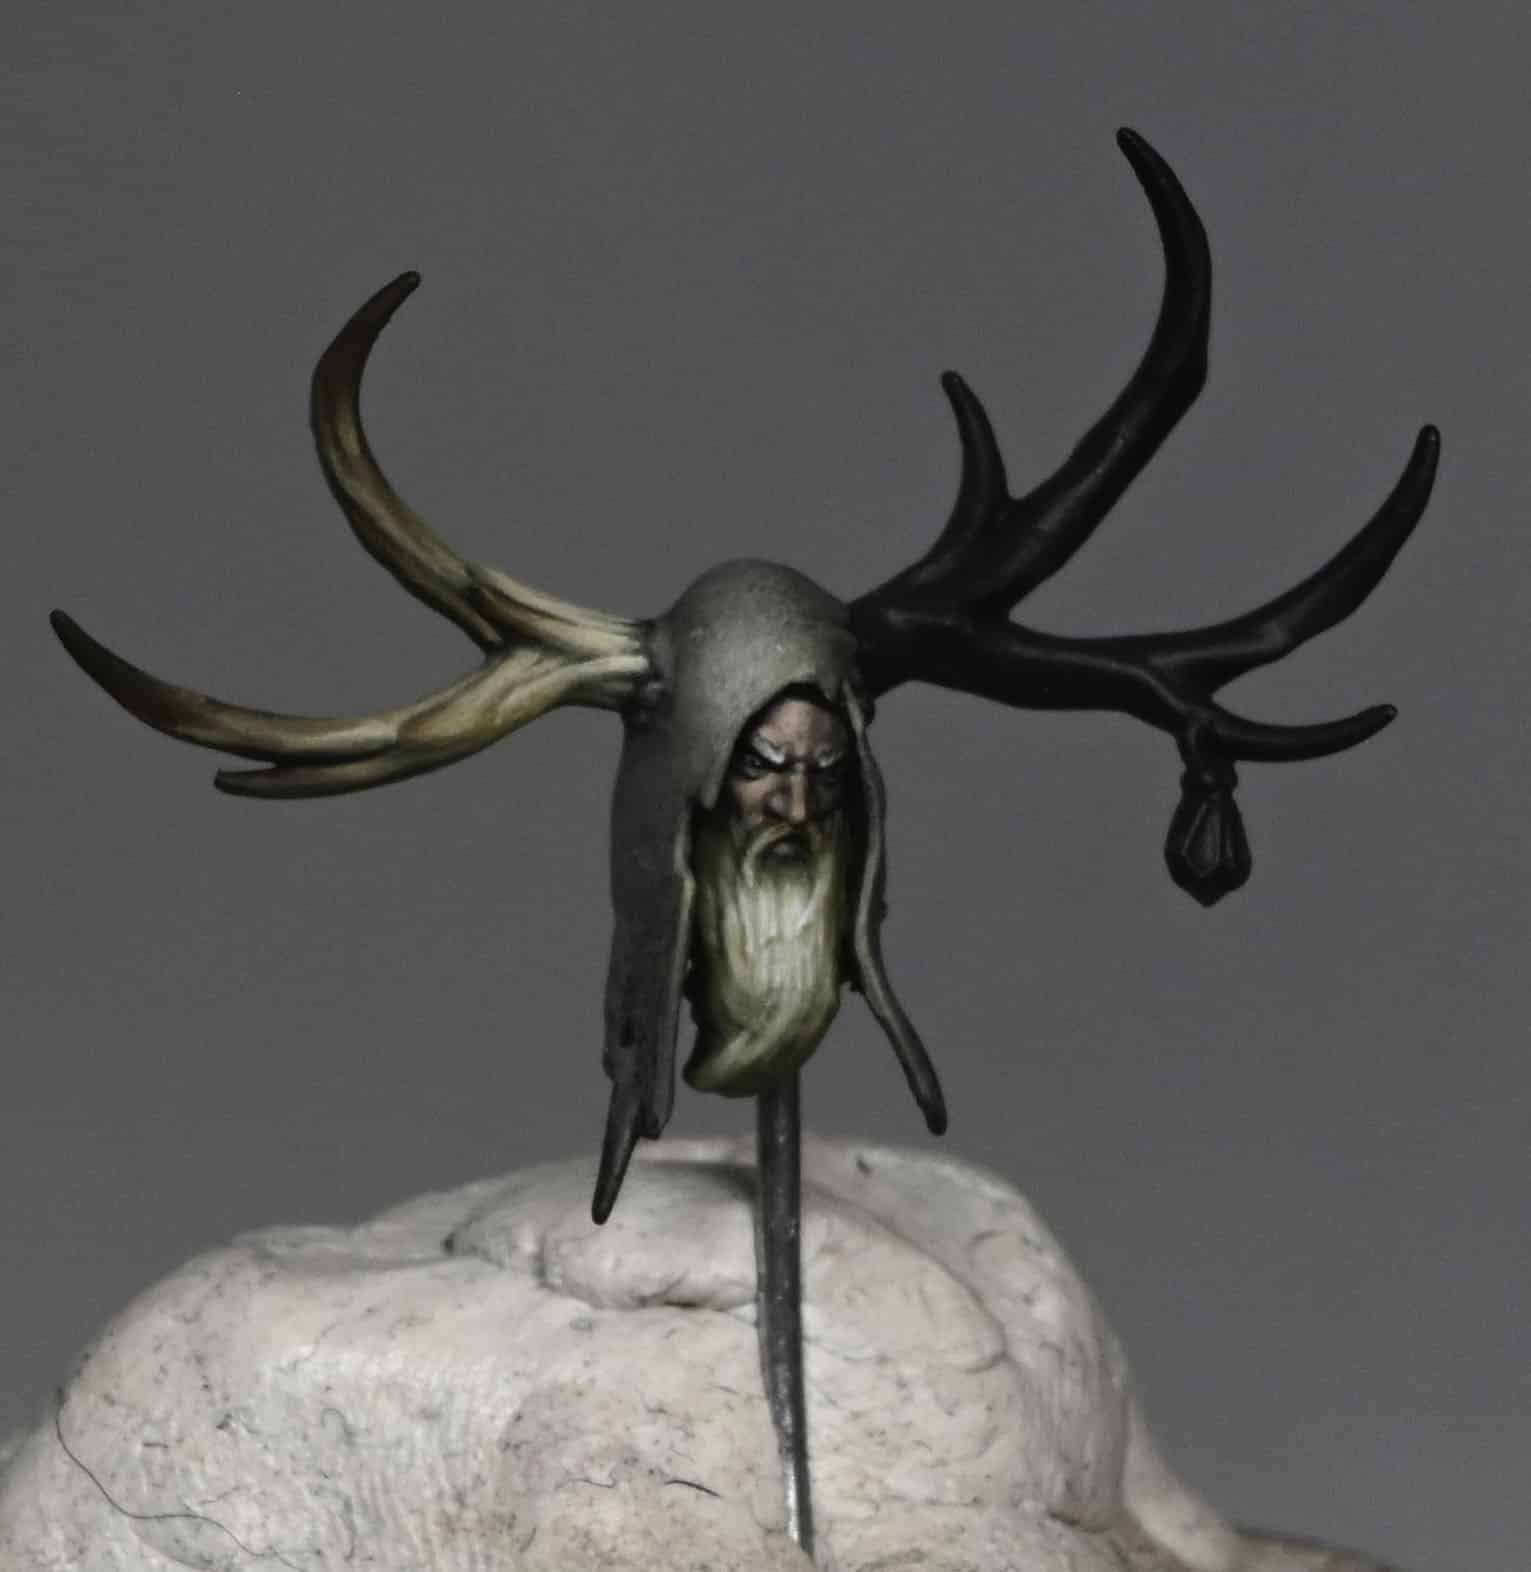
How to Paint a Nurgle Sorcerer: Part Three – Plaguecaster Head
How to paint the head, which includes the red hood and chain mask.
Materials Needed:
- Paints:
- Games Workshop: Khorne Red, Mephiston Red, Bugman’s Glow, Mournfang Brown, Trollslayer Orange, Sotek Green
- Vallejo: Black
- P3: Morrow White
- Brushes: Size 00 and 2 Artist Opus Brushes
- Palette: For mixing and diluting paints
- Water pot
Steps:
1. Base Colour for the Hood
- Paint: Mix of Khorne Red and Black
- Application: Apply a base layer of this mix to the hood. Ensure no pure Khorne Red is used; the mix should always include black to desaturate the colour.
2. Adding Highlights
- Paints: Various mixes of Khorne Red with Black and White
- Application: Create a gradient of shades by mixing Khorne Red with varying amounts of Black and White. Use these mixes to highlight the hood, focusing on the raised areas and textures.
3. Texturing the Hood
- Technique: Texture Painting
- Application: With a size 00 brush, apply textures using the lighter shades. Focus on creating a worn and weathered look. Balance the textures; don’t overdo them.
4. Chain Mask Detailing
- Paint: Neutral Grey and White
- Application: Start with Neutral Grey to pick out the chain links. Progressively add White to the mix for highlighting, focusing on the lower edges and curves of each chain link.
5. Glazing the Hood
- Paint: Mephiston Red
- Application: Dilute Mephiston Red significantly (approx. 4:1 water to paint ratio). Use this glaze to unify the hood’s colour, applying it more in the shadows and less on the highlights.
6. Skin Tones
- Paint: Bugman’s Glow with Black and Grey
- Application: For the skin, start with Bugman’s Glow mixed with Black and Grey to desaturate. Add White for highlights, focusing on chin, lips, and facial details.
7. Worm and Pustules
- Paint: Sotek Green, Mournfang Brown, Trollslayer Orange, Ice Yellow
- Application: Paint the worm coming out of the head in Sotek Green. For pustules, use Mournfang Brown for the base, add Trollslayer Orange for mid-tones, and highlight with Ice Yellow.
8. Final Adjustments
- Action: Make any necessary tweaks to ensure all elements are coherent and well-blended.
Tips:
- Dilution is Key: Ensure paints are correctly diluted, especially lighter colours, to avoid a chalky texture.
- Layering: Build up the highlights gradually, allowing each layer to dry before applying the next.
- Focus on Details: Spend time on the head as it’s a focal point, especially for a competition piece like Golden Demon.
- Brush Care: Use newer, sharper brushes for fine details and textures, saving older brushes for broader strokes and glazing.
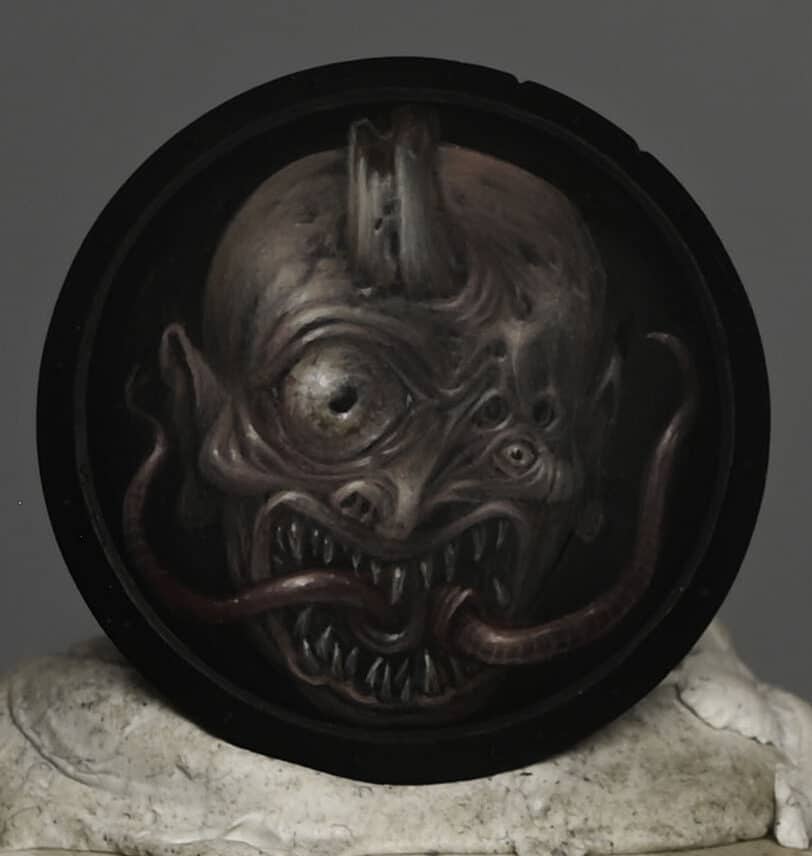
How to Paint a Nurgle Sorcerer: Part Four – Nurgle Ribbons and Text
Materials Needed:
- Paints:
- Games Workshop: XV-88, Morghast Bone, Screaming Skull, Mephiston Red, Rhinox Hide
- Vallejo: Neutral Grey
- Kimera Colours: Black
- Brushes: Size 00 and 3 S (Standard) and M (Miniature) Brushes
- Palette: For mixing paints
- Water pot
Steps:
1. Base Layer
- Paint: XV-88
- Application: Start by applying XV-88 as a base layer on the ribbons. Use a size 3 S brush for quick coverage, being careful not to touch the paint while it’s wet to avoid patchiness.
2. Adding Depth
- Paint: Morghast Bone
- Application: Apply Morghast Bone, focusing on the upward-facing curves and leaving recesses and downward-facing sections in the darker base colour. This step starts to bring out the ribbon’s flow and texture.
3. Highlighting
- Paint: Screaming Skull
- Application: Now switch to a size 00 brush and use Screaming Skull to pick out the raised details and edges. This lighter colour enhances the texture and gives the ribbons more dimension.
4. Freehand Detailing
- Paint: Mephiston Red
- Application: Using the size 00 brush, add Nurgle symbols and letters as freehand details. These should be evenly spaced and varied in size for a more natural look. Remember, these don’t need to be perfect as they’re meant to mimic hand-drawn symbols.
5. Text Simulation
- Paint: Mephiston Red
- Application: Create a text effect using small dots and dashes with Mephiston Red. This simulates handwriting and adds intricate detail to the ribbons. Aim for varied mark-making to avoid a repetitive pattern.
6. Weathering and Shading
- Paint: Neutral Grey and Rhinox Hide
- Application: Thin down Neutral Grey and Rhinox Hide for glazing. Apply Neutral Grey to shadows and Rhinox Hide to recesses and edges for a dirty, weathered look.
7. Final Touches
- Paint: Black (Kimera Colours)
- Application: Finally, use thinned black paint to refine the freehand details and text. This step enhances contrast and makes the red details stand out more effectively against the ribbon’s base colour.
Tips:
- Consistency: Ensure the right consistency of paint for detailed work, especially for the text. It should flow easily but not be too runny.
- Brush Angle: Adjust the brush angle according to the ribbon’s curvature to maintain consistent pressure and mark size.
- Layering: Build up colours gradually, allowing layers to dry before applying the next.
- Freehand Techniques: Practice freehand techniques separately before applying them to the model to gain confidence.
- Detail Focus: Concentrate on the details but remember the overall look. Imperfections can add character, especially for Nurgle-themed models.
How to Paint a Nurgle Sorcerer: Part Five – Rotten Belly and Maggots
Materials Needed:
- Paints:
- Games Workshop: Bugman’s Glow, Khorne Red, Balor Brown, Morghast Bone, Screaming Skull
- Vallejo: Ice Yellow, Neutral Grey
- Brushes: Sizes 0 and 3 S (Standard) and M (Miniature) Brushes
- Palette: For mixing paints
- Water pot
Steps:
1. Base Layer for Rotten Belly
- Paint: Bugman’s Glow mixed with Neutral Grey
- Technique: Apply this mix to the fleshy areas, avoiding the maggots. This creates an ill-looking skin tone. Initially, use a larger brush, then switch to a size 0 for more detailed work.
2. Adding Depth
- Paint: Khorne Red (watered down)
- Technique: Apply in the recesses to create a shaded effect and to separate the skin from the armor. This stage is about defining the texture and contours of the belly.
3. Flesh Highlights
- Paint: Same base mix (Bugman’s Glow and Neutral Grey) with added Ice Yellow
- Technique: Highlight the raised areas and ridges of the flesh, focusing on light sourcing. The addition of Ice Yellow gives a sickly hue, enhancing the rotten look.
4. Painting the Maggots
- Paint: Khorne Red
- Technique: Paint each maggot, ensuring the red is in the recesses but not covering the entire maggot. Aim for precision to keep the maggots distinct from the skin.
5. Highlighting Maggots
- Stage 1: Balor Brown for the first highlight, focusing on the segments but avoiding recesses.
- Stage 2: Morghast Bone for the second highlight, applied more selectively.
- Final Highlight: Screaming Skull, targeting the most raised segments for a final pop of brightness.
6. Final Touches
- Paint: Watered-down Khorne Red
- Technique: Apply as a light wash/glaze to add a gory effect, enhancing the realism of the maggots burrowing in and out of the flesh.
Tips:
- Consistency and Dilution: Adjust paint dilution based on the step. More watered-down paint is suitable for shading and glazing.
- Light Source Alignment: Ensure highlights align with the light source established in other parts of the model.
- Texture Focus: Pay attention to the texture of the flesh and maggots, using the paint to enhance the model’s sculpted details.
- Clean Up: If you overstep with the paint, go back with the original colour to tidy up any mistakes.
- Layering: Build up the colour gradually, allowing layers to dry before applying the next.
- Detail Work: Smaller brushes are crucial for the intricate detailing required, especially on the maggots.
How to Paint a Nurgle Sorcerer: Part Six – Smoke and Flies
Materials Needed:
- Paints:
- Pro Acryl: Grey Blue, Pale Yellow (Alternatively, opt for Games Workshop’s Sotek Green and Ice Yellow)
- Games Workshop: Sotek Green, Daemonette Hide, Khorne Red, Balor Brown, Morghast Bone, Screaming Skull
- Vallejo: Black (or Kimera Colours: Black)
- P3: Morrow White
- Brushes: Assorted sizes for varied details
- Palette: For mixing paints
- Water pot
Steps:
1. Smoke Effect
- Paints: Grey Blue, Pale Yellow (or Sotek Green and Ice Yellow)
- Technique: Start with Grey Blue, blending into the smoke areas. Gradually introduce Pale Yellow (or Ice Yellow) to lighten and add variation. Employ greys for shadowy areas.
2. Refining the Smoke
- Technique: Concentrate on the creases and fine details. Use stippling to introduce texture, imitating particles and spores. Emphasise raised areas and curves with highlights. Apply glazes to soften and blend stippling for a natural look. (Note – I messed up the smoke in this video, I will be revisiting it!)
3. Maggots
- Base Colour: Khorne Red
- Highlight: Balor Brown for segments.
- Technique: Apply red judiciously, avoiding recesses. Use Balor Brown highlights on segments to create dimension.
4. Flies
- Base Colour: A blend of Chimera Black and Ice Yellow for a dark grey.
- Highlight: Incrementally add more Ice Yellow for highlights. Focus on wing edges and eyes for detail.
- Final Touches: Add tiny dots of Ice Yellow for highlights to enhance the glossy appearance.
5. Additional Details
- Technique: Employ various mixes of Daemonette Hide and Ice Yellow for wing highlights. For the flies, focus on segmenting and crafting a realistic, shiny texture.
- Eggs: Paint with Balor Brown, then add a dot and line of Screaming Skull for luminosity.
Tips:
- Layering: Build up the smoke colour progressively, allowing layers to dry before adding the next.
- Texture Emphasis: Pay close attention to the texture in the smoke, using stippling to add depth and a lifelike appearance.
- Light Source Consistency: Ensure highlights on maggots and flies align with the light source established in other parts of the model.
- Detailing: Utilise smaller brushes for intricate work, especially on the flies and maggots.
- Glazing: Use glazing techniques to blend and soften the stippled texture on the smoke.
How to Paint a Nurgle Sorceror: Part Seven – Leg Armour
In this tutorial, I’ll be continuing to paint the Malignant Plaguecaster model, specifically focusing on the lower left leg, the trim, and the Nurgle symbol.
Materials Needed
Paints:
- Games Workshop:
- Death Guard Green
- Balor Brown
- Morghast Bone
- Ushabti Bone
- Screaming Skull
- Dark Reaper
- Mournfang Brown
- XV-88
- Sotek Green
- Sybarite Green
- Vallejo: Ice Yellow
- P3: Morrow White
Brushes:
- Size 0 Artist Opus brush (or similar fine detail brush)
Step-by-Step Instructions
1. Base Coat with Death Guard Green
- Preparation: Place a small amount of Death Guard Green on your wet palette.
- Application: Use the size 0 brush to apply Death Guard Green over the lower leg armour. This layer doesn’t need to be overly neat as we are aiming for a textured, organic look.
2. Adding Texture with Balor Brown and Dark Reaper
Balor Brown:
- Add Balor Brown to the palette.
- Using the tip of the brush, apply Balor Brown in random, scratchy strokes to create a textured effect on the armour.
Dark Reaper:
- Similarly, place Dark Reaper on the palette.
- Use it to paint roughly circular shapes to represent the Nurgle corruption. These shapes should vary in size and be applied in a random pattern.
3. Highlighting with Morghast Bone and Ushabti Bone
Morghast Bone:
- Add Morghast Bone to the palette.
- Highlight the raised areas of the armour, focusing on the upper parts of the Nurgle bumps to create a slight 3D effect.
Ushabti Bone:
- Mix Ushabti Bone with some white if needed for a brighter highlight.
- Apply this mix to the very tops of the bumps and the most prominent edges to accentuate the texture.
4. Glazing for Smooth Transitions
Balor Brown Glaze:
- Thin Balor Brown with water (approximately 50/50 ratio) to create a glaze.
- Apply this glaze over the textured areas to blend the colours and soften the transitions.
Dark Reaper Glaze:
- Thin Dark Reaper similarly and use it to add depth to the shadowed areas, particularly around the lower part of the leg.
5. Detailing the Nurgle Symbol
Mournfang Brown Base:
- Base coat the Nurgle symbol and trim with Mournfang Brown.
Highlight with XV-88 and Ice Yellow:
- Gradually highlight the trim by mixing XV-88 into Mournfang Brown, followed by Balor Brown, and finally adding Ice Yellow for the brightest highlights.
- Focus on creating sharp, bright edges to simulate a non-metallic metal (NMM) effect.
6. Applying Verdigris Effect
Base with Sybarite Green:
- Mix Sybarite Green with a touch of Sotek Green and apply it to the areas where you want the verdigris effect.
Highlight with Sotek Green and White:
- Gradually lighten the Sybarite Green mix with white to create layers of verdigris. Focus on the lower parts of the trim and the areas where water would naturally collect and cause corrosion.
7. Refining and Finishing Touches
Final Glazes and Highlights:
- Use thin glazes of Ushabti Bone and Morghast Bone to refine the highlights and ensure smooth transitions.
Final Details:
- Add any additional details like rust streaks or further texturing as needed. Use very fine lines and dots to simulate wear and tear.
More Nurgle Videos…
If you don’t have an account, please sign up here! The website currently has over 350 video tutorials with steps and tips plus a selection of detailed PDFs. If you are not sure about joining, you can explore my free videos with a free membership, or take the plunge and become a full subscriber for full access.
If you’d prefer to support me on Patreon, please visit: https://www.patreon.com/RichardGray


