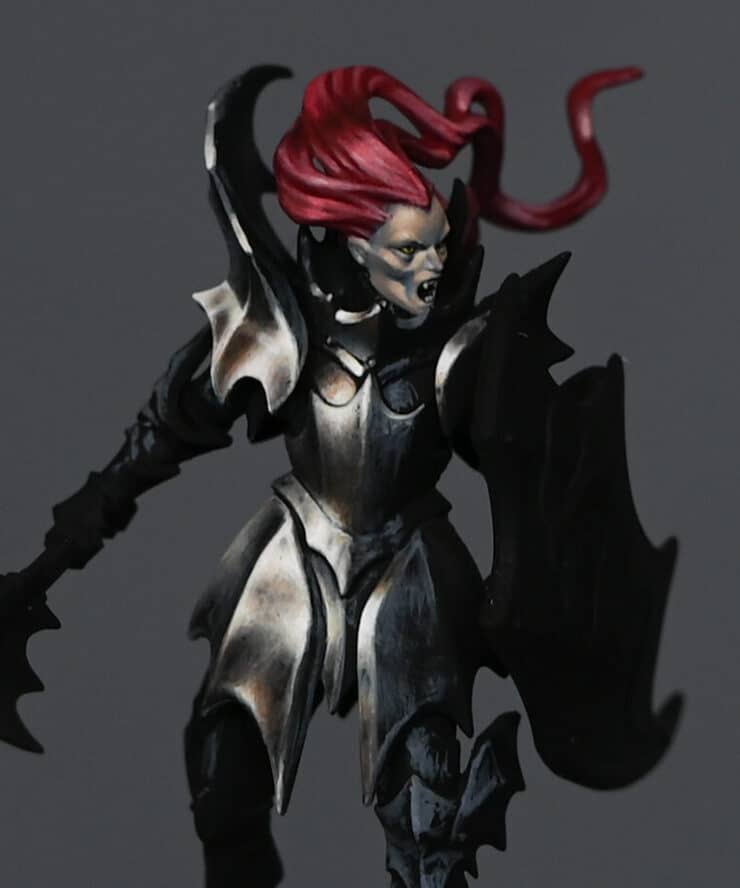
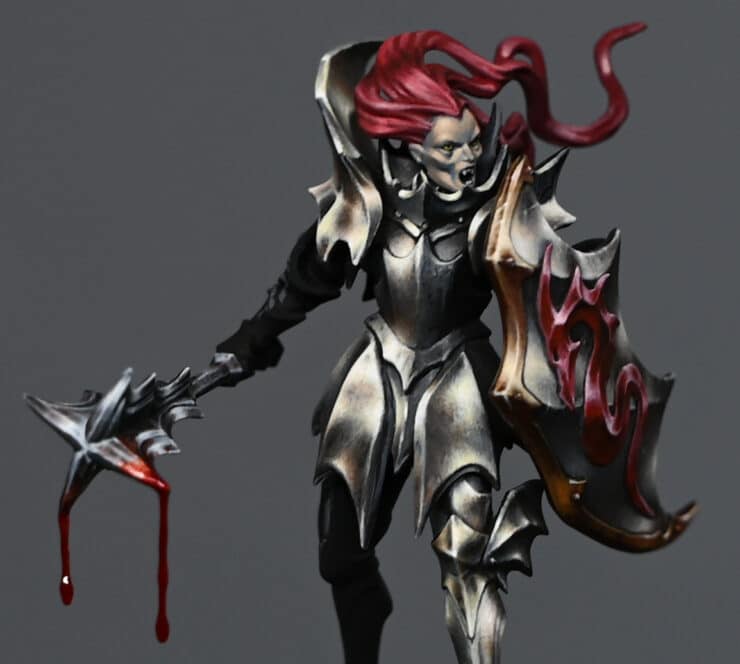
This video and step by-step guide shows how to paint the Vampire Lord steel armour in NMM for the new Vampire Lord from Games Workshop.
Video – How to Paint a Vampire Lord Steel Armour
Paints and Materials
Paints:
- Vallejo Neutral Grey: Used for mapping out highlights and base tones on the armour.
- Vallejo Ice Yellow: Applied for initial highlights, gives a warm, off-white effect.
- Games Workshop Mournfang Brown: Used sparingly for adding depth and richness in transitions.
- Games Workshop Abaddon Black: Thinned down and used for glazing to deepen shadows and smooth transitions.
- P3 Morrow White: For final bright highlights. Thinned down considerably for a subtle effect.
Brushes:
- Fine Detail Brushes: Essential for applying precise highlights and for the stippling technique. I used the Artis Opus range, but any high-quality fine brush will work.
- Glazing Brushes: Preferably also with a fine tip, used for applying thinned down glazes of Mournfang Brown and Abaddon Black.
Primer:
- Ultimate Primer (Black): Used for priming the model before painting.
Step-by-Step Guide and Tips for the Vampire Lord Steel Armour
Preparation: Assemble the model but avoid gluing areas like the shield or head that might obstruct painting. Prime the model in black. For this, Ultimate Primer is a good choice.
Base Layer: Start with Vallejo Neutral Grey to map out highlight points on the armour. This colour is ideal for desaturated, steel-like effects.
Light Direction and Armour Detailing: Consider the light source and how it hits the model. Focus on areas like the hip covers and rib cage, and map out light and reflections. The Neutral Grey will be useful for creating the base tones.
Initial Highlights: Apply Vallejo Ice Yellow for the highlights. Despite its name, Ice Yellow will give a desaturated, warm white appearance, especially when applied thinly. This is perfect for adding a subtle warmth to the steel.
Refining the Highlights: Use a stippling technique with Neutral Grey and Ice Yellow, building up the texture and refining the highlights. Remember, this is a gradual process, and patience is key.
Adding Depth with Mournfang Brown: Introduce Games Workshop Mournfang Brown sparingly at transition edges or darker areas for a richer tone. Be cautious not to overdo it, as too much brown can detract from the steel effect.
Glazing for Smoothness: Thin down Mournfang Brown and Abaddon Black with water (about 5-6 parts water to 1 part paint) and apply them as glazes. This step will help in smoothing out transitions and adding depth.
Final Highlights with Morrow White: Use P3 Morrow White for final bright highlights. Ensure the white is thinned down and apply it very carefully to the highest points of the armour.
Adjusting and Blending: Keep adjusting the highlights and shadows, blending the colours where necessary. This might involve going back and forth between the different shades to achieve a smooth transition.
Finish and Review: Once satisfied, review the model under different lighting to ensure the non-metallic metal effect is consistent and realistic.
Throughout this process, keep your paint thin and apply multiple layers for the best results. The key to NMM is patience and gradual building of layers. Remember, each step contributes to the overall metallic effect, so take your time and enjoy the process!
Watch more of my Vampire Lord tutorials by clicking the below:
Vampire Lord
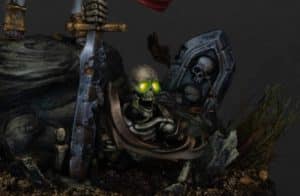
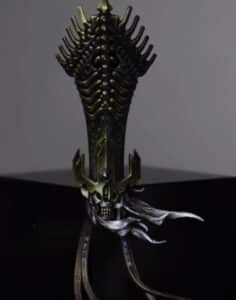
Golden Demon Entry – All the videos on how to paint the Vampire Lord from the Soulblight Gravelord Armies! This includes NMM shiny steel armour, face and hair, skeleton base tutorial plus a dripping gore-covered mace!
Watch more of my Undead tutorials by clicking the below:
If you don’t have an account, please sign up here! The website currently has over 350 video tutorials with steps and tips, plus a selection of PDFs. If you are not sure about joining, you can explore my free videos with a free membership, or take the plunge and become a full subscriber for full access.
If you’d prefer to support me on Patreon, please visit: https://www.patreon.com/RichardGray


