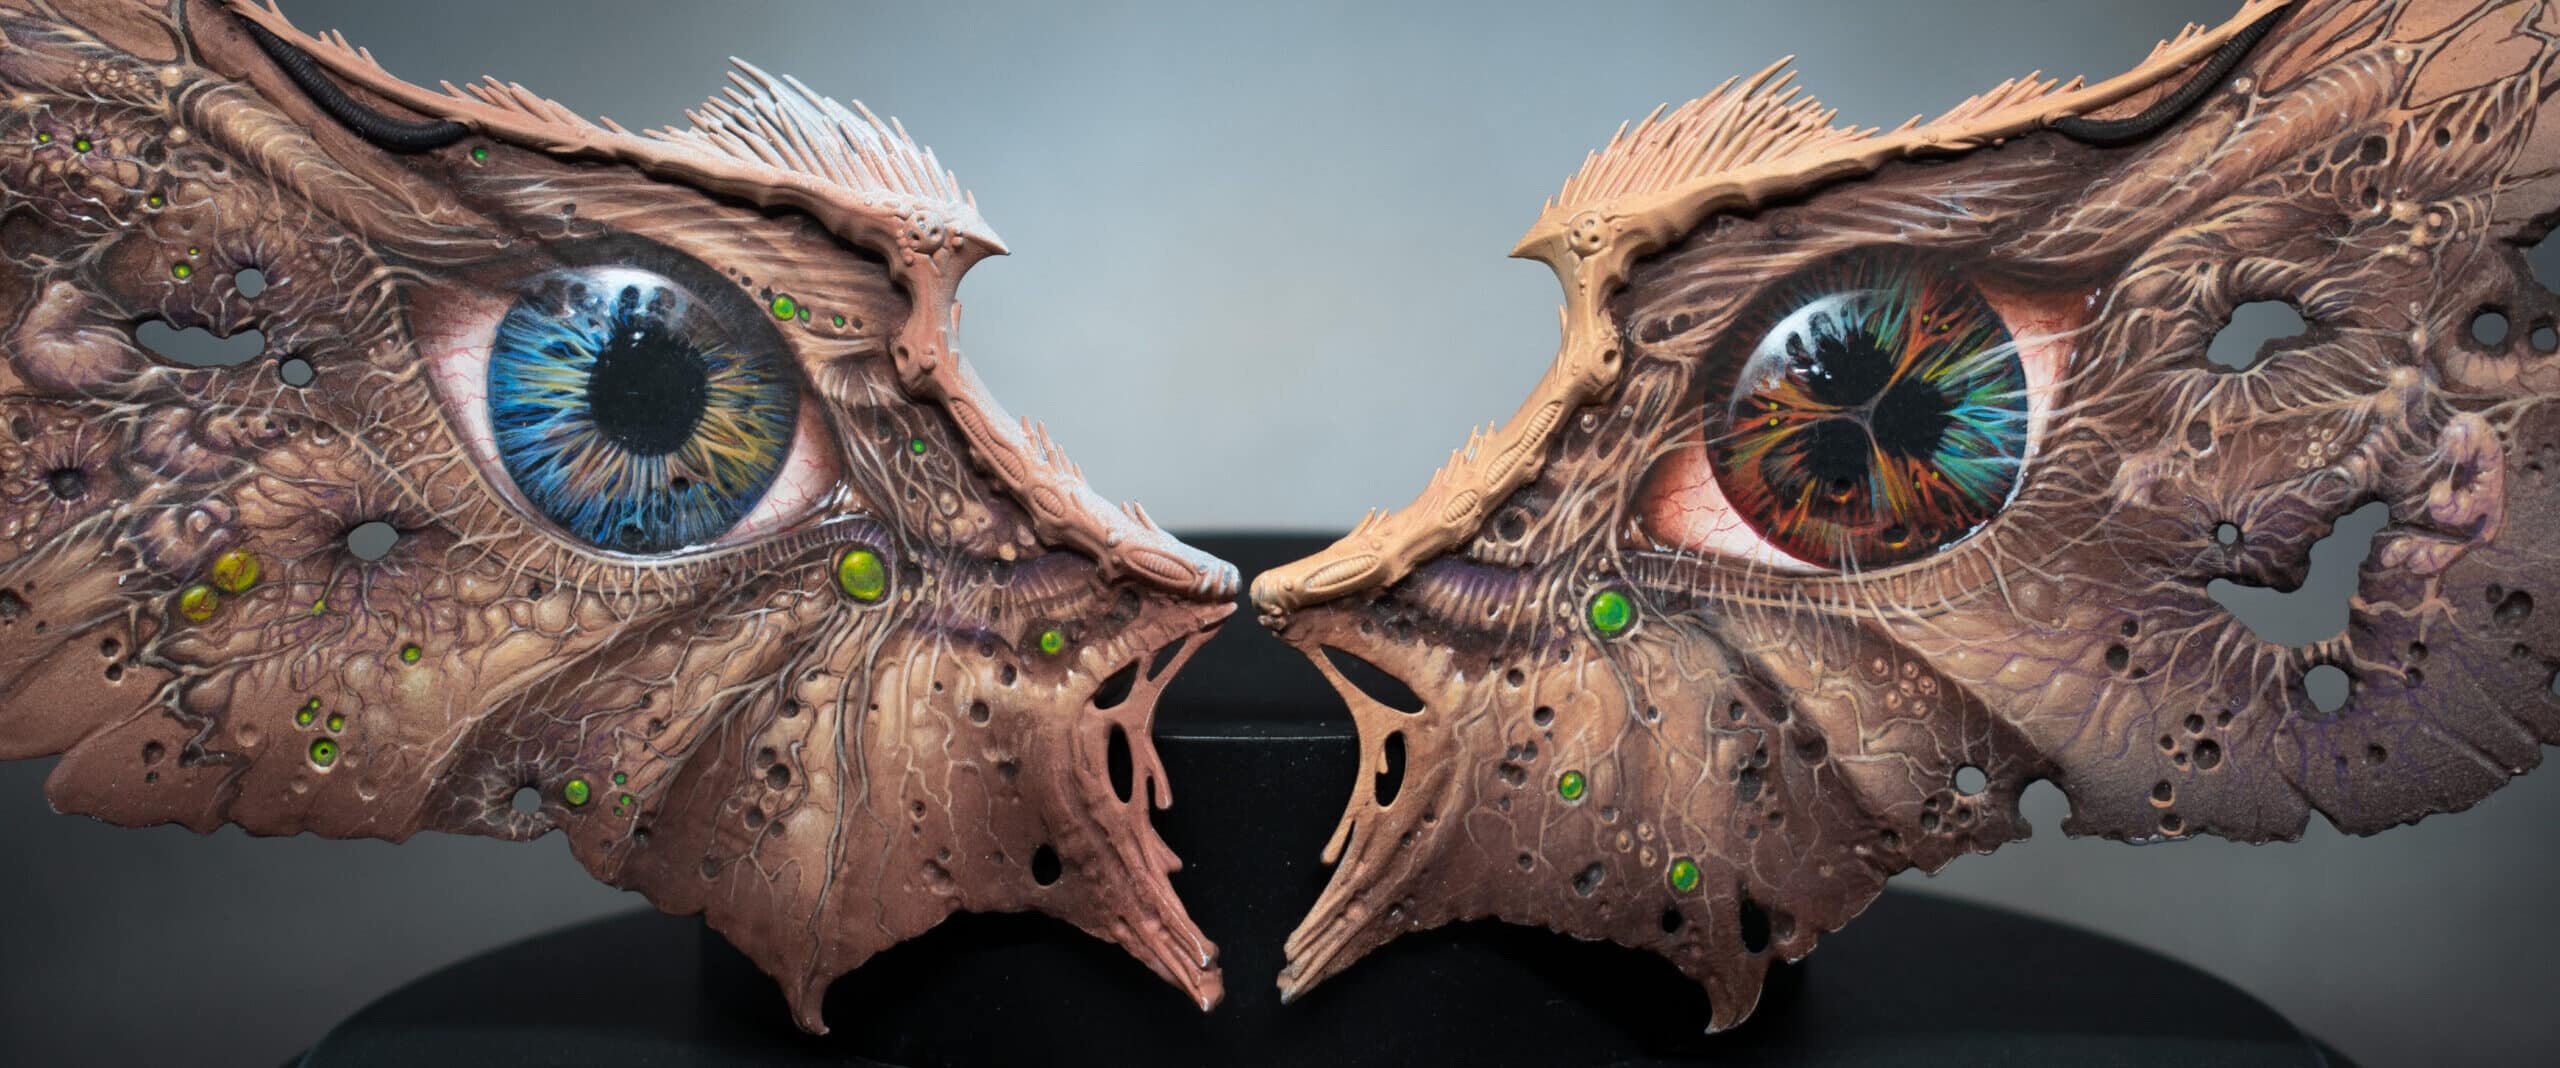
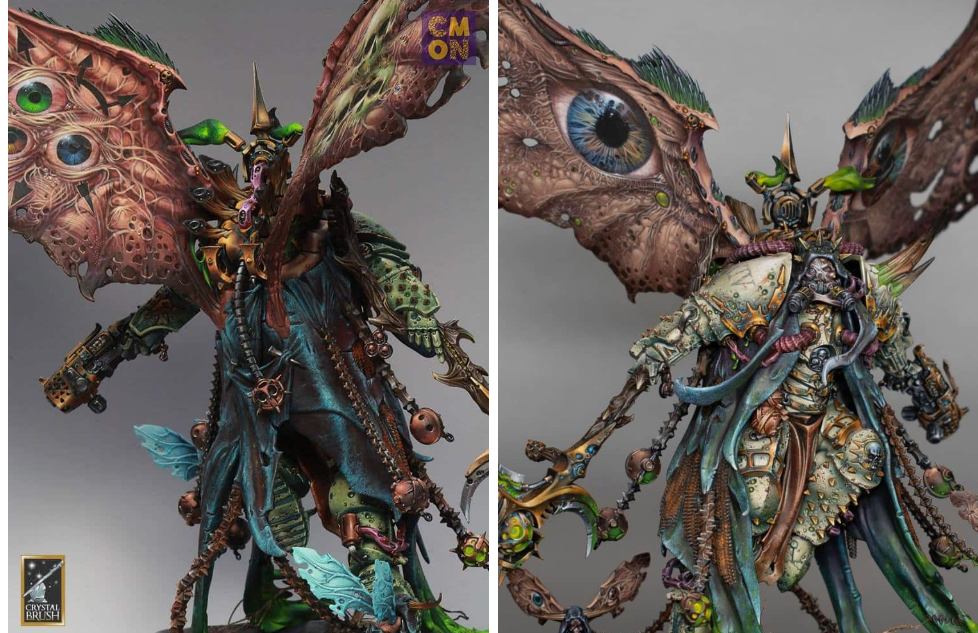
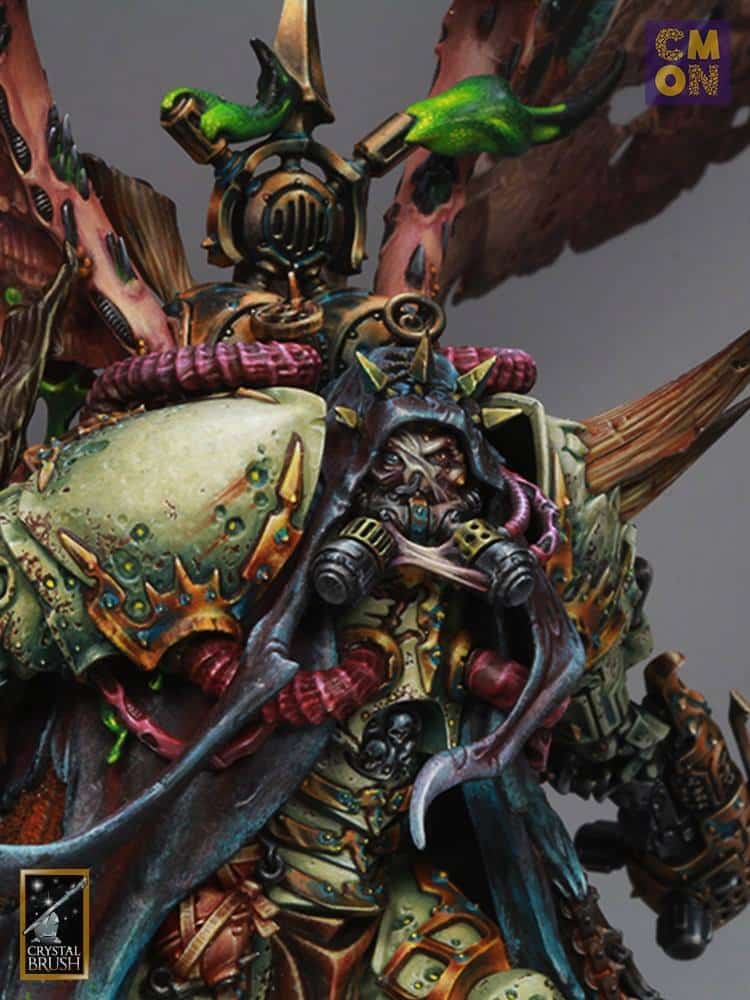
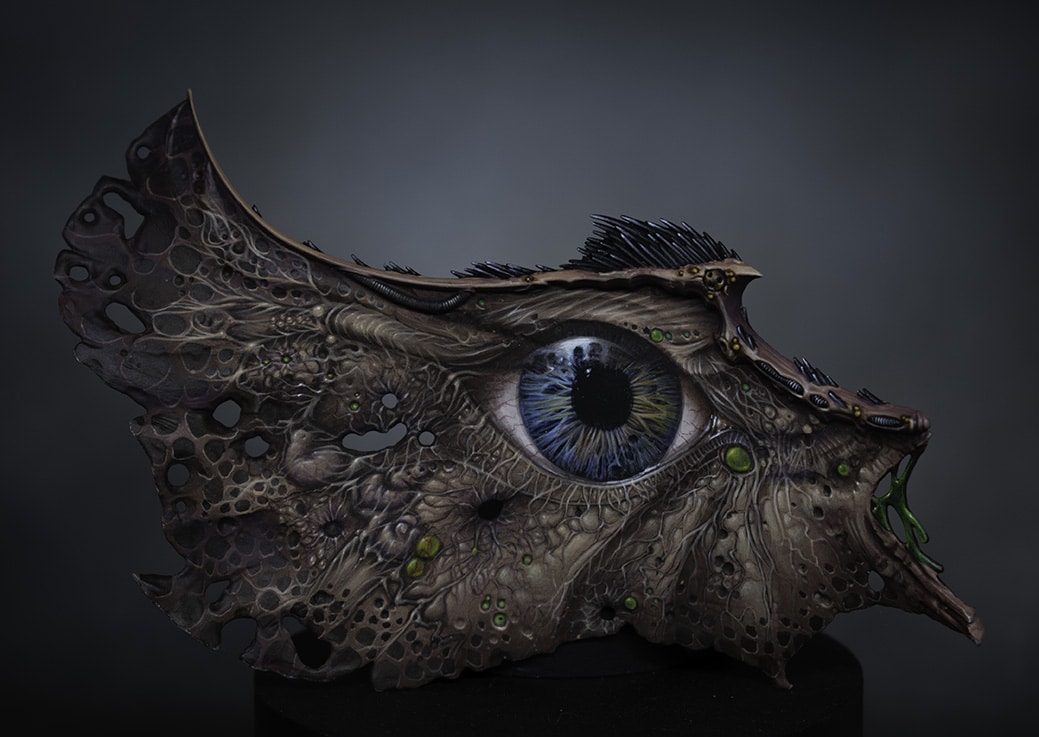
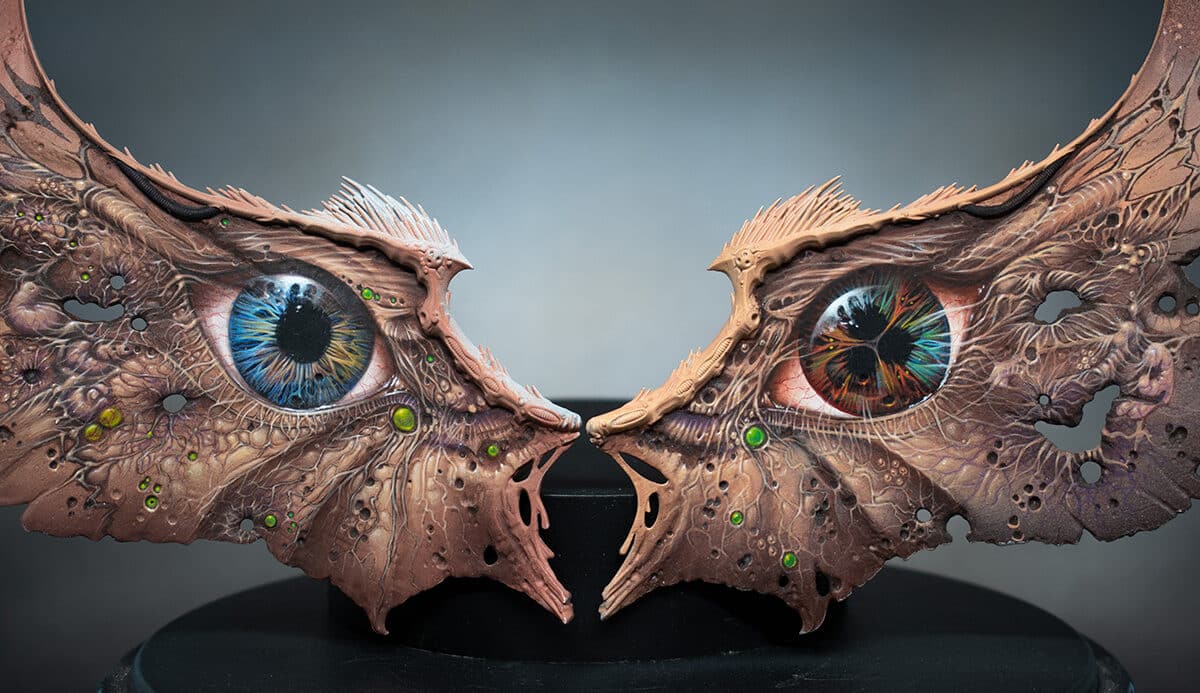
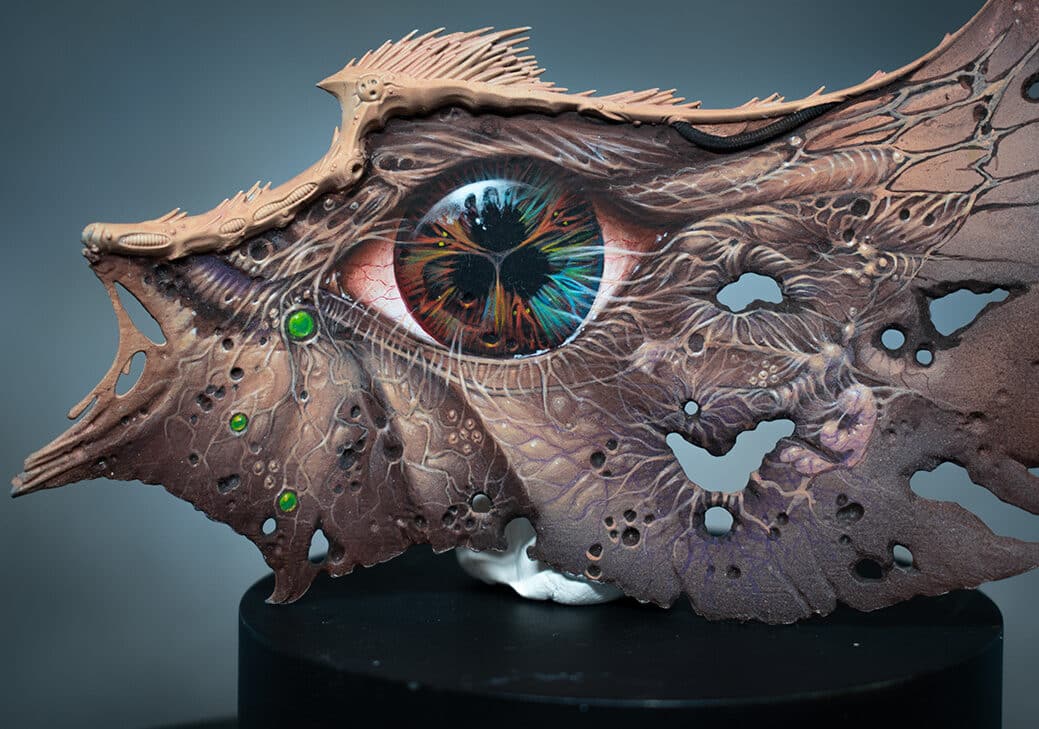
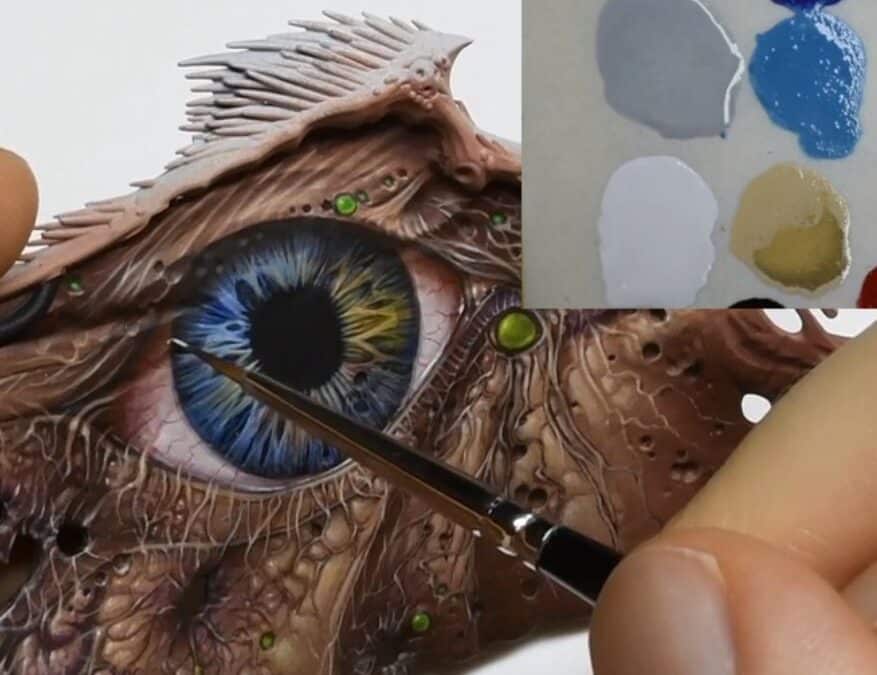
A series of videos on how to paint Mortarions green armour! Follow along with a paint guide, video and step-by-step instructions. My Mortarion won Gold in Golden Demon 2019.
Quick note on the white paint I use – with Ceramite White not an option, apparently Corax White is the replacement, but really I don’t think it matters too much which white you use, eg Valleho white, Two Thin Coats, White Star etc!
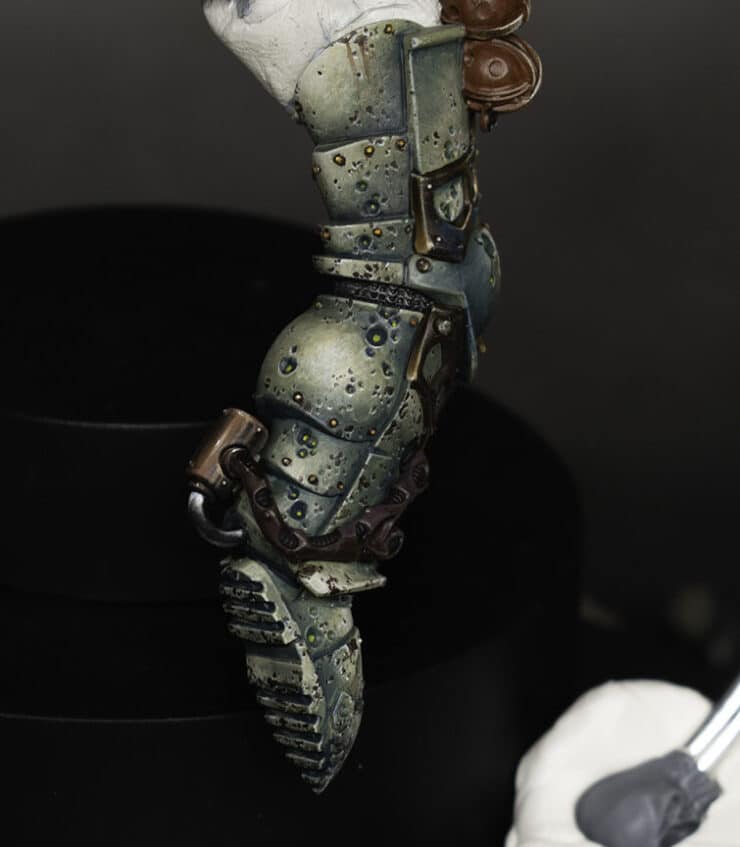
How to Paint Mortarions Green Armour: Basic colours and knee armour
All videos are recorded in HD 1080p or higher – use full screen for the full effect and let the video load completely.
The following paints were used:
Games Workshop: Death Guard Green, Ushabti Bone, Ceramite White, Incubis Darkness.
Step-by-step: How to Paint Mortarions Green Armour: Basic colours and knee armour
Prepare Your Model: Ensure that the base colour (Death Guard green) has been sprayed onto the model. It can be applied using an airbrush or by hand painting.
Shadow Bone Base Layer: Use a small brush to apply Ushabti Bone directly on top of the Death Guard green. Apply it roughly to create a textured and rough appearance.
Use the side of the brush to avoid filling in details, especially in areas with corrosion or small holes.
Directional Lighting: Maintain a consistent light source direction for the entire model. In this case, the lighting is from the top left.
Use the side of the brush to catch the edges of details and create shadows where needed.
Building Layers: Apply multiple layers of Ushabti Bone, allowing each layer to dry. This builds up texture and depth on the armour. The paint should be fairly watered-down to allow for a gradual transition and darker appearance upon drying.
Ceramite White Highlights: Apply Ceramite White on top of Ushabti Bone, following the same process as before but in a reduced area. Highlight the sculpted details and the simple dark areas left by the previous layer.
Fine Detailing: Use a small brush to add finer details, such as dimples and small marks, using both Ushabti Bone and Ceramite White. Take care with areas that will be hidden, as they can still be visible from certain angles.
Shading with Incubis Darkness: Introduce Incubis Darkness for shading, especially in areas like the holes in the armour. Darken these areas to add contrast. Use the same directional lighting approach for shading.
Gold Trim Consideration: Be mindful of the upcoming gold trim painting, as it will affect the surrounding painted areas.
Final Details and Blending: Fine-tune details, especially in areas like the knee, ensuring that the lighting direction is consistent.
Blend colours using a wet palette for a smoother transition between shades.
Yellow Details: Consider using a yellow paint, such as Averland Sunset, for adding small details like dots in the centre of holes
NMM (non metallic metal) armour trim
The following paints were used:
Games Workshop: Yriel Yellow, Rhinox Hide, Firedragon Bright, Troll Slayer Orange, Mournfang Brown Vallejo: Ice Yellow
Step-by-step: How to Paint NMM (non metallic metal) armour trim
Prepare Your Workspace: Set up your painting area with good lighting and ventilation.
Gather your paints: Yriel Yellow, Rhinox Hide, Firedragon Bright, Troll Slayer Orange, Mournfang Brown, and Ice Yellow from Vallejo.
Ensure you have a wet palette for smoother paint application.
Have a variety of brushes ready, including a small fine-tip brush for detailed work.
Base Coat with Firedragon Bright: Apply Firedragon Bright as the base coat for the non-metallic metal (NMM) effect.
Use a wet palette to maintain the paint’s consistency.
Focus on covering the areas designated for the metallic trim.
Add Troll Slayer Orange for Vibrancy: Introduce Troll Slayer Orange to create a vibrant orange hue.
Blend it with Firedragon Bright for a smooth transition.
Adjust the intensity by adding more or less Troll Slayer Orange as needed.
Create Initial Highlights with Ice Yellow: Utilise Ice Yellow to mark out initial highlight areas.
Apply it generously, as it will be blended and softened later.
Adjust based on the model’s position and where light would naturally hit.
Blend and Soften Highlights: Blend the colours together using small marks and strokes.
Use a wet palette to keep the paint workable.
Pay attention to transitions and reflections, adjusting as necessary.
Introduce Yriel Yellow for Brightness: Add Yriel Yellow for intense brightness.
Be cautious not to overdo it; you can always layer and adjust later.
Focus on the most prominent areas that catch the light.
Tone Down with Mournfang Brown: Use Mournfang Brown to tone down the intensity of the yellow hues.
Glaze over areas to create a subtle transition.
Consider the reflective properties of metal for realistic effects.
Adjust Highlights with White Scar: Apply White Scar to create sharp highlights.
Concentrate on areas where light hits sharply.
Use a fine-tip brush for precision.
Evaluate and Make Adjustments: Assemble the model partially to evaluate how light interacts with the metallic trim.
Identify areas that need adjustments, considering the model’s overall composition.
Add Final Touches and Reflections: Fine-tune reflections and add small dots to simulate reflective points.
Experiment with different angles to ensure the model looks realistic from various perspectives.
Pay attention to contrast, emphasising dark areas next to light for a shiny effect.
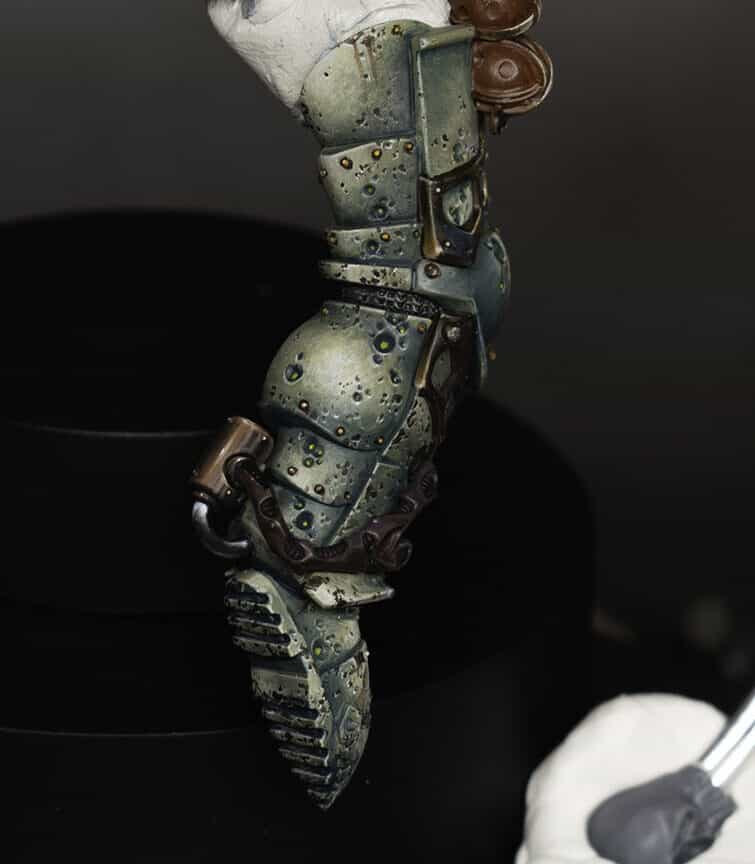
How to Paint Mortarions Green Armour: Details on the knee armour
The following paints were used:
Games Workshop: Death Guard Green Ushabti Bone Incubi Darkness Yriel Yellow Mournfang Brown
P3: Morrow White (Ceramite White)
Step-by-step: Paint Mortarions Green Armour: Details on the knee armour
Prepare the Model: Ensure the model is clean and free of any dust or debris.
Use an airbrush to apply Death Guard Green as the base colour evenly over the foot.
Initial Highlights with Ushabti Bone: Use a sharp brush to apply Ushabti Bone roughly over the Death Guard Green. Apply the highlight at an angle to catch light on the curve of the foot.
Brush Technique: Utilize a worn-out size 1 brush for a softer, larger mark.
Take advantage of the worn tip to create fatter marks for a textured effect.
Layering Highlights: Apply multiple layers of highlights, ensuring they align from toe to the top of the foot.
Use Death Guard Green on the palette to create soft blends and transitions.
Adding Depth with Incubi Darkness: Glaze or paint Incubi Darkness over the highlights for a dark, contrasting effect.
Test visibility behind the cloak to determine areas worth spending time on.
Refining Highlights with Morrow White (Ceramite White): Move on to a smaller area with white, refining the highlight points. Underline sculpted details to enhance their 3D appearance.
Glazing and Opaque Effects: Apply a sloppy glaze of Incubi Darkness to create a wash-like effect.
Be mindful of catching raised details; the goal is to maintain texture.
Adjusting Glazes: Fine-tune glazes by adjusting the opacity and color on the palette.
Experiment with different mixtures to achieve desired transitions.
Fine Details: Use Morrow White (Ceramite White) or a preferred white paint for underlining details.
Add an orange base color for a unique glow effect.
Shadows and Depth: Introduce shadows with Incubi Darkness on the upper edges of textures.
Add shadows to make 3D imperfections in the armor more pronounced.
Rivets and Details: Paint the rivets white for contrast and visibility.
Address any streaking or imperfections, correcting as needed.
Yellow Dots: Water down Yriel Yellow and paint the center of holes with multiple layers.
Consider using the paint directly from the pot for a harder yellow dot.
Streaking Effect: Use Mournfang Brown to create streaks coming from the holes.
Adjust paint thickness to control the streaking effect.
Final Touches: Ensure streaking direction aligns with the model’s positioning.
Face and foot
This video shows how to lighten the face of Mortarion and also how to paint the weathering on his armour.
The following paints were used:
Games Workshop: Ceramite White, Flayed One Flesh, Pallid Wych Flesh, Ushabti Bone, Rhinox Hide.
Step-by-step: How to Paint Face and foot
Glazing for Face Lightening: Prepare a glaze using Games Workshop’s Flayed One Flesh paint and water (about 5 parts water to 1 part paint).
Load the brush with the glaze and remove excess paint on kitchen roll.
Apply thin layers of glaze to the face, focusing on central areas like the forehead, bridge of the nose, and cheeks.
Be careful not to let the glaze pool in the recesses. Keep adjusting to maintain control over the layering.
Pallid Wych Flesh Detailing: Use Games Workshop’s Pallid Wych Flesh, a thicker paint, to highlight the top of creases on the face.
Build up contrast between creases and highlights gradually to create a natural look.
Ensure that the creases are lightened, but maintain a balance with the overall lighting on the face.
Final Highlight with Games Workshop’s Ceramite White: Apply Games Workshop’s Ceramite White to the highest points of the face, focusing on central areas.
Use a controlled technique to avoid overdoing the highlights.
Maintain subtlety and control over the white highlights for a natural effect.
Chip-Weathering on Armor: Choose Games Workshop’s Rhinox Hide for chipping on the armor.
Apply the paint with a brush, creating small marks on the model.
Leave some patches of white paint between the chipped areas for added interest.
Consider the positioning of chips, focusing on areas that would naturally experience wear and tear.
Use a colour-coded brush to keep track of the tool’s usage and maintain control.
Refining the Chipping: Adjust the thickness of the chipping lines to control the visual impact.
Ensure that the chipping looks natural and not too high in contrast.
Pay attention to the bottom of the foot, adjusting the highlighting based on the foot’s position.
Add more chips on areas that would naturally experience more damage, like the front side of the leg.
Cloth
The following paints were used:
Games Workshop: Ceramite White, Sotek Green, Abaddon Black, Evil Sunz Scarlet
Vallejo: German Grey (Abaddon Black with a touch of white), Neutral Grey (Skavenblight Dinge), Pale Grey Blue (Celestra Grey).
Step-by-step: How to Paint Cloth
Primer Coat: Begin with a black primed base coat using Games Workshop: Abaddon Black or any black primer of your choice.
Base Coat with German Gray: Apply Vallejo German Grey (a mix of Abaddon Black with a touch of white) using a stipple-like, rough fashion with a large, stiff brush. Rotate the brush to avoid obvious patterns.
Dry Brush with Neutral Grey: Dry brush the cloth with Vallejo Neutral Grey (Skavenblight Dinge) using a large, stiff brush. Maintain a textured effect without removing the paint too severely.
Fine Detailing with Sotek Green: Switch to a smaller brush (size 0 or similar) and use Sotek Green. Apply combinations of scratches and dots, focusing on smaller marks. Keep the paint fairly thick for strong marks.
Gradual Highlighting: Mix Sotek Green with a small amount of Celestra Grey (Pale Grey Blue) in around a 2:1 ratio. Gradually build up layers, focusing on creases and details. Highlight raised areas more than recessed ones.
Further Highlighting with Pale Blue-Gray: Mix Sotek Green with a small amount of Celestra Grey. Apply this highlight colour delicately, focusing on smaller areas. Enhance texture and pay attention to the shape of folds.
Final Highlight with Pale Blue: Use Celestra Grey (Pale Blue) as the final highlight. Be extremely delicate with application, focusing on small details. Less is more at this stage, as the heavy paint can make strong marks
Glazing with Abaddon Black: Use Abaddon Black for glazing. Apply it in the recesses to soften the texture marks and create a more blended look. Load the brush heavily for a more pronounced effect.
Additional Glazing with Evil Sunz Scarlet: Use Evil Sunz Scarlet for additional glazing, mainly in the recesses. This adds contrast and depth to the demonic clothing. Experiment with colours to make the cloth more interesting.
Final Touches and Details: Pay attention to focal points, such as areas where the cloth is attached to chains. Ensure that details are enhanced without losing the depth of the piece.
More Mortarion Tutorials:
Videos Not Showing?
To view any of my paid tutorials, you need to be a member of the website – please click below to log in or join the site.
Not sure about joining just yet? Check out my Youtube for all my free tutorials or sign up as a free “friend” member on this site and visit the free videos page!
If you’d prefer to support me on Patreon, please visit: https://www.patreon.com/RichardGray


