A new series focusing on How to Paint a Mega Gargant (Giant) from Games Workshop. I can show you lots of different techniques in a relatively small space (he is a huge model!)
Scroll down to explore the videos in order, or quick jump to a technique or part of him by clicking on the below:
Video – How to Paint a Warstomper Mega-Gargant – Head Part One
All videos are recorded in HD 1080p or higher – use full screen for the full effect and let the video load completely.
Paints and Materials
Artist Opus Brush, Size 00: An older, worn brush is preferable for blending, as the softened tip allows for softer marks.
Vallejo Heavy Grey: Used for the base layer, providing a greenish-grey foundation.
Games Workshop Mournfang Brown: Applied for the base of the hair.
Games Workshop Cadian Fleshtone: Employed for highlighting the skin.
Vallejo Golden Olive: Adds subtle colour variation to the skin.
Games Workshop Daemonette Hide: A purplish tinted paint enhancing the dark, moody theme.
Games Workshop Rhinox Hide: Used for adding freckles and finer details.
Games Workshop XV-88: Applied to the beard and hair for highlights and consistency.
P3 Morrow White: Mixed with Cadian Fleshtone for warmth in highlights.
Games Workshop Evil Sunz Scarlet: Diluted heavily for subtle red tones, especially on the nose.
Step-by-Step Guide for Painting Mega Gargant (Giant) Head: Skin
- Priming: Begin by using Scale 75 primer for a matte finish. The matte texture helps in subsequent paint layers.
- Base Layer: Start with Vallejo Heavy Grey, which is an extra opaque paint, ideal for base coating. Although named ‘Heavy Grey’, this paint has a greenish tint, providing an excellent foundation for the skin tones.
- Adding Hair Base: Apply Games Workshop Mournfang Brown for the hair. The strokes should be vertical to mimic hair texture. Let the black primer show through for natural depth.
- Blending with an Old Brush: Utilize a worn-out size 00 Arty Cypress brush for blending. The worn tip is beneficial for achieving soft blends without sharp edges.
- Adding Highlights: Use Games Workshop Cadian Fleshtone for highlighting. Initially, it appears quite light, but layers will reveal its true color.
- Working on Creases and Recesses: Focus on both the raised areas and the recesses. Avoid stark contrasts between the creases and highlighted parts to maintain a realistic appearance.
- Introducing Subtle Color Variations: Apply Vallejo Golden Olive sparingly. It adds a hint of color, enriching the skin tone without overpowering.
- Thin Layer Application: Maintain a paint-to-water ratio of about 50/50 for a translucent effect. This allows for texture building without creating a thick, uneven surface.
- Utilizing Daemonette Hide: Add Games Workshop Daemonette Hide, which has a purplish tint, to enhance the moody, dark theme.
- Focusing on Light Direction: Paint with the light source in mind (top-left in this case). Pay attention to how light naturally interacts with the contours of the face.
- Layering and Blending: Alternate between Vallejo Golden Olive and Cadian Fleshtone, continuously building up layers and blending them to achieve a subtle, natural transition.
- Detailing with Rhinox Hide: Add small freckles using Games Workshop Rhinox Hide. This color creates a strong contrast, so you will need to glaze over it later to soften the effect.
- Adding Warmth: Mix a bit of P3 Morrow White with Cadian Fleshtone to add warmth to the highlights, which will contrast nicely with the cooler, darker tones.
- Refining Beard and Hair: Apply XV-88 for the beard and hair, ensuring consistency with the skin’s highlight tones.
- Adjusting Highlights: If needed, modify the highlights on the beard to ensure they don’t compete with the skin tone. Knock back any overly bright highlights.
- Adding Subtle Red Tones: For areas like the nose, use a heavily diluted Evil Sunz Scarlet for a subtle reddish hue.
Video – How to Paint a Warstomper Mega-Gargant – Head Part Two
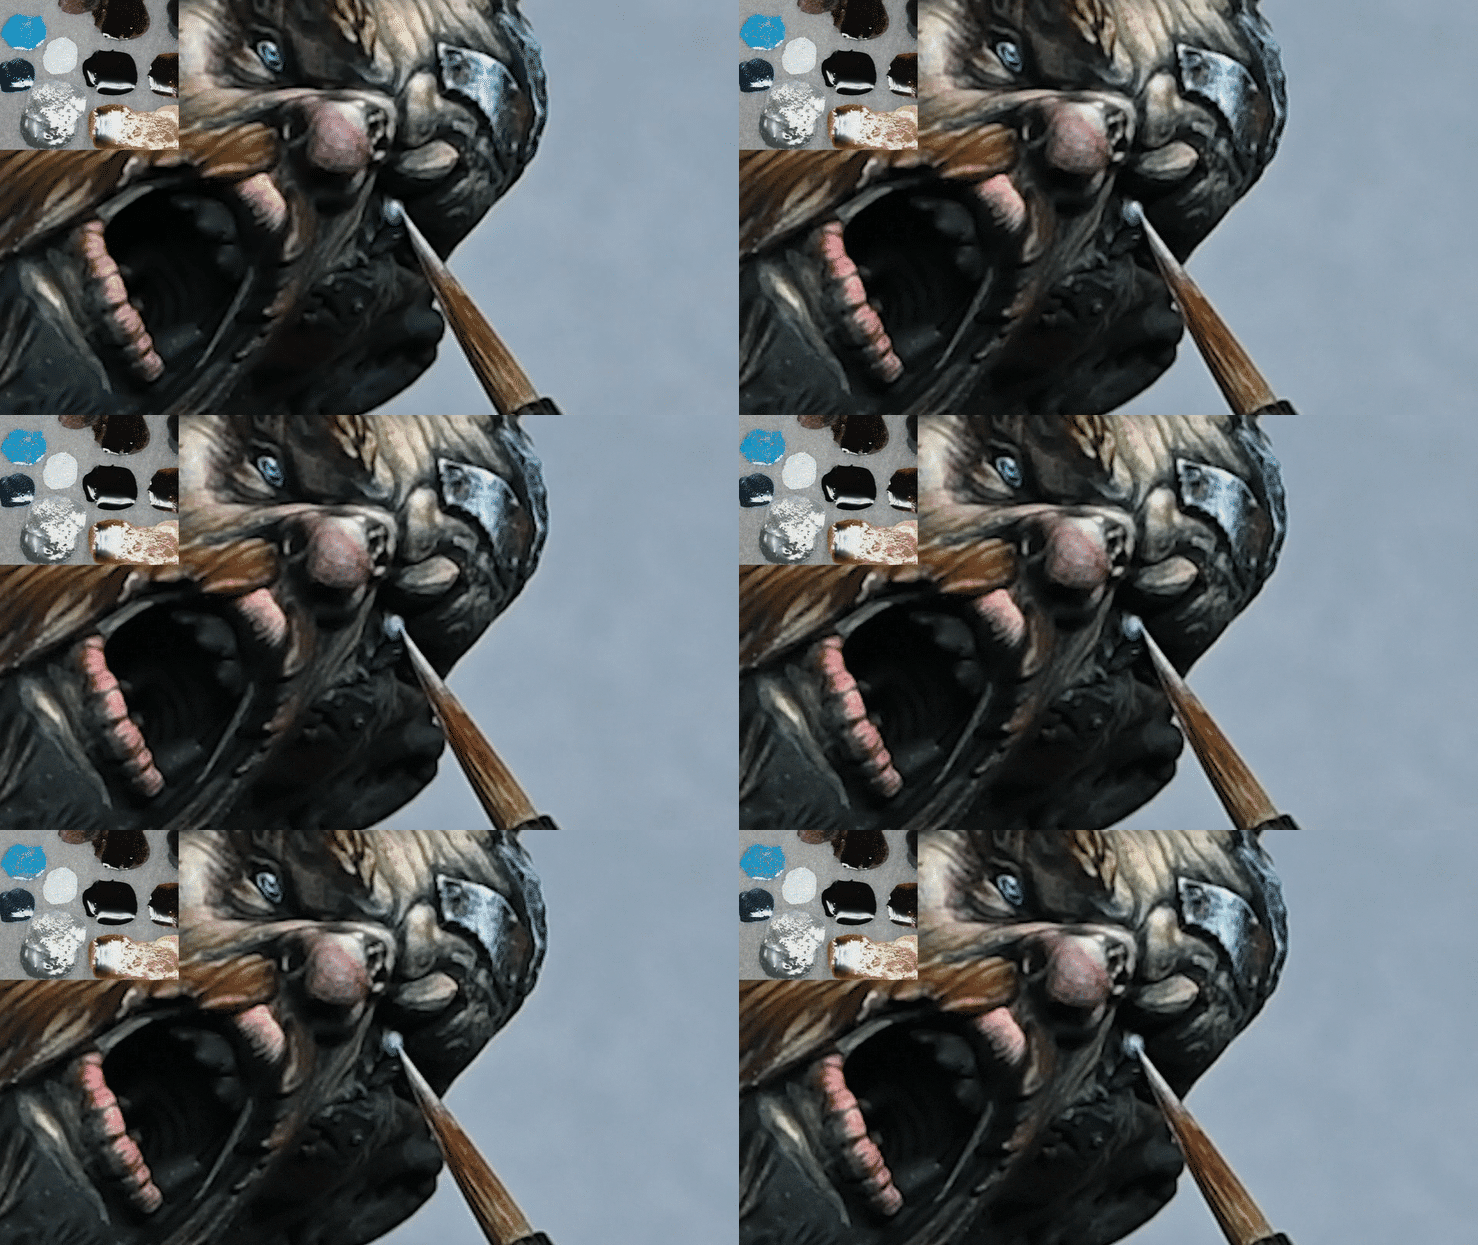
This video looks at the metal plates on the head and the eyes.
Paints and Materials
Fine Detail Brush: Used for intricate work, especially necessary for the eyes and smaller details on the metal plate.
Vallejo Neutral Grey: Utilised for base layers and detail work on the metal plate.
P3 Morrow White: Mixed with Vallejo Neutral Grey for lighter shades on the metal and for the eye highlights.
Games Workshop Kantor Blue: Used for the iris of the eye.
Games Workshop Temple Guard Blue: Applied for the lower edge of the iris to create depth and realism.
Games Workshop Mournfang Brown: Added for rust or dirt effects in the recesses of the metal plate.
Games Workshop Black (e.g., Abaddon Black): Employed for the pupil and the base of the iris.
Scale 75 Surface Primer Black: Used for the initial priming of the metal plate.
Painting the Metal Plate
- Starting with the Base: Begin with the metal plate, which is already primed black using Scale 75 Surface Primer Black. This primer gives a nice matte finish.
- Applying Vallejo Neutral Grey: Focus on the raised areas and details of the metal plate, making scratchy marks. For areas that catch more light, add more scratches, while fewer marks are needed in shadowed areas. This creates a sense of texture and wear on the metal.
- Adding White: Mix roughly 50/50 Vallejo Neutral Grey and P3 Morrow White. You don’t have to be precise, just aim for a mid-tone between pure white and neutral grey. Apply this mix over the same areas, maintaining the scratchy texture. This layer should be fairly opaque, using a mix of about one and a half parts paint to one part water.
- Incorporating Mournfang Brown: Use this colour to add a hint of dirt or rust in the recessed areas. Be careful not to cover the brightest highlights to maintain the illusion of rust and grime.
- Detailing and Shadow Work: Go back and define a few more details, especially in the shadowed areas on the right. Focus on edges that would catch light rather than the flat surfaces.
Painting the Eyes
- Base for the Normal Eye: Mix 50/50 Vallejo Neutral Grey and P3 Morrow White. Apply this as the base colour for the eye. This off-white base sets the stage for the highlight detail later.
- Adding the Black Iris: Paint the iris black, ensuring it’s not a perfect circle but slightly hidden under the top eyelid and just touching the bottom eyelid.
- Blue Iris Detail: Use Kantor Blue over the black, leaving some black visible to keep the eye dark but still coloured. Follow with Temple Guard Blue on the lower edge of the iris, leaving a dark dot in the centre.
- Pupil and Reflection: Add the pupil with Vallejo Model Colour Black. Then, for the reflection, use the Neutral Grey and P3 Morrow White mix for a line on the top left edge of the eye, followed by a dot of pure Morrow White in the middle of this line for a pop of brightness.
- Blind Eye: Start with the same base as the normal eye. Gradually build up to lighter shades, but do not go as bright as pure white. Add a small dot of Morrow White in the top left corner for consistency in lighting.
Video – Mega-Gargant Skin and Body
All videos are recorded in HD 1080p or higher – use full screen for the full effect and let the video load completely
Paints and Materials
- Brushes:
- A worn-down size 00 Artis Opus brush for soft blending and detailed work.
- Various other brushes for different techniques (specific sizes and brands not mentioned).
- Paints:
- Vallejo:
- Heavy Grey (base colour for skin)
- Ice Yellow (for highlights and skin tone adjustment)
- Golden Olive (for subtle skin colour variation)
- Games Workshop:
- Mournfang Brown (for hair)
- Cadian Fleshtone (for skin highlights and texture)
- Daemonette Hide (for desaturation and adding depth to skin)
- Rhinox Hide (for freckles)
- XV-88 (for beard highlights)
- Evil Sunz Scarlet (for nose colouring)
- P3:
- Morrow White (not used in this part, but generally useful for mixing and highlights)
- Vallejo:
- Primer:
- Scale75 Primer (for a matte finish)
- Other Materials:
- Water for thinning paints.
- A palette for mixing paints.
- Kitchen roll or a similar material for wiping and adjusting brush moisture.
- Lighting:
- A well-lit workspace, preferably with a directional light source to understand how light falls on the model.
Step-by-Step Guide
- Primer and Base Coat:
- Prime the model with Scale75 Primer for a matte finish.
- Begin the skin base with Vallejo’s Heavy Grey. Despite its name, it has a greenish tint and is perfect for creating a unique skin tone. Thin it down for a more translucent look.
- Initial Detailing:
- Apply Vallejo’s Mournfang Brown for the hair, keeping strokes vertical and allowing some black primer to show through for natural variation.
- Use a worn-down size 00 brush for soft blending, avoiding sharp marks at this stage.
- Building Skin Tones:
- Introduce Vallejo’s Fleshtone, which is significantly lighter than Heavy Grey, to start building up highlights. Apply thinly and gradually to avoid stark contrasts.
- Add Games Workshop’s Daemonette Hide, a greyish-purple colour, for desaturation and adding depth to the skin.
- Use Vallejo’s Golden Olive to inject subtle colour into the skin. This won’t make the giant look Nurgle-like but adds vibrancy to the skin.
- Creating Texture and Contrast:
- Continuously build up texture and contrast by alternating between the skin colours. Keep the paint consistency thin (about 50:50 with water) for subtlety.
- Focus on one side of the face for detailing, keeping in mind the light source direction (top left in this case).
- Refining Highlights:
- Gradually refine the highlights with thin glazes of Cadian Fleshtone and Ice Yellow from Vallejo, focusing towards the highlight areas.
- Ensure the transitions from mid-tones to highlights are smooth and natural.
- Adding Freckles:
- Introduce freckles using Games Workshop’s Rhinox Hide. Apply them sparingly and glaze over them with the skin tones to soften their appearance.
- Beard Detailing:
- Paint the beard starting with Mournfang Brown, then add highlights with XV-88 from Games Workshop. Ensure the beard blends softly into the skin.
- Avoid overly bright highlights on the beard; XV-88 should remain the brightest highlight.
- Nose Colouring:
- Add a touch of colour to the nose with Games Workshop’s Evil Sunz Scarlet, heavily thinned for a glaze-like consistency.
- Stipple this on and blend with Daemonette Hide for a subtle, natural look.
- Final Adjustments:
- Continuously review the model, adding layers and refining details. The goal is to create a balanced, realistic skin tone with a moody, dark atmosphere.
- Remember to paint from multiple angles, ensuring the model looks good from all sides.
Additional Tips
- Layering Technique: Focus on building thin, translucent layers, allowing each layer to dry before applying the next.
- Brush Care: Maintain the shape and cleanliness of your brush for precise application.
- Paint Consistency: The key to achieving the right skin texture is in the consistency of the paint. Thinner paints allow for more subtle transitions and texture.
- Highlighting: When adding highlights, work towards the lightest points, stopping at the peak to create a natural transition.
- Observing Light Direction: Consistently consider the light source direction for a realistic portrayal of light and shadow on the model.
If you don’t have an account, please sign up here! The website currently has over 350 video tutorials with steps and tips, plus a selection of PDFs. If you are not sure about joining, you can explore my free videos with a free membership, or take the plunge and become a full subscriber for full access.
If you’d prefer to support me on Patreon, please visit: https://www.patreon.com/RichardGray


