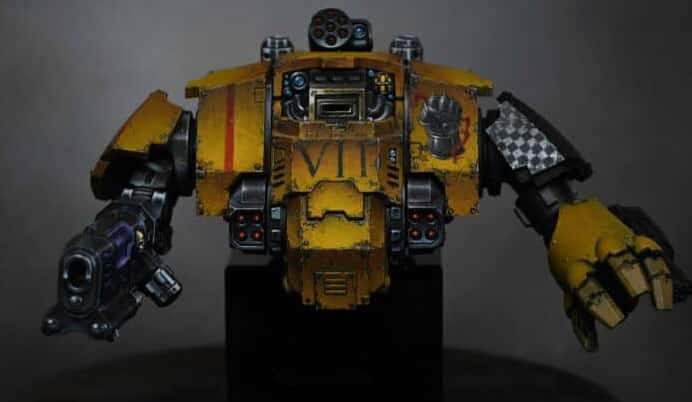
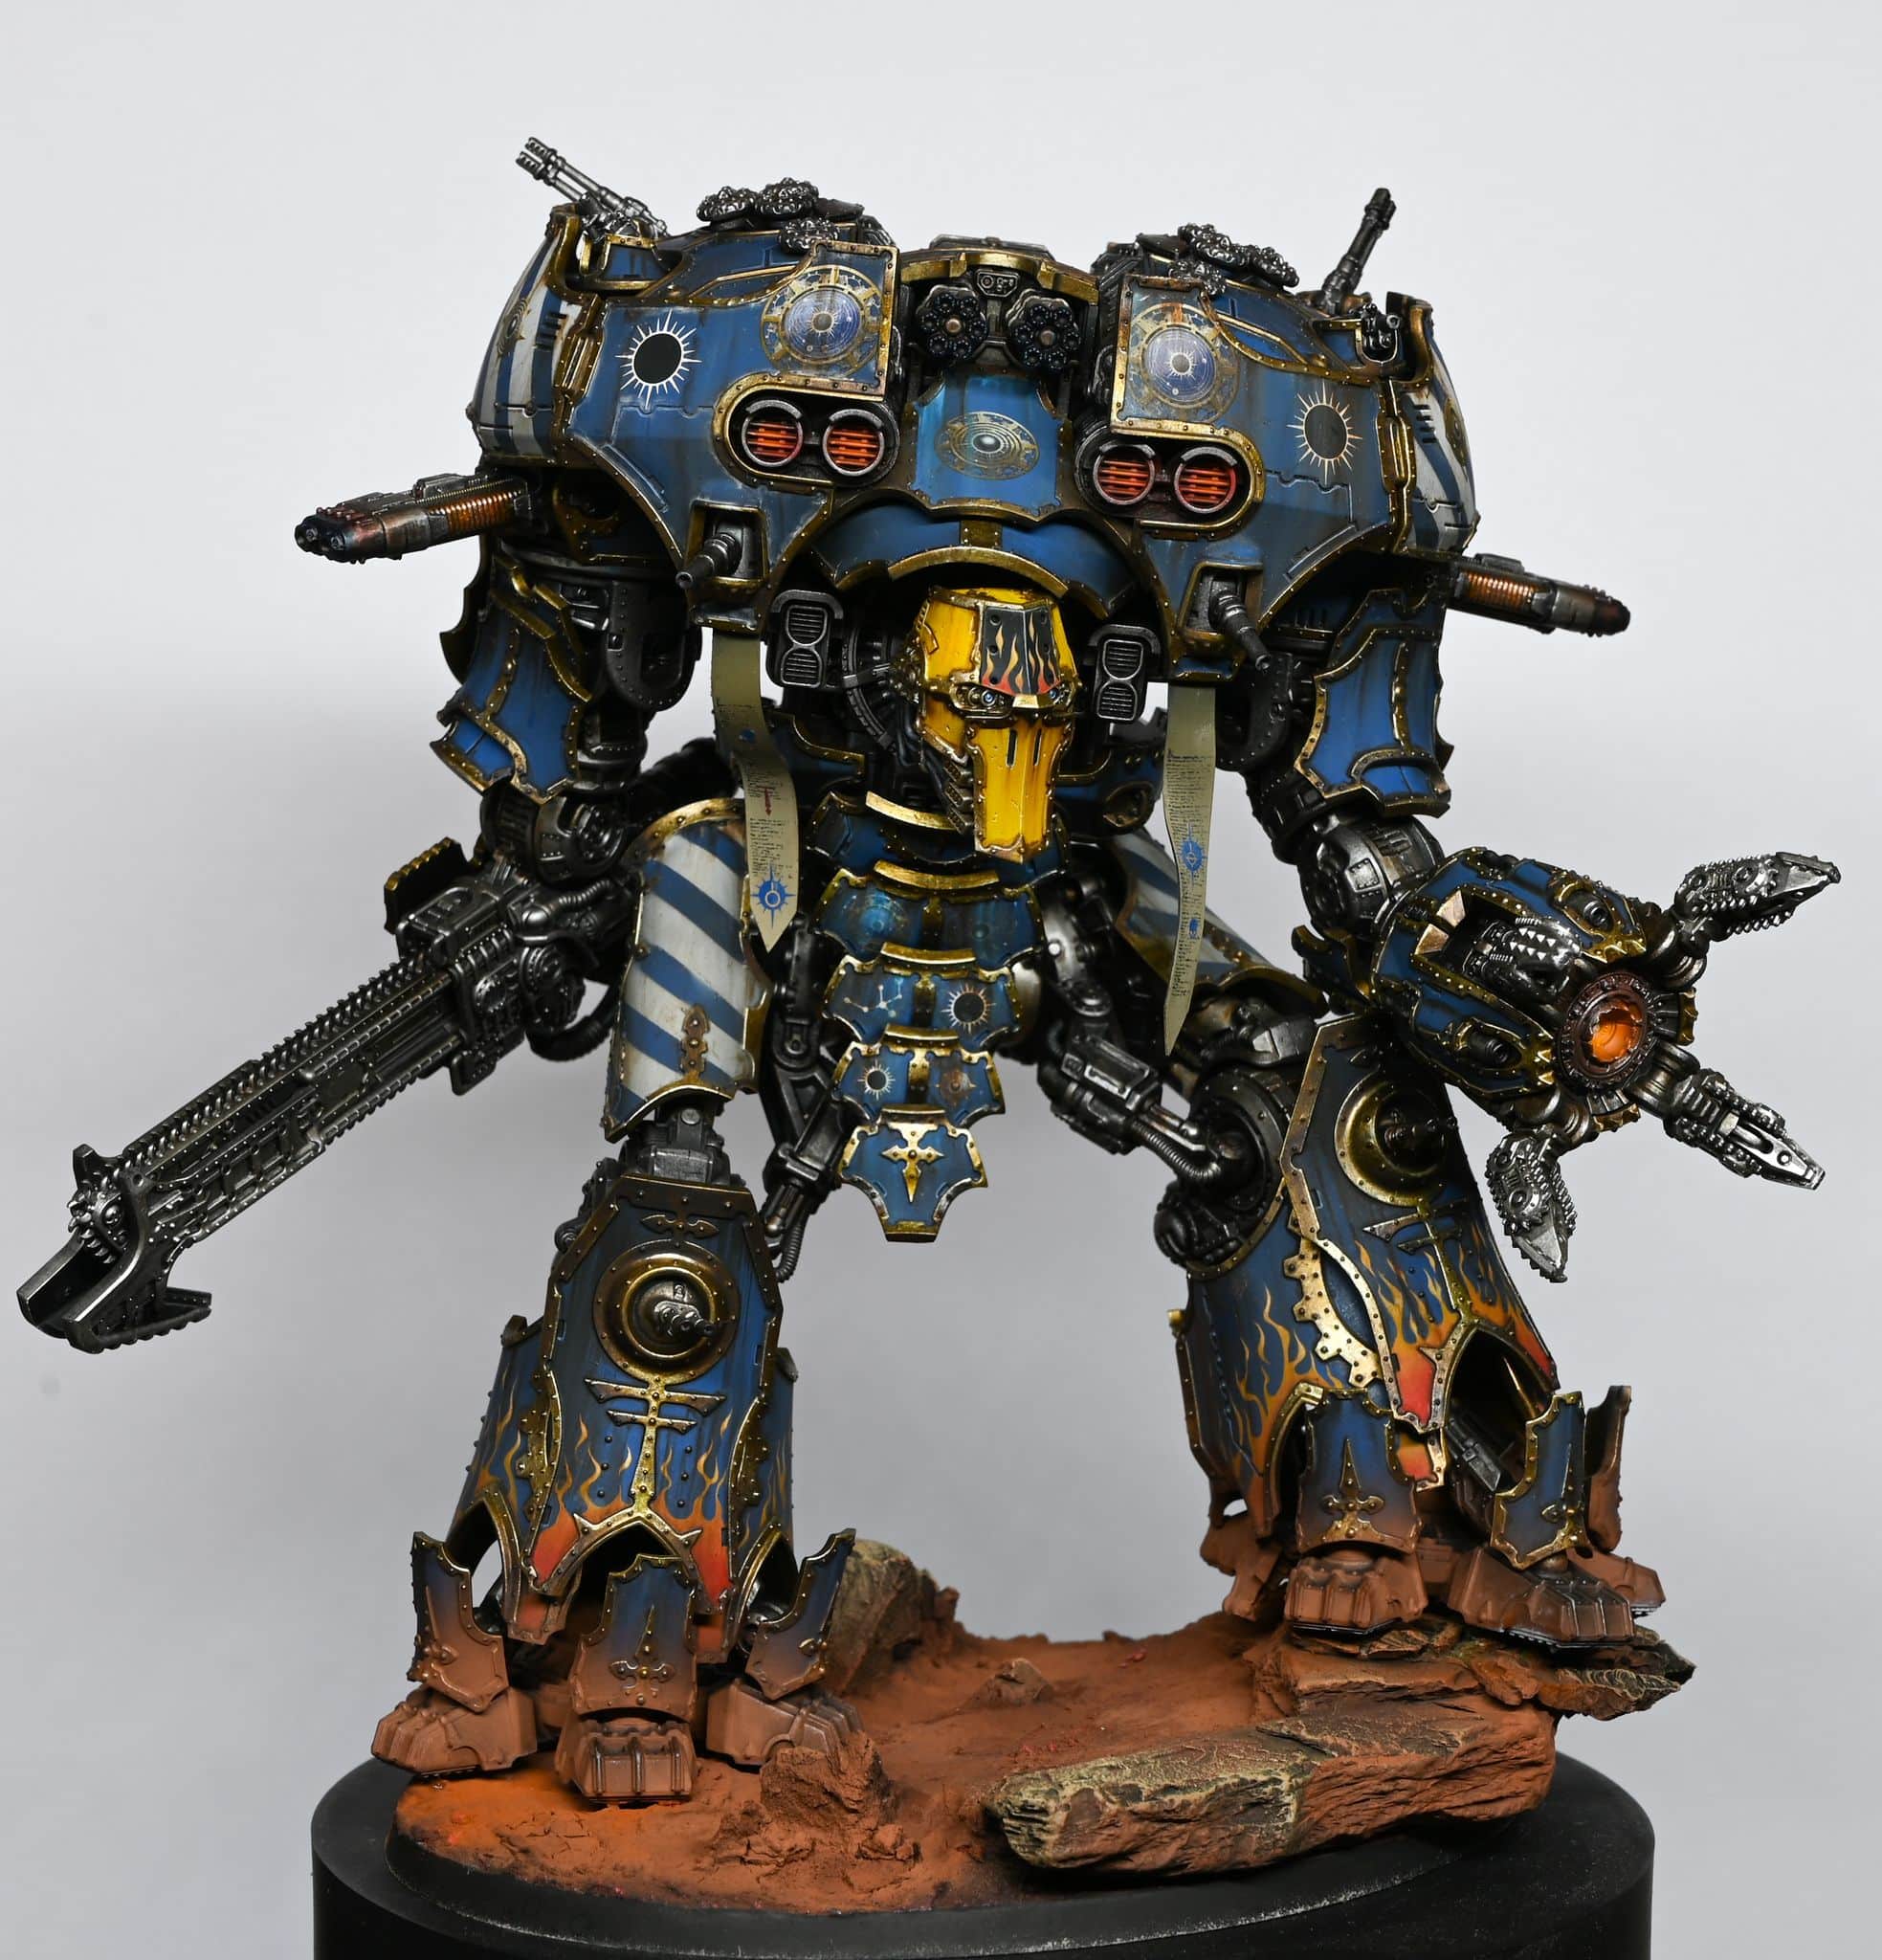
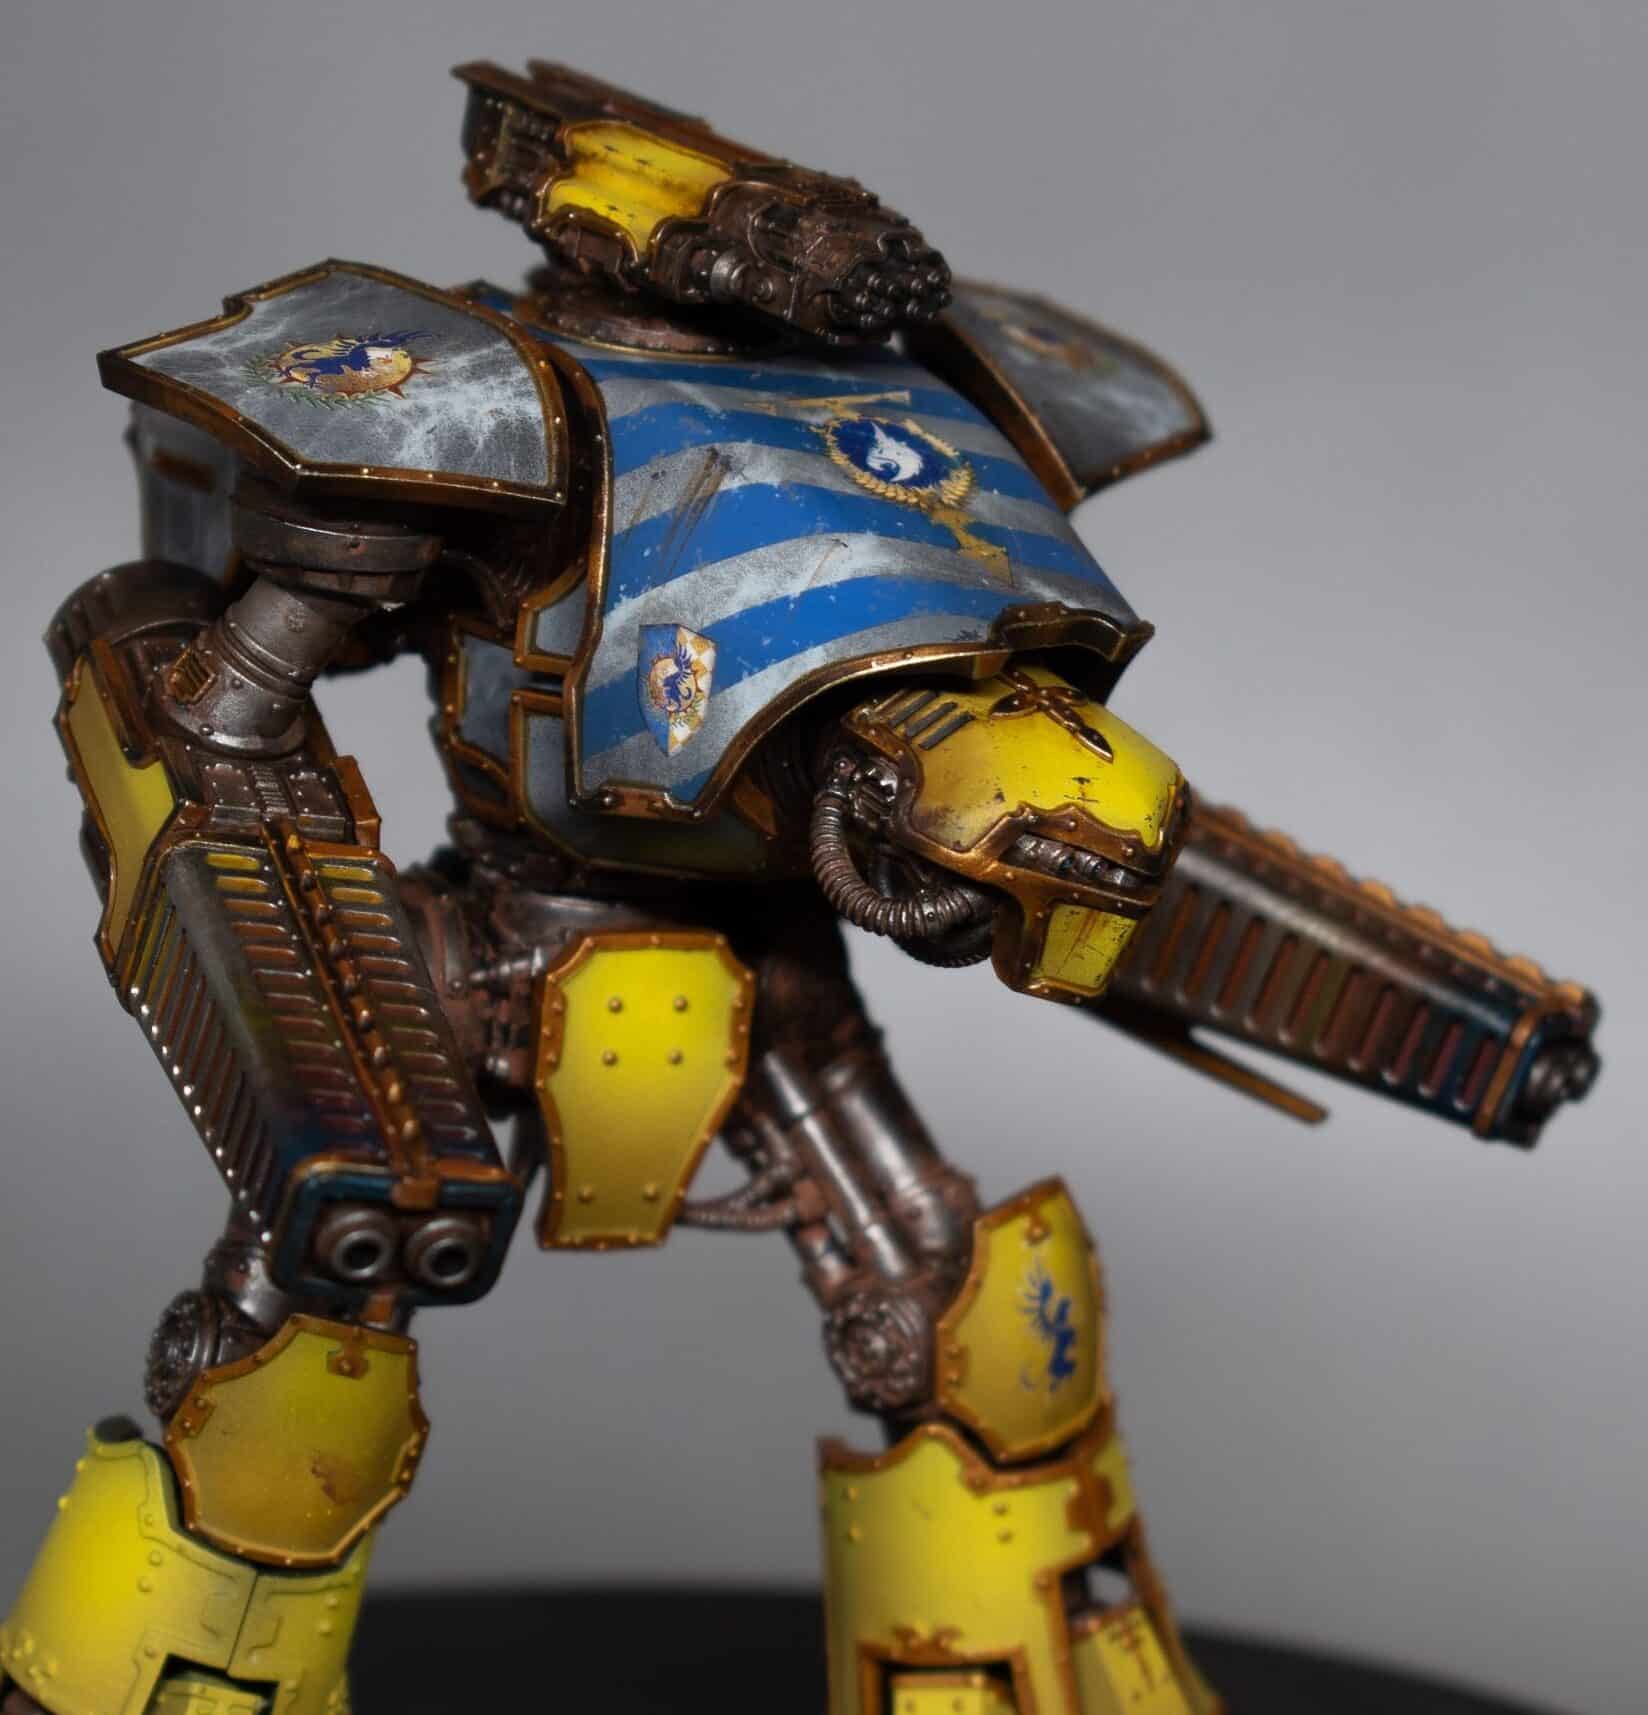
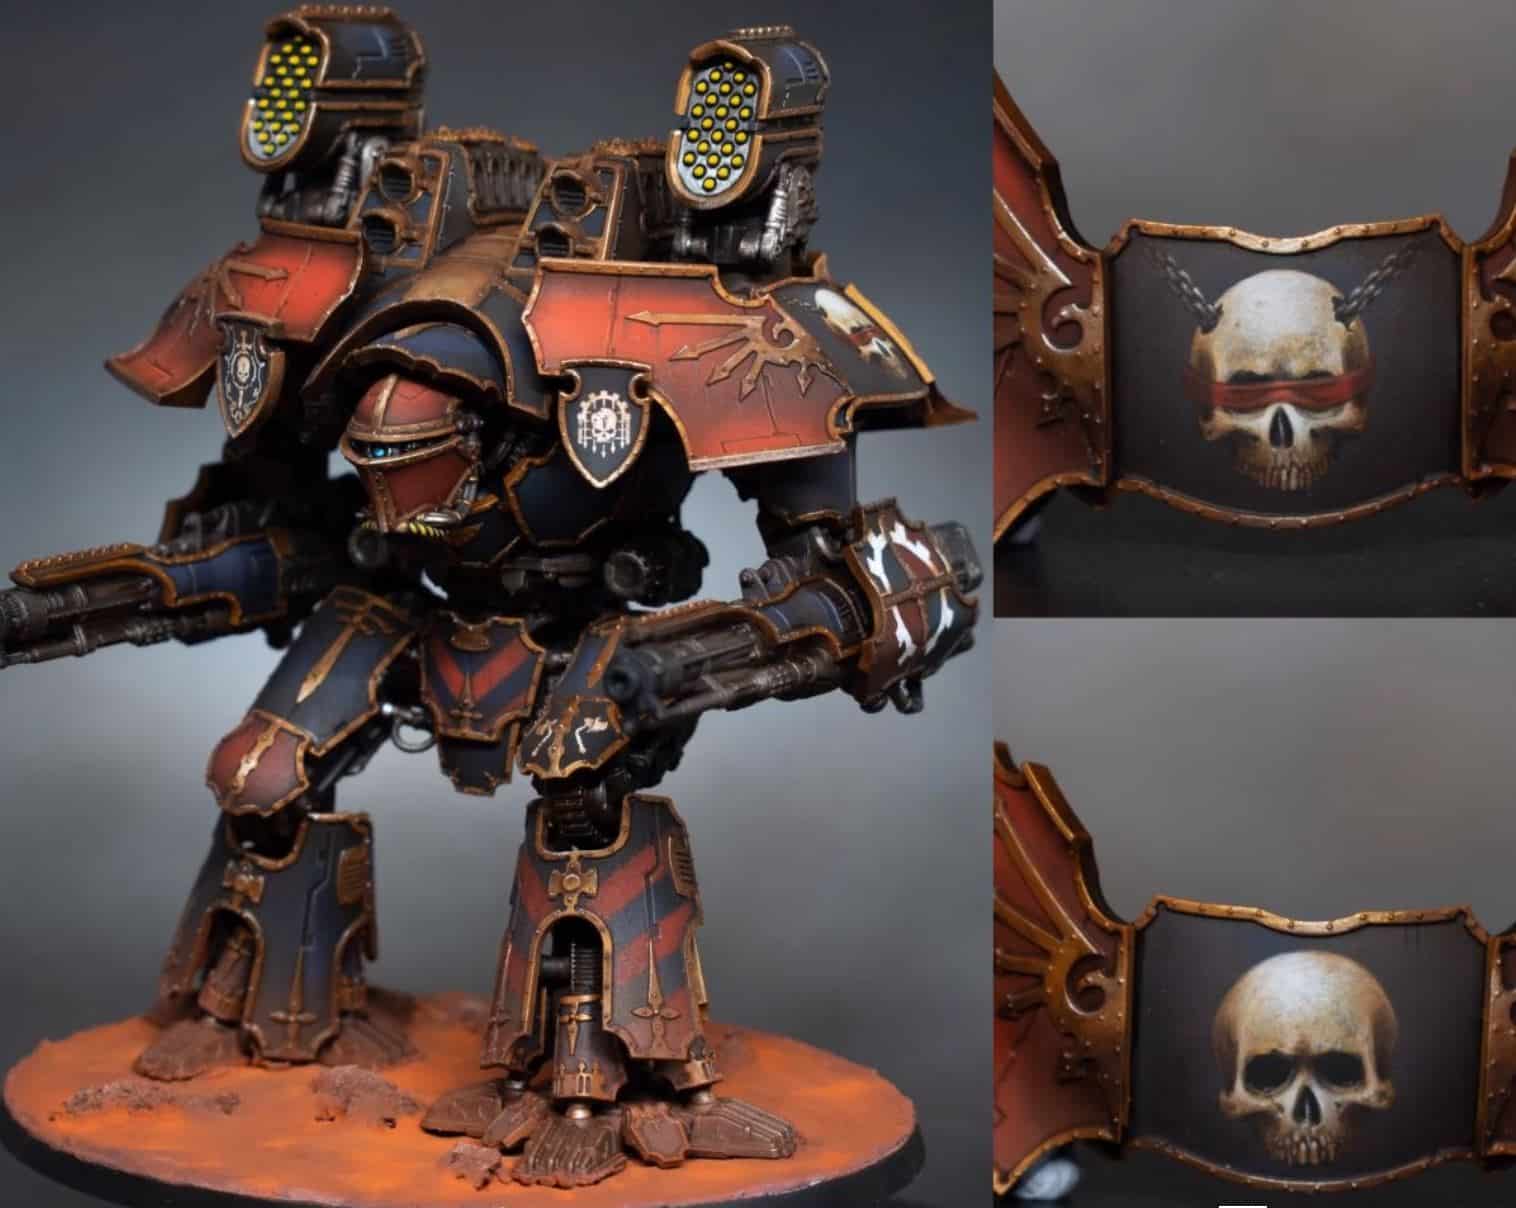
The Imperial Fists uphold the proud traditions of their Primarch Rogal Dorn, with his name revered by countless trillions throughout the Imperium! Here is my Imperial Fist Redemptor, along with some how to paint guides for some of the techniques I used on him.
Quick jump to:
Video: Imperial Fist Redemptor Dreadnought Yellow Armour
Paints and Materials
- Balor Brown, Yriel Yellow, Mournfang Brown, Rhinox Hide (Games Workshop)
- Neutral Grey, Pale Grey Blue, White (Vallejo)
- Large, flat, round dry brush (Artist Opus or similar)
- Size 4 and 00 brushes
- Well palette
- Water
- Kitchen towel
Step-by-Step Guide
- Stippling the Base Layer:
- Mix Balor Brown with an equal part of water in your palette.
- Dip your large dry brush into the mix, then wipe off excess on a kitchen towel.
- Stipple gently onto the armour, focusing on areas you want to appear lighter. Avoid overworking the same area.
- Let it dry. You’re aiming for a smooth, fine finish.
- Glazing for Shading and Highlighting:
- Create glazes with Mournfang Brown and Yriel Yellow, using about 6-7 parts water to 1 part paint.
- Start with Mournfang Brown, glazing towards the shadowed areas.
- Apply Yriel Yellow towards the highlighted areas.
- Use a size 4 brush for this, wiping excess paint on kitchen towel to avoid pooling.
- Building Layers:
- Alternate between Mournfang Brown and Yriel Yellow, gradually building up the colour.
- Focus on the direction of your brush strokes – from light to dark areas.
- Allow each layer to dry before applying the next. Patience is key!
- Adding Chips and Scratches:
- For chipping, use Rhinox Hide and a small brush (size 00 or similar).
- Focus on edges and areas likely to receive wear and tear.
- Remember, less is more – avoid overdoing it.
- Highlighting Chips:
- With Yriel Yellow, highlight the lower edge of each chip.
- If needed, use Rhinox Hide to neaten any thick lines.
- Detailing Rivets and Scrapes:
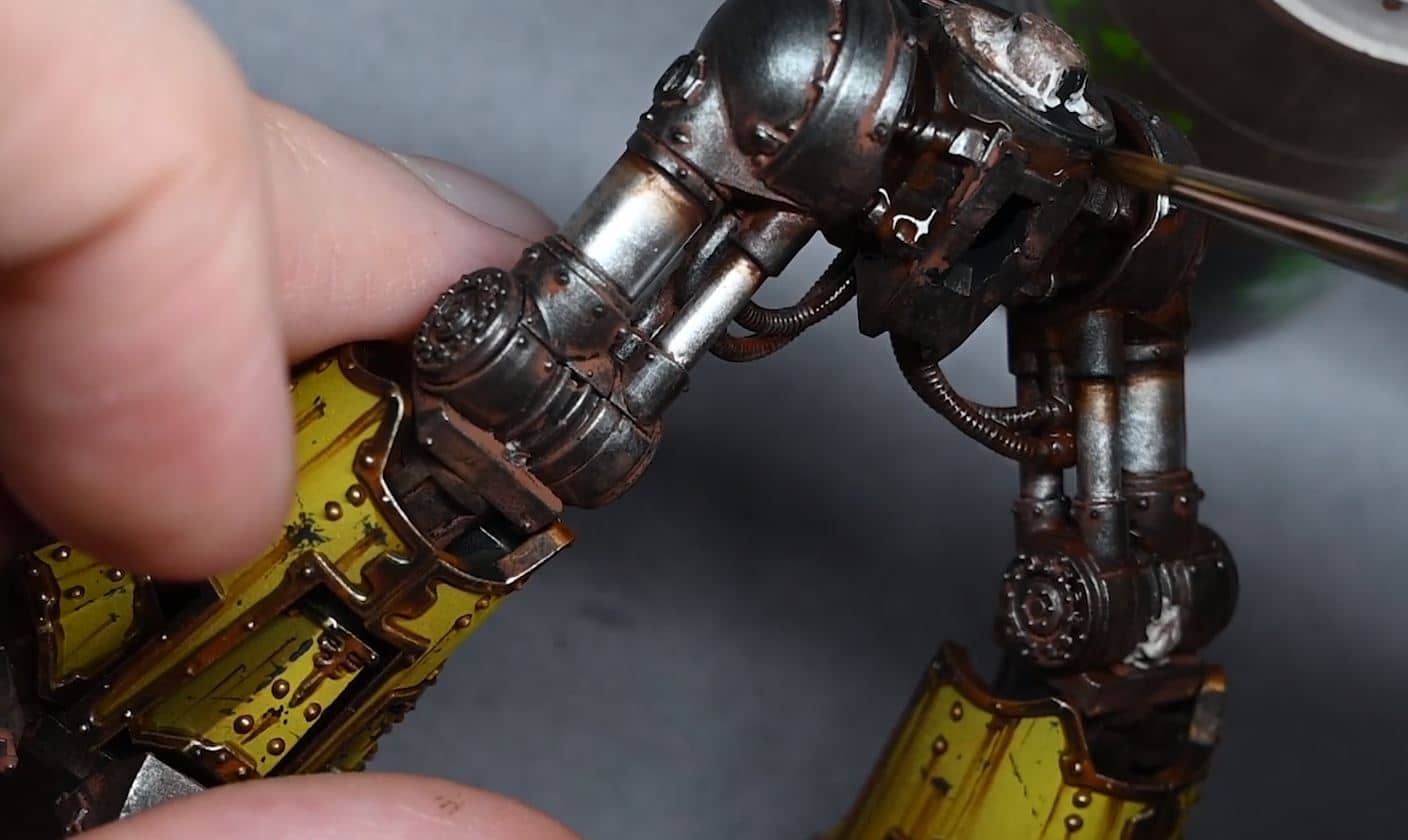
- Paint rivets using Pale Grey Blue from Vallejo. Apply a dot and a small line for a 3D effect.
- Use Neutral Grey for areas showing metal scrapes. Be rough but ensure dark edges around each scrape for depth.
- Final Touches:
- You can add more fine lines with Yriel Yellow for shallow surface scratches.
Video: Imperial Fist Freehand Text
Paints and Materials
- Games Workshop: Baneblade Brown, Rhinox Hide, Morghast Bone, Screaming Skull, Balor Brown
- Vallejo: Model Colour Black
- Fine detail brush
- Well palette
Step-by-Step Guide
- Outline the Ribbon:
- Start by sketching the basic shape of the banner with Morghast Bone. Use a smaller brush for detailed edges and a larger brush for the main section to achieve a smoother finish.
- Detailing the Ribbon:
- Paint the stringy ends of the ribbon with Morghast Bone. For shadowing, mix Baneblade Brown and Rhinox Hide (about 50/50).
- Apply the shadow mix along the edges and folds of the ribbon to create depth. Remember, the colour dries lighter, so adjust accordingly.
- Refining and Shading:
- For the curled sections, ensure they are darker than the main ribbon for a three-dimensional effect.
- Use a thin brush for smooth edges and avoid bumps. If necessary, go over the edges to sharpen them with Morghast Bone.
- Weathering the Ribbon:
- Apply Balor Brown for weathering and chipping effects. Focus on creating an aged and worn look but avoid overdoing it.
- Final Touches:
- Add highlights using Screaming Skull to the main parts of the ribbon for contrast. Blend carefully to achieve a natural look.
Steps for Painting the Text:
- Initial Lettering:
- Use Vallejo Model Colour Black for the text. Start by typing simple letters for spacing. Use the first and last letters as anchors, and ensure even spacing in between.
- Refining the Font:
- Once the basic lettering is done, refine the font. Make corrections and enhance the letters using Screaming Skull. Aim for sharp, clear lettering.
- Finalising the Text:
- Once you have the letters shaped, thicken and define them for legibility. Keep the line weight consistent throughout for a uniform look.
- Use Morghast Bone or Screaming Skull to make corrections and sharpen the edges.
- Weathering the Text:
- If desired, weather the text lightly with Balor Brown. Be cautious not to distort the letters too much.
- Applying a Filter:
- For a worn effect, apply a heavily watered-down glaze of Mournfang Brown and Yriel Yellow over the entire freehand area. This softens the colours and blends the text with the banner.
Tips:
- Use a well-supported posture for steady hand movements.
- Ensure your brushes are in good condition. A sharper brush is essential for fine details.
- Be patient and allow layers to dry before applying more paint.
- Consistency in your brushwork is key to achieving a professional look.
Video: Imperial Fist Freehand Symbol
Paints and Materials
- Vallejo: German Grey, Neutral Grey, Pale Blue Grey, Black
- P3: Morrow White
- Games Workshop: Balor Brown, Naggaroth Night
- Fine detail brush
Step-by-Step Guide
- Prepare the Surface:
- Begin with a clean, primed chest plate of the Redemptor Dreadnought.
- Outline the Fist:
- Start with Vallejo Model Colour Black.
- Sketch a rough outline of the fist. At this stage, focus on general placement rather than detail.
- Ensure the fist is centralised to avoid asymmetry.
- Blocking in Basic Shapes:
- Using Neutral Grey, block in the shapes of the fingers and thumb.
- Keep the shapes simple. Use the grey to sketch out the basic anatomy of the fist, ignoring finer details for now.
- Adding Depth with Grey Shades:
- Use a mix of Neutral Grey, German Grey, and Pale Blue Grey for varying shades.
- Gradually define the fingers and palm, focusing on the curvature and how light would naturally hit these surfaces.
- Remember, fingers are cylindrical, not flat.
- Detailing with Lighter Colours:
- Progressively lighten the greys as you add more detail.
- The aim is to create a sense of depth and three-dimensionality in the fist.
- Highlighting:
- Use P3 Morrow White for the highest highlights.
- Focus these highlights where the light would be strongest, creating a shiny, metallic effect.
- Balance is key; too much white can reduce the shiny appearance.
- Refining and Correcting:
- Go back with Vallejo Model Colour Black to refine and correct the shape.
- Use black to sharpen edges and deepen shadows, enhancing the three-dimensional look.
- Weathering and Final Touches:
- For weathering, apply Balor Brown to create chips and scratches, blending them into the overall design.
- Use Naggaroth Night to glaze and add a subtle contrast to the yellow armour.
- Finish by ensuring the highlights and shadows are well balanced and the symbol integrates seamlessly with the rest of the model.
Tips:
- Use your own hand as a reference for the fist, but remember, the Space Marine gauntlet will differ in shape.
- Ensure your brush is finely pointed for the intricate details.
- Keep your hand steady. Resting your painting hand on a stable surface can help.
- Work in good lighting to accurately see the effects of your shading and highlighting.
Video: Imperial Fist OSL Plasma Cannon
Paints Used
- Games Workshop: Naggaroth Night, Corvus Black, Abaddon Black
- Vallejo: Black, German Grey, Neutral Grey, Pale Grey Blue
- P3: Morrow White
How to Paint a Imperial Fist Redemptor Plasma Cannon – Step-by-Step Guide
- Base Coat and Black Highlights:
- Begin by painting the plasma gun in Vallejo Black. This base coat sets the stage for the plasma effect.
- Create a gradient using a mix of Vallejo Neutral Grey and German Grey, starting from the lightest point at the bottom of the gun and transitioning to darker shades towards the skull.
- Highlight the curved areas of the gun, as these naturally catch more light.
- Rough Blending Technique:
- Use a rough blending technique, starting with the 50/50 mix of Neutral Grey and German Grey, then working towards darker and lighter shades.
- This method creates a textured look, suitable for a tabletop model, with less paint buildup.
- Use Vallejo Model Colour Black to blend and create a matte effect, contrasting with the primer’s satin finish.
- Highlighting the Gun:
- Add highlights along the edges and hard lines of the gun, using Pale Grey Blue. Ensure these highlights are consistent and symmetrical on both sides of the gun for uniformity.
- Paint rivets with Pale Grey Blue, adding a small dot and line underneath each for a reflective effect.
- Preparing for OSL:
- Before painting the plasma effect, make sure the surrounding areas, like the black of the gun, are well highlighted, as the OSL effect will overlap these areas.
- Paint the plasma coils with Games Workshop Naggaroth Night, ensuring good coverage. This might require multiple coats due to the paint’s translucency.
- Creating the Plasma Effect:
- Mix Naggaroth Night with various amounts of Morrow White to create different shades, ranging from dark to light.
- Start with the darkest purple, painting in between the coils, and then use lighter shades to highlight towards the center of the gun, creating a glow effect.
- Focus the brightest highlights in the middle of the gun, using lighter purples and whites.
- Be cautious with white, as it can create stark contrasts and visible brush strokes. Use stippling or glazing to soften these effects.
- Glazing for Smoothness:
- Use Corvus Black to glaze over the highlights, starting from the lightest areas and moving towards the darker areas. This technique will soften the transitions and unify the finish.
- If needed, use Abaddon Black in the darkest areas for deeper contrast.
- Final Touches:
- Add additional details and refine any areas that need more attention, especially around the plasma coils.
- For additional realism, you can create a subtle purple glow around the plasma gun using a glaze of Naggaroth Night.
- Finishing the Model:
- Once satisfied with the painting, apply a matte varnish if desired to reduce shine and unify the finish.
For tutorials on how I painted more of my war machines, click any of the videos below:
If you don’t have an account, please sign up here! The website currently has over 350 video tutorials with steps and tips, plus a selection of PDFs. If you are not sure about joining, you can explore my free videos with a free membership, or take the plunge and become a full subscriber for full access.
If you’d prefer to support me on Patreon, please visit: https://www.patreon.com/RichardGray


