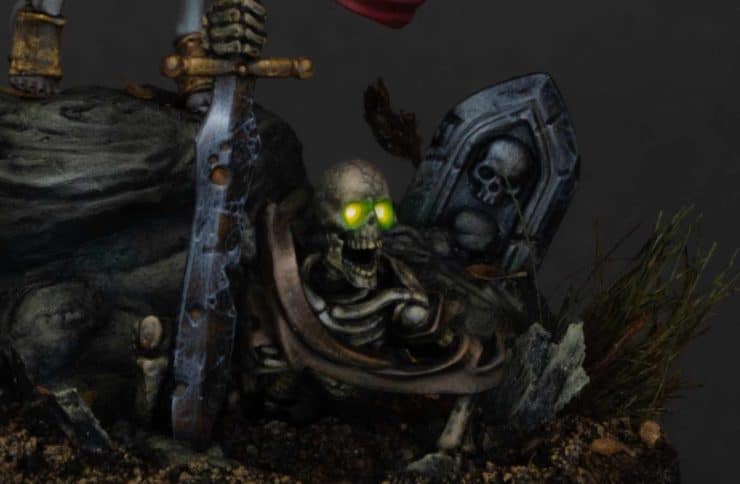
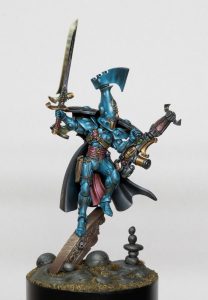
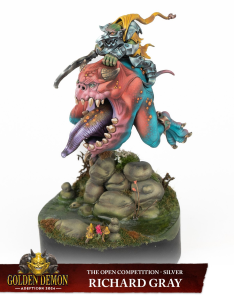
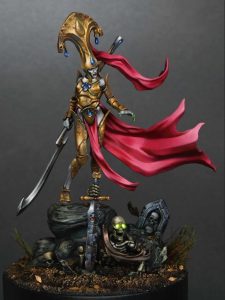
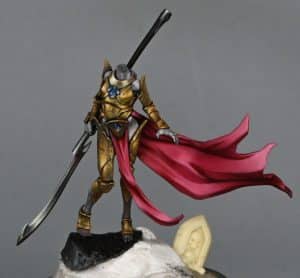
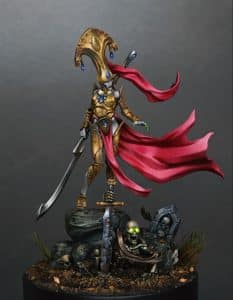
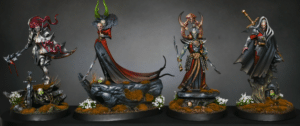
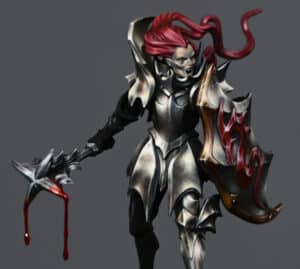
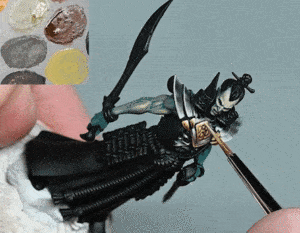
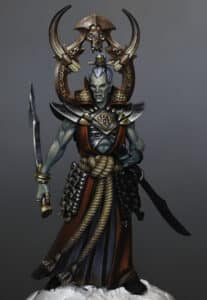
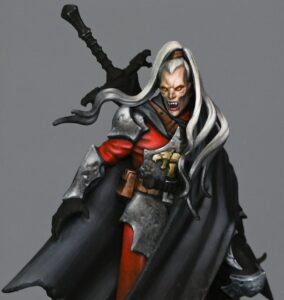
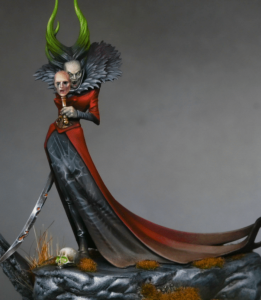
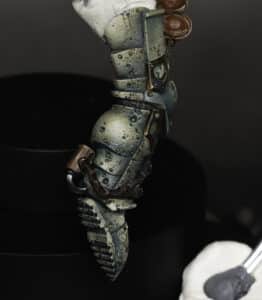
This is another video looking at Sekhar the vampire, this time focusing on how to paint a skeleton with glowing eyes for the model on her base. This video looks at the skeleton, how to paint his glowing eyes, sword and bones etc. The whole model is covered!
Video: How to Paint a Skeleton with Glowing Eyes
Materials needed:
Skeleton Model
Priming spray (I’ve used black!)
Brushes:
I use the Artist Opus range of brushes
Fine detail brush
Medium-sized brush
Large brush (optional, for basecoating larger areas)
Wet Palette (for mixing and thinning paints)
Varnish (to protect the finished paint job)
Paints:
All paints mentioned are from Games Workshop’s Citadel range.
- Yriel Yellow
- Moot Green
- Balor Brown
- Morghast Bone
- Screaming Skull
- Mournfang Brown
- XV-88
- Rhinox Hide
Other Materials:
Rocks or pebbles
Foliage (such as static grass or miniature leaves)
Sand or texture paste (for ground texture)
Super glue (for attaching basing materials)
Water (for thinning paints)
Paper towels or cloth to ensure your brushes are totally clean!
How to Paint a Skeleton with Glowing Eyes – Step 1: Priming
Prime your model with a suitable undercoat. Black is recommended as it provides a good base for both the glowing effects and the shadowed recesses of the skeleton.
Step 2: Base Coating
- Skeleton: Apply a thin base coat of XV-88 over the entire skeleton. Ensure the paint is thinned with water to maintain detail.
- Eyes: Start by painting the eye sockets with Kimera White. Given the deep recesses, apply multiple thin layers to build up a solid white base. Patience is key here to avoid a textured look.
Step 3: Adding Depth to Eyes
- Mix Yriel Yellow with Kimera White to create a pale yellow. Carefully fill in the eye sockets, leaving the deepest part still white to simulate glow.
- Gradually add more Yriel Yellow towards the front of the eye sockets, intensifying the colour as you move forwards.
- Define the edges of the sockets with Moot Green to enhance the glow effect, blending it slightly into the yellow for a smooth transition.
Step 4: Skeletal Detailing
- General Bone Texture: Lightly dry brush the skeleton with a mixture of Mournfang Brown and XV-88 to bring out the texture.
- Enhanced Details: Use Morghast Bone to highlight edges and raised details across the bones.
- Deepening Shadows: Mix Rhinox Hide with a small amount of black to create shadows in the deeper recesses and under the bones for added depth.
Step 5: Sword and Metallic Effects
- Base Coat: Apply Neutral Grey as a base for the sword and any metallic elements.
- Weathering: Add scratch effects using Troll Slayer Orange mixed with Mournfang Brown to simulate rust and age.
- Highlights: Use Screaming Skull to pick out edges and features, giving the impression of worn, yet still sharp, metal.
Step 6: Final Touches
- Refining Glows: Go back to the eyes, adding pure Yriel Yellow to the centres and intensifying the green at the edges if necessary.
- Blending and Smoothing: Use glazes of the base colours to smooth out transitions and unify the appearance, particularly around the eye sockets and on the sword to blend the rust effects.
- Contrasting Details: For a final layer of detail, use Screaming Skull to highlight teeth, knuckles, and other small bone protrusions, adding a subtle layer of Rhinox Hide for ageing.
Step 7: Sealing the Model
Once fully satisfied with your painting, seal the model with a matte varnish to protect your work and reduce any unwanted shininess, ensuring the skeletal figure looks as haunting in the display case as it does on the battlefield.
Explore more of my Golden Demon entry tutorials
If you don’t have an account here on my website, please sign up here! I have over 350 video tutorials in addition to my How to Paint a Skeleton with Glowing Eyes, with steps and tips, plus a selection of PDFs. If you are not sure about joining, you can explore my free videos with a free membership, or take the plunge and become a full subscriber for full access.
If you’d prefer to support me on Patreon, please visit: https://www.patreon.com/RichardGray


