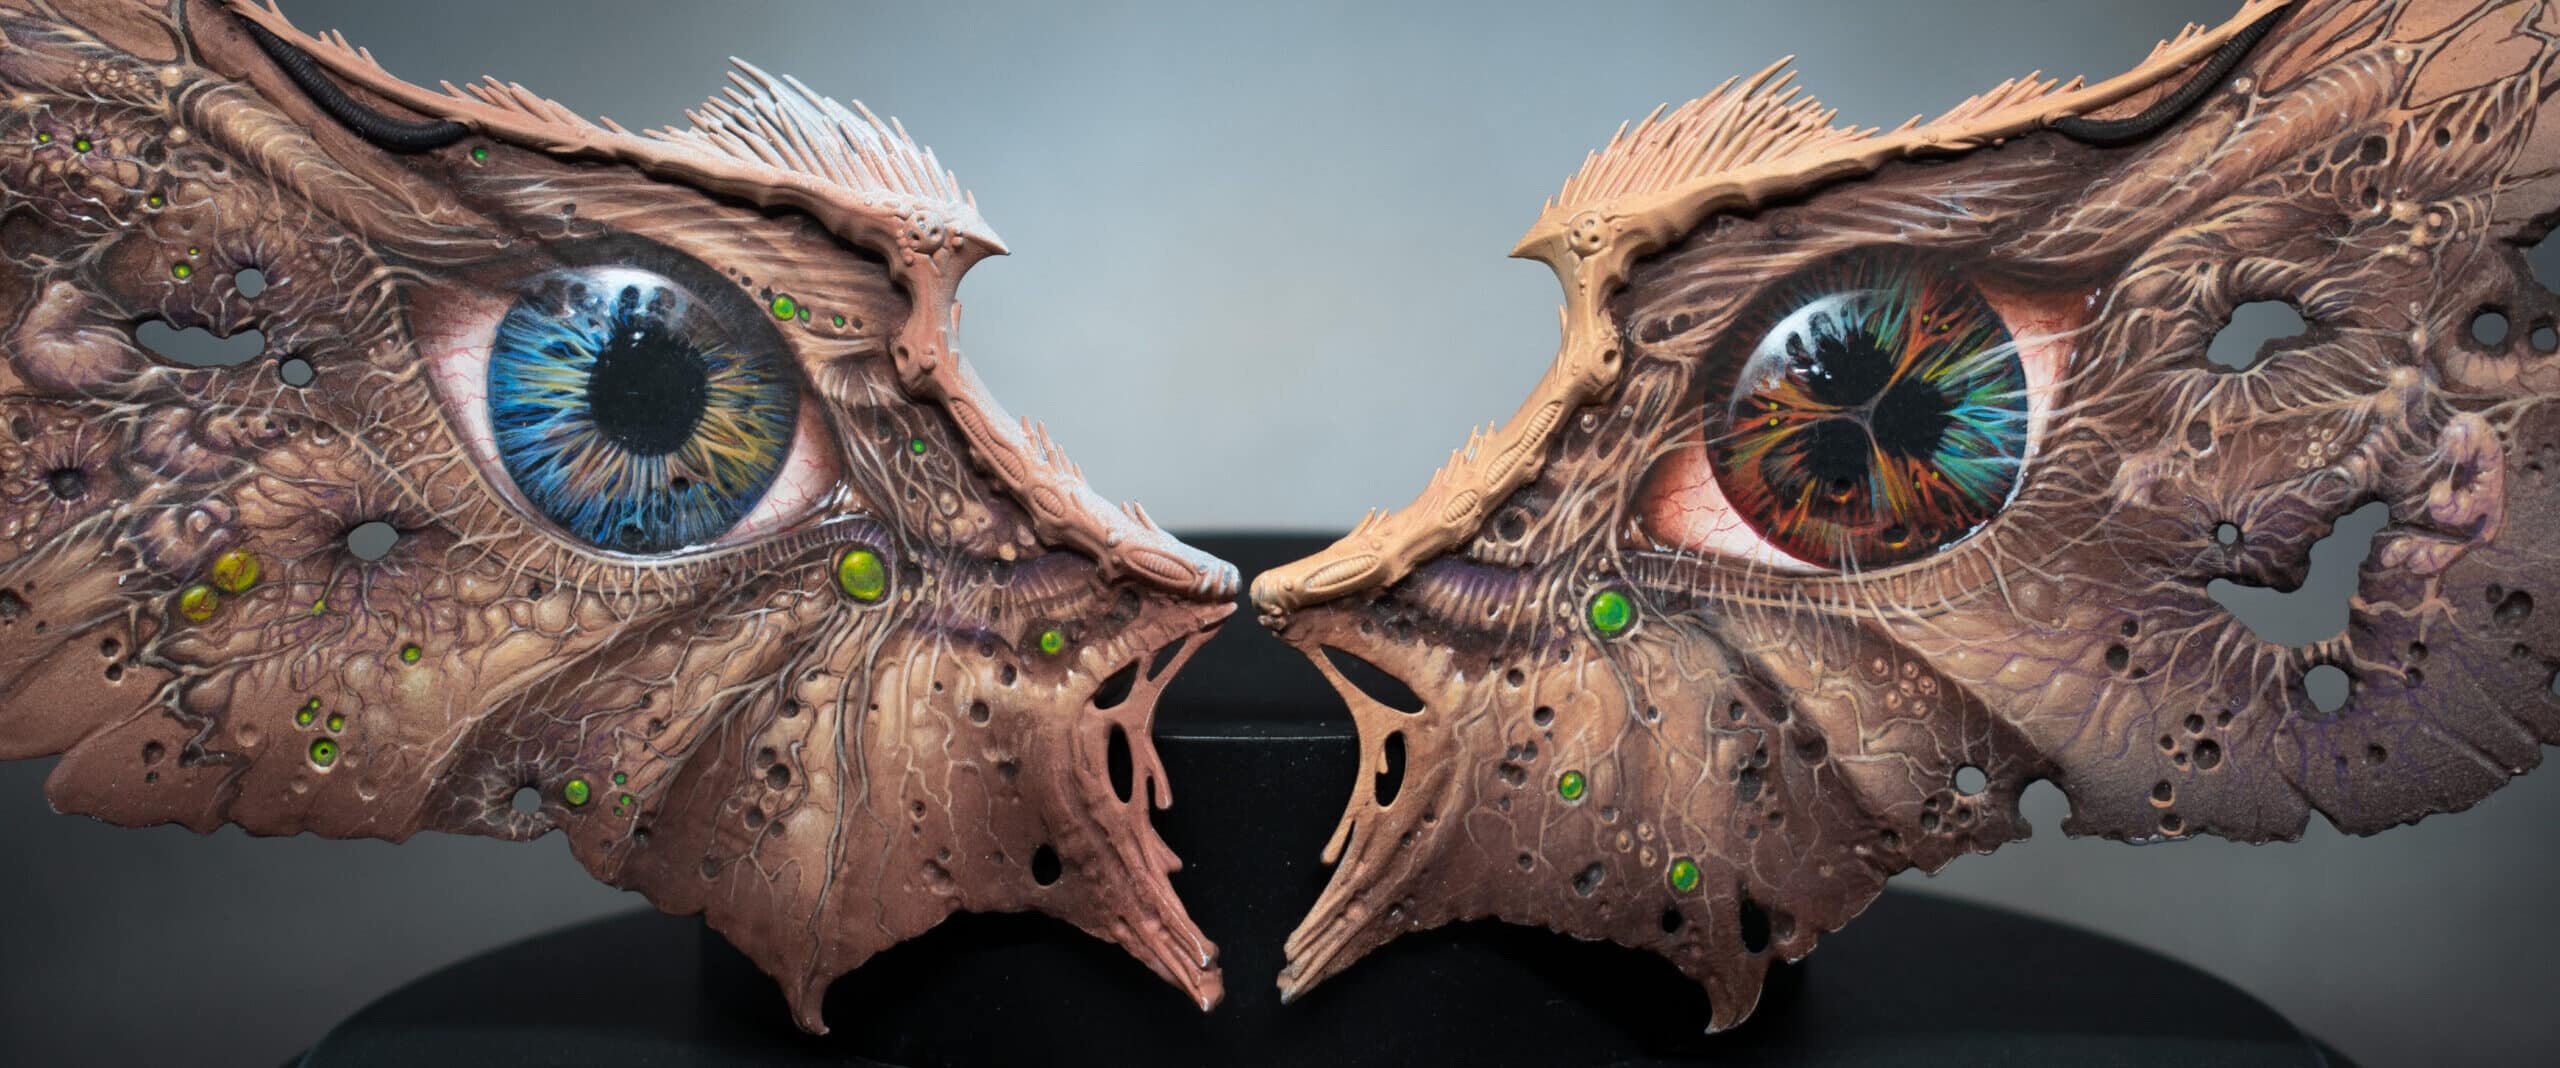
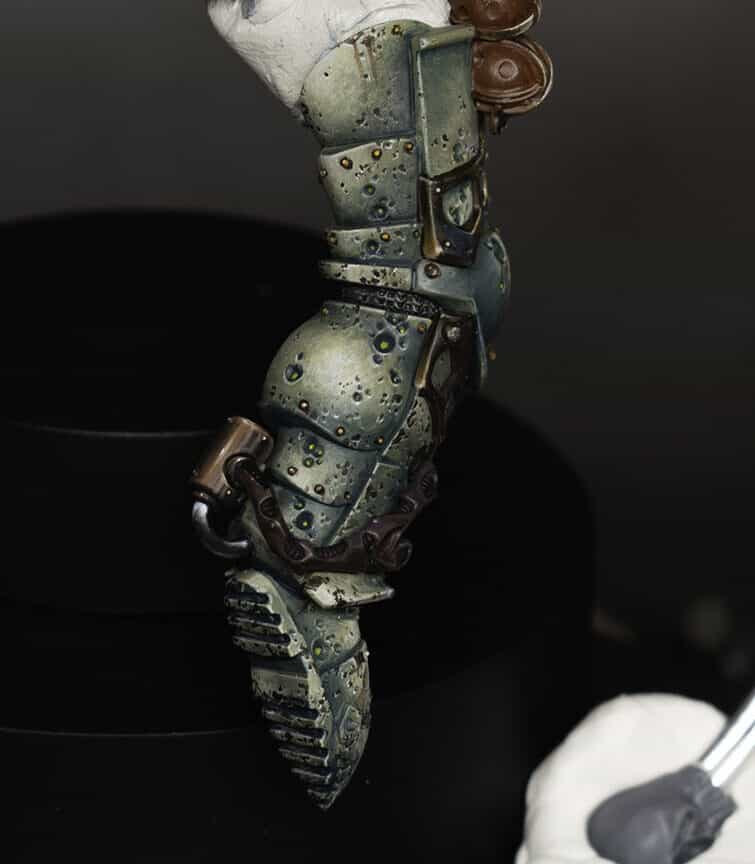
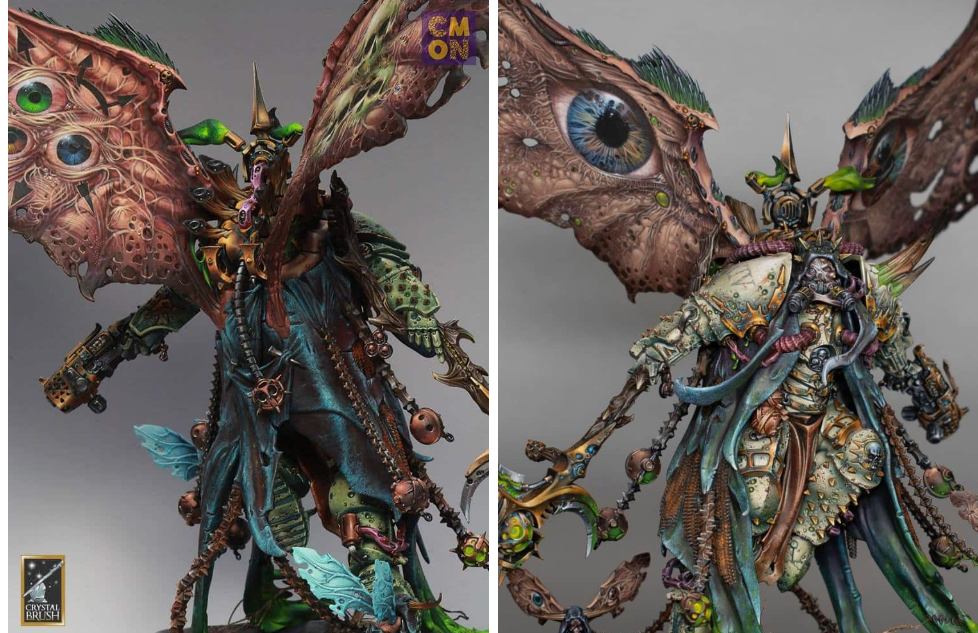
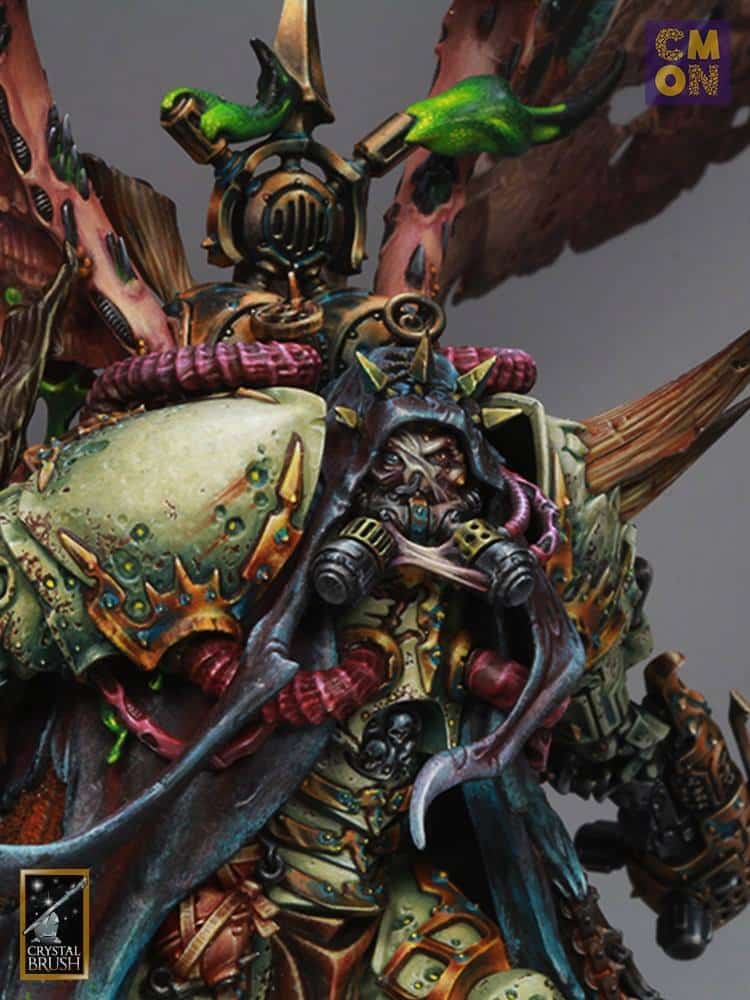
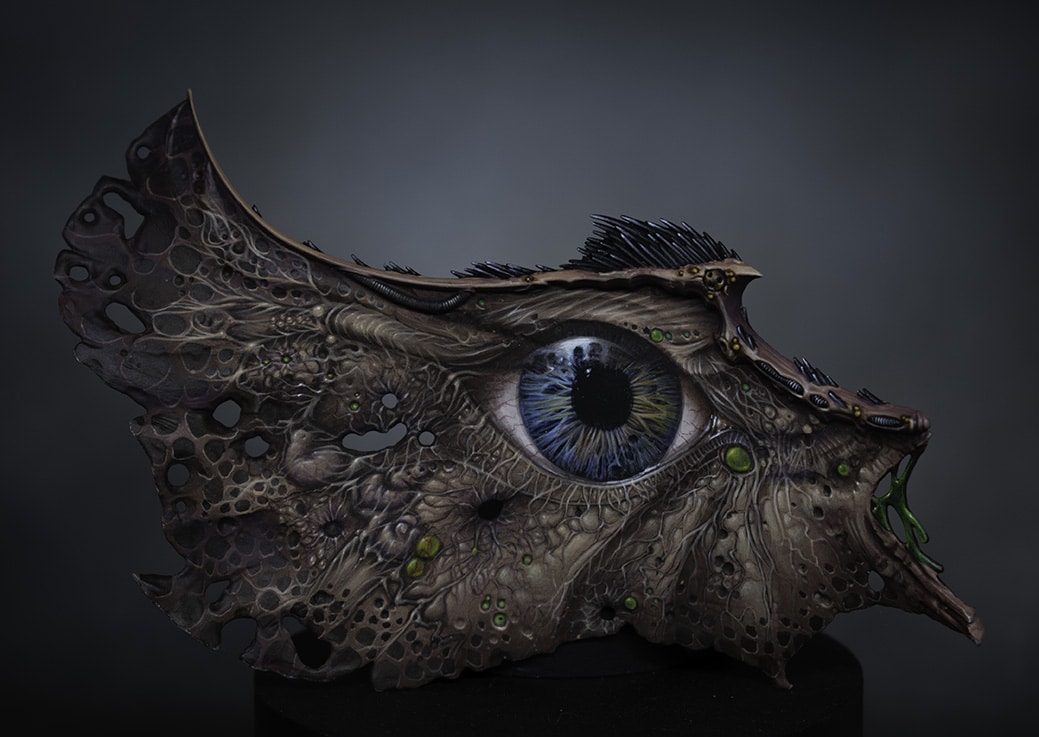
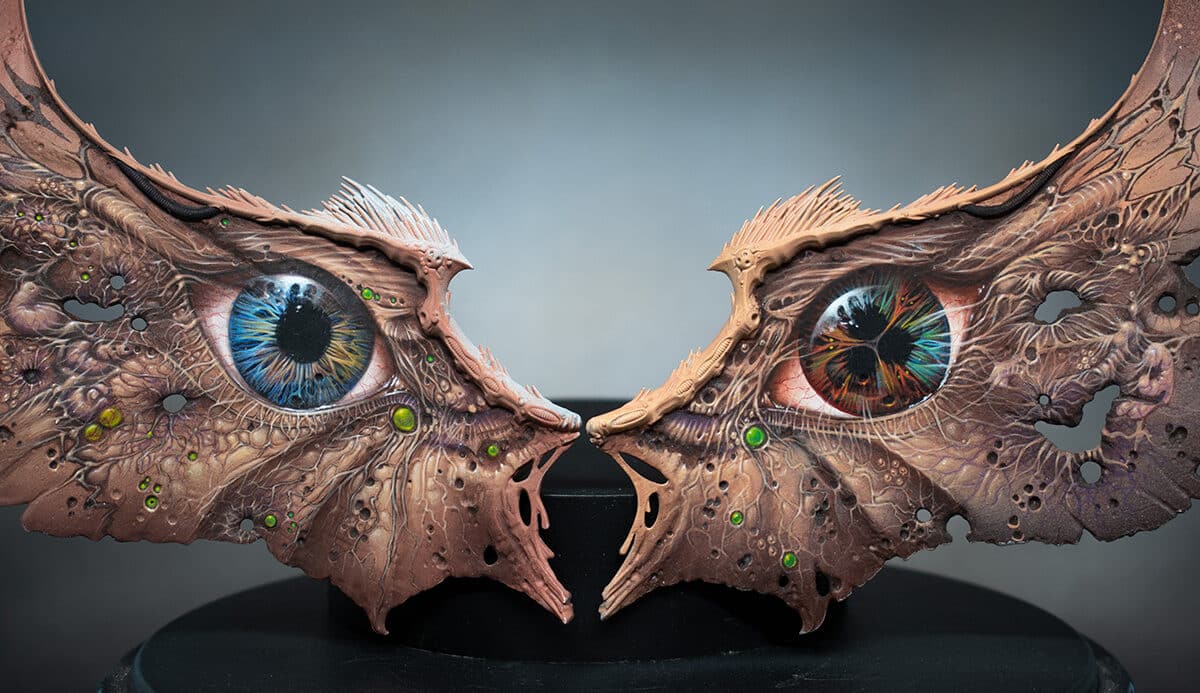
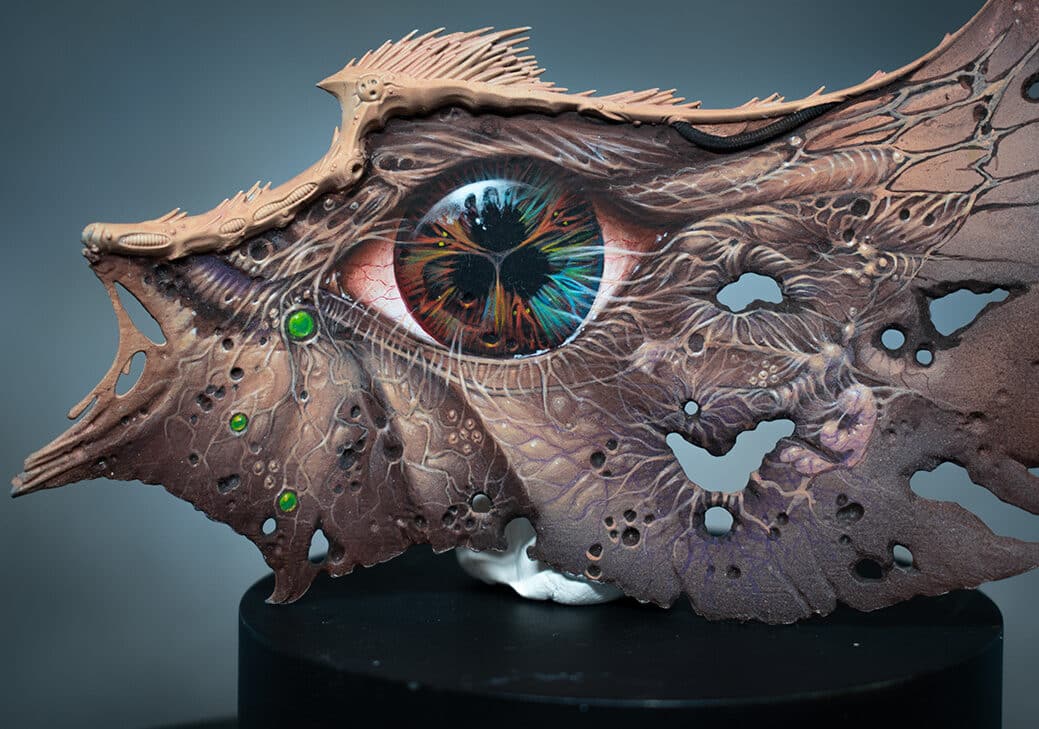
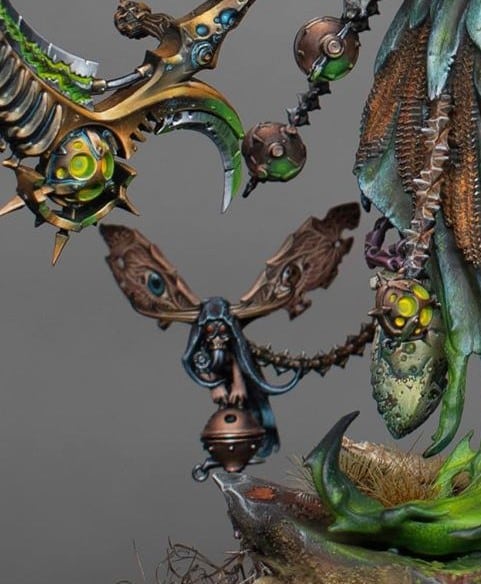
I had to make the Nurgling companions of Mortarion have wings to match their master! Here is How to Paint Freehand Tiny Nurgle Wings, with two videos, paints and a step-by-step guide.
How to Paint Freehand Tiny Nurgle Wings : Part One
The following paints were used:
Games Workshop: Ushabti Bone, Kislev Flesh, Cadian Fleshtone, Bugmans Glow, Rhinox Hide
Vallejo: Model Colour Black (Abaddon Black)
Step by Step: How to Paint Freehand Tiny Nurgle Wings
Preparation Before you begin painting the cherub wings on your Mortarion model, ensure you have the necessary paints and tools. The paints used in this tutorial are Rhinox Hide, Bugmans Glow, Ushabti Bone, Kislev Flesh, Cadian Fleshtone, and Vallejo Model Colour Black (equivalent to Abaddon Black). Additionally, you’ll need a wet palette, a size double zero artist opus brush, and a scalpel.
Wing Preparation Prepare the cherub wings by carefully removing any sculpted veins with a scalpel. Sand down the wings, apply glue to smooth the details, and then give them a black prime. Use an airbrush to apply a quick layer of Ushabti Bone to create a base.
Base Layer Start with a 50/50 mix of Rhinox Hide and Bugmans Glow. Using the tip of your size double zero brush, apply this mixture to the wings, building up layers to achieve a translucent effect. This darker base will allow for easier highlighting later.
Painting Details Using the tip of your brush, paint the lines and details on the wings with Rhinox Hide. Be mindful of the small scale, adapting the details as needed. Focus on creating flowing lines that follow the contours of the wings.
Adding Depth Mix Kislev Flesh and Cadian Fleshtone on the wet palette. Apply this mixture to highlight the lines painted with Rhinox Hide. This glazing technique adds depth without excessive layering, providing a smooth transition.
Eyes and Black Details Using Vallejo Model Colour Black, paint the eyes on the wings. Don’t worry about the size; you’ll refine them later. This step helps balance tones on the model. Use the tip of the brush to paint black details, such as spikes or dots, around the wings.
Veins and Highlights Switch to Kislev Flesh and paint in the veins on the wings. Ensure they are clear and defined. Gradually build up highlights using Cadian Fleshtone and Ushabti Bone, focusing on edges and details. Soften transitions for a more natural look.
Refining and Tweaking Continuously refine and tweak the details as you go along. Adjust the size and position of the eyes, ensuring they complement the overall composition. Use the wet palette for any necessary paint mixing.
Final Touches Highlight imperfections in the wings, emphasizing dimensional details. Pay attention to areas underneath the eyes, adapting details to fit the small scale. Continue refining until you achieve the desired depth and clarity.
All videos are recorded in HD 1080p or higher – use full screen for the full effect and let the video load completely.
How to Paint Freehand Tiny Nurgle Wings: Part Two
The following paints were used:
Games Workshop: Kislev Flesh, Cadian Fleshtone, Rhinox Hide, Bugman’s Glow, Ushabti Bone, Ceramite White, Moot Green, Warpstone Glow, Sotek Green, Mephiston Red, Fire Dragon Bright, Waaagh! Flesh
Vallejo: Black, Pale Blue Grey
Step by Step: How to Paint Freehand Tiny Nurgle Wings
Softening Previous Details Commence by gently blending and softening the details on the wings painted in the previous video. Utilize a glaze mixture of approximately five parts water to one part paint, specifically using Rhinox Hide, to seamlessly merge and soften the fleshing marks on the wings.
Painting the Whites of the Eyes Proceed to paint the whites of the eyes with Kislev Flesh. Ensure to leave a small gap at the top of the eye to introduce a subtle shadow effect. Apply clean and flesh tones, directing your strokes towards you for a polished finish.
Building Up Highlights on the Eyes Employ a slightly thicker paint to build up highlights on the whites of the eyes. Introduce a pale blue-gray colour later for a desaturated effect. Apply highlights by initiating strokes on the left-hand side, moving towards the centre, and then returning to the right-hand side, drawing towards the centre again for more pronounced highlights at the bottom.
Adding Organic Details Apply Ryza Oxide to paint small dots around the eyes, creating an organic and three-dimensional appearance. Exercise caution to avoid disrupting existing lines, maintaining the realism of veins.
Green Dots and Highlights Use Waaagh! Flesh and Moot Green to paint green dots around the tear duct area. Enhance the green dots by applying a line along the bottom right edge and a dot on the top left for a glossy bubble effect.
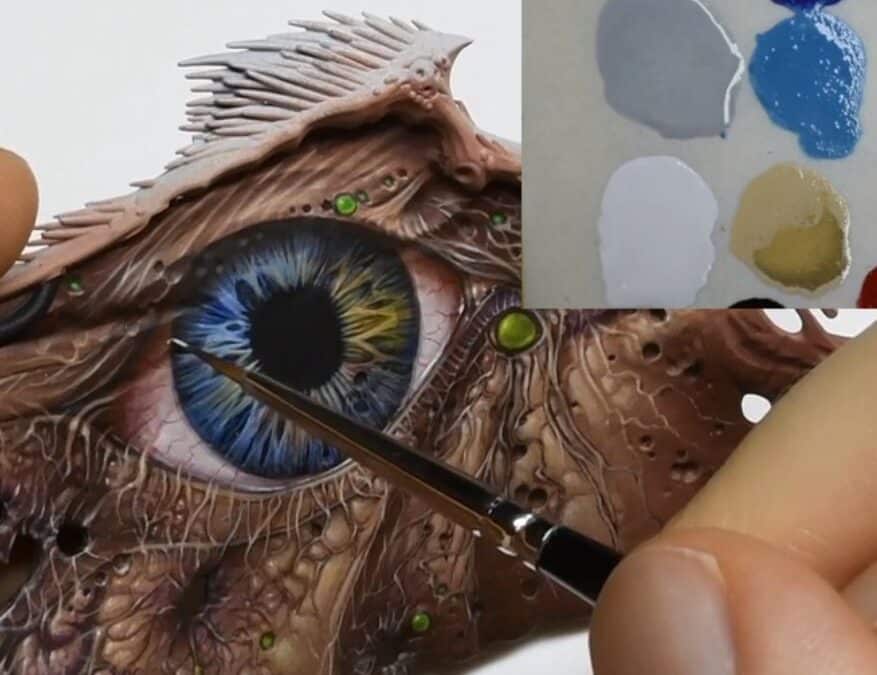
Painting the Iris and Pupil For the blue eye, use Sotek Green and Mint Green to paint a ring around the lower section of the eye to represent the iris. The actual grey doesn’t matter; choose a light grey for painting reflections, ensuring a realistic and shiny appearance. Start with Vallejo Pale Blue Grey to paint a ring around the lower section of the eye to represent the iris. The actual grey doesn’t matter; choose a light grey for painting reflections, ensuring a realistic and shiny appearance. Highlight the iris with Ceramite White, adding a few strokes to enhance the glossy effect.
Complete the red eye by applying Mephiston Red to the entire iris and pupil area. Use Fire Dragon Bright to add small lines separating the circles on the iris. Apply a highlight using Vallejo Pale Blue Grey, ensuring to maintain the same technique as with the blue eye.
More Mortarion Tutorials:
Videos Not Showing?
To view any of my paid tutorials, you need to be a member of the website – please click below to log in or join the site.
Not sure about joining just yet? Check out my Youtube for all my free tutorials or sign up as a free “friend” member on this site and visit the free videos page!
If you’d prefer to support me on Patreon, please visit: https://www.patreon.com/RichardGray


