


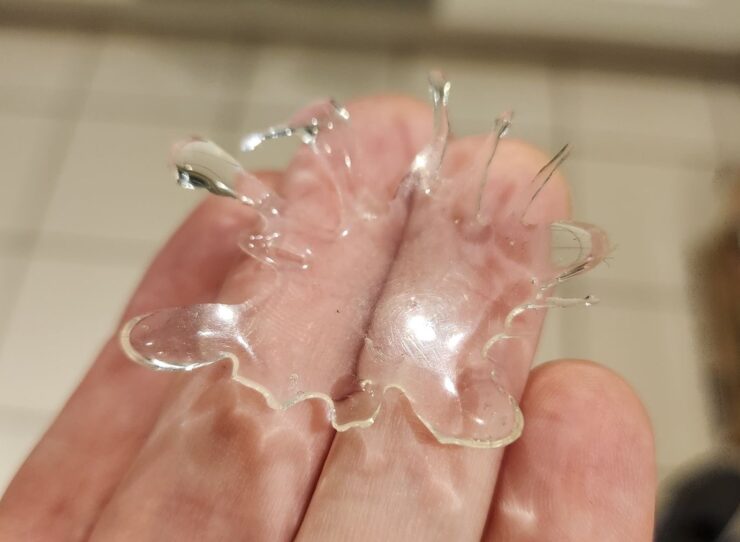
This video shows you how to make a quick resin splash puddle effect using UV resin.
This video tutorial is currently hidden. To unlock it and watch, please join the website and log in.
The following materials were used:
- UV Resin
- UV Light (a nail varnish UV light can work)
- Bath Bomb Mould or any soft plastic dome
- Fishing Line or human hair (optional, for finer details)
- Blood for the Blood God paint (optional, for a blood effect)
- Gloss varnish (alternative method)
- Paintbrush (for spreading resin, will be unusable after)
Steps to follow for your resin splash:
- Prepare the Mould: Use a bath bomb mould or a similar soft plastic dome. The pliability of the mould allows you to easily remove the resin once it’s set.
- Apply the Resin: Brush the UV resin around on the plastic dome. Remember, the brush you use for this will likely be ruined, so choose an old or disposable one.
- Shape the Splash: With the resin in the middle of the dome, drag out streaks using the paintbrush or a cocktail stick. These streaks will form the splashes. The plastic dome will give the resin a shape that resembles a splash, pushing upwards and outwards.
- Cure the Resin: Place the plastic dome under the UV light. Ensure you have a UV light to set the UV resin. The resin sets quickly under the light. You can use multiple layers of these splats to create depth.
- Create Droplets: If you’re using fishing line or human hair, apply small blobs of resin along the line to mimic droplets. Cure these under the UV light as well. This step can also be done with gloss varnish or Blood for the Blood God for different effects.
- Assemble the Splash: Attach the end of the fishing line with the resin droplets to the main splash structure. Balance it and cure under the UV lamp again. Repeat this process to add multiple droplets around the splash.
- Final Touches: Once you’re satisfied with the splash shape and size, you can paint it to suit your scene. If you’re creating a water splash, you might leave it clear or add a slight blue tint. For blood effects, use Blood for the Blood God or a similar paint.
Additional Tips:
- Be aware of the size of your splash in relation to the model’s base. You want the effect to complement, not overpower, the model.
- The process may require some experimentation. If you’re working on a competitive piece or have time constraints, consider the complexity of the effect.
- When creating blood droplets, applying the red paint after the resin has cured can add a more realistic and glossy effect.
Explore my latest tutorials!
Latest Video Tutorials
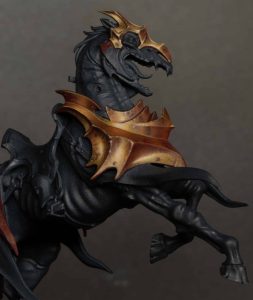
In this first part of the tutorial, we’re tackling the red-gold armour on the vampire’s mount. This section covers light placement, colour layering, and blending techniques, all using a controlled, scratchy-brush NMM approach. While theContinue reading [...]
My latest video is How to Paint Nurgle Stained Leather on the Lord of Poxes! In this deep-dive, we’re zooming in on painting leather the right kind of wrong: flayed, crusty, dried-out, and gross, butContinue reading [...]
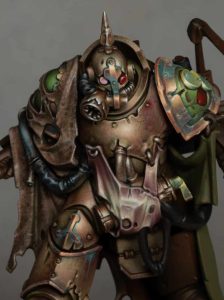
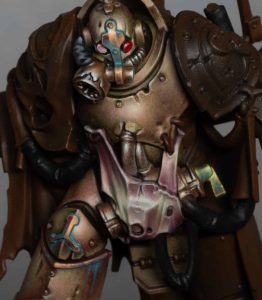
In this video and written guide, we tackle how to paint the Death Guard Lord of Poxes shoulder pad, covering a range of advanced techniques: NMM copper trim, verdigris weathering, a glowing red wound, andContinue reading [...]
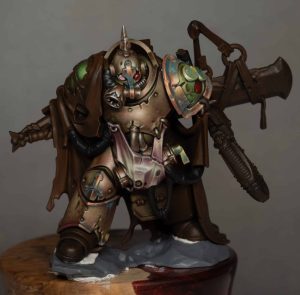
In this third part of the Lord of Poxes tutorial series, we shift focus to a small but visually rich section of the model: the belly pouch (affectionately dubbed the “ham pouch”) and the metallicContinue reading [...]

In this video and written guide, we look at how to Paint the Lord of Poxes, specifically his textured Death Guard Armour, from the new Poxwrought Vector Battleforce – a delightfully bloated centrepiece model sentContinue reading [...]
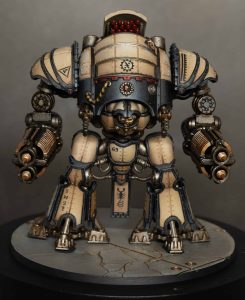
In this tutorial, we’re tackling how to paint an Acastus Asterius, one of the most striking knight models in Legions Imperialis and Adeptus Titanicus. Whether you’re building your force for display or tabletop, this guideContinue reading [...]
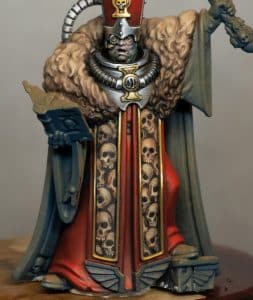
A step-by-step guide to adding miniature skull patterns with confidence and clarity. Painting freehand skulls on a miniature can feel intimidating, especially when the canvas is a wobbly bit of cloth dangling from a character’sContinue reading [...]
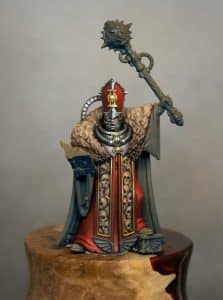
In this in-depth tutorial series on how to paint a Blood and Zeal Confessor, we explore every stage of bringing this grimdark preacher to life using rich tones, detailed brushwork, and careful light placement. InContinue reading [...]

Learn how to paint a Death Korps of Krieg Commissar in quick this step-by-step tutorial! I will walk through every stage of painting this iconic Warhammer 40K model, from grimy base tones to crisp non-metallicContinue reading [...]
If you don’t have an account, please sign up here! The website currently has over 350 video tutorials with steps and tips, plus a selection of PDFs. If you are not sure about joining, you can explore my free videos with a free membership, or take the plunge and become a full subscriber for full access.


If you’d prefer to support me on Patreon, please visit: https://www.patreon.com/RichardGray