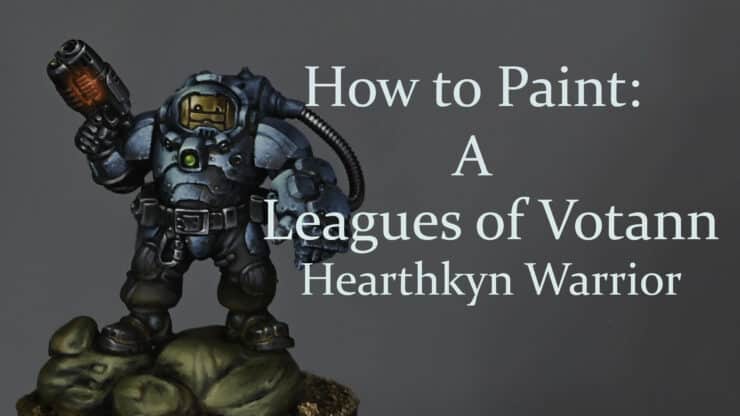
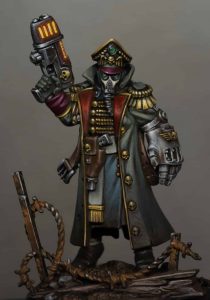
These videos show how to paint Leagues of Votann Hearthkyn Warrior (space dwarfs/squats), which were sent to me by Games Workshop.
Video Part One – How to Paint Leagues of Votann Hearthkyn Warrior
Video Part Two – How to Paint Leagues of Votann Hearthkyn Warrior
Paints Used
Games Workshop: Rhinox Hide, Sotek Green, Warpstone Glow, Yriel Yellow, XV-88, Mephiston Red, Evil Sunz Scarlet, Troll Slayer Orange, Fire Dragon Bright, Deathworld Forest, Mournfang Brown, Balor Brown,
Vallejo: Neutral Grey, Black, Dark Grey, Ice Yellow
P3: Morrow White
Preparation and Base Coating
- Model Assembly: Assemble your model, ensuring arms and weapons are separated for easier painting.
- Priming: Apply a black primer evenly across the model. This will serve as your base for all subsequent layers.
Face Mask and Armour
- Base Layer: Begin with ‘Rhinox Hide’ for the face mask, focusing on the left-hand side to simulate light direction. For the armour, start with ‘Sotek Green’, applying the paint loosely to create texture.
- Highlighting Technique: Use a lamp to identify where the main highlights should be, focusing on the upper left side of the model. This will help simulate directional lighting.
- Layering Armour: Build up the armour’s colour using layers of ‘Sotek Green’, ‘Ahriman Blue’, and ‘Temple Guard Blue’. For the final highlights, mix ‘Ice Yellow’ with ‘Temple Guard Blue’.
- Detailing Face Mask: Use ‘Balor Brown’ and ‘Ice Yellow’ for detailing, especially on the top left side for highlights.
Trousers and Boots
- Base Coat: Start with a black or dark grey base coat for the trousers.
- Highlights: Gradually build highlights on the trousers using a mix of the base colour and ‘Ice Yellow’. Keep the highlights subtle to maintain the focus on the upper part of the model.
Additional Details and Weathering
- Boots and Lower Details: Use a similar technique as the trousers for the boots, focusing on subtle highlights.
- Weathering: Apply ‘Mournfang Brown’ to create a worn, weathered look on the armour. Focus on recesses and edges to simulate natural wear and tear.
Final Touches
- Refining Highlights: Go back to the armour and face mask, refining highlights where necessary. This is the stage to perfect your light direction and ensure consistency across the model.
- Completing the Base: Paint the base to complement the model. A simple, unobtrusive design ensures the focus remains on the warrior.
Explore more of my latest tutorials
If you don’t have an account, please sign up here! The website currently has over 350 video tutorials with steps and tips, plus a selection of PDFs. If you are not sure about joining, you can explore my free videos with a free membership, or take the plunge and become a full subscriber for full access.
If you’d prefer to support me on Patreon, please visit: https://www.patreon.com/RichardGray


