


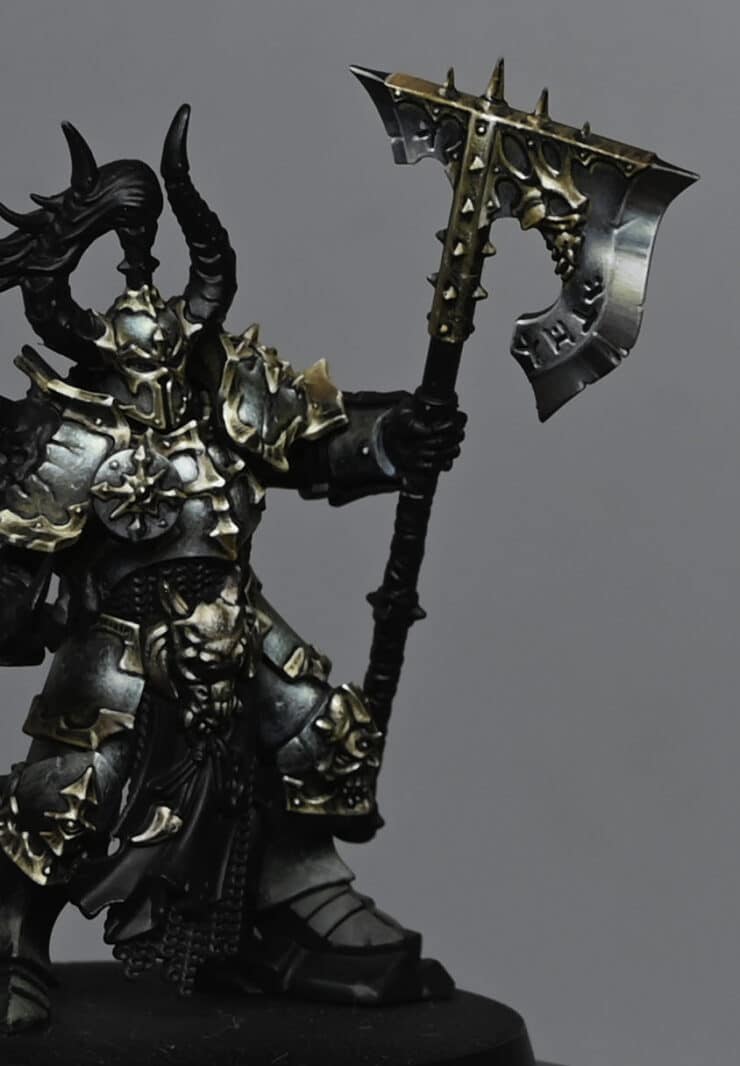
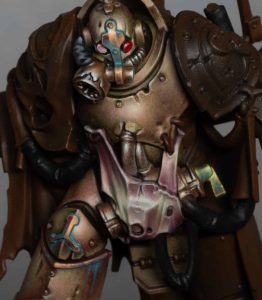
This video shows how to paint a NMM Axe belonging to the Chaos Champion from the Slaves to Darkness army box. The axe head is painted in NMM steel to a display level standard with coloured reflections. The trim of the axe is painted in NMM Gold.
Video: How to Paint a NMM Axe
This video tutorial is currently hidden. To unlock it and watch, please join the website and log in.
Materials:
- Paints: Mournfang Brown, Rhinox Hide, XV-88, Balor Brown, Barroth Blue (Games Workshop); Ice Yellow, Neutral Grey, German Grey, Black (Vallejo); Morrow White (P3)
- Fine detail paintbrushes
- Wet palette (optional, but recommended)
Steps for NMM Steel Effect on the Axe Blade:
- Base Colour: Start with Neutral Grey. Block in the areas where you anticipate highlights, but don’t worry about precision at this stage. This step is about mapping out your light and dark areas.
- Adding Reflections: Employ a ‘Sky Earth’ technique, but avoid a mirror-like chrome finish. Instead, aim for a less reflective surface with smoother transitions. This will differ from the steel look on the armour.
- Colour Integration: On downward-facing surfaces, integrate a bit of Mournfang Brown into your Neutral Grey. For the top of the blade, use a lighter mix, incorporating a bit of Ice Yellow into Neutral Grey.
- Brightness and Shadows: Apply Barroth Blue to represent the sky’s reflection. It should be brighter but not overly stark. Add Rhinox Hide to darken and desaturate certain areas, especially on downward curves.
- Blending and Transition: Focus on blending your colours. Use a stippling or cross-hatching technique to create smooth transitions between the different tones. Pay attention to the balance between the bright and dark areas to maintain the metallic effect.
- Final Highlights: For the brightest points, use Morrow White, especially on the uppermost curves and edges. This step is crucial for selling the metallic effect. Remember to keep these highlights sharp and focused.
Steps for NMM Gold Effect on the Axe Trim:
- Base Coat: Start with XV-88. Outline the areas you want to appear as gold. This will be the foundation for your gold effect.
- Layering: Gradually build up layers with Balor Brown, focusing on areas that would naturally catch more light. Be mindful of the shape and texture of the trim.
- Adding Highlights: Use Ice Yellow for the brightest highlights on the gold sections. Apply it sparingly to the most prominent areas, like the edges and raised details.
- Refining Details: Introduce Mournfang Brown and Rhinox Hide in the darker areas for deeper shadows, creating contrast and depth.
- Final Touches: Use Morrow White for the brightest spots on the gold trim, emphasizing the highest points of light reflection. This will enhance the metallic illusion.
Key Tips:
- Brush Control: Use the tip of your brush for precision. The quality of your lines and blending directly impacts the realism of the NMM effect.
- Light Source Consistency: Ensure that the light source is consistent across the model. This affects where you place highlights and shadows.
- Patience and Layers: NMM is about building up layers gradually. Work slowly and allow layers to dry before applying the next.
- Blending: Smooth transitions between colours are vital. Practice stippling and glazing techniques for seamless blends.
- Reflections and Realism: Study how light interacts with metallic surfaces. Incorporate reflected colours and environments subtly into your NMM work for added realism.
Explore my latest tutorials
Latest Video Tutorials
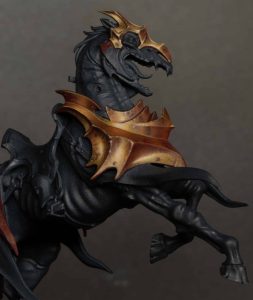
In this first part of the tutorial, we’re tackling the red-gold armour on the vampire’s mount. This section covers light placement, colour layering, and blending techniques, all using a controlled, scratchy-brush NMM approach. While theContinue reading [...]
My latest video is How to Paint Nurgle Stained Leather on the Lord of Poxes! In this deep-dive, we’re zooming in on painting leather the right kind of wrong: flayed, crusty, dried-out, and gross, butContinue reading [...]
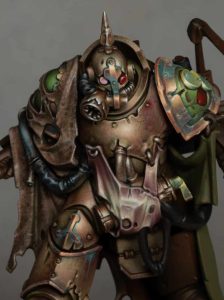
In this video and written guide, we tackle how to paint the Death Guard Lord of Poxes shoulder pad, covering a range of advanced techniques: NMM copper trim, verdigris weathering, a glowing red wound, andContinue reading [...]
In this third part of the Lord of Poxes tutorial series, we shift focus to a small but visually rich section of the model: the belly pouch (affectionately dubbed the “ham pouch”) and the metallicContinue reading [...]

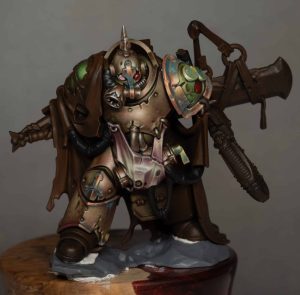
In this video and written guide, we look at how to Paint the Lord of Poxes, specifically his textured Death Guard Armour, from the new Poxwrought Vector Battleforce – a delightfully bloated centrepiece model sentContinue reading [...]
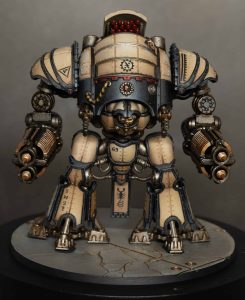
In this tutorial, we’re tackling how to paint an Acastus Asterius, one of the most striking knight models in Legions Imperialis and Adeptus Titanicus. Whether you’re building your force for display or tabletop, this guideContinue reading [...]
A step-by-step guide to adding miniature skull patterns with confidence and clarity. Painting freehand skulls on a miniature can feel intimidating, especially when the canvas is a wobbly bit of cloth dangling from a character’sContinue reading [...]
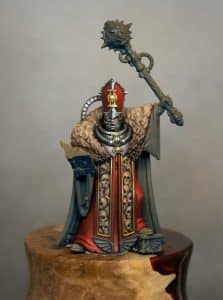
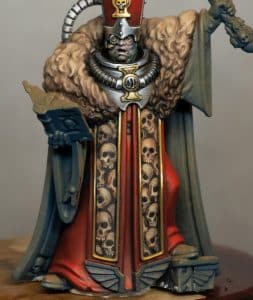
In this in-depth tutorial series on how to paint a Blood and Zeal Confessor, we explore every stage of bringing this grimdark preacher to life using rich tones, detailed brushwork, and careful light placement. InContinue reading [...]

Learn how to paint a Death Korps of Krieg Commissar in quick this step-by-step tutorial! I will walk through every stage of painting this iconic Warhammer 40K model, from grimy base tones to crisp non-metallicContinue reading [...]
If you don’t have an account, please sign up here! The website currently has over 350 video tutorials with steps and tips, plus a selection of PDFs. If you are not sure about joining, you can explore my free videos with a free membership, or take the plunge and become a full subscriber for full access.


If you’d prefer to support me on Patreon, please visit: https://www.patreon.com/RichardGray