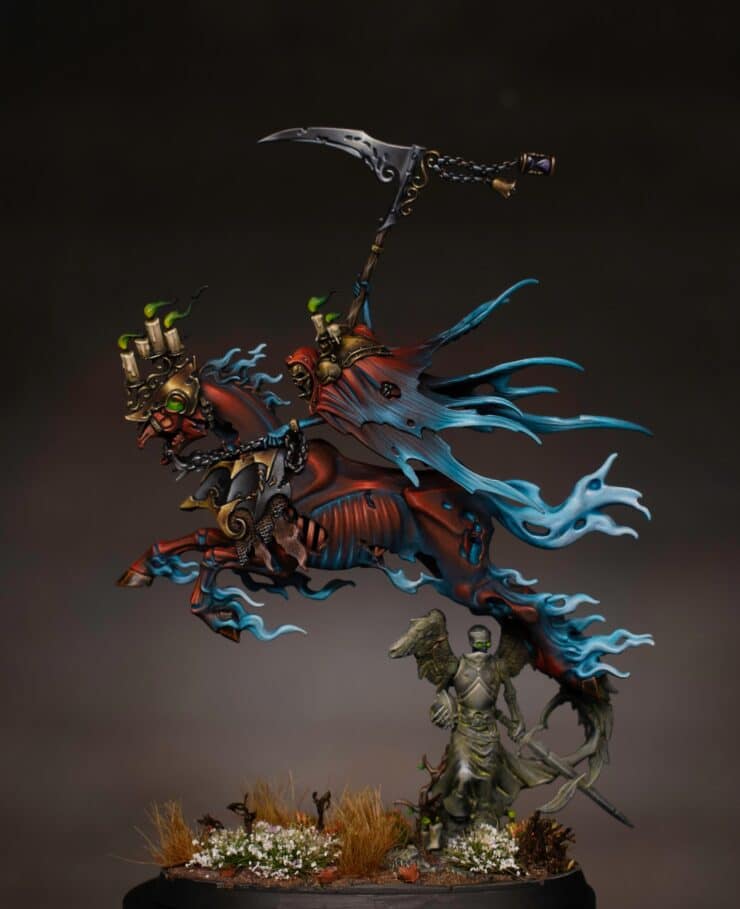
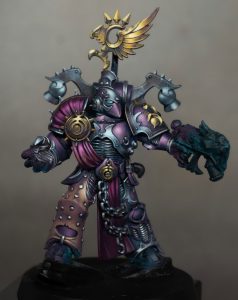
In this short series of one video, we look at the horse’s red colouring and blue glow effects on this model.
Once a sorcerer-king rich in the knowledge of amethyst magic, Reikenor ran afoul of Nagash. Now, in undeath, the Grimhailer is cursed to serve the Great Necromancer, acting as his chief reaper of souls! In my Reikenor the Grimhailer videos I go through the techniques and paints used to create the black, to red, to blue fades on the model.
I removed the wings on my Reikenor – the official version has wings!
Video: How to Paint Reikenor the Grimhailer
Paints and Materials Used
The materials used in the video include Games Workshop’s range of paints: Mephiston Red, Evil Sunz Scarlet, Wild Rider Red, Fire Dragon Bright, Sotek Green, Temple Guard Blue, Ceramite White, Abaddon Black, Incubi Darkness, and Vallejo’s Ice Yellow. Additionally, a fine detail brush, an airbrush for the base coat, and a matte varnish for the finishing touch are essential.
Steps to Follow
- Preparation: Start with a black primer, followed by a quick airbrush spray of Mephiston Red. This forms a dark base for further layers.
- Base Coating: Apply Mephiston Red, focusing on the ribs of the horse. Paint the more prominent curves about two-thirds up the rib, fading out towards the bottom.
- Detailing Ribs: Highlight the ribs using a mix of reds and oranges – Mephiston Red, Evil Sunz Scarlet, Wild Rider Red, and Fire Dragon Bright. Concentrate these colors more towards the top of the ribs for a gradient effect.
- Adding Texture: Introduce a fur-like texture using the reds mentioned above. Apply in the direction of the horse’s fur, gradually building up the texture.
- Glazing: Use Abaddon Black, thinned down, to glaze and darken the top and bottom of the ribcage. This prepares the area for the blue glow.
- Blue Glow Effects: Apply glazes of Temple Guard Blue, Sotek Green, and Incubi Darkness in the darkest recesses, especially between the ribs. Avoid letting the blue touch the red areas directly.
- Highlighting: For extreme highlights, use Fire Dragon Bright and Ice Yellow on the most prominent areas, like the top of the ribs. This step enhances the contrast and focal points.
- Final Touches: Apply ultra-matte varnish to unify the texture and eliminate any shine, accentuating the model’s details and colours.
Further Videos on this Style!
I explored this style further in my Nighthaunt Krulghast Cruciator video, which can be watched by clicking below.
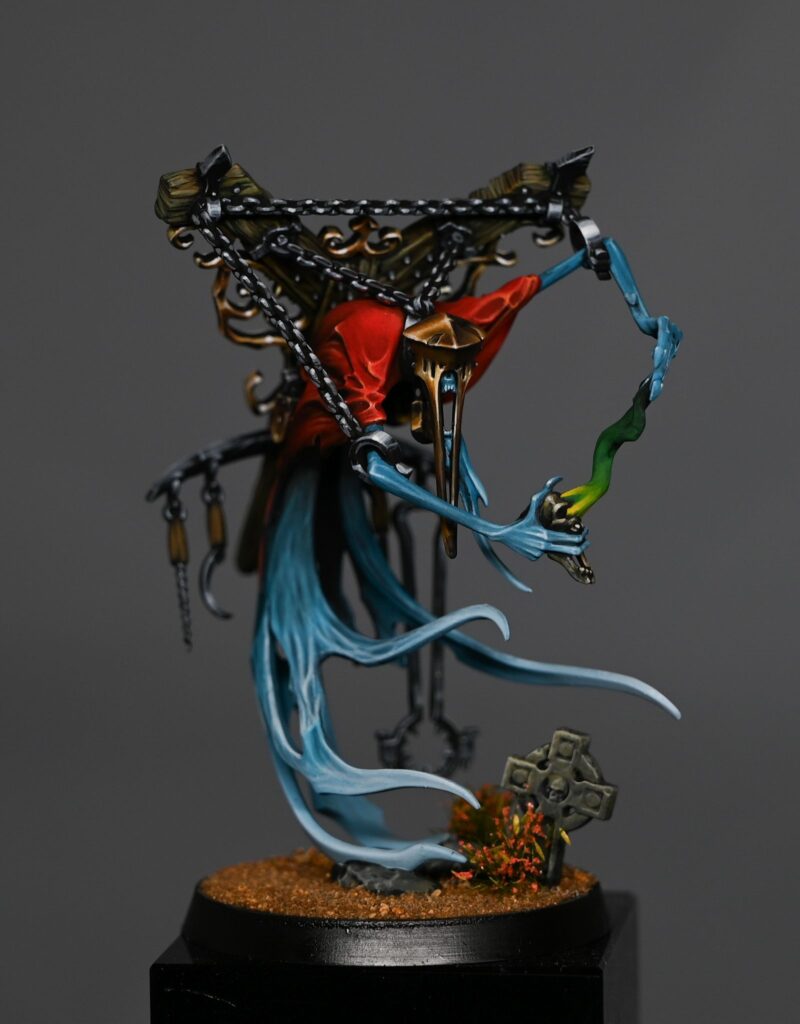
Nighthaunt Krulghast Cruciator
This video shows the complete process for how to paint the Nighthaunt Krulghast Cruciator from Games Workshop
Watch more of my latest videos:
If you don’t have an account, please sign up here! The website currently has over 350 video tutorials with steps and tips, plus a selection of PDFs. If you are not sure about joining, you can explore my free videos with a free membership, or take the plunge and become a full subscriber for full access.
If you’d prefer to support me on Patreon, please visit: https://www.patreon.com/RichardGray


