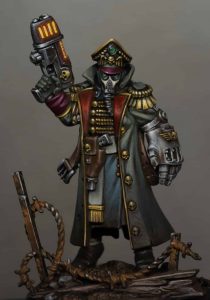
Nurgle Lord Non-Metallic Metal Armour Guide
By Richard Gray
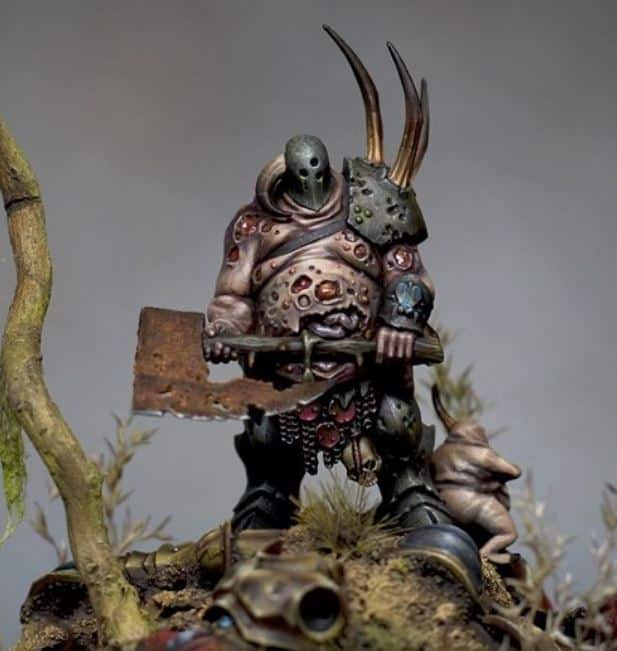
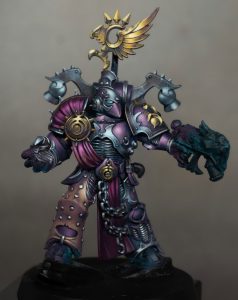
Master the art of non-metallic metal (NMM) painting with this comprehensive Nurgle Lord Non-Metallic Metal Armour Guide to achieving a stunning armour effect for your Nurgle Lord model. Follow along with detailed steps and techniques to create a realistic, textured metal look without using metallic paints.
What’s Inside the Nurgle Lord Non-Metallic Metal Armour Guide:
- Materials and Paints Needed:
- Vallejo: German Grey, Dark Sea Grey, Pale Blue Grey, Leather Brown, Black
- Games Workshop: Skavenblight Dinge
- P3: Morrow White
- Coat d’Arms: Black
- Model Preparation: Learn how to properly prepare your model by washing the plastic, using Tamiya Extra Thin Cement for assembly, and filling gaps with Greenstuff. Prime the model grey and let it cure for 24 hours.
- Base Colour Application: Start with a black base colour to set the foundation for the NMM effect, providing the necessary contrast for a realistic shine.
- Initial Lighting with German Grey: Apply German Grey to the areas of the armour that will catch the most light. This stage sets the groundwork for the lighting effect and doesn’t require neatness, allowing for texture development.
- Stippling Technique for Texture: Introduce Dark Sea Grey with a stippling technique, creating small dots to add texture and refine the lighting. Use thicker paint for definite dots and don’t worry about imperfections.
- Highlighting with Pale Blue Grey: Continue stippling with Pale Blue Grey, focusing on higher light points. Add tiny lines under darker dots to simulate three-dimensional dints.
- Final White Stippling: Add small white dots to enhance the texture further. Though it may look messy at this stage, the following steps will smooth out the details.
- Smoothing with Glazes: Use heavily watered-down Battlefield Brown to create a glaze, applying it in thin layers to subtly blend and smooth the texture. Follow with a Coat d’Arms black glaze for shadows, enhancing the contrast with its satin finish.
- Final Touches and Adjustments: Revisit any areas that need more texture or brightness, especially the leg plates. Use the same colours and techniques to bring out the details, making adjustments as necessary to achieve a balanced look.
- Additional Refinement: Apply gentle glazes of Skavenblight Dinge to unify the textures and maintain the grey metal appearance. Balance the brown glazes to avoid overwhelming the armour, adjusting for the desired effect.
Tips and Techniques:
- Stippling for Texture: Achieve a worn and battered look by stippling, a technique that involves creating small dots with a brush.
- Glazing for Smooth Transitions: Use very thin layers of paint to blend textures and create smooth transitions between colours.
- Balancing Highlights and Shadows: Ensure the highlighted areas are bright enough without overpowering the overall effect. Use glazes to deepen shadows and enhance contrast.
This guide is perfect for hobbyists looking to achieve a realistic NMM armour effect on their models. With patience and attention to detail, you can create stunning, textured armour that stands out. Stay tuned for future guides on painting the rusted axe and the skin of the Plague Lord.
Download the full guide below and transform your Nurgle Lord’s armour with non-metallic metal techniques!
Explore my latest video tutorials!
If you don’t have an account here on my website, please sign up here! I have over 350 video tutorials with steps and tips, plus a selection of PDFs. If you are not sure about joining, you can explore my free videos with a free membership, or take the plunge and become a full subscriber for full access.
If you’d prefer to support me on Patreon, please visit: https://www.patreon.com/RichardGray


