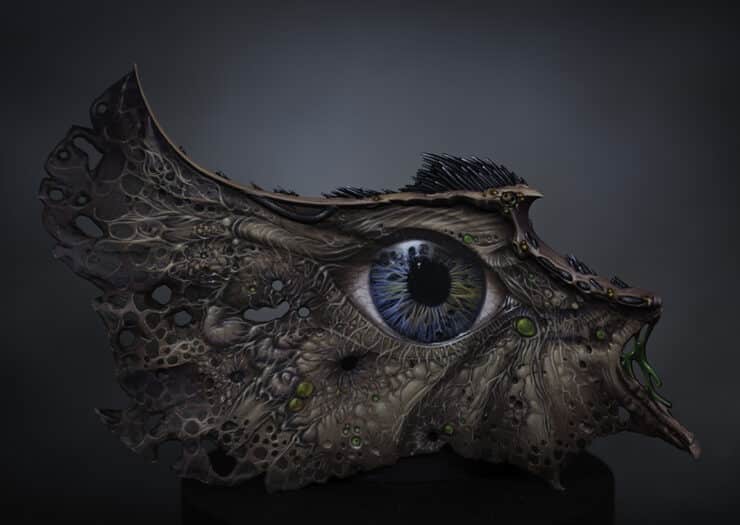
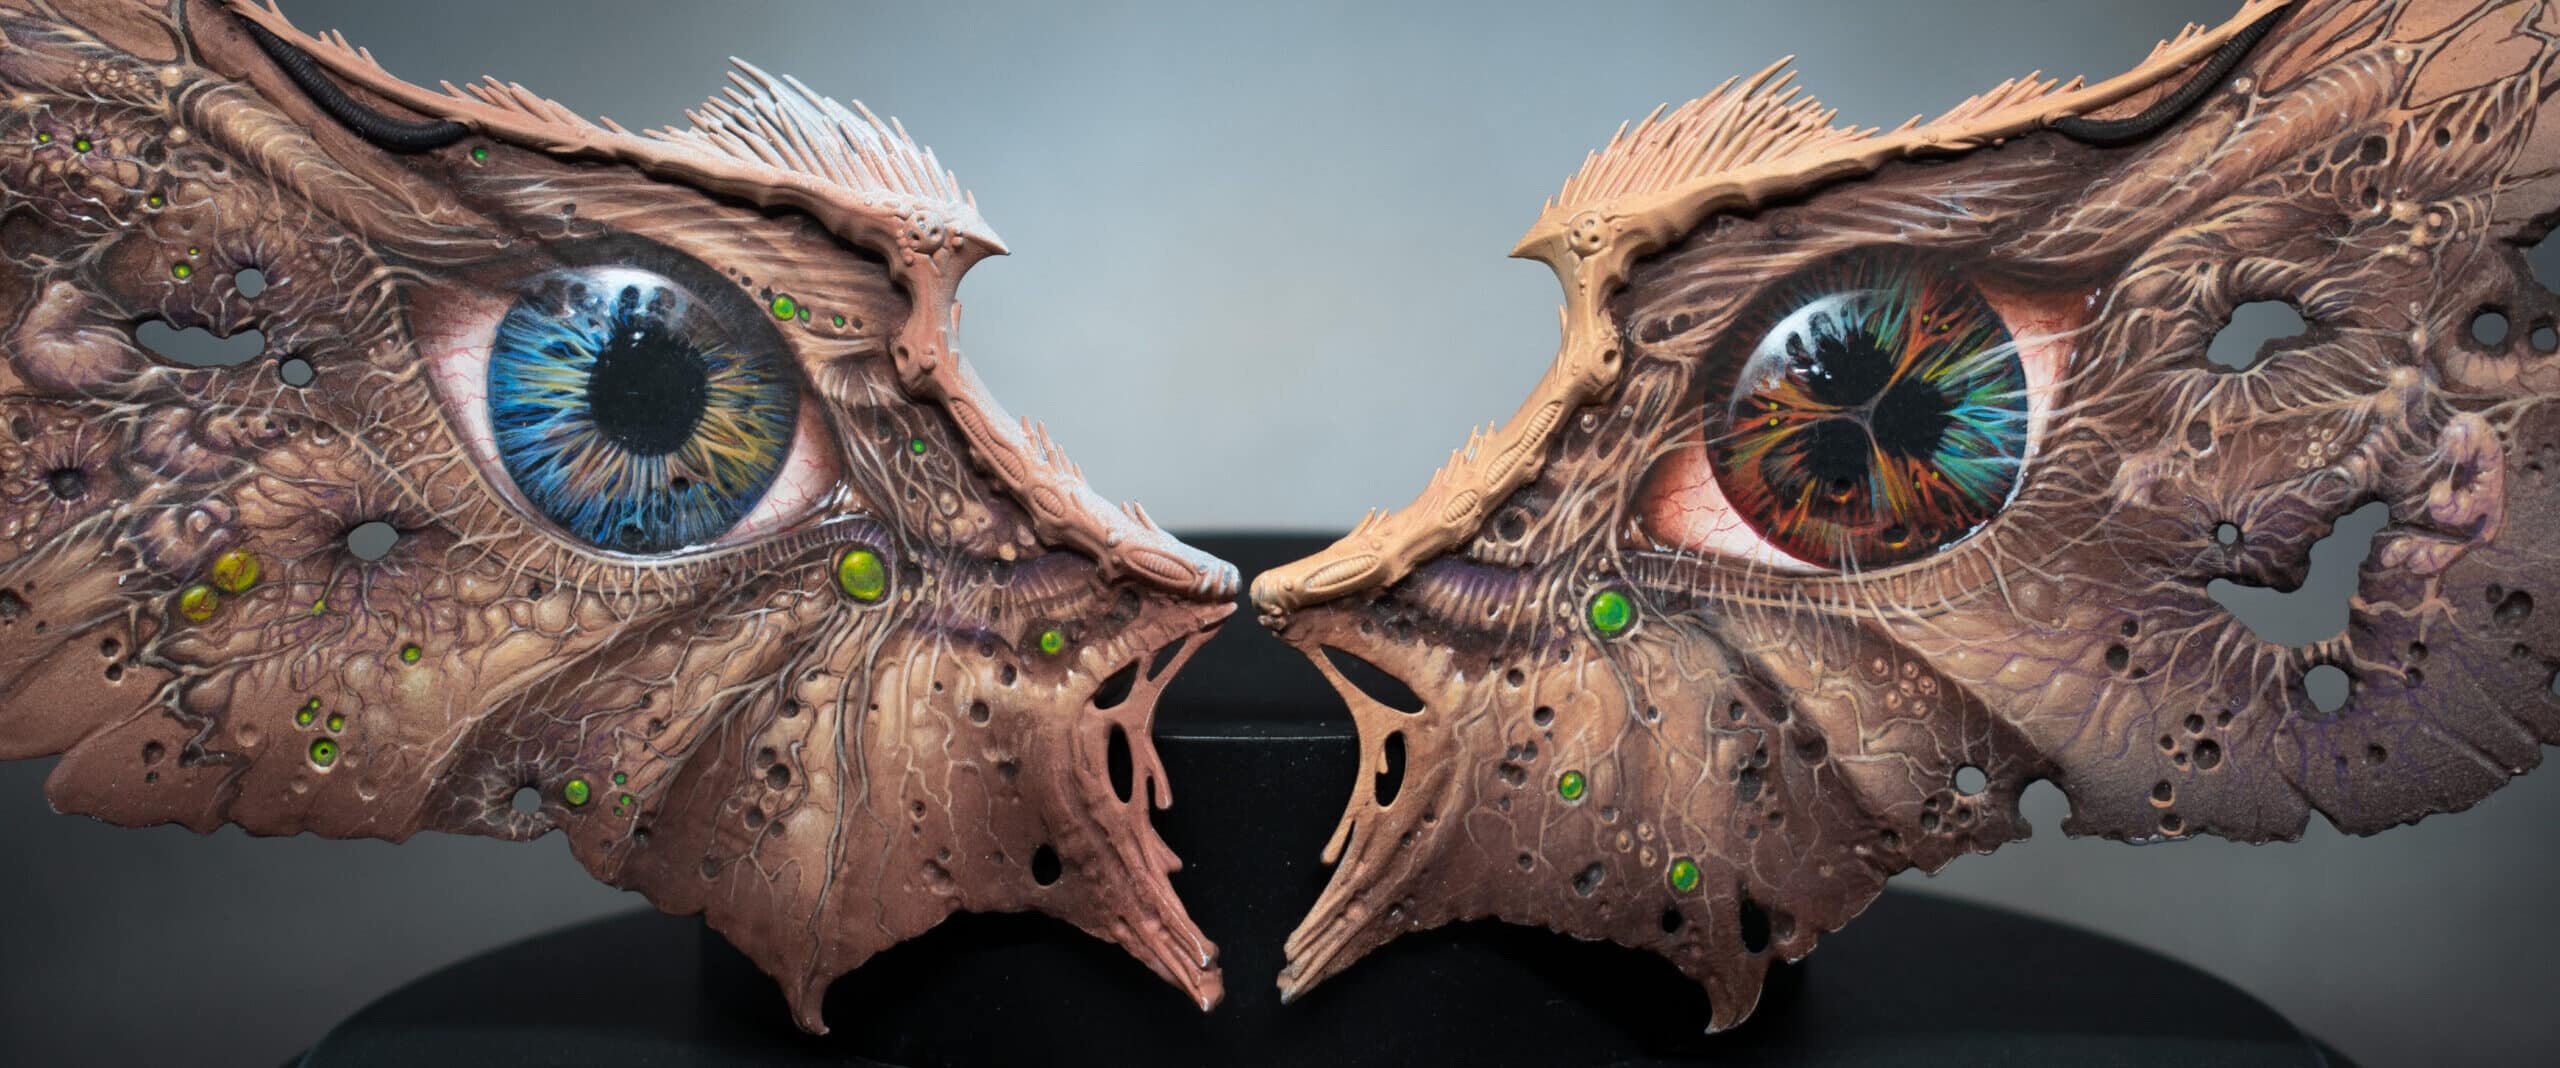
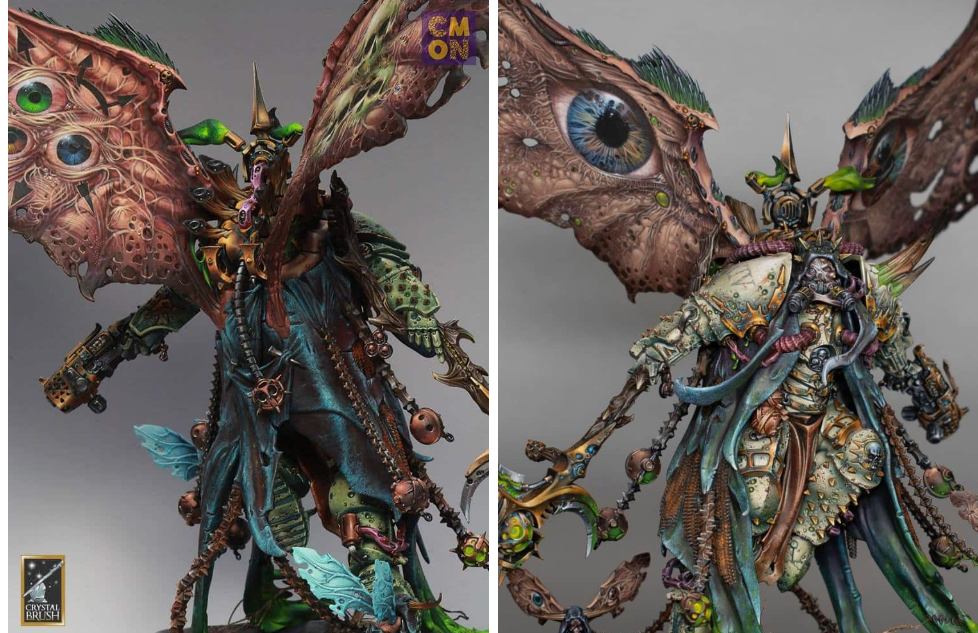
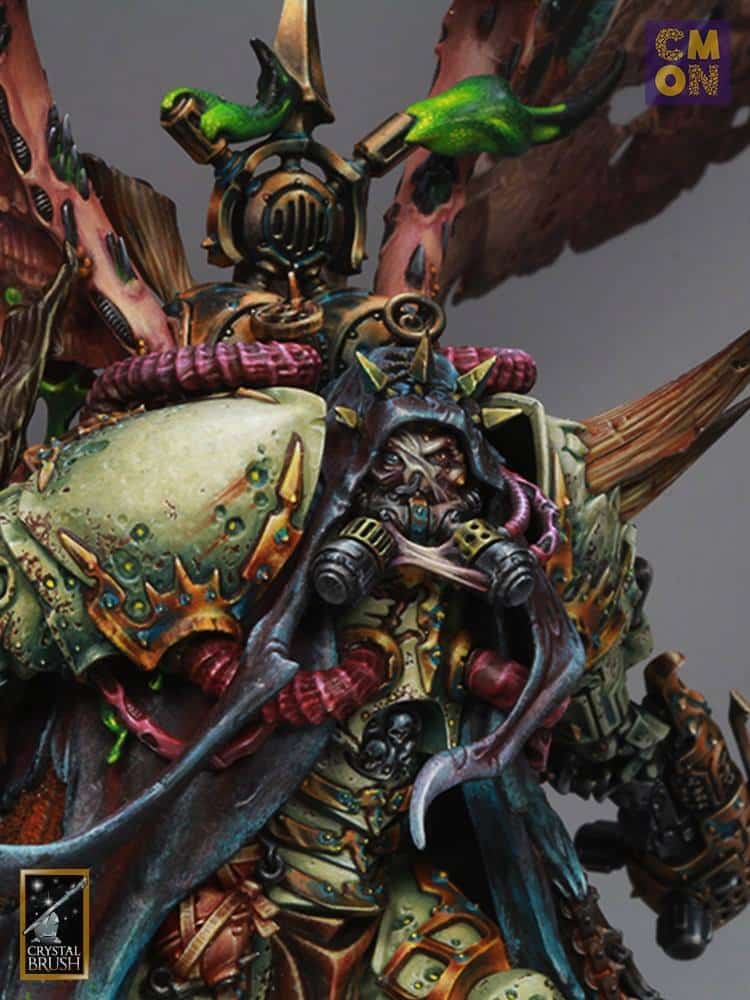
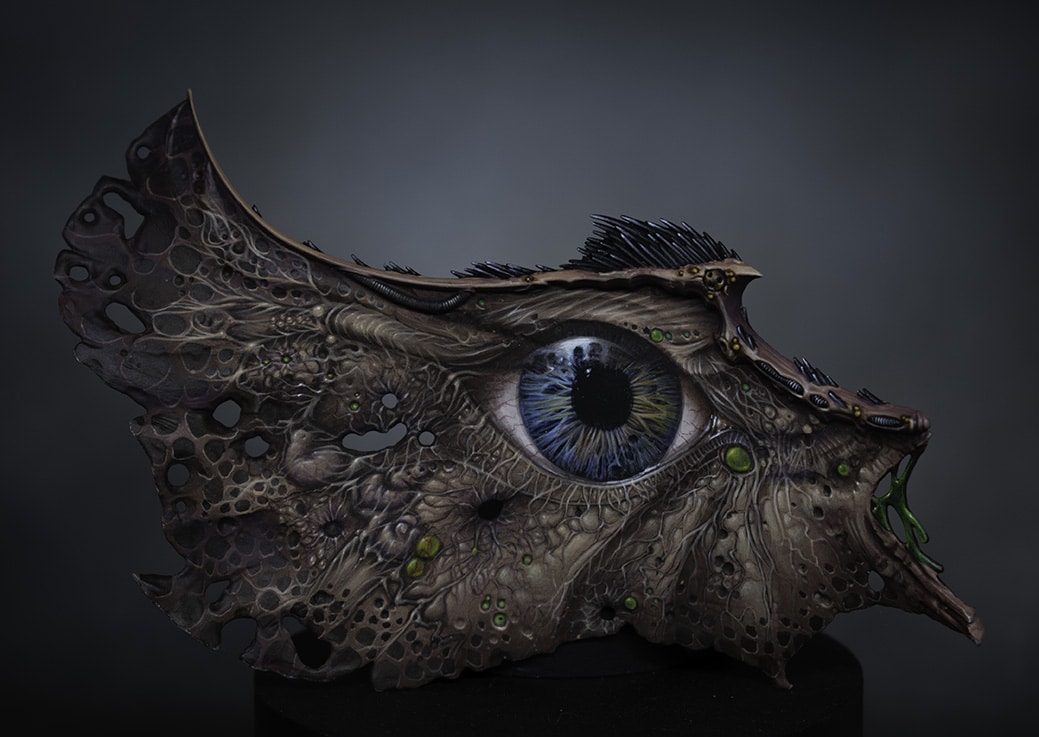
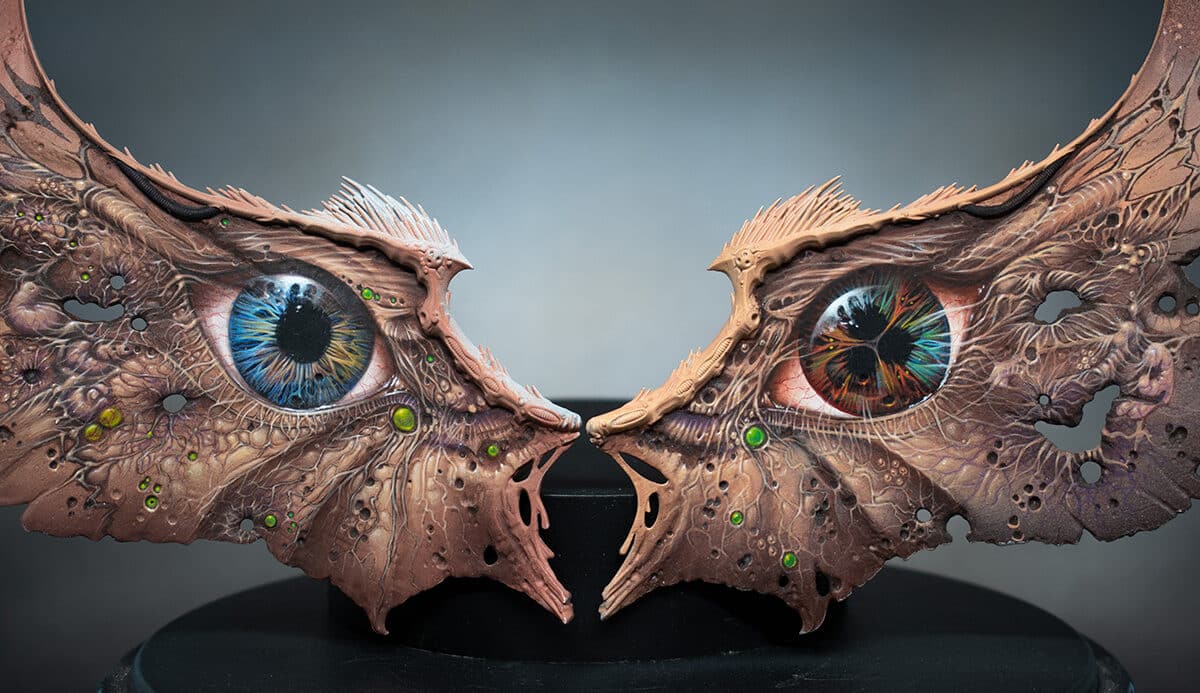
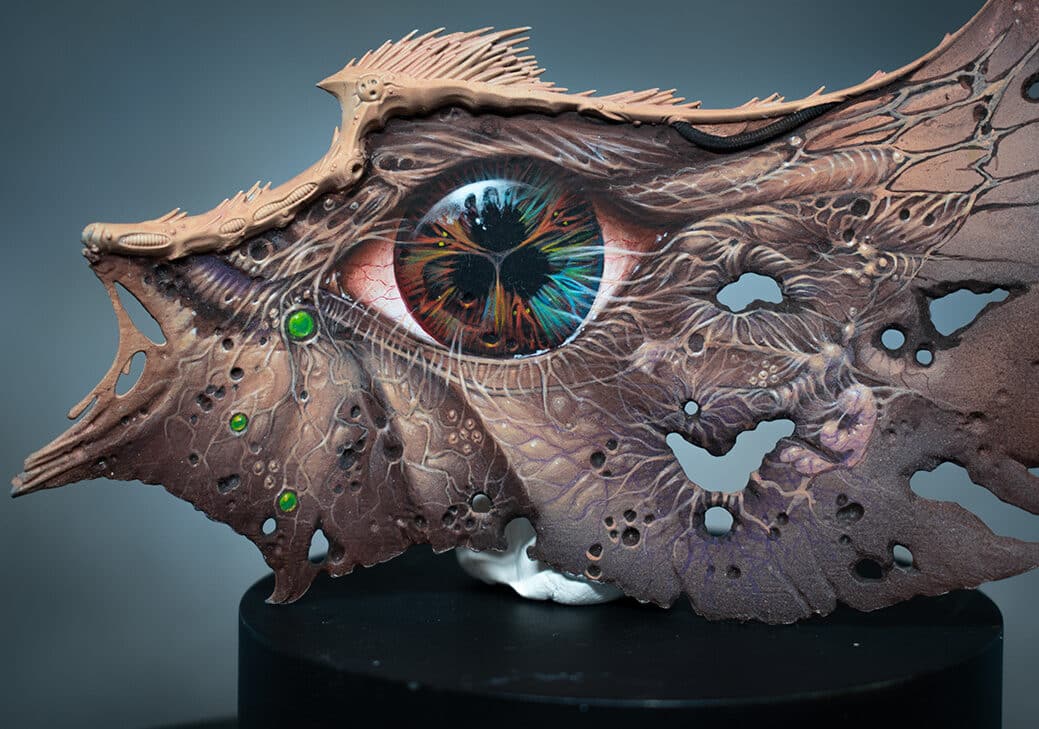
A set of video tutorials on How to Paint Mortarions Wings, with paints and step-by-step guides on freehand.
Demon Wing Details
First steps and basics For a pdf on how I cleaned the wing ready for painting, visit : https://richardgraycreations.com/mortarion-wing-prep-pdf/ )
All videos are recorded in HD 1080p or higher – use full screen for the full effect and let the video load completely.
Demon Wing Details: Part One
The following paints were used:Games Workshop: Rhinox Hide, Yriel Yellow, Kislev Flesh, Cadian Fleshtone, Moot Green, Xereus Purple, Evil Sunz Scarlet*note, in the video I show Emperor’s Children and Death Guard Green. These were not used in this video. Vallejo: Ivory
Demon Wing Details: Part Two
The following paints were used:Games Workshop: Mournfang Brown, Cadian Fleshtone, Kislev Flesh, Xereus Purple, Valejo: Ivory
Demon Wing Details: Part Three
The following paints were used:Games Workshop: Cadian Fleshtone, Kislev Flesh, Rhinox Hde, Xereus Purple, Vallejo Model Colour: Ivory
Step by Step Tips: How to Paint Mortarions Wings – Demon Wing Details
Part One:
Prepare the Model: Confirm that the model has been properly primed, and any base colors, such as carmine, have been applied. Take a moment to inspect the model and identify any pre-painted outlines or details.
Outline with Rhinox Hide: Utilise Rhinox Hide to start painting the outlines on the wings. This step involves creating the base pattern and initial details. Opt for Rhinox Hide over black to match the desired fleshy tone of the wings.
Paint Veins with Xereus Purple: Select Xereus Purple to paint the vein-like details on the wings. Use a larger brush for broader coverage and to establish the initial structure. The combination of Xereus Purple and Rhinox Hide will give a dark, diseased appearance to the veins.
Add Variation to Veins: Pay attention to the thickness and variation of the veins. Make deliberate wiggles and different shapes to create depth and interest. Ensure that the veins go over some of the previously painted thick lines for a more realistic effect.
Consider Viscosity of Paint: Observe the viscosity of the paint; it should be thick enough to allow for fine lines. This is crucial for painting detailed and thin veins. You can load the brush more freely when using a thicker paint.
Add Vein Details: Paint thin lines of purple coming out from certain areas, resembling veins spreading out. Use the thickness of the brush to your advantage, allowing for both longer lines and finer details.
Introduce Spot Colours: Incorporate spot colours using Moot Green from Games Workshop. These spots will contrast with the purple, adding visual interest to specific areas, like craters on the wings.
Highlight Veins: Highlight the veins by using Kislev Flesh, creating a raised vein effect. This will add depth and dimension to the wing.
Soften Edges and Add Shadows: Use glue to soften edges and make the veins appear less pustule-like. Introduce shadow areas around the veins to enhance the three-dimensional look.
Plan Lighting Directions: Consider the lighting directions on the model. Reflective lights and multiple light sources can contribute to a realistic 3D effect. Think about how the light interacts with the various elements on the wings.
Part Two:
Set Up Your Palette: Arrange your paints on the wet palette, as shown in the top right corner of the video. Let them mix a bit for added variation in your application.
Begin with Cadian Fleshtone: Using Cadian Fleshtone, highlight the small segments between the veins. Focus on the upper areas to mimic light hitting from above.
Use Reasonable Dilution: Ensure the paint is reasonably diluted, allowing for smoother application. As you’re highlighting, create the impression of shadows by avoiding direct application on dark vein edges.
Utilise Mournfang Brown and Xereus Purple: Outline details with Mournfang Brown, and use Xereus Purple to add depth. These details may evolve organically as you progress.
Fine-tune with a Sharp Brush: For fine details, use a sharp-tipped brush. Paint slightly thicker than usual, taking advantage of the wet palette to maintain consistency.
Create Organic Look: Emphasise the fleshy and organic feel by avoiding a precise pattern. Moths and butterflies inspire the style, but the focus is on a fleshy appearance.
Observe Light Source: Keep the light source in mind while highlighting. Work on veins to create shadows, ensuring a dynamic and realistic look.
Add Transition Colours: Utilise mixed-up areas on the palette for transition colours. This adds depth and enhances the shadow effect, especially on larger, rounder areas.
Experiment with Xereus Purple Outlining: Experiment with Xereus Purple outlining to enhance details. Remember, fine details may evolve as you progress, creating a unique and organic look.
Balance the Details: Constantly tweak and balance details as you go. Ensure the veins, fleshy areas, and fine details complement each other for a cohesive appearance.
Keep Consistency: Maintain consistency in the colour palette but vary the ratio of colours. This provides variation while adhering to a cohesive theme.
Avoid Exaggeration: While enhancing details, avoid exaggeration. The goal is to create an organic, fleshy look without turning it into a three-dimensional eyeball.
Part Three:
Understand the Existing Freehand Progress: Examine the progress of the freehand on the model, especially the veins and patterns. Note that Rhinox Hide comes in two versions, with the thinner one used for glazes and quick transitions.
Begin Painting the Veins: Start with Rhinox Hide to paint veins, emphasizing the connections and flow between them. Be mindful of curves and avoid making the veins look too straight or jarring.
Create Veins as Eyelashes: Connect the veins to the eye, using them as eyelashes. This adds a unique and natural touch to the model, representing an organic connection between the eye and wing.
Add Variation to Veins Around Holes: Paint veins around holes using Xereus Purple, varying the pattern to avoid repetition. Darken the area around the hole for contrast and tonal variation.
Adjusting Freehand for a Cohesive Look: As the freehand progresses, ensure that the details flow well with each other, avoiding a disconnected appearance. Veins should follow the natural contours of the wing.
Layering for Depth: Layer veins to create depth, using Kislev Flesh and Ivory for highlights. This technique makes the veins appear more 3D and layered.
Darken and Outline: Darken certain areas using Rhinox Hide to create shadows and depth. Outline veins and details to make them stand out clearly.
Highlighting and Refining: Use Vallejo Ivory to highlight specific sections, creating contrast and emphasizing the shapes. Continuously refine and tweak details, keeping an eye on the overall picture.
Glazing for Smooth Transitions and Shapes: Use glazing to create smooth transitions between different paint layers. This is particularly useful for blending colours seamlessly. Apply glazes to emphasise the shapes of painted sections, ensuring a smooth and coherent look.
Final Touches: Continue refining details, emphasising shapes, and making any final adjustments. Take your time to ensure a high-quality finish.
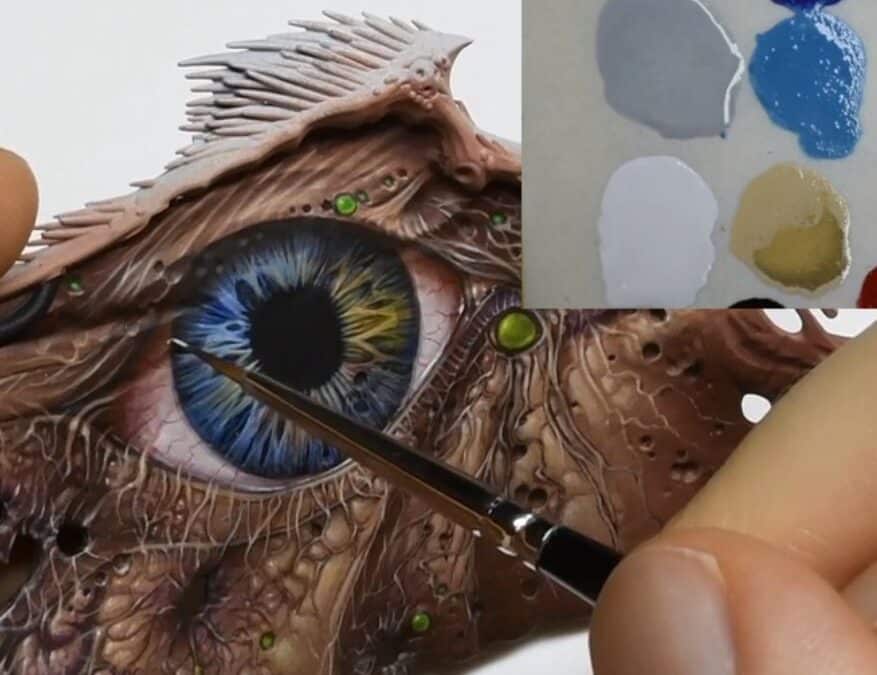
How To Paint Mortarions Wings: Blue Eye
The following paints were used:Games Workshop: Cybarite White, Flayed One Flesh, Doombull Brown, Balor Brown, Evil Sunz Scarlet, Lothern Blue, Ahriman Blue (optional) Rhinox Hide Vallejo: Ultramarine Blue, Night Blue (optional) Black, Pale Grey Blue P3: Ryn Flesh
Step by Step Tips: How to Paint Mortarions Wings – Blue Eye
Start with the Blue Detail on the Eyes: Commence the process by using Ultramarine Blue to paint a circle in the center of the existing black circle on the wing. Precision isn’t crucial at this point; you can refine it later.
Refine the Blue Circle: Utilize black paint to clean up and refine the edges of the blue circle, serving as a guideline for the forthcoming details.
Add Fine Details with Ultramarine Blue: Apply Ultramarine Blue to create fine lines and intricate details within the circle, representing the complex features of the eye. Allow the lines to follow the organic nature of the wing.
Highlight the Blue Details: Use Flayed One Flesh to highlight selected blue details, creating a smooth transition between colours and enhancing the eye’s three-dimensional appearance.
Introduce Pale Brown for Depth: Apply Pale Brown to add depth to the eye, concentrating on the lower section of the white. Be cautious not to use excessive paint to preserve the details from earlier steps.
Create Highlights with Flayed One Flesh: Revisit Flayed One Flesh to introduce highlights on the blue details, enhancing the overall aesthetic of the eye.
Glaze with Pale Grey Blue: Create a glaze using Pale Grey Blue and apply it to specific areas of the eye. This will help blend colours and add a layered effect to the strands and details.
Add Red Veins and Details: Carefully reintroduce red veins, resembling eyelashes from the bottom of the eye. Utilize a dragging motion with the brush for precise lines.
Correct Mistakes and Refine Detail: If any mistakes occur, use black paint to rectify errors and refine the intricate details, maintaining attention to the shape and flow of the lines.
Final Touches on Reflections: Add reflections to the eye using semi-white to highlight the central part of the reflection. Consider the light source and aim for a realistic and captivating result.
How To Paint Mortarions Wings: Demon Eye
The following paints were used:Games Workshop: Mephiston Red, Wild Rider Red, Rhinox Hide Doombull Brown, Zamesi Desert, Yriel Yellow, Moot Green Temple Guard Blue, Sotek Green, Abaddon Black, Cadian Fleshtone, Kislev Flesh, Ceramite WhiteVallejo Model Colour: Ivory, BlackP3: Iosen Green (GW Warpstone Glow alternative) Ryn Flesh
Step by Step Tips: How to Paint Mortarions Wings – Demon Eye
Outline the Pupil: Begin by outlining the pupil of the eye. Focus on the inner shape rather than the outer, as you can fix any wonkiness later.
Paint the Iris: Using a spread-out pattern, carefully paint the lines of the iris, starting from the center and moving outwards. Use a lighter colour to highlight some imperfections and indentations on the wing.
Refine the Lines: Separate the lines, especially around the Nurgle symbol. Use Abaddon Black as a rubber to create a rough outline and add depth to the design.
Introduce Different Colours: Experiment with different colours such as Temple Guard Blue and Wild Rider Red to add layers and details. Don’t be afraid to mix colours on the brush for a varied effect.
Paint the Sclera: Apply Temple Guard Blue to the sclera, ensuring a smooth transition from the red, and be cautious not to paint over the detailed lines.
Enhance Highlights: Use Ceramite White to brighten the eyes, creating a strong contrast. Paint carefully, following the shape of the eye for a rounded and natural look.
Add Veins: Use Mephiston Red to paint veins onto the white of the eye, creating a realistic effect. Keep the lines subtle and centered for a natural appearance.
Apply Glazes: Use glazes to soften transitions and tie the piece together. Deploy glazes by loading the brush from the wet palette.
Final Highlights: Highlight with Ivory to emphasize details on the veins and enhance the overall look.
Add Reflections: Apply White to the reflections on the eye to give it a lifelike and 3D effect.
Create Wetness Effect: Using a small amount of Kislev Flesh or a similar colour, add small irregular dots to represent the wetness of the eye.
Need more Mortarion? Check out the other tutorial videos, below:
Free Video Tutorials
Free videos (for logged in members – just sign up as a ‘friend’ to view and click any of the thumbs.To explore all of these, visit this page!
If you don’t have an account, please sign up here! The website currently has over 350 video tutorials, plus step by step guides and PDFs. You can explore more free videos with a free “friend” membership, or take the plunge and become a full subscriber for full access.
If you’d prefer to support me on Patreon, please visit: https://www.patreon.com/RichardGray [...]


