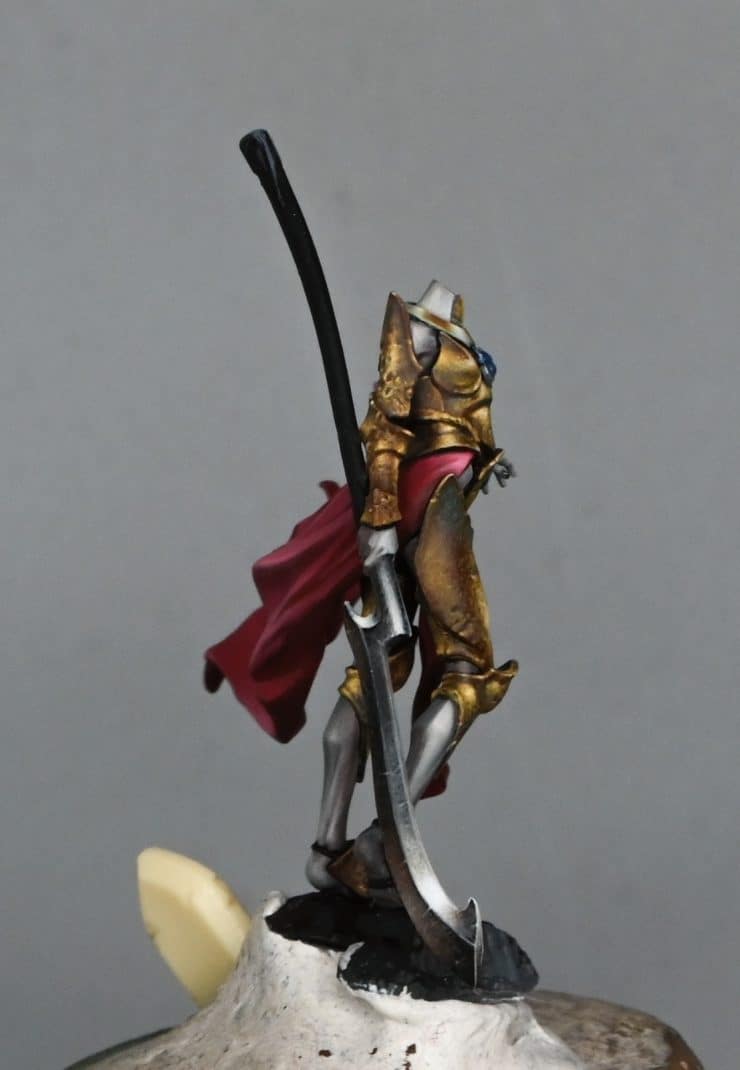
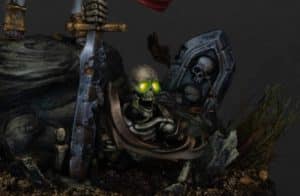
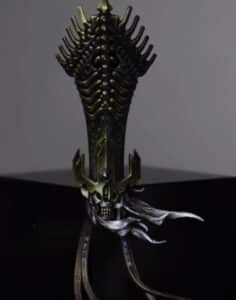
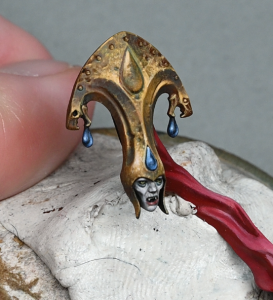
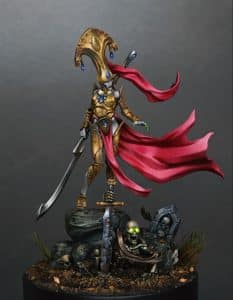
Creating a Non-Metallic Metal (NMM) texture on a sword for a miniature model requires patience, precision, and a good understanding of light and shadow. This guide is designed to walk you through the process of painting the weapon blade of Sekhar The Vampire, focusing on achieving a weathered, high-contrast, NMM effect.
Video: Non Metallic Metal Texture Sword
Materials Required
- Paints: Vallejo Neutral Grey, Ice Yellow; Games Workshop Mournfang Brown, Rhinox Hide; P3 Morrow White; Two Thin Coats Dark Sun Yellow.
- Brushes: Fine detail brushes capable of making very thin lines.
- Palette: A wet palette to ensure your paints remain workable.
- Water or Thinner: For diluting your paints to the desired consistency.
Step-by-Step Guide to the Non Metallic Metal Texture Sword
Preparing the Blade: Begin with a clean, primed miniature. Ensure Sekhar’s blade is smooth and free from any debris or fingerprints.
Base Coating: Apply a base coat of Neutral Grey on the blade. This serves as your midpoint for building up highlights and deepening shadows.
Establishing Light Points: Identify the main light points on the blade using a lamp. Typically, the flat back section of the blade and the curved edges will catch the most light. Mark these areas mentally as points where the highest highlights will be placed.
Initial Highlights and Shadows: Create a gradient on your palette ranging from Neutral Grey to Ice Yellow, progressively adding Ice Yellow to lighten the mixture. Include a separate mix with Mournfang Brown and Neutral Grey for warmer tones, and pure white for the brightest highlights.
Begin adding these mixtures to the blade, focusing on the predetermined light points. Use a scratchy, controlled technique with the very tip of your brush for texture.
Refining the Texture: As the paint on your palette dries slightly, it will naturally become thicker. Use this to your advantage to add textured highlights and shadows, adjusting the water content as necessary for softer transitions or more pronounced scratches.
Correcting and Sharpening Details: Utilise black to correct any oversteps or to sharpen the divisions between different sections of the blade. This step is crucial for defining the shape and enhancing the contrast of your NMM effect.
Adding Depth with Glazes: Mix highly diluted glazes of Mournfang Brown (and variations with Neutral Grey) to apply to the lower sections of the blade. This creates a sense of depth and simulates a subtle reflection from the environment.
Final Highlights: Use the brightest mixtures, including pure white, to add the final highlights to the top light points. This step might require going back to reinforce the contrast between the brightest highlights and the adjacent shadows.
Weathering Effects: To add a weathered look, incorporate fine scratches across the blade’s surface with a very thin brush and lighter paint mixes. These should traverse both the light and dark areas to create a unified texture across the blade.
Bounce Light: For a more advanced NMM effect, paint a bounce light on the cutting edge of the blade. This is a subtle highlight that simulates light reflecting off the ground, adding to the realism of your metal effect.
Finishing Touches: Reassess the overall effect from multiple angles, ensuring that the blade looks good from all perspectives.
Additional Tips
- Patience is Key: Achieving a convincing NMM effect is time-consuming. Work slowly and carefully.
- Lighting: Understanding how light interacts with metal is crucial for NMM. Study real-life examples if possible.
More Soulblight, Undead and Vampire Tutorials!
If you don’t have an account, please sign up here! The website currently has over 350 video tutorials with steps and tips, plus a selection of PDFs. If you are not sure about joining, you can explore my free videos with a free membership, or take the plunge and become a full subscriber for full access.
If you’d prefer to support me on Patreon, please visit: https://www.patreon.com/RichardGray


