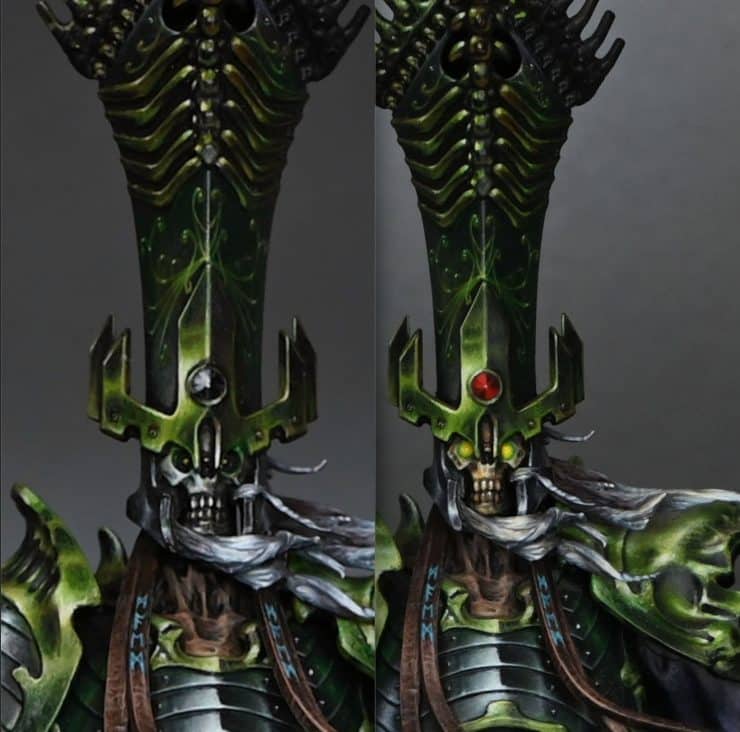
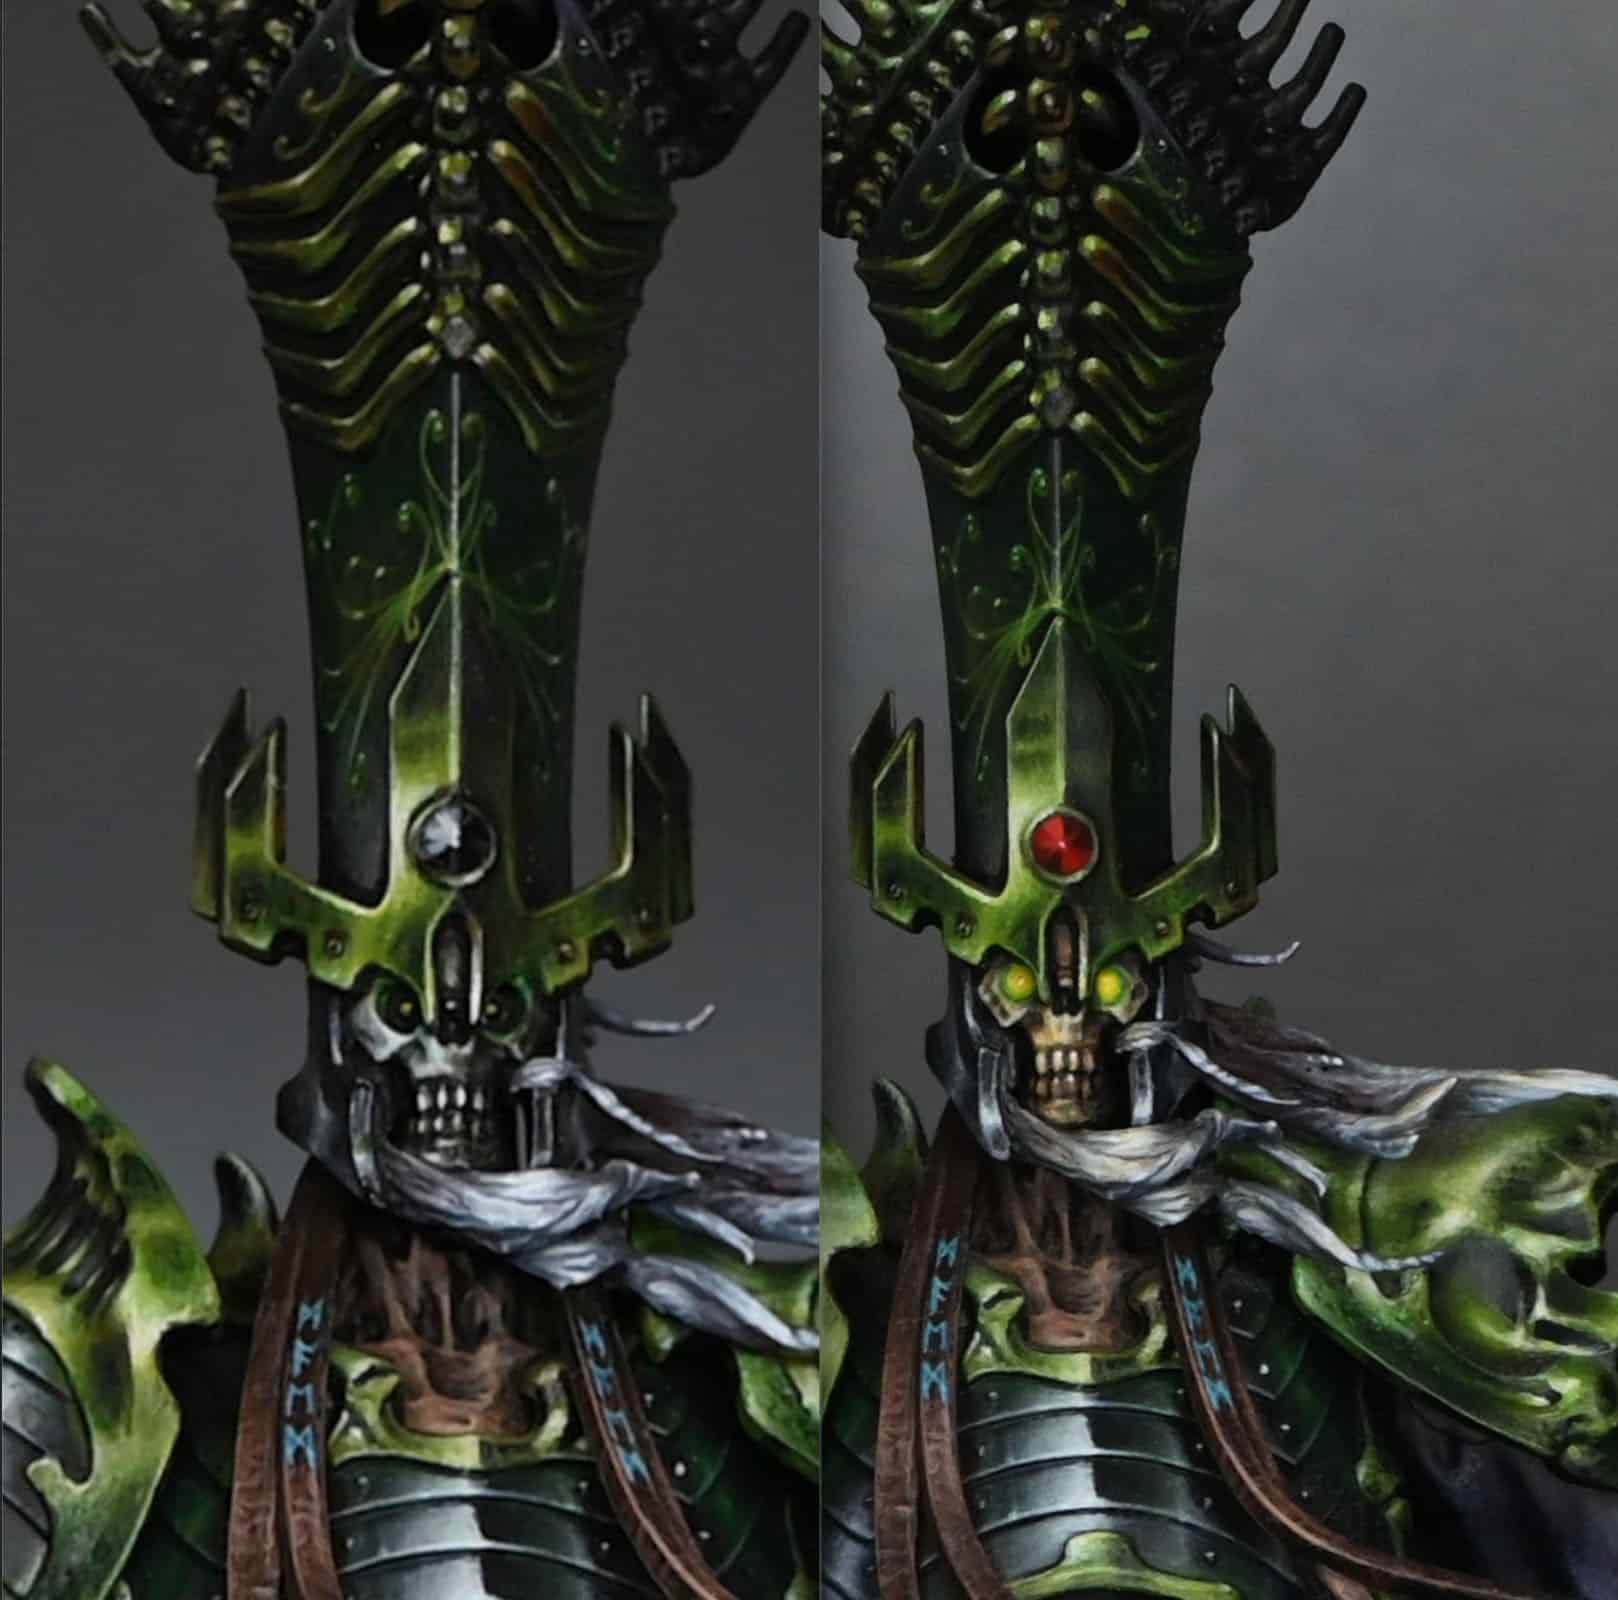
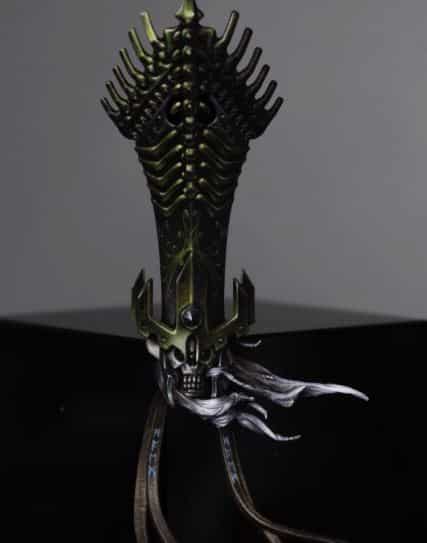
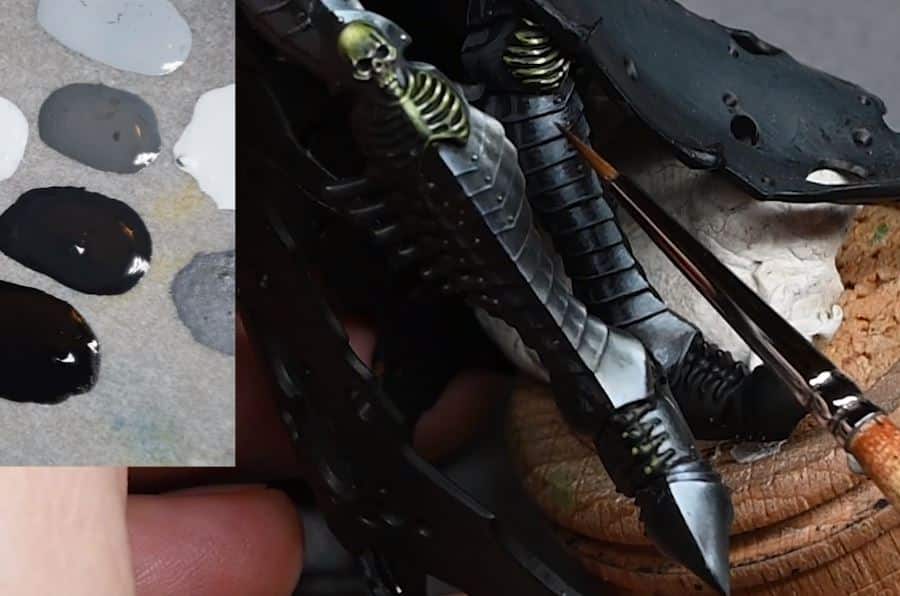
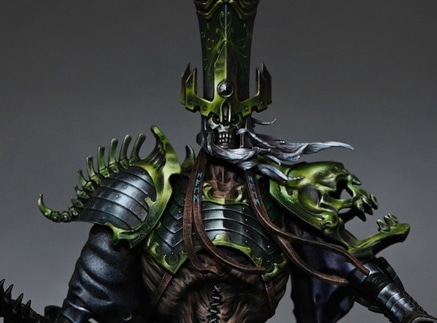
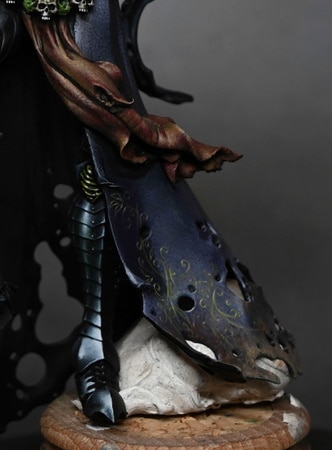
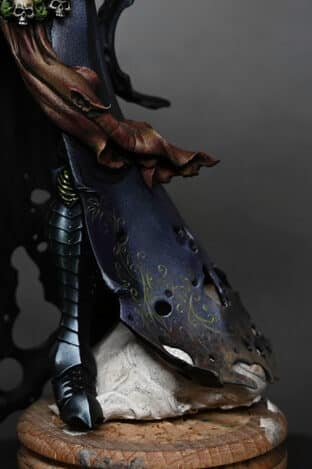
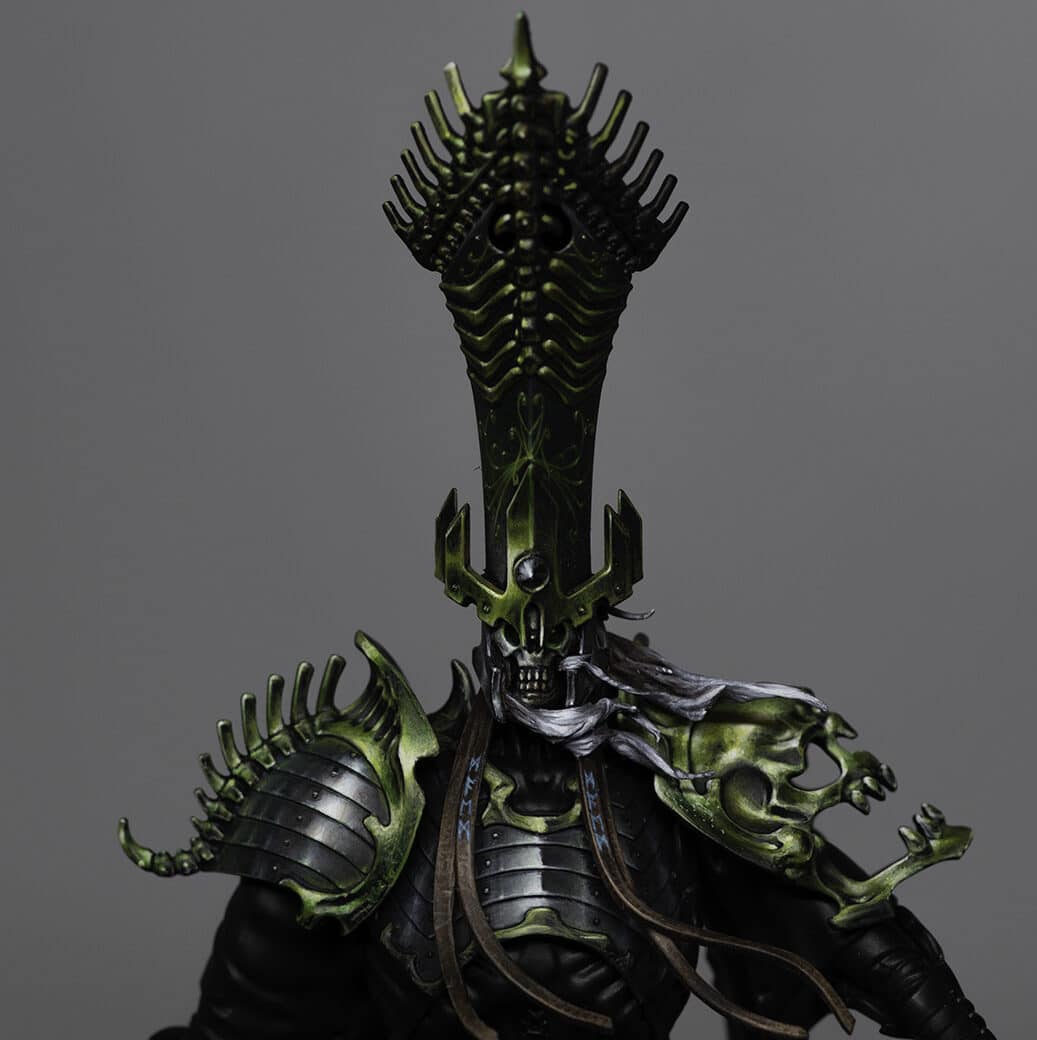
This is the first in a new series of videos for the Nagash repaint to get him suitable to be a Golden Demon entry. I’m not sure if he’ll end up as a diorama or a large model, but in either case there will be a lot of work needed!
Nagash Repaint by Richard Gray – Video Part One: Nagash Head, Eyes and Hat Gem
Nagash Repaint by Richard Gray – Materials Needed:
Paints: Games Workshop (Balor Brown, Morghast Bone, Screaming Skull, Yriel Yellow, Moot Green, Mephiston Red, Rhinox Hide, Evil Sunz Scarlet, Wild Rider Red), P3 (Iosen Green), Kimera Colours (White)
Tools: Scalpel, PVA glue, Green Stuff (epoxy putty), various brushes, head-mounted magnifier
Preparation:
Initial Cleanup: I began by reassessing the model’s current state. For areas like the leather loin cloth, remove them if they no longer meet the desired quality. Sand down any rough edges where modifications were removed.
Modifying Eye Sockets:
Filling Eye Sockets: Instead of using PVA glue for its tendency to shrink, I opted for Green Stuff to fill the eye sockets of Nagash. Ensure the Green Stuff is smoothly applied, using the blunt end of a paintbrush to achieve a concave shape within the sockets.
Base Colour for Eyes: Apply two to three layers of Kimera White inside the now shallow eye sockets. This creates a solid and clean white base.
Adding Glow Effects: Due to the reduced depth, enhancing the glow effect is trickier. Use a mix of Yriel Yellow and White to create a transition shade, apply it close to the white base, then layer pure Yriel Yellow followed by Moot Green, focusing on the edges of the sockets.
Repainting the Face:
Base Facial Details: Start with Balor Brown thinned slightly for a glaze over the face, enhancing the warmth of the underlying colours.
Detailing with Lighter Tones: Progressively lighten the face using Morghast Bone and Screaming Skull, avoiding too bright highlights to prevent clashing with other high points on the model.
Teeth Enhancement: Focus on making the front teeth stand out by applying concentrated light tones, adding depth and interest.
Modifying and Painting the Crown:
Taking a Risk with the Gemstone: I chose to repaint the gem on Nagash’s crown in a vibrant red. Base the gem with a mix of Mephiston Red and Rhinox Hide to subdue the red.
Building up Red Tones: Layer up through Evil Sunz Scarlet and Wild Rider Red, adding White to the highest highlights to achieve a shiny, reflective look on the facets of the gem.
Finishing Touches:
Final Adjustments: Ensure all modified areas blend seamlessly with the existing paintwork. This might include adding shadows and highlights to redefined areas like the eye sockets and crown.
Sealing the Model: Once satisfied with the repaint, seal the model with a matte varnish to protect the paintwork and reduce any unwanted glossiness from previous layers.
I’m excited to continue this series and share more about the ongoing transformations Nagash will undergo. Thank you for following along, and I look forward to presenting an even more impressive version of Nagash in the future!
Previous Nagash Tutorials!
If you don’t have an account here on my website, please sign up here! I have over 350 video tutorials with steps and tips, plus a selection of PDFs. If you are not sure about joining, you can explore my free videos with a free membership, or take the plunge and become a full subscriber for full access.
If you’d prefer to support me on Patreon, please visit: https://www.patreon.com/RichardGray


