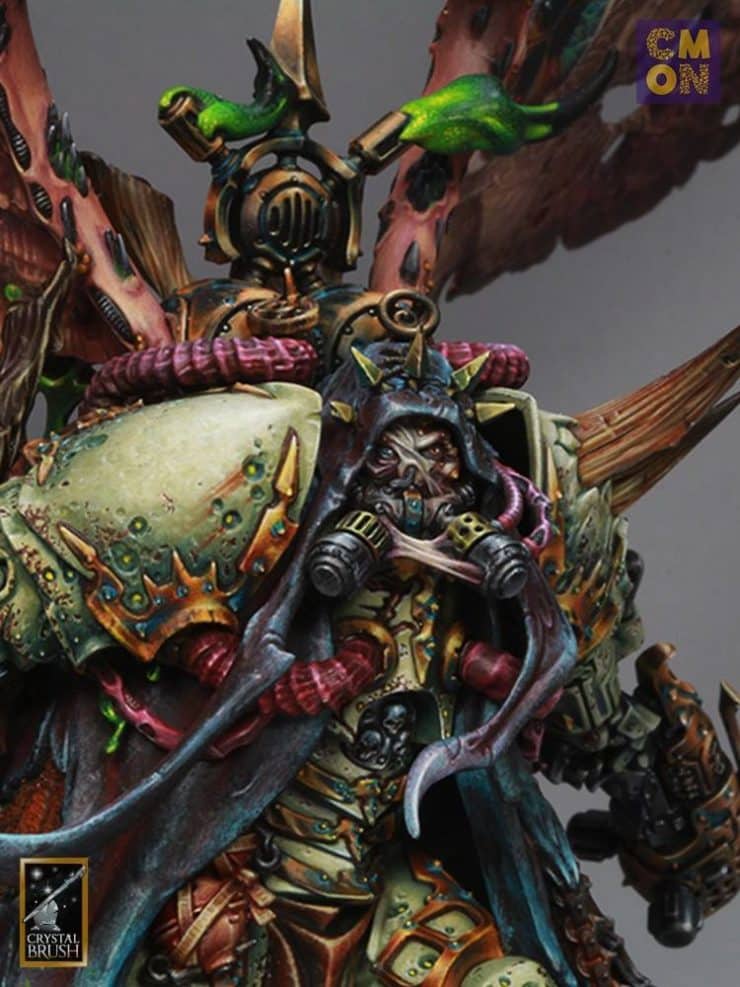
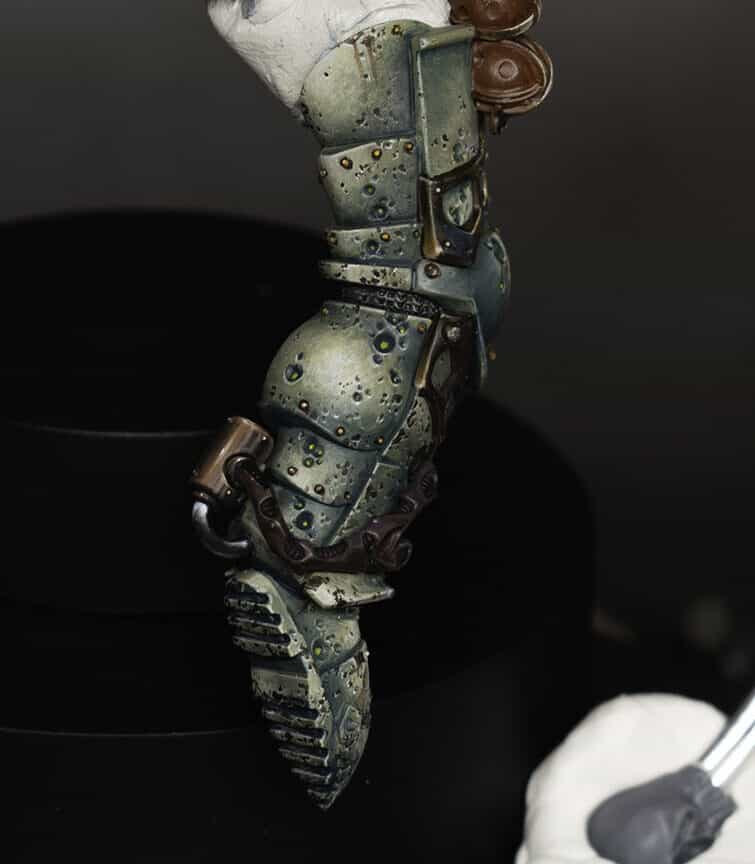
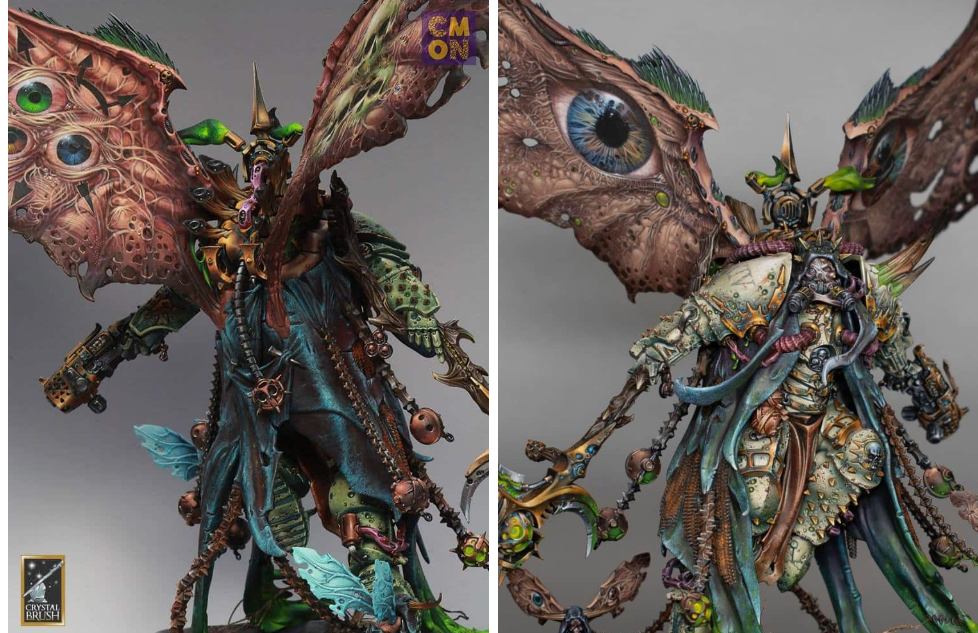
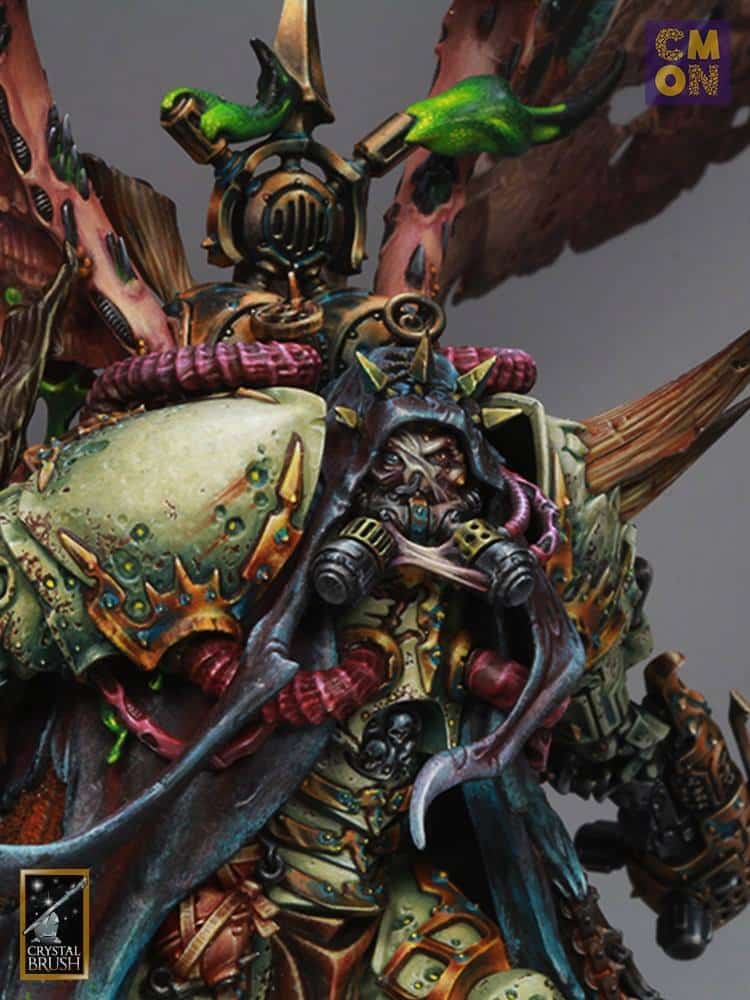
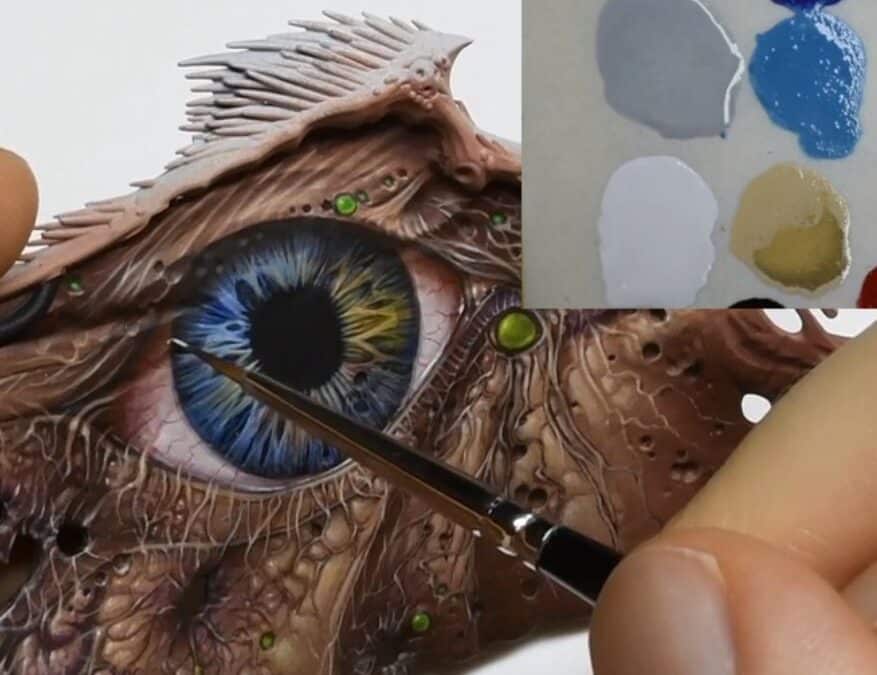
There are lots of textures and fine details on the feet and face of Mortarion – here’s how to paint Mortarions Face, Feet and Hood!
Quick Jump to:
Video: Face and foot
This video shows how to lighten the face of Mortarion and also how to paint the weathering on his armour.
The following paints were used:
Games Workshop: Ceramite White, Flayed One Flesh, Pallid Wych Flesh, Ushabti Bone, Rhinox Hide.
Step-by-step: How to Paint Mortarions Face and foot
Glazing for Face Lightening: Prepare a glaze using Games Workshop’s Flayed One Flesh paint and water (about 5 parts water to 1 part paint).
Load the brush with the glaze and remove excess paint on kitchen roll.
Apply thin layers of glaze to the face, focusing on central areas like the forehead, bridge of the nose, and cheeks.
Be careful not to let the glaze pool in the recesses. Keep adjusting to maintain control over the layering.
Pallid Wych Flesh Detailing: Use Games Workshop’s Pallid Wych Flesh, a thicker paint, to highlight the top of creases on the face.
Build up contrast between creases and highlights gradually to create a natural look.
Ensure that the creases are lightened, but maintain a balance with the overall lighting on the face.
Final Highlight with Games Workshop’s Ceramite White: Apply Games Workshop’s Ceramite White to the highest points of the face, focusing on central areas.
Use a controlled technique to avoid overdoing the highlights.
Maintain subtlety and control over the white highlights for a natural effect.
Chip-Weathering on Armor: Choose Games Workshop’s Rhinox Hide for chipping on the armor.
Apply the paint with a brush, creating small marks on the model.
Leave some patches of white paint between the chipped areas for added interest.
Consider the positioning of chips, focusing on areas that would naturally experience wear and tear.
Use a colour-coded brush to keep track of the tool’s usage and maintain control.
Refining the Chipping: Adjust the thickness of the chipping lines to control the visual impact.
Ensure that the chipping looks natural and not too high in contrast.
Pay attention to the bottom of the foot, adjusting the highlighting based on the foot’s position.
Add more chips on areas that would naturally experience more damage, like the front side of the leg.
Video: Hood Part 1
The following paints were used:
Games Workshop: Abaddon Black, Temple Guard Blue, Xereus Purple, Balor Brown
Vallejo: Black (Abaddon Black), Heavy Blue Grey (Celestra Grey), German Grey (Abaddon Black with a touch of white)
P3: Morrow White (Ceramite White)
Step-by-step: How to Paint Mortarions Hood – Part One
Prepare the Model: Ensure that the Mortarion model’s hood has been properly primed in black. Fill in any gaps resulting from assembling the model using polystyrene cement. Sand down the gaps to create a smoother surface.
Gather Paints and Tools:
On your wet palette, prepare the following paints:
Abaddon Black (Games Workshop)
Temple Guard Blue (Games Workshop)
Xereus Purple (Games Workshop)
Balor Brown (Games Workshop)
German Grey (Vallejo) – Mix Abaddon Black with a touch of white
Heavy Blue Grey (Vallejo) – Celestra Grey (Games Workshop)
Morrow White (P3) – Ceramite White (Games Workshop)
Tools:
Older paintbrush (to avoid quick wear)
Size zero artist brush (for finer details)
Palette for mixing paints
Abaddon black for glazing
Base Coat with Blue: Take the older paintbrush and apply Temple Guard Blue onto the model’s hood. Alternate between German Grey and Temple Guard Blue for a quick blended look. Focus on the edges and tendrils, applying more blue to create a weathered effect.
Refine with Finer Brush: Switch to the size zero artist brush and refine the texture. Pay attention to the spikes on top of Mortarion’s head, making them stand out against the dark color. Apply both German Grey and Temple Guard Blue in a more controlled manner.
Add Black for Shading: Introduce deeper shading by mixing Abaddon Black with a small amount of water. Use the finer brush to apply this mixture to specific areas, enhancing the three-dimensional effect.
Glaze with Red: Create a glaze using Abaddon Black and Xereus Purple (or any purple paint). Start near the highlights and work into the shadows, allowing the glaze to enhance the color variance. Repeat this process to build up the desired tone.
How to paint Mortarions Face: Once the hood is painted, focus on the face. Be cautious around the details, such as the eyes and eyelids. Use Balor Brown for shadows and then apply Morrow White to pick out fine details. Pay attention to the eyes, painting them with a brighter yellow for contrast.
Fine-Tune and Experiment: Continue fine-tuning the paintwork, experimenting with glazes and additional details. Remember to test the paint consistency on a spare surface before applying it to the model.
Glaze and Highlight: Keep glazing over the areas, especially the highlights, to add depth. Use minimal amounts of paint to pick out final highlights, enhancing the overall texture and making it look three-dimensional.
Video: Head and Hood Part 2
Vallejo: Neutral Grey : Skavenblight Dinge German Grey (Abaddon Black with a touch of white) English Uniform (XV-88) Japanese Uniform (Balor Brown) Ice Yellow (Ushabti Bone with a touch of yellow) Heavy Blue Grey (Celestra Grey) Black (Abaddon Black)
Games Workshop: Emperor’s Children Rhinox Hide
P3: P3: Morrow White (Ceramite White)
Step-by-step: How to Paint Mortarions Head and Hood – Part Two
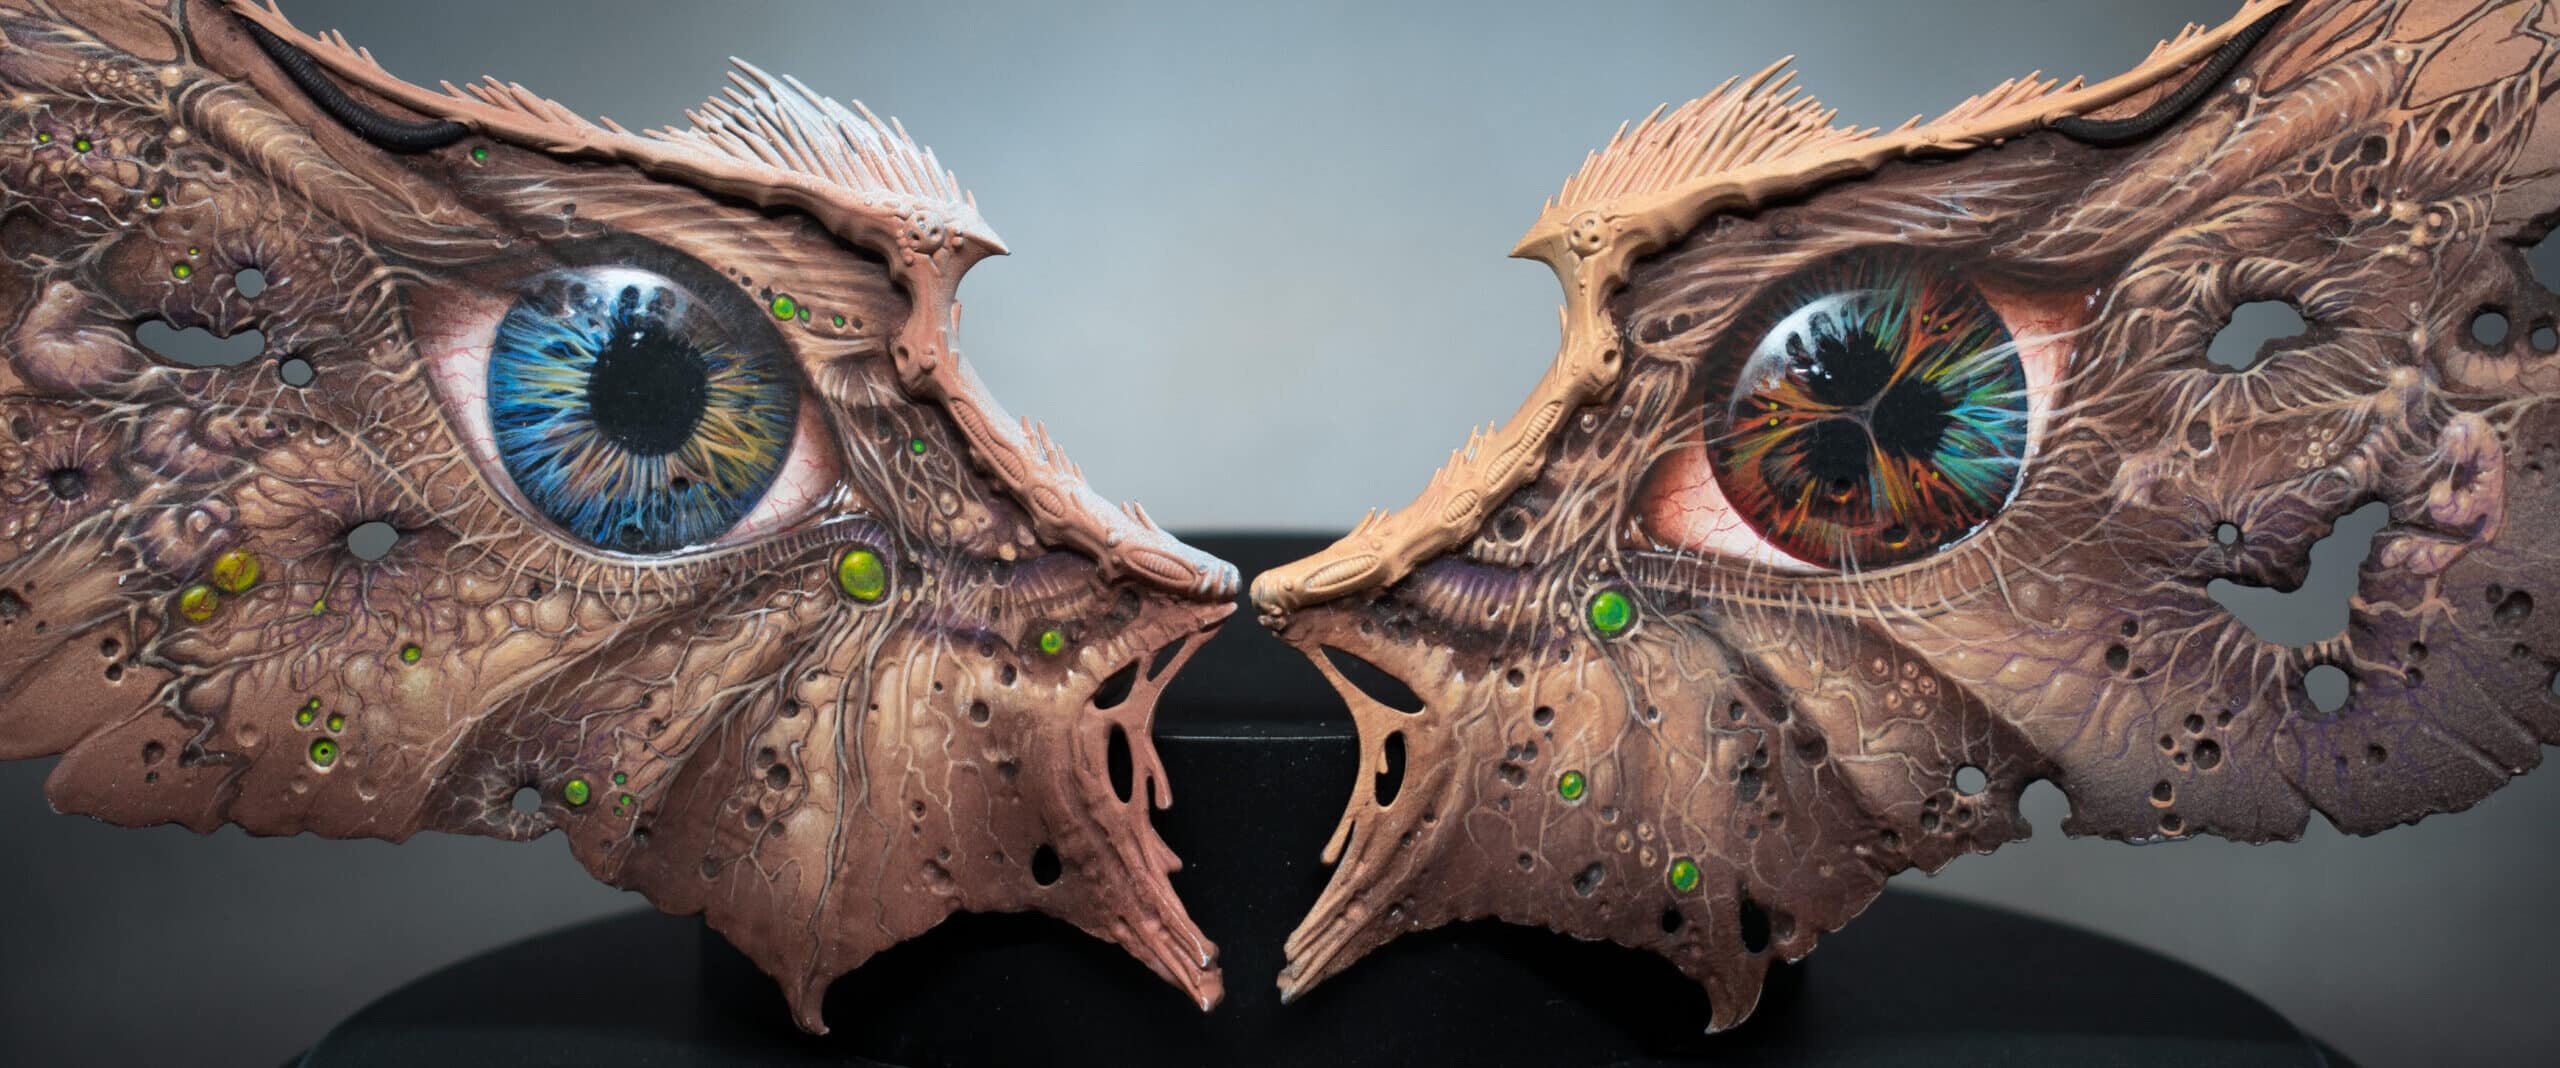
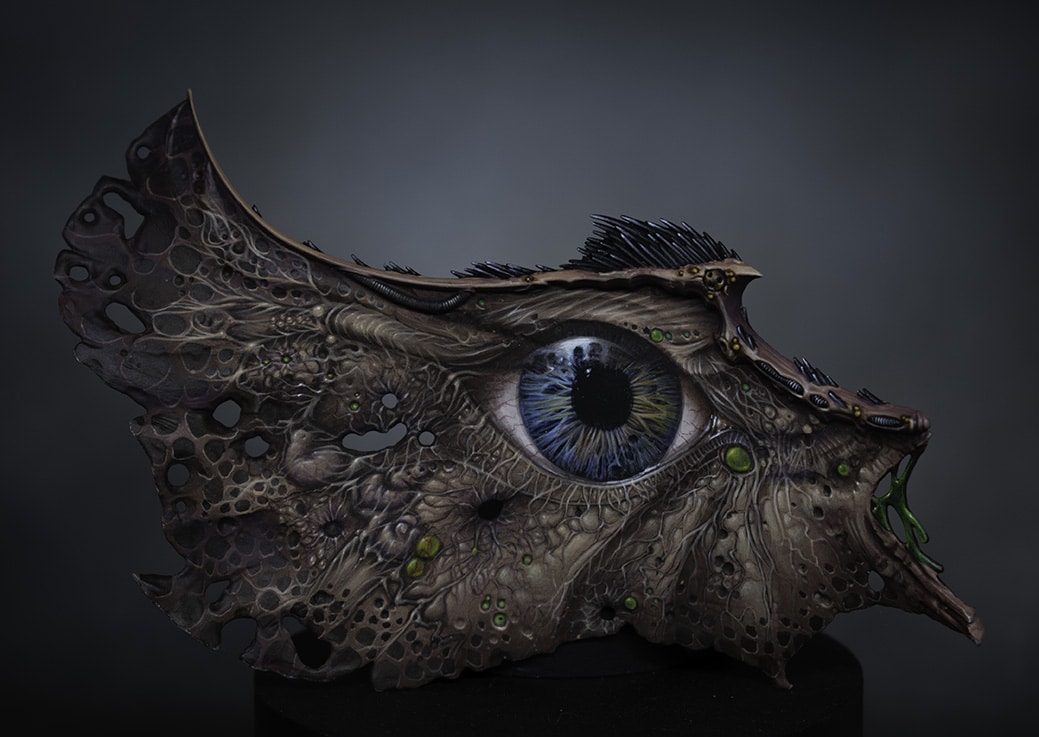
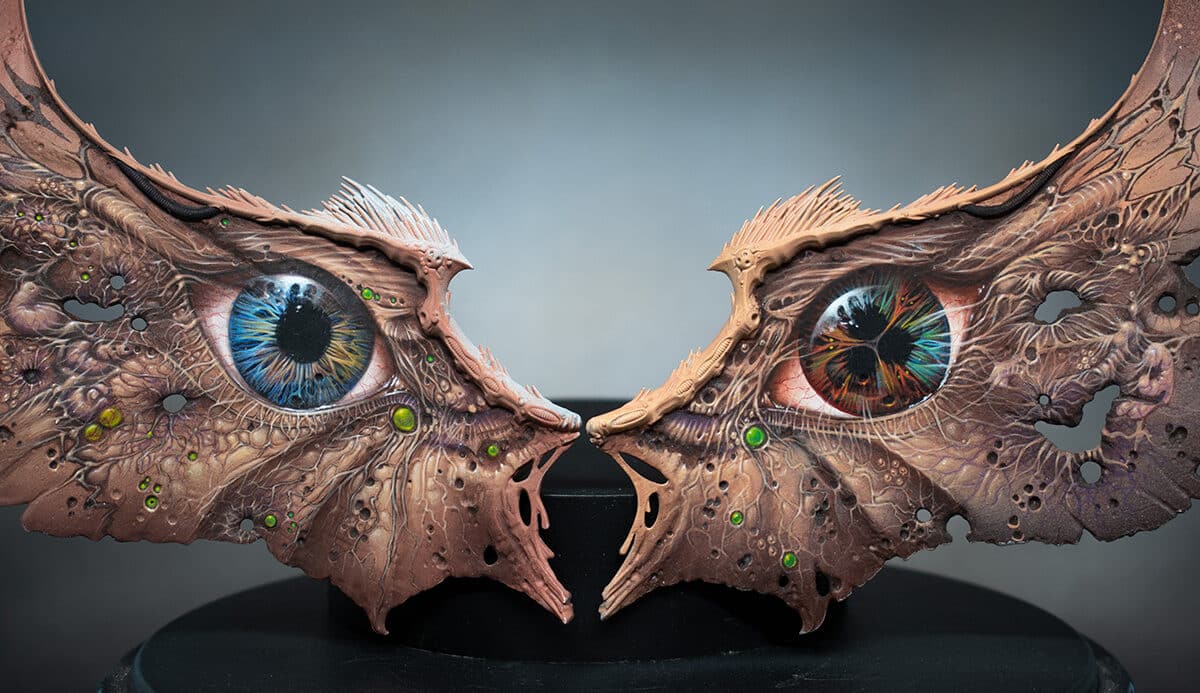
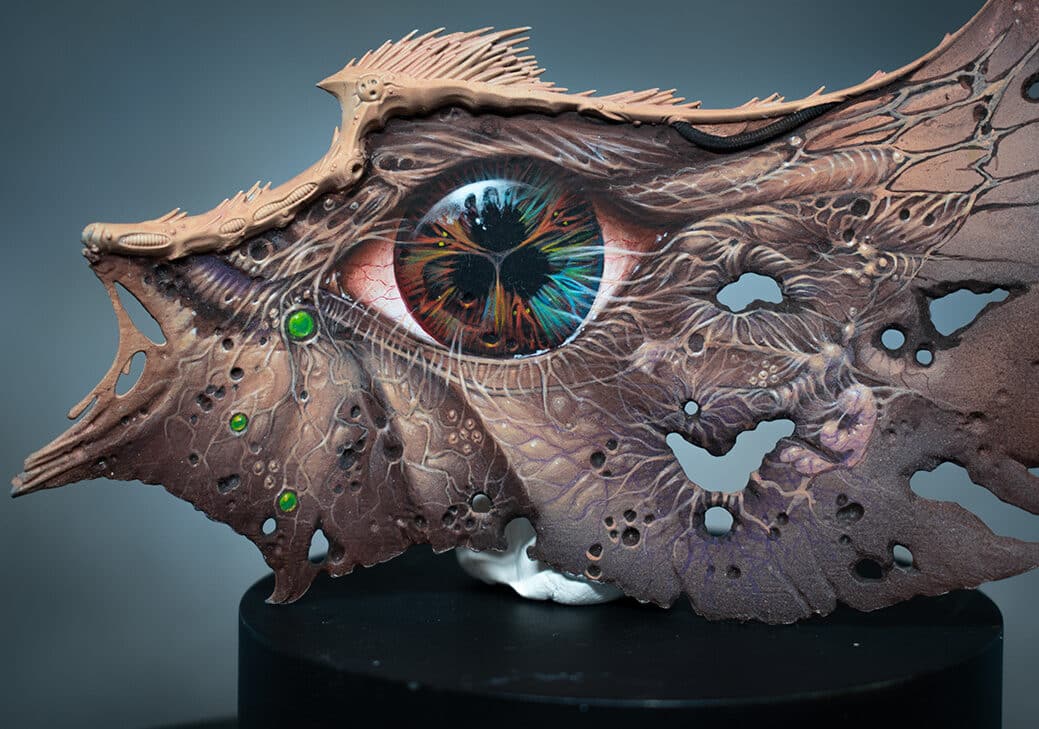
How to paint Mortarions Face and Eyes: Start with a black paint (Vallejo: Black) to paint the pupils and cover the iris.
Use Vallejo: Heavy Blue Grey (Celestra Grey) to paint the eyes themselves, avoiding pure white to create a more natural look.
Consider painting cataracts initially but feel free to change to red and blue eyes for a magical effect.
Highlighting the Eyes: Use Vallejo: White to highlight the lower edge of the eyes, creating a subtle, realistic contrast.
Paint the iris around the black dots to add depth and detail to the eyes.
Painting the Metal Halo: Apply a base coat of Vallejo: English Uniform (XV-88) on the metal halo, ensuring it’s less saturated than other gold areas on the model.
Use Vallejo: Neutral Grey to blend into crevices and scratches, creating a reverse shading effect.
Add Vallejo: Morrow White (Ceramite White) to blend in some warmth and detail.
Rebreather Cylinders: Highlight the cylinders with a mix of Vallejo: Ice Yellow (Ushabti Bone with a touch of yellow) and Vallejo: Black.
Blend in some of the previous colours to add more detail and scratches.
Use Games Workshop: Emperor’s Children for the tubing, and highlight with Vallejo: English Uniform (XV-88).
Cabling and Tubes: Highlight cabling with a mix of Vallejo: White and Vallejo: English Uniform (XV-88).
Pay attention to angles and details, painting from one angle along the length to maintain consistency.
Add final highlights sparingly using Vallejo: Ice Yellow (Ushabti Bone with a touch of yellow).
Fleshy Details: Paint the stringy flesh between canisters with Vallejo: Rhinox Hide for an organic look.
Use Vallejo: Evil Sunz Scarlet as a glaze to transition light hitting the piping while maintaining details.
Final Touches: Paint black ribbing on the inside of the lower tube with Vallejo: Neutral Grey and highlight with Vallejo: Heavy Blue Grey (Celestra Grey).
Ensure all details are well-defined and consistent.
More Mortarion? Right this way:
Videos Not Showing?
To view any of my paid tutorials, you need to be a member of the website – please click below to log in or join the site.
Not sure about joining just yet? Check out my Youtube for all my free tutorials or sign up as a free “friend” member on this site and visit the free videos page!
If you’d prefer to support me on Patreon, please visit: https://www.patreon.com/RichardGray


